Quick answer
Cut a clean, angled thread end, dampen or flatten it, then push it through the needle eye from the side that hides the knot. If the eye is small or your eyesight is strained, use a needle threader or a lighter thread color. Threading a hand needle gets easier when the thread end is neat and the needle is held still against a light background.
Threading a needle is the smallest step in hand sewing, but it causes the most stopped projects. The fix is not better eyesight; it is controlling three things: the thread end, the needle position, and the light behind the eye. Get those right and threading a hand needle takes seconds, even with a small eye.
This guide walks through an ordered process for how to thread a needle, with the common mistakes that make it fail and the checkpoints that tell you it is right. It also covers threading tricks for embroidery, quilting, and everyday mending, plus when a different needle or thread solves the problem faster than forcing the one in your hand.
Prepare the thread so it enters the eye instead of pushing against it
Start with a clean cut. Use sharp scissors and cut the thread at a steep angle, not straight across. An angled cut creates a point that slides through the eye; a blunt cut creates a flat wall that catches on the metal. Cut close to the end so you are not working with a frayed tail from the spool.
If the thread is cotton or linen, dampen your fingers slightly and pinch the end flat, or run the end between your thumb and forefinger to compress the fibers. If it is polyester or nylon, skip the moisture and instead flatten the end with your fingernail. Do not lick the thread; saliva dries stiff and can leave residue that gums up the eye over time.
- Common mistake: cutting the thread with your teeth, which leaves a ragged, frayed end.
- Checkpoint: the last half inch of thread should look like a sharp point, not a brush.
Hold the needle still and bring the thread to the eye
Most people move the thread toward a moving needle. Reverse it. Pin the needle against your index finger or press its eye against a light-colored surface, then bring the thread to the eye. A still needle is easier to hit than a wobbling one, especially with fine hand needles.
Push the thread through from the side that will hide the knot when you sew. For most hand sewing, that means threading from the back of the fabric side, so the small tail sits on the wrong side. If you are unsure, thread from the side that feels natural; the knot placement matters more than the direction for basic mending.
- Common mistake: holding the needle in the air with a shaky hand and chasing the eye with the thread.
- Checkpoint: the needle should not move when the thread touches it.
Use a needle threader when the eye is small or your eyes are tired
A needle threader is a thin wire loop on a handle. Push the wire loop through the eye, pass the thread through the loop, then pull the loop back out of the eye. The thread follows. This is the fastest easy way to thread a needle for hand sewing when the eye is too small to see clearly or the thread is too thick to point.
Threaders work best with a needle that has a clean eye. If the eye is clogged with lint or dried residue, the wire will not pass. Wipe the eye with a scrap of fabric or a fine pin before using the threader. For very fine needles, use a threader with a thin wire; a thick wire will not fit.
- Common mistake: forcing a thick threader wire into a fine needle eye, which bends the wire.
- Checkpoint: the wire should slide through the eye with almost no resistance.
Match the needle and thread so threading is not a fight
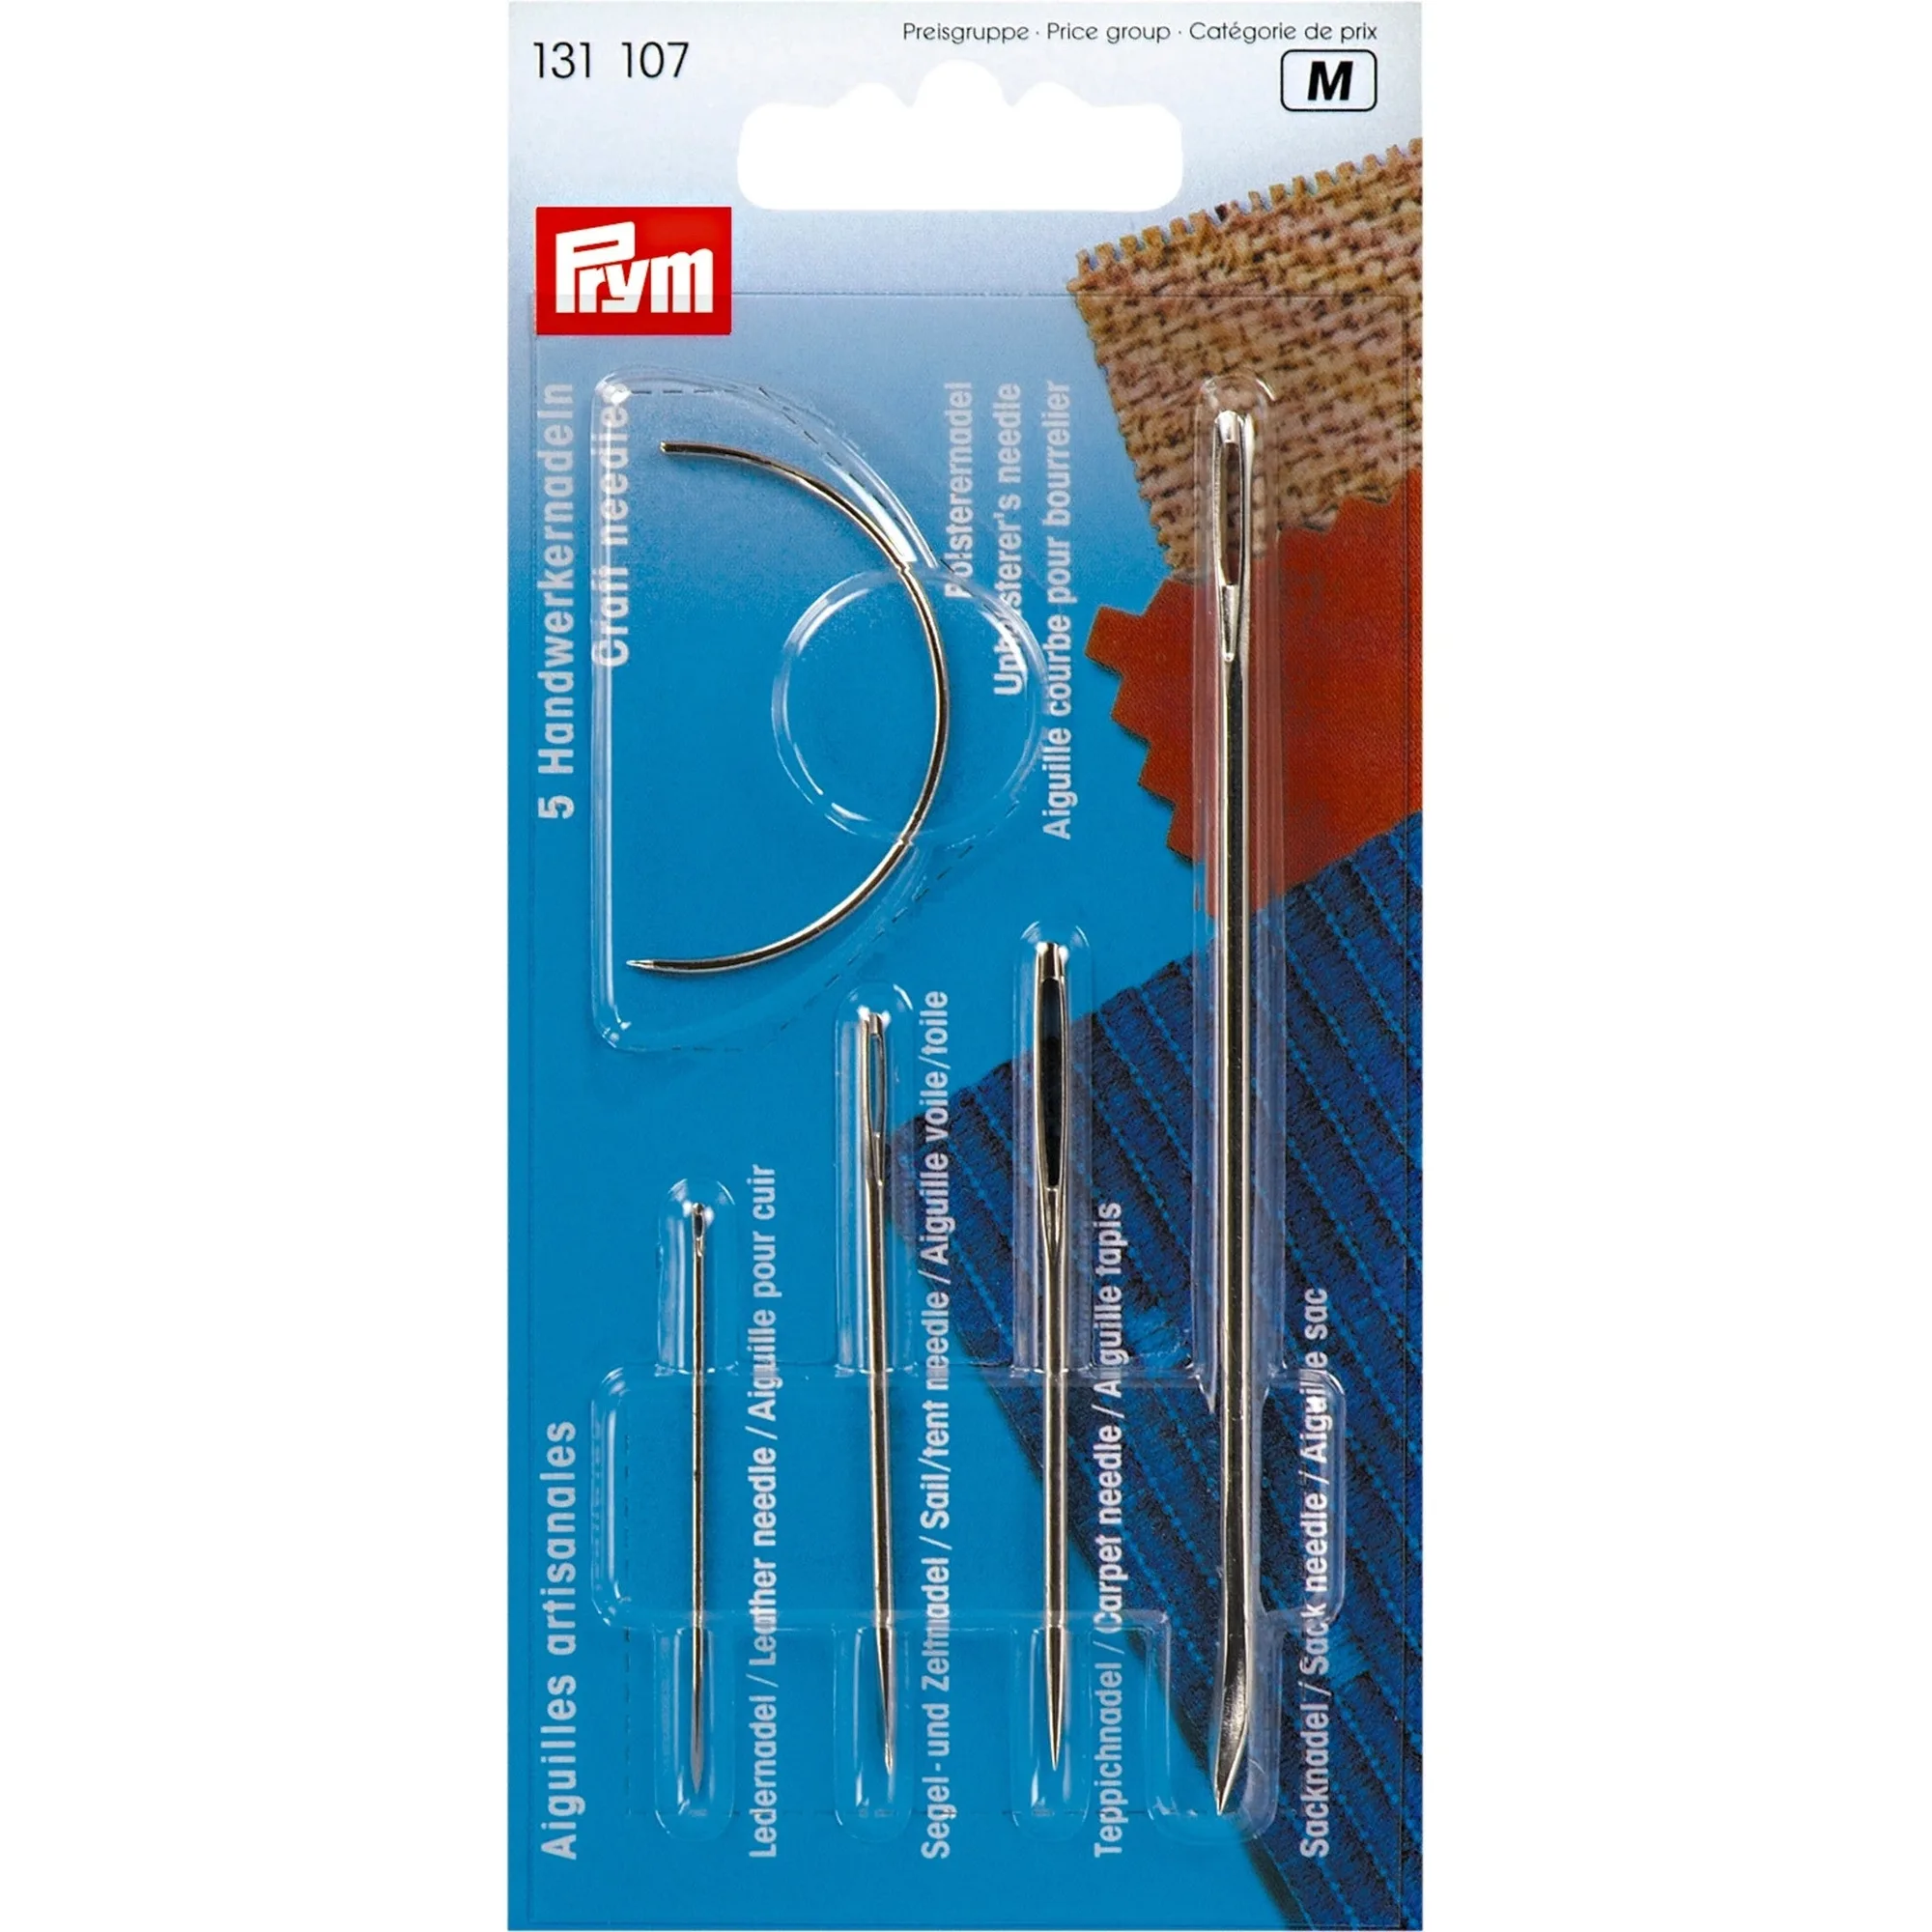
A needle with a larger eye is easier to thread, but it also leaves a larger hole in the fabric. For lightweight fabrics, use a fine needle and accept that you need a threader or good light. For heavy fabrics, denim, or canvas, a larger eye handles thicker thread without fraying. The goal is the smallest needle that still passes your thread comfortably.
If you are threading a hand needle for embroidery or quilting, the eye shape matters. Embroidery needles have a longer eye that accepts thicker floss. Quilting needles are shorter and finer, so they need a threader or a clean, dampened thread end. Using the wrong needle for the thread is the most common reason threading fails repeatedly.
- Common mistake: using a needle so fine that the thread bunches at the eye instead of passing through.
- Checkpoint: the thread should pass through the eye with a gentle pull, not a hard tug.
Fix the three most common threading failures
If the thread keeps hitting the metal instead of the hole, the end is blunt. Re-cut it at an angle. If the thread goes through but frays and breaks as you pull, the eye is too small or the thread is too thick for the needle. Switch to a larger eye or a finer thread. If the thread goes through but the needle falls off the thread, you have not pulled enough tail through; pull at least four to six inches so the needle cannot slip off.
For very small eyes, try the pinch method: fold the thread over the needle and pinch it flat between your thumb and forefinger, then slide the fold through the eye. This doubles the thread at the point of entry, which can be stiffer and easier to aim. It also creates a loop you can pass the needle through to secure the thread without a knot.
- Common mistake: pulling only a short tail through, then losing the thread on the first stitch.
- Checkpoint: after threading, hold the needle by the thread and confirm it hangs without slipping.
Step-by-step: threading a hand needle
- Cut a clean, angled thread end: Use sharp scissors to cut the thread at a steep angle, close to the end, so the tip is pointed rather than frayed. Checkpoint: the end should look like a point, not a brush. Re-cut if it is ragged.
- Flatten or dampen the thread tip: Pinch the end between your thumb and forefinger to compress the fibers. For cotton and linen, a tiny bit of moisture helps; for polyester, use a dry fingernail. Common mistake: licking the thread, which dries stiff and can leave residue in the eye.
- Stabilize the needle against a surface: Press the needle eye against a light-colored surface or pin it against your index finger so it cannot wobble while you aim the thread. Checkpoint: the needle should stay still when the thread touches it.
- Push the thread through the eye from the knot side: Thread from the side that will hide the knot when you sew, usually the side that will face the wrong side of the fabric. Pull four to six inches of tail through. Common mistake: pulling only a short tail, which lets the needle slip off on the first stitch.
- Use a needle threader if the eye is small: Push the wire loop through the eye, pass the thread through the loop, then pull the loop back out so the thread follows. Wipe the eye first if it is clogged. Checkpoint: the wire should slide through with almost no resistance. If it bends, the needle eye is too fine for that threader.
- Test the thread before you sew: Hold the needle by the thread and let it hang. If the needle slips off, pull more tail through. If the thread frays at the eye, switch to a larger eye or finer thread. Next step: knot the end and begin stitching, or double the thread for stronger hand sewing.
Tools that make threading and hand sewing easier
- 24" Hip Curve Ruler with How-To Illustrations: The Dritz 24" Hip Curve Ruler is used to create long, softly curved lines and is an essential tool for making pattern alterations and for drafting and designing patterns. It is made in the USA and has been upgraded to include new features. When you thread a needle for hand sewing on a curved seam or a garment alteration, a curve ruler helps you mark the line you will stitch, so your hand stitches follow a smooth shape instead of a wavy one.
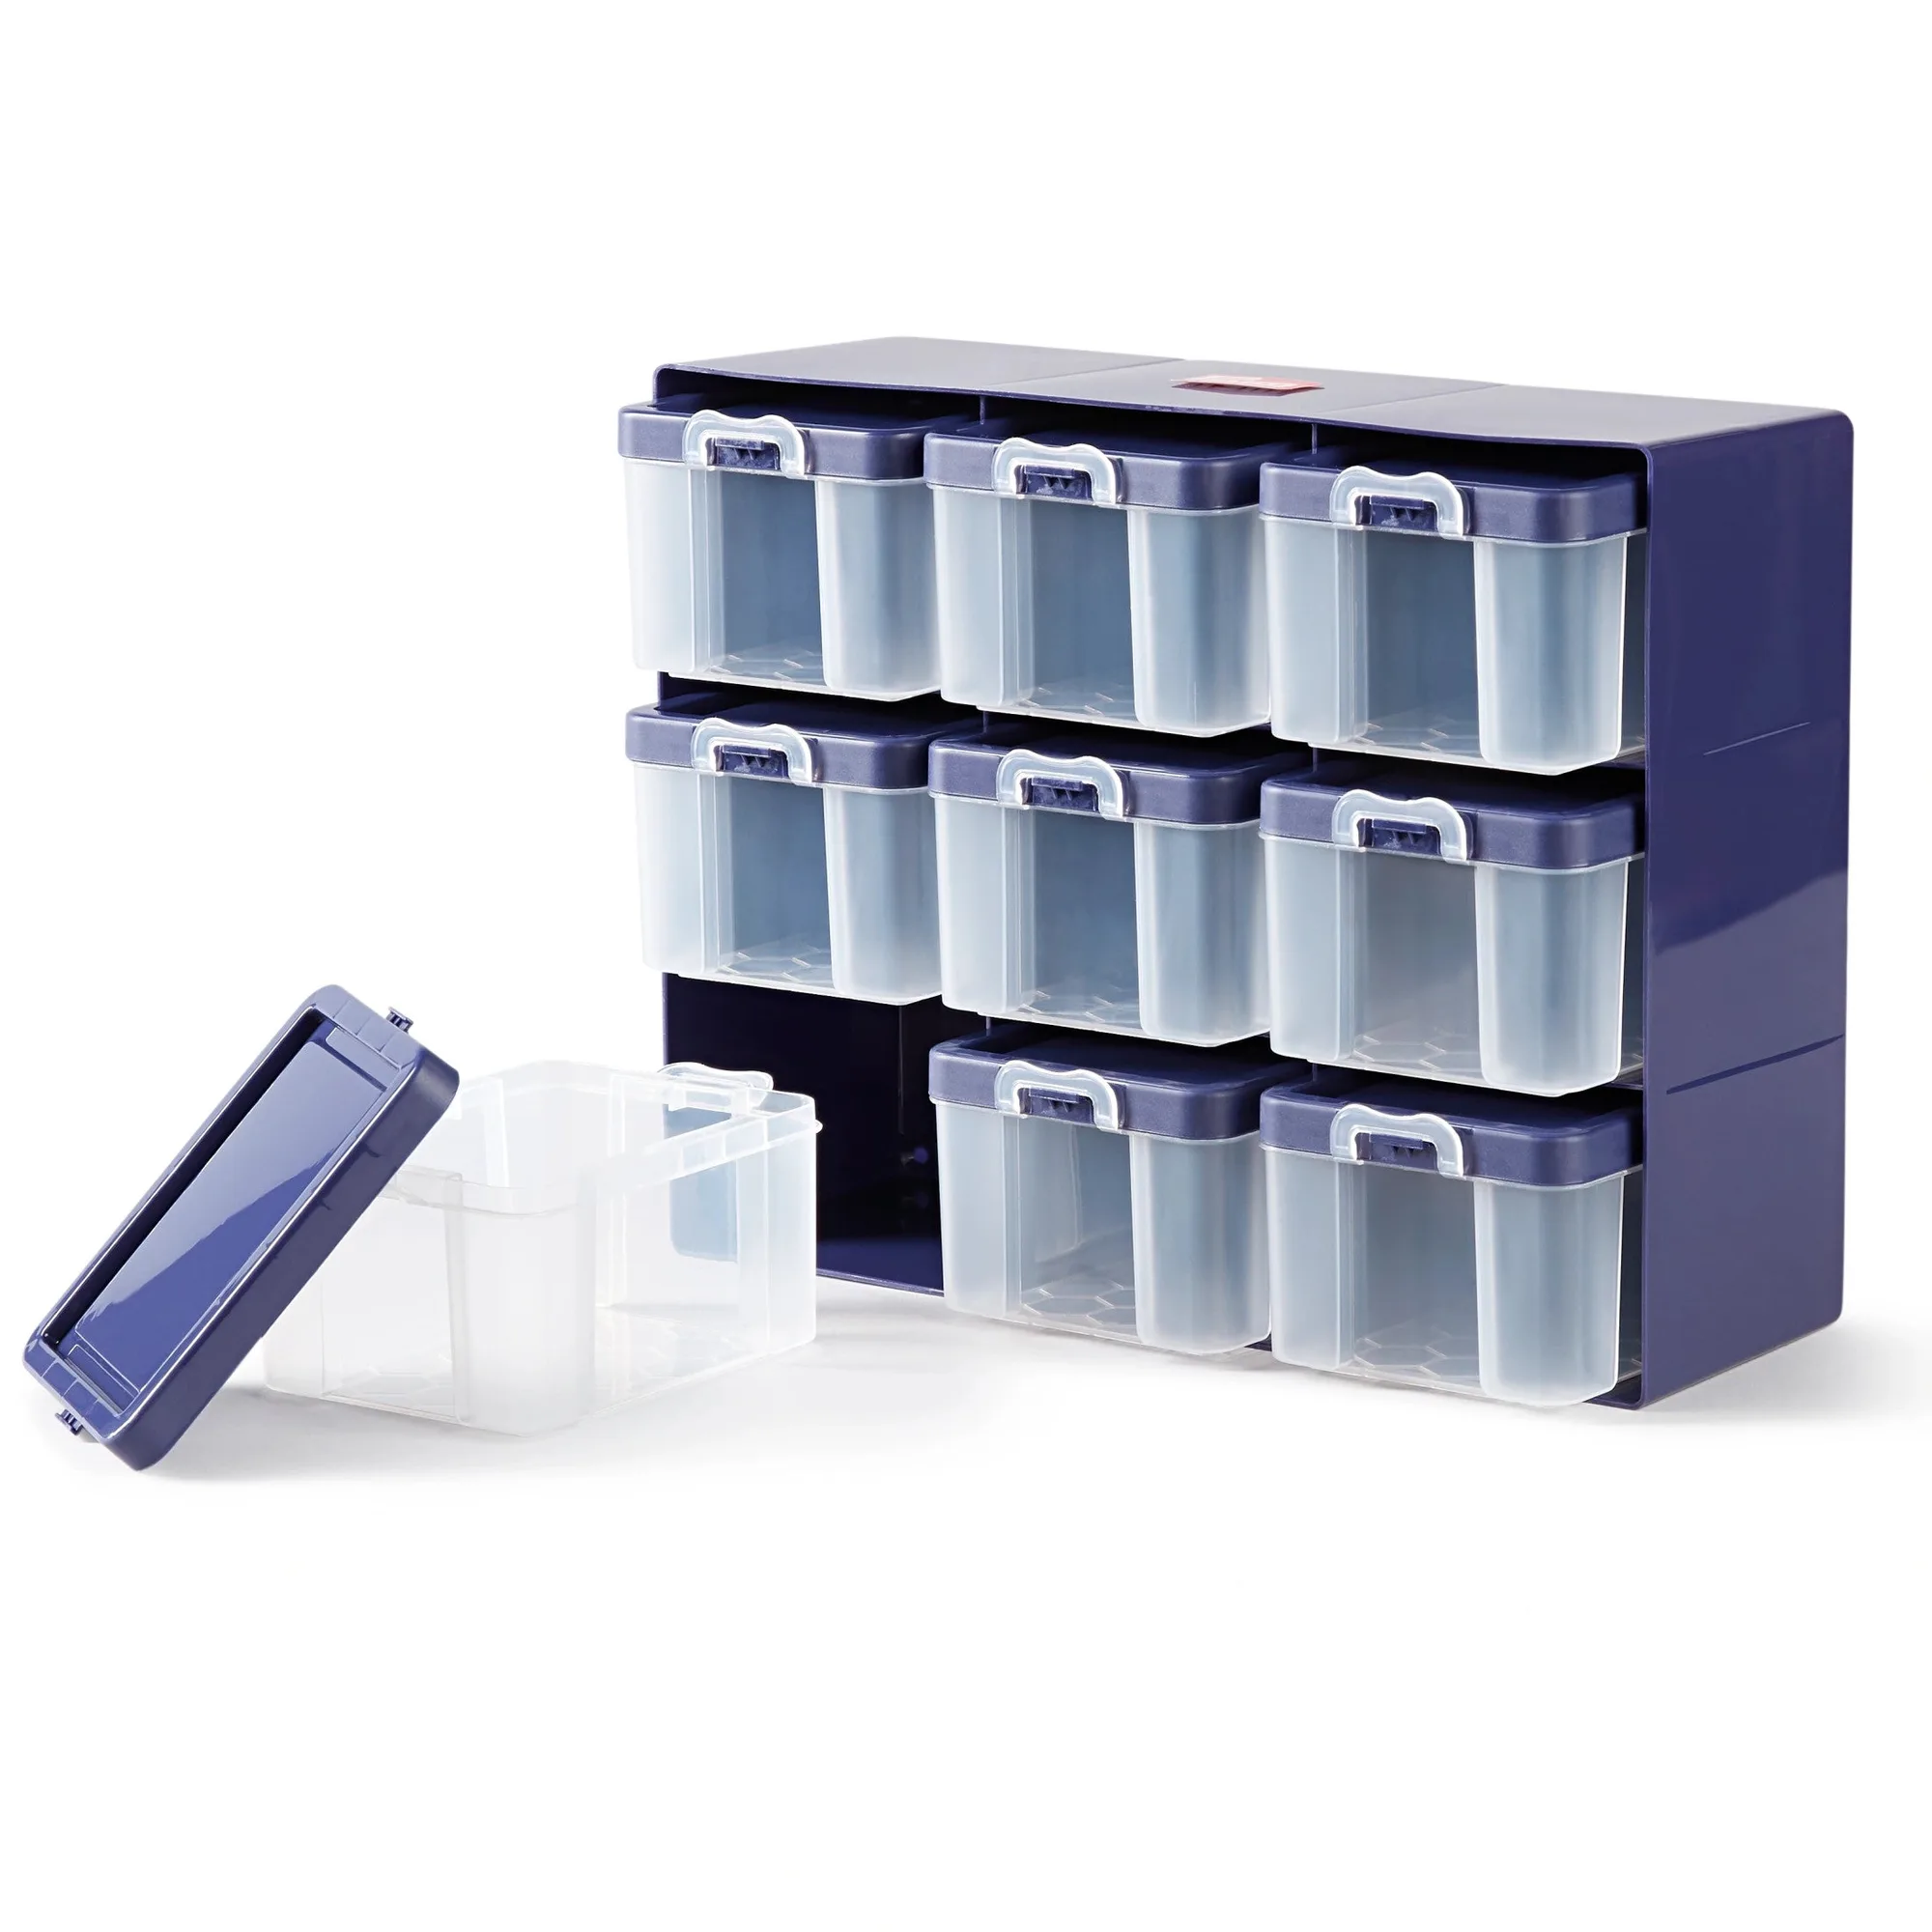
- https://prymamerica.com/products/612399-71a6ec2eb58629a08939c47b-1314714Organizer Box, Clear, 9 Compartments: This sorting box contains nine transparent, high-quality plastic boxes with removable lids in plum blue. The 8.5 x 6 x 11 cm boxes can be securely closed on both sides at the short ends. Keeping needles, threaders, and spools separated by size means you grab the right needle the first time, which removes the guesswork that makes threading feel harder than it is.
Threading a hand needle is a small skill with a big payoff: once the thread end is clean, the needle is still, and the light is behind the eye, you spend your time sewing instead of squinting. Keep a threader and a few needle sizes within reach, and match the needle to the thread before you start. If threading still fights you, change the needle, not your patience.