Quick Answer
Start with a single-column tie using a soft, natural fiber rope like jute or hemp. Practice a simple single-column tie on your wrist or ankle, ensuring two fingers fit between the rope and skin. Always have safety shears nearby and communicate with your partner throughout.
Shibari, the Japanese art of rope bondage, can seem intimidating for beginners. But with a few basic ties and a focus on safety, you can start exploring this intimate practice. This guide covers the fundamental techniques and essential considerations for tying your first rope restraints.
Whether you're interested in the aesthetic appeal or the trust-building aspect, learning shibari is about more than just knots. It's about communication, consent, and care. We'll walk you through the essential steps, from choosing your rope to executing a simple tie, so you can begin your journey with confidence.
Choosing Your First Rope
When starting shibari, the type of rope you choose matters. Natural fibers like jute or hemp are traditional and offer a good grip, but they require more care. Synthetic ropes like nylon are softer, easier to clean, and often more affordable for beginners. For your first sessions, a 6mm diameter rope is a comfortable size that's easy to handle.
Consider the length: a 8-10 meter (26-33 feet) rope is versatile for many ties. Ensure the rope is smooth and free of splinters or fraying. If you're using a rope that's not specifically designed for bondage, check for any rough spots that could irritate the skin.
- Start with a synthetic rope for easier care and a softer feel.
- Choose a 6mm diameter for a balance of comfort and control.
- Cut your rope into manageable lengths, typically 8-10 meters.
Safety Essentials
Before you tie, you need safety shears (EMT scissors) within reach at all times. Never use a knife. You also need a safe word or signal that your partner can use to stop immediately. Agree on a signal if the bottom is gagged or cannot speak.
Check in regularly with your partner. Numbness, tingling, or a change in skin color are signs to release the tie. Never leave a tied partner unattended. Also, avoid areas with major nerves, like the inside of the wrist or the back of the knee, and never apply rope to the neck or head.
- Keep safety shears nearby, not in another room.
- Establish a safe word and a non-verbal signal.
- Learn the signs of nerve compression and act quickly if they appear.
Understanding Rope Tension
Proper tension is crucial for both comfort and safety. The rope should be snug but not tight enough to cut off circulation. A good rule of thumb is to be able to slip two fingers between the rope and the skin. This ensures the tie is secure without being too constrictive.
When wrapping rope, avoid creating sharp pressure points. Keep the rope flat against the skin, and avoid twisting it. As you become more experienced, you'll learn how to adjust tension for different effects, but as a beginner, err on the side of looser.
- Always test tension by sliding two fingers under the rope.
- Keep the rope flat to distribute pressure evenly.
- When in doubt, loosen the tie; you can always retie.
Step-by-Step: Basic Single-Column Tie
- Step 1: Prepare the rope: Find the middle of your rope and make a small loop. This will be the center of your tie. Place the loop against the wrist or ankle, with the working ends pointing outward. Ensure the rope is untangled and free of knots before starting.
- Step 2: Wrap the rope: Take the two ends and wrap them around the limb twice, crossing over the loop. Keep the wraps snug but not tight. The rope should lie flat and parallel. Check that you can still slide two fingers under the rope.
- Step 3: Tie the knot: Bring the ends together and tie a simple overhand knot. Then, create a second overhand knot to form a square knot. This keeps the tie secure without being permanent. The knot should sit on the outside of the limb, not against the skin.
- Step 4: Test and adjust: Ask your partner to move their hand or foot slightly to ensure there's no numbness or tingling. Adjust the tension if needed. The tie should feel secure but comfortable. If anything feels off, untie immediately and start over.
Recommended Gear for Beginners
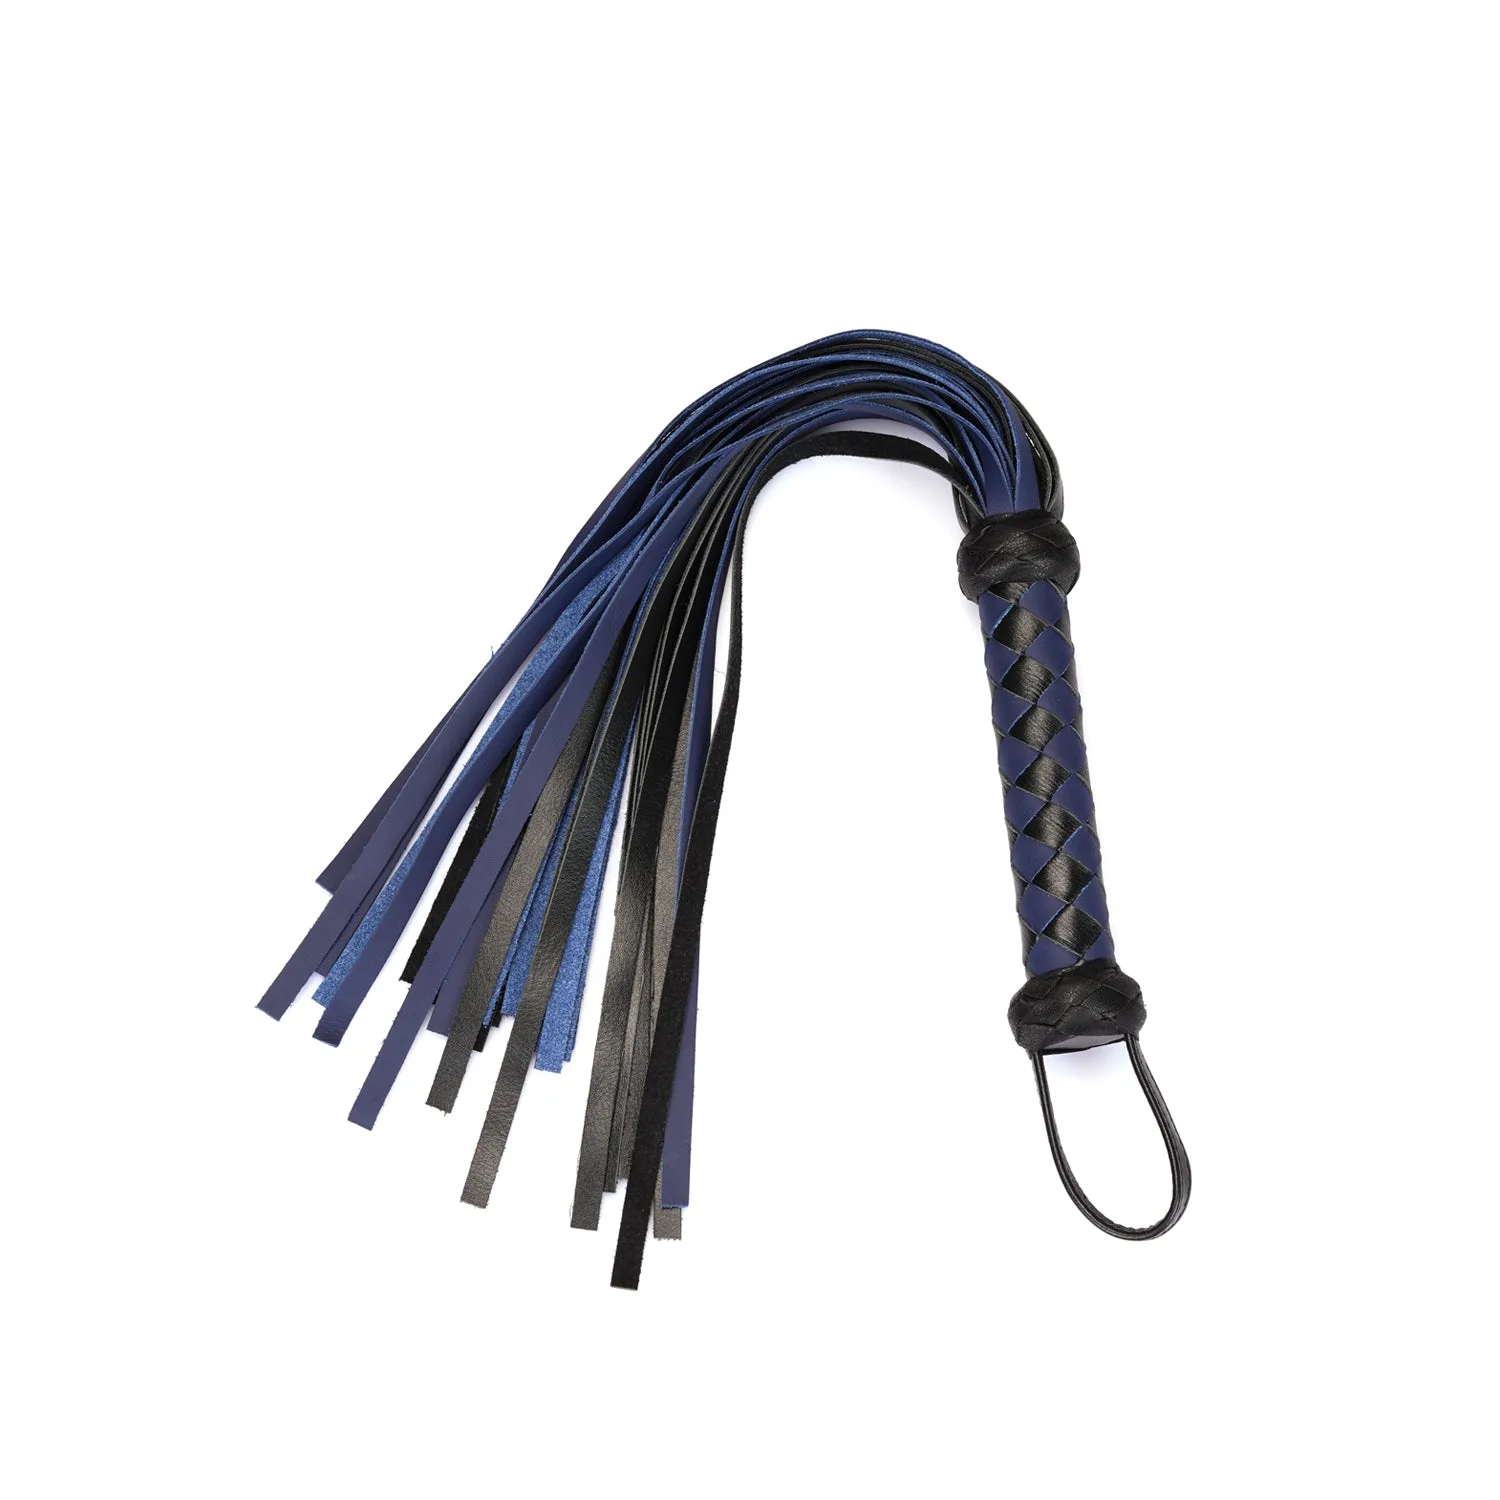
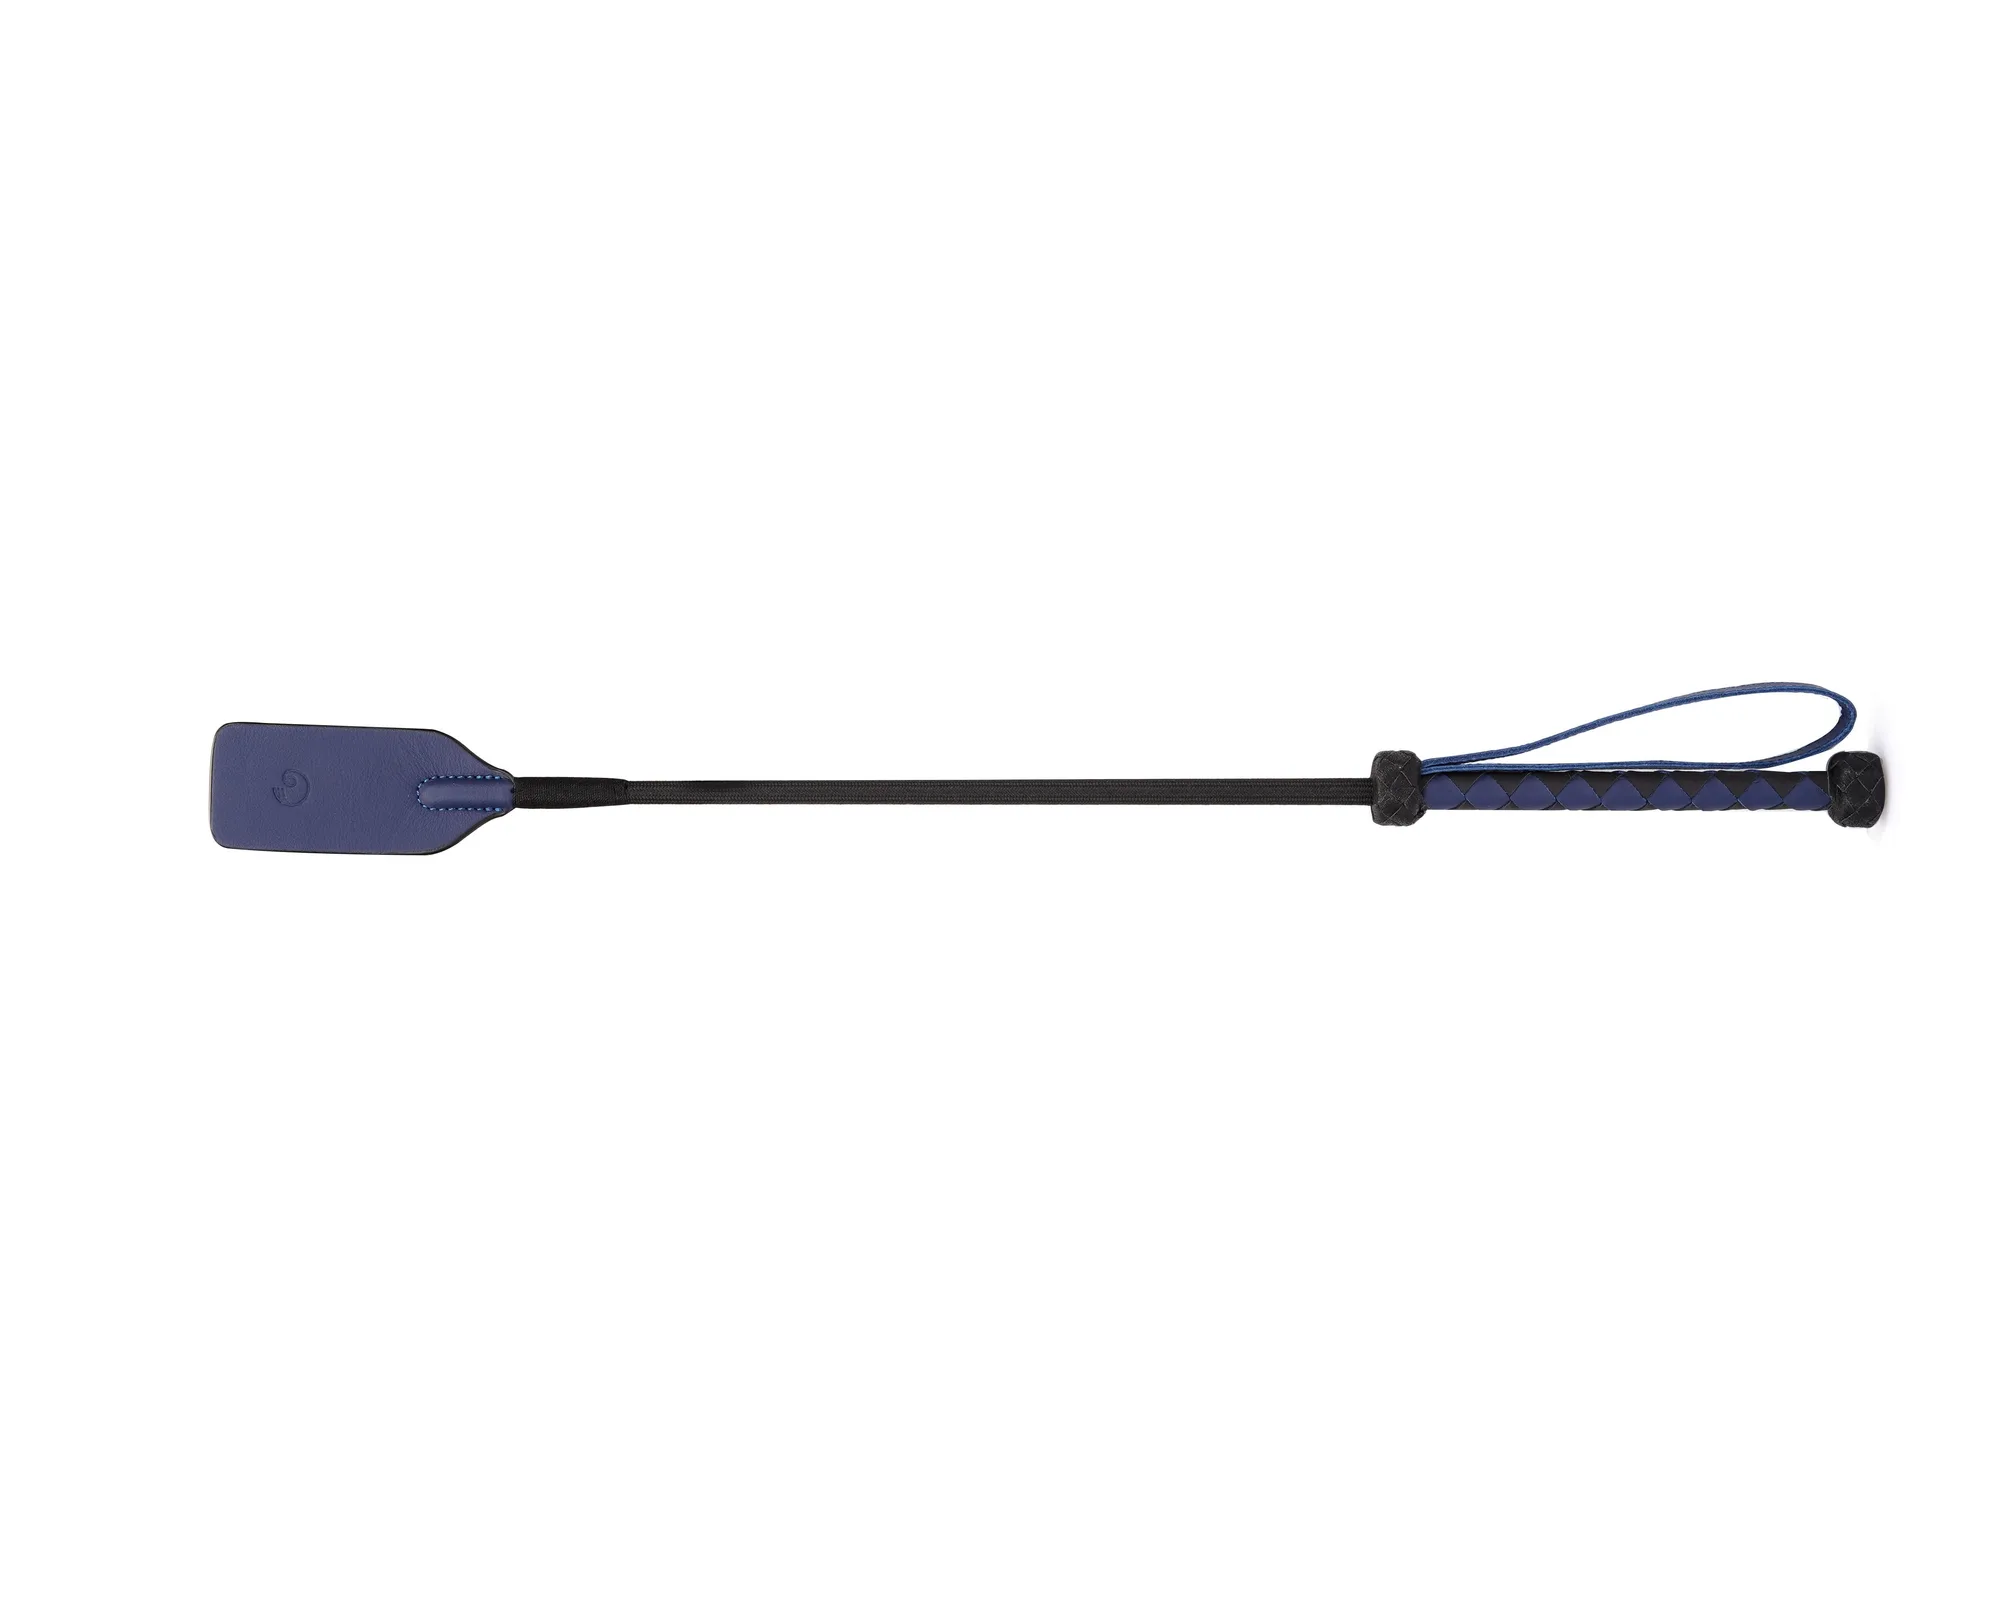
- Cerulean Dominion: Blue Leather Flogger: Enhance your BDSM collection with this lavish leather flogger, meticulously crafted by skilled artisans to transcend the realm of ordinary bondage accessories. While not a rope, a flogger can be a complementary tool for sensation play after a rope session. Its high-quality construction ensures a safe and enjoyable experience.
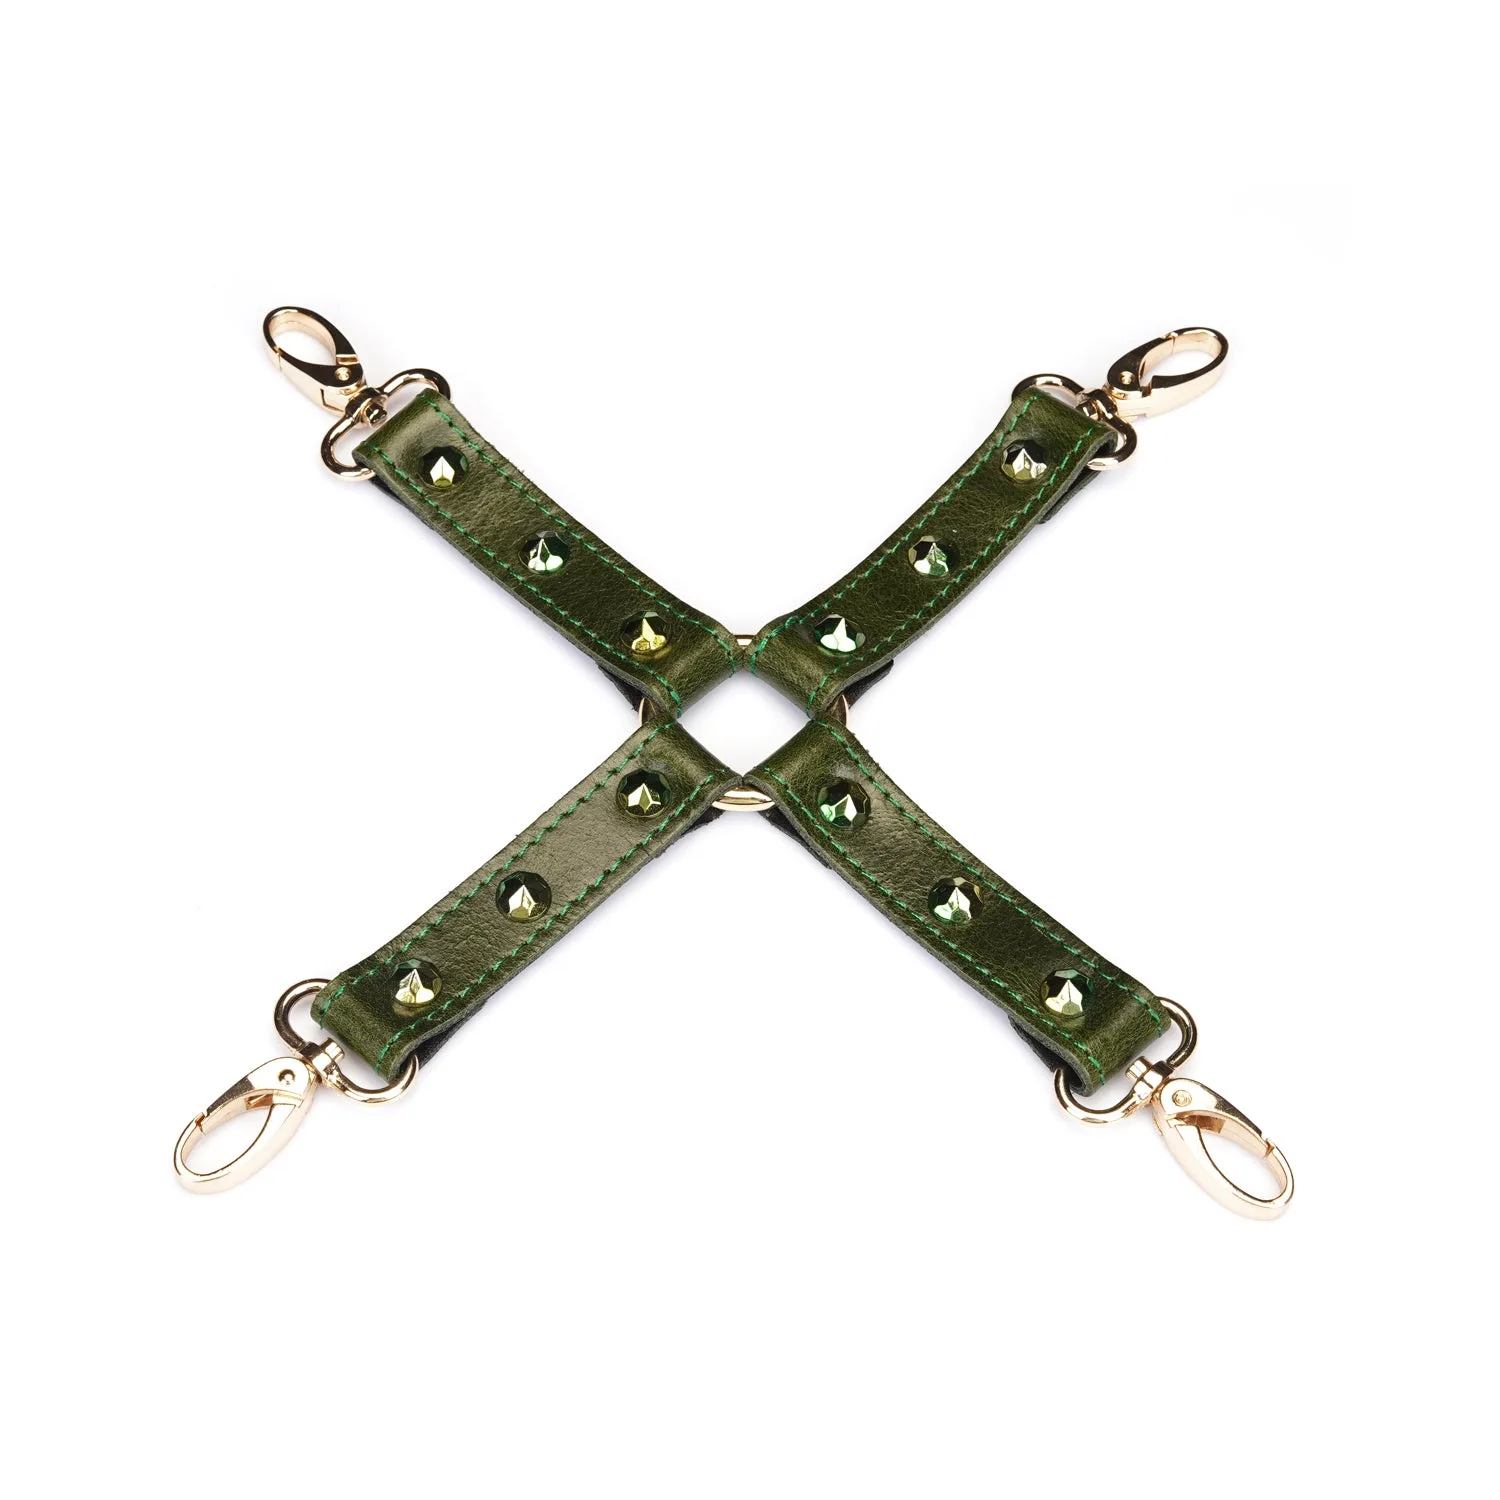
- Luxury Green Leather with Gemstone Hogtie: Premium oil wax leather with shining gemstones - let this unique design turn on your imagination, explore your sexuality, and enjoy erotic experiments with your partner. If you're not ready for full rope bondage, a hogtie restraint offers a simple, ready-to-use alternative. It uses leather cuffs and a clip, which can be easier for beginners to manage than rope.
Mastering the basic single-column tie is your first step into the world of shibari. Remember to prioritize safety, communication, and consent. With practice, you'll build confidence and can explore more complex ties. Always keep your safety shears close and enjoy the journey.