Quick answer
To safely tighten loose S.H.Figuarts joints, first identify the joint type, then apply a thin layer of clear nail polish or Pledge floor polish to the ball or peg, let it dry fully, and test the fit. Avoid glues or excessive force, which can crack plastic or strip paint.
Why S.H.Figuarts Joints Loosen Over Time
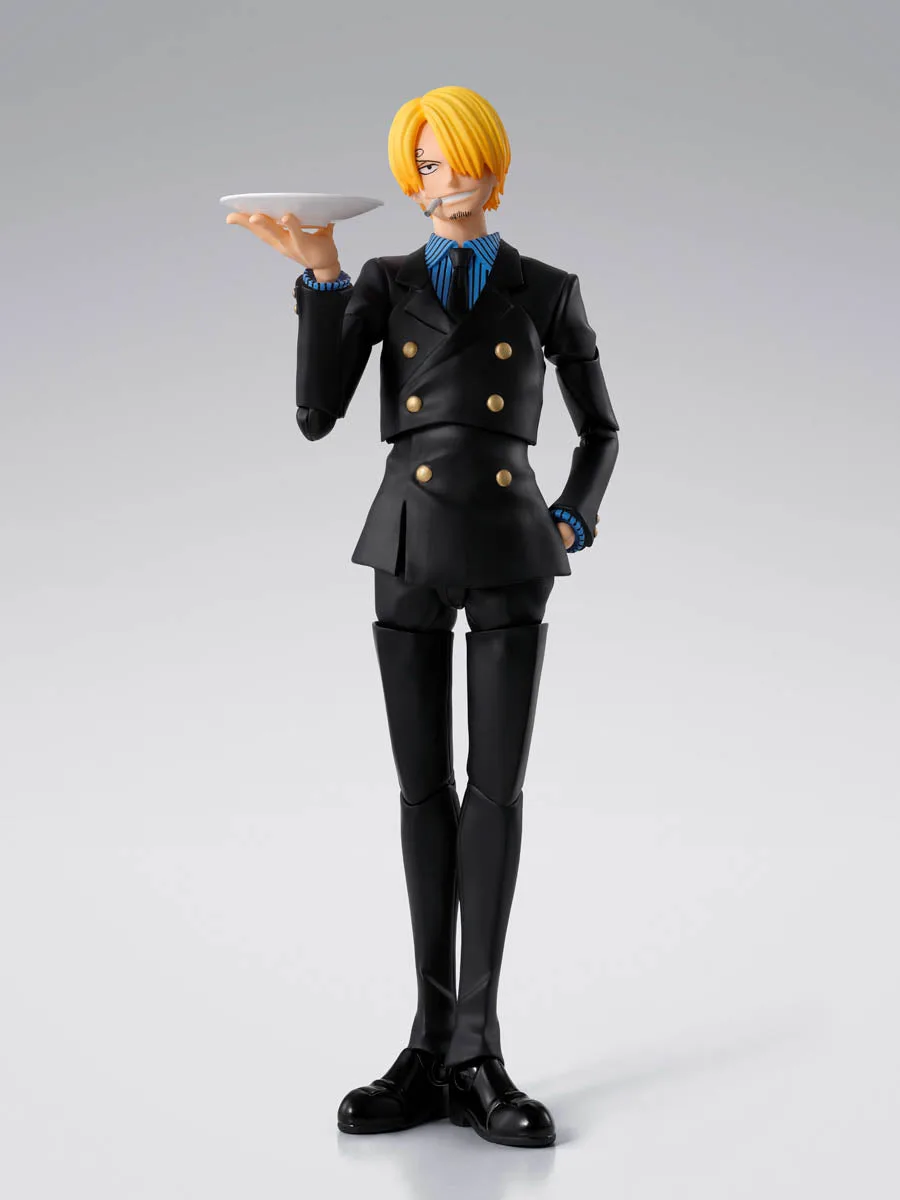
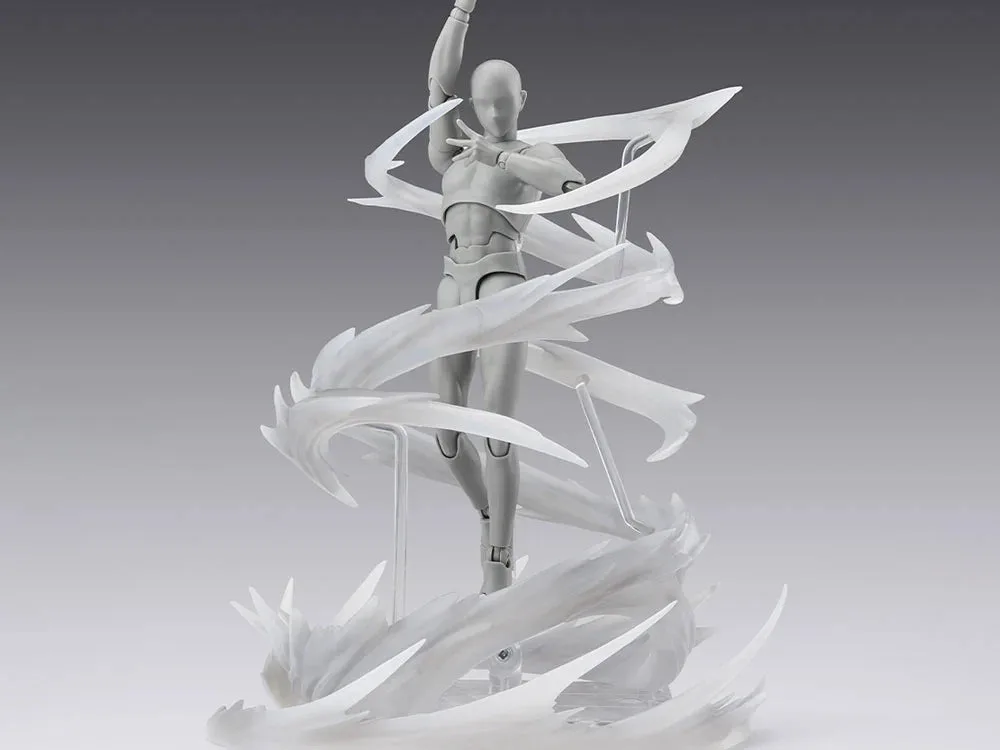
S.H.Figuarts figures use a mix of ball joints, hinge joints, and swivel joints made from PVC and ABS plastics. Repeated posing, dust, and temperature changes can wear down the friction surfaces, causing joints to become floppy. Unlike metal joints, plastic-on-plastic connections rely on precise tolerances, so even minor wear can lead to a loose feel.
Tools and Materials for Safe Joint Tightening
You don't need a workshop to fix loose joints. Common household items work well, but choose carefully to avoid damage. Clear nail polish (not colored) is a classic fix because it adds a removable layer of material. Pledge floor polish (or similar acrylic floor finish) is another safe option that dries clear and can be built up. Avoid super glue, epoxy, or hot glue—they can fuse joints permanently or melt plastic. Also skip silicone-based lubricants, which attract dust and may degrade plastic over time.
- Clear nail polish (e.g., Sally Hansen Hard as Nails)
- Pledge Floor Care Multi-Surface Finish (or equivalent)
- Cotton swabs and toothpicks for precise application
- Isopropyl alcohol (for cleanup)
- Optional: small dropper or syringe for controlled application
Step-by-Step: How to Tighten a Loose Ball Joint
Ball joints are common in shoulders, hips, and necks. To tighten, first separate the ball from the socket if possible. If not, apply the polish directly to the exposed ball. Use a toothpick or cotton swab to apply a thin, even coat of clear nail polish or floor polish. Let it dry for at least 30 minutes, then test the fit. If still loose, apply another coat. Repeat until the joint holds a pose without sagging. Be patient—multiple thin layers work better than one thick layer, which can cause the joint to seize.
Step-by-Step: How to Tighten a Loose Hinge or Swivel Joint
Hinge joints (like elbows and knees) and swivel joints (like wrists) often loosen due to worn pins or pegs. For hinges, you can apply a small amount of polish to the hinge pin area using a toothpick, then move the joint gently to distribute it. For swivels, apply polish to the peg that inserts into the socket. Let dry completely before reassembling. If the joint uses a screw, you can tighten the screw slightly—but be careful not to overtighten, as this can crack the plastic.
Common Mistakes to Avoid When Tightening Joints
The biggest mistake is using too much material at once. A thick layer of polish can make the joint too tight, leading to stress fractures when you try to move it. Another mistake is not letting the polish dry fully—trapped solvent can soften plastic over time. Never use super glue; it's permanent and brittle. Also, avoid forcing a joint that feels stuck; if it doesn't move freely, disassemble and clean instead of forcing. Finally, don't apply polish to painted areas; it can dull or remove paint.
Testing and Maintaining Tightened Joints
After tightening, move the joint through its full range of motion gently. It should hold poses without drooping but still move smoothly. If it feels gritty, clean with isopropyl alcohol and reapply. For long-term maintenance, keep figures out of direct sunlight and extreme heat, which can warp plastic. Dust regularly with a soft brush. When posing, support the figure at the joint to avoid stress. If a joint remains loose after several attempts, the plastic may be worn beyond simple fixes; in that case, consider a replacement part or professional repair.
Step-by-step joint tightening process
- Identify the joint type: Determine whether the loose joint is a ball, hinge, or swivel. This dictates where to apply material and how to test. Checkpoint: If unsure, consult the figure's manual or online resources before proceeding.
- Clean the joint: Use a cotton swab lightly dampened with isopropyl alcohol to remove dust and oils. Let dry completely. Mistake to avoid: Skipping cleaning can trap debris under polish, causing grit.
- Apply a thin layer of polish: Use a toothpick or small brush to apply clear nail polish or floor polish to the friction surfaces (ball, peg, or hinge pin). Checkpoint: Ensure no polish touches painted areas or adjacent joints.
- Let dry fully: Wait at least 30 minutes, or as directed by the polish. Drying time is crucial for a durable fix. Mistake to avoid: Testing too early can smear polish and require cleanup.
- Test the fit: Gently move the joint. If it still feels loose, apply another thin layer and dry again. Repeat until desired tightness. Checkpoint: The joint should hold a pose without sagging but still move smoothly.
- Reassemble and maintain: Once satisfied, reassemble the figure. Keep it away from heat and sunlight, and dust regularly to prolong joint life. Next step: If the joint remains loose after 3-4 layers, consider a replacement part or professional repair.
Product facts
- Spider-Man: Brand New Day S.H.Figuarts Spider-Man Action Figure: Spider-Man: Brand New Day S.H.Figuarts Spider-Man Action Figure is made of PVC and ABS, with multiple articulation points. These materials respond well to polish-based tightening, but avoid harsh solvents that can damage plastic.
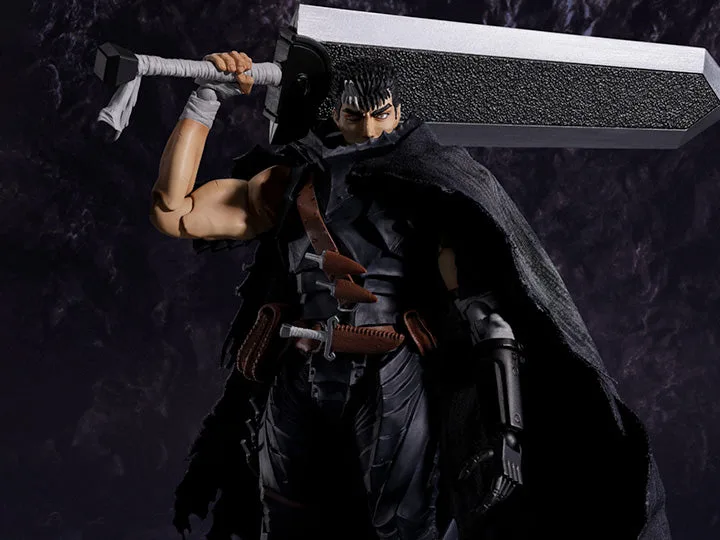
- Pre-Order Berserk S.H.Figuarts Guts (Berserker Armor) - Reissue: Pre-Order Berserk S.H.Figuarts Guts (Berserker Armor) - Reissue is a pre-order item with an estimated arrival in February 2027 and requires a $10 non-refundable deposit. If you pre-order, plan ahead for joint maintenance upon arrival, as reissues may have similar joint tolerances to original releases.