Quick Answer
To trim the back of your head solo, use a neck hair cutting guide—a curved comb or guide that fits along your hairline—paired with a handheld mirror and a reliable trimmer. Position the guide at your neckline, trim upward in small strokes, and check your work with a second mirror to avoid uneven lines.
Trimming the back of your head alone can feel like a guessing game. You can't see what you're doing, and one wrong move can leave a visible line. But with a neck hair cutting guide—a simple curved tool that sits against your neck—you can create a clean, even neckline without help.
This guide walks you through the entire process: setting up your space, positioning the guide correctly, trimming with the right technique, and checking your work. You'll also learn the common mistakes that cause uneven results and how to avoid them.
Why a Neck Hair Cutting Guide Works
A neck hair cutting guide is a curved comb or template that follows the natural shape of your neck. It gives you a physical boundary to trim against, so you don't have to rely on guesswork or a shaky mirror. This is especially helpful for self haircuts, where visibility is limited.
Most guides are made of plastic or metal and have a curved edge that fits snugly against your neckline. Some come with adjustable straps, while others are held in place by hand. The key is to choose one that matches the shape of your neck and sits flat against your skin.
- Look for a guide with a non-slip surface to prevent it from shifting during trimming.
- If you have a sensitive neck, choose a guide with rounded edges to avoid irritation.
Setting Up for a Solo Neck Trim
Before you start, gather your tools: a neck hair cutting guide, a handheld mirror, a second mirror (or a wall-mounted mirror), and a trimmer with a guard. Good lighting is essential—natural light or a bright bathroom light will help you see the contrast between trimmed and untrimmed hair.
Wash and dry your hair first. Trimming clean, dry hair gives you a more accurate result because wet hair clumps and lies differently. Comb your hair down so you can see the natural neckline, then place the guide at the base of your neck, just above the point where the hair stops growing.
- Use a second mirror held behind you to see the back of your head in your main mirror.
- If your hair is long, tie it up or use clips to keep it out of the way.
Trimming Technique: Small Strokes, Upward Direction
With the guide in place, hold your trimmer at a slight angle and trim in small, upward strokes. Start at the center of your neck and work outward to each side. This prevents you from cutting too high and creating a line that's too sharp.
Keep the trimmer flat against the guide and move it slowly. Don't press hard—let the blades do the work. After each pass, brush away the trimmed hair and check your progress with the mirrors. It's better to trim less and check more than to cut too much at once.
- Use a trimmer with a narrow head for better control around the neck.
- If you're using a clipper, start with a longer guard and work down to a shorter one.
Checking Your Work: The Mirror Trick
Once you've trimmed the entire neckline, it's time to check for uneven spots. Stand with your back to a wall mirror and hold a handheld mirror in front of you. Adjust the angle until you can see the back of your head clearly. Look for any stray hairs or lines that are higher on one side.
If you spot a mistake, don't panic. Simply reposition the guide and trim the area again. It's easier to fix a small imperfection than to start over. Remember, the goal is a gradual, natural-looking neckline, not a perfect straight line.
- Check both sides separately to ensure symmetry.
- Run your hand over the trimmed area to feel for any missed spots.
Step-by-Step Solo Neck Trim
- Prep Your Space: Gather your neck hair cutting guide, mirrors, and trimmer. Ensure good lighting and clean, dry hair. Checkpoint: You can clearly see the back of your head in the mirror setup.
- Position the Guide: Place the guide at the base of your neck, just above the natural hairline. Hold it firmly or secure it with a strap if available. Checkpoint: The guide sits flat against your skin without gaps.
- Trim in Small Strokes: Starting at the center, trim upward in small strokes, moving outward to each side. Keep the trimmer flat against the guide. Checkpoint: You're not pressing hard, and the trimmer is moving smoothly.
- Check and Fix: Use the two-mirror setup to inspect the neckline. Look for uneven spots or stray hairs and trim them as needed. Checkpoint: The neckline is even and gradual, with no sharp lines.
Tools That Help
- Palm Shaver & Beast Clipper DUO Combo | Complete Head & Face Grooming Kit for Effortless Haircuts & Smooth Shaves: Beast Clipper DUO features precision Japanese steel blades and 8 clipper guards (3mm–12mm) for all hair lengths and styles. The adjustable guards let you set the exact length for your neckline, so you can start longer and gradually trim shorter without risking a too-high cut.
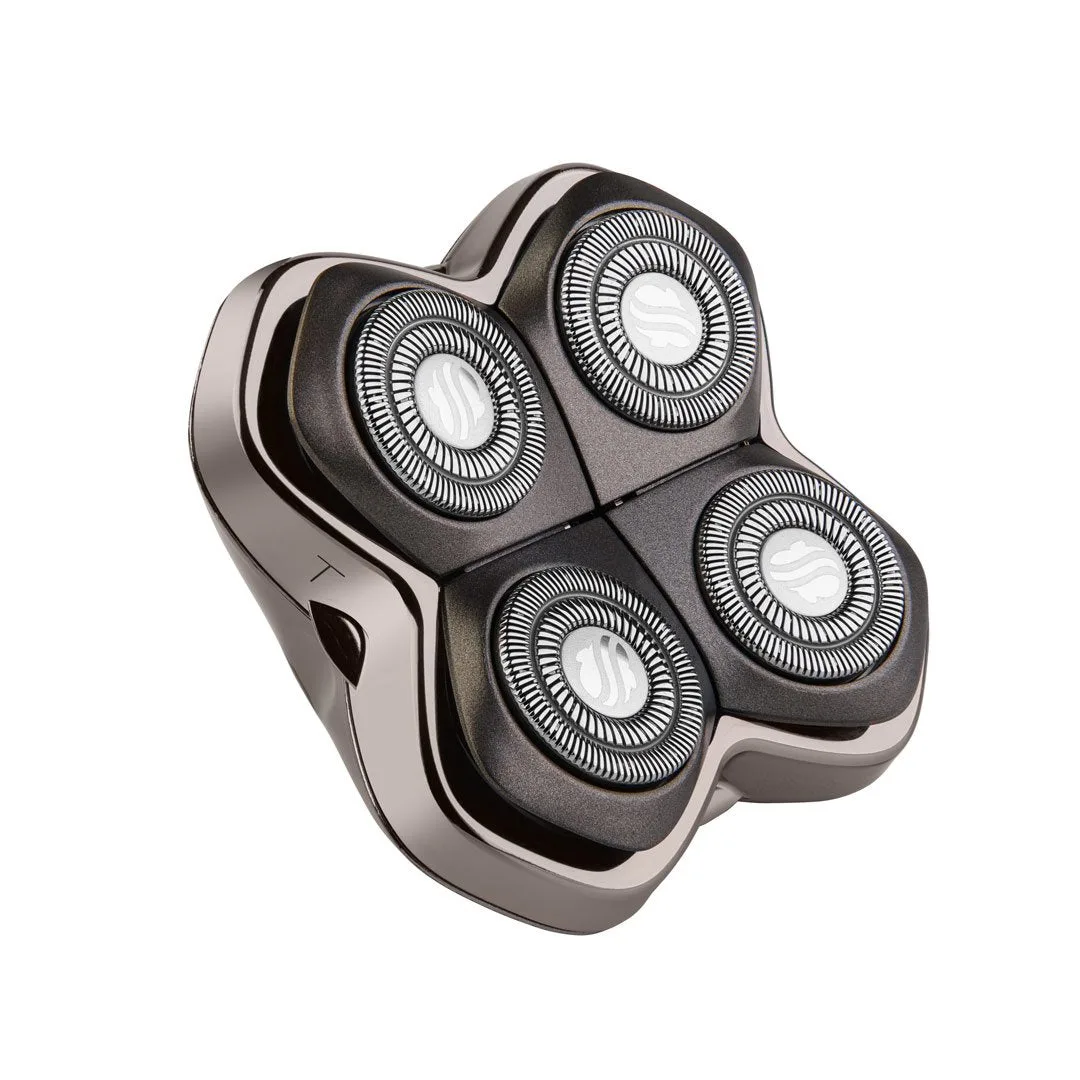
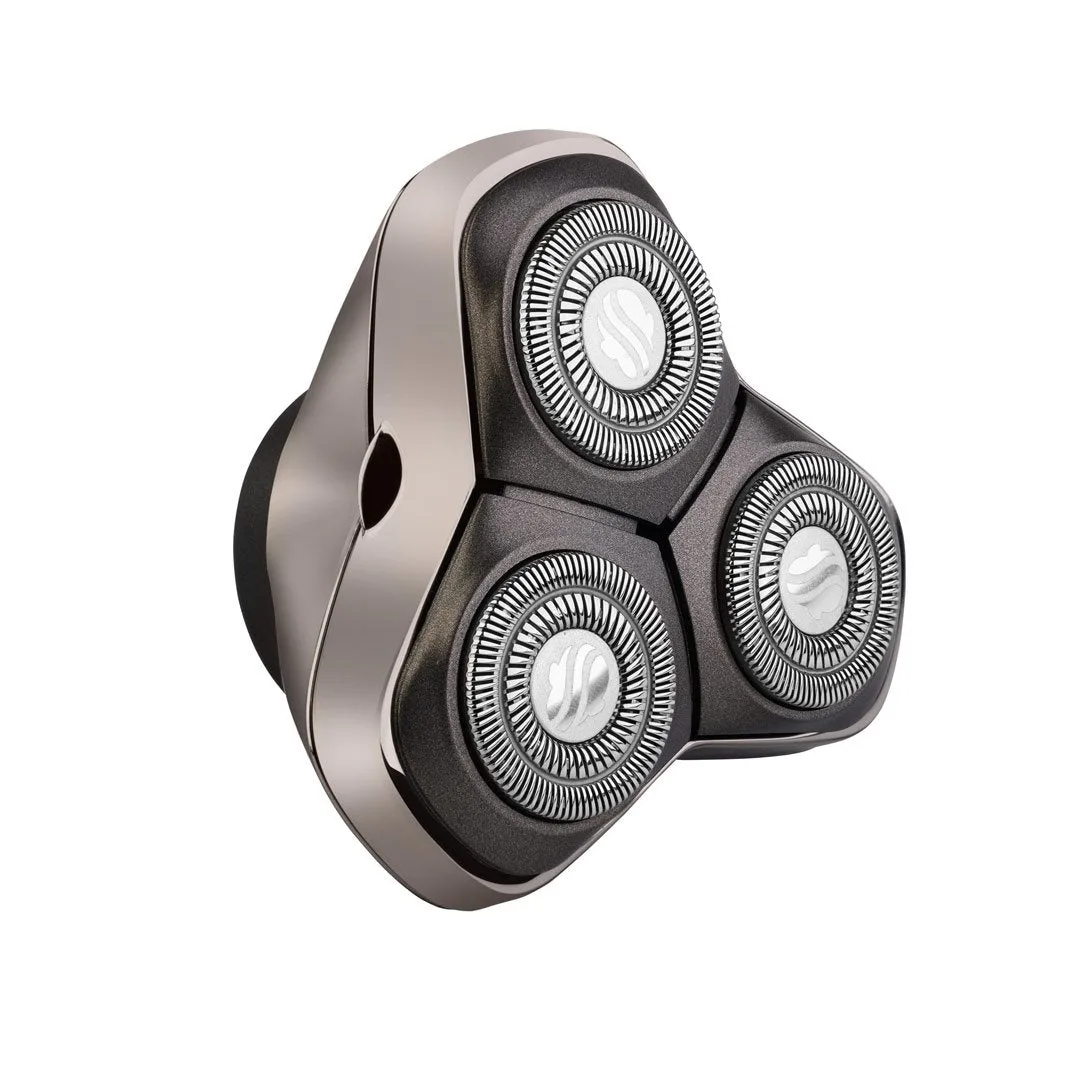
- Carver Blade PRO 3| Head Replacement Blade | Compatible with all Skull Shaver models: The smaller blade profile more closely conforms to tightly contoured areas such as your chin or jawline. A smaller blade gives you better control around the curved neck area, making it easier to follow the guide and avoid nicks.
Trimming the back of your head solo doesn't have to be a gamble. With a neck hair cutting guide, a steady hand, and a few mirrors, you can achieve a clean, natural-looking neckline that looks like you had help. Practice makes perfect—each time you do it, you'll get faster and more confident.