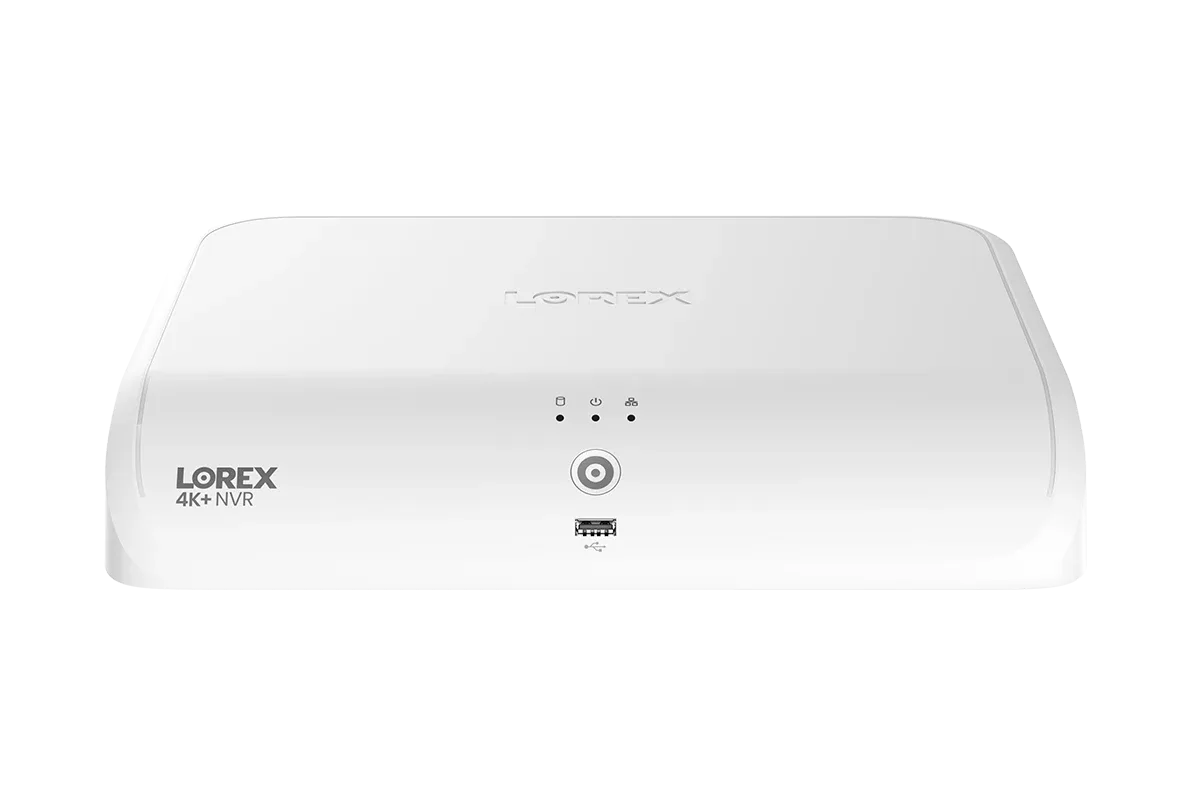
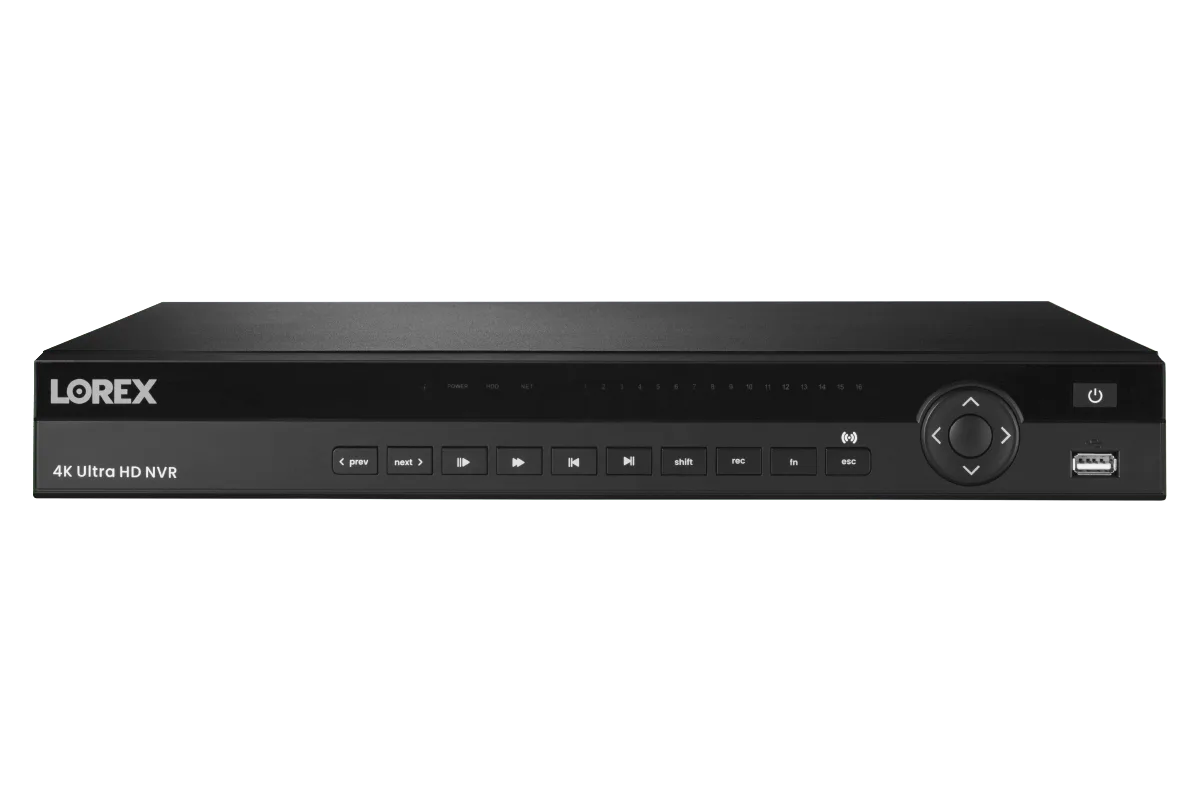
Your Lorex NVR is the brain of your security system, recording around the clock to keep your property safe. But as you add more high‑resolution cameras and enable continuous recording, the built‑in 2TB or 4TB hard drive can fill up faster than expected. Upgrading to a larger drive—like a 6TB hard drive—gives you the breathing room to store weeks of 4K footage without worrying about overwriting critical evidence.
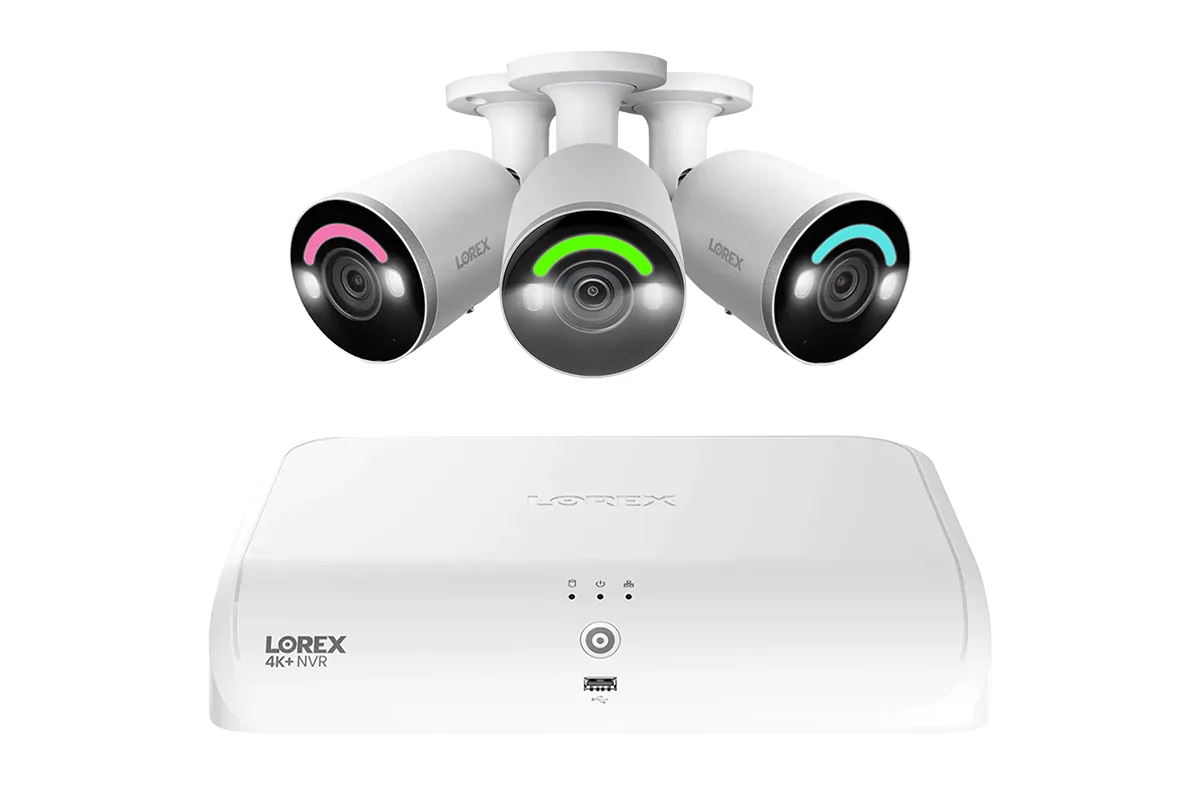
Many Lorex NVRs, including the Lorex Fusion NVR with 2 4K Dual Lens and 2 4K+ Bullet IP Security Cameras - 4K+ 16-Channel 2TB Wired System and the Lorex 4K 4TB Wired NVR System with Five Nocturnal 3 Bullet Cameras and Four Nocturnal 3 Turret Cameras, support user‑replaceable 3.5‑inch SATA hard drives. This guide walks through every step of replacing the existing drive with a 6TB unit—from powering down to formatting the new storage in the NVR interface.
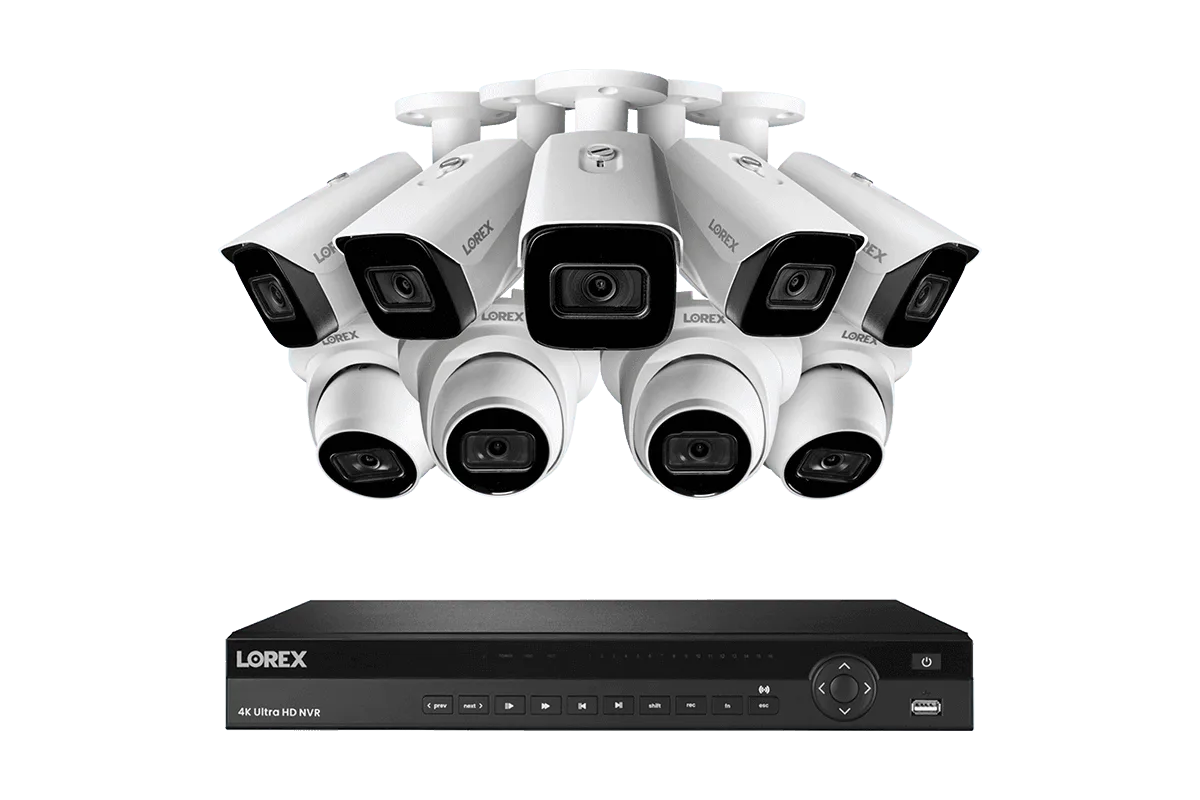
Lorex 4K 4TB Wired NVR System with Five Nocturnal 3 Bullet Cameras and Four Nocturnal 3 Turret Cameras
Why Upgrade Your Lorex NVR Storage?
A typical 2TB NVR stores roughly 10–14 days of continuous 4K footage from four cameras, depending on compression and motion settings. With a 6TB drive, you can more than triple that retention time—or run eight to ten cameras without compromising archive length. This is especially valuable for businesses or large homes that want to keep recordings for a month or longer.
Upgrading also lets you take advantage of advanced features like smart motion detection and high‑bitrate recording without constantly managing disk space. Whether you own a Fusion‑series system or a dedicated Elite model, the process is largely the same because Lorex NVRs use standard SATA interfaces.
- Extended recording retention for 4K and 4K+ cameras
- Better performance with continuous recording enabled
- Cost‑effective compared to buying a new NVR with larger drive
What You Need Before You Begin
Before touching any hardware, gather the right tools and components. You will need a 3.5‑inch SATA hard drive (6TB recommended, 7200 RPM for best performance), a Phillips‑head screwdriver, and an anti‑static wrist strap or mat. Many Lorex NVRs use two mounting screws per drive, so keep those safe when removing the old unit.
Check your NVR’s user manual to confirm it supports drives larger than the original capacity. Most Lorex wired NVRs accept drives up to 8TB or even 10TB, but it is wise to verify. Also ensure the new drive is formatted as NTFS or compatible with the NVR’s Linux‑based file system—the NVR will handle this during initialization.
- 3.5‑inch SATA hard drive (6TB or larger, 7200 RPM)
- Phillips‑head screwdriver
- Anti‑static wrist strap (optional but recommended)
- Original screws from your NVR (or spares)
Step 1: Power Down and Disconnect the NVR
Safety first. Shut down the NVR completely using the on‑screen menu: go to System > Shutdown. After the unit powers off, unplug the power cable from the back of the NVR. Also disconnect any Ethernet or camera cables attached to the rear panel to avoid accidental strain during removal.
Wait at least two minutes for the internal capacitors to discharge. This prevents static or residual electricity from damaging sensitive components. If you have a UPS battery backup, remove the NVR from the UPS as well.
- Use the NVR menu to perform a soft shutdown before disconnecting power
Step 2: Open the NVR Chassis
Place the NVR on a clean, static‑free surface. Remove the screws securing the top or side cover. Most Lorex NVRs have two or four screws on the back panel or along the edges. Slide the cover off gently, exposing the internal motherboard and hard drive bay.
Take a photo of the internal layout for reference before disconnecting any cables. The hard drive will be mounted in a metal bracket, typically near the front of the chassis. If your NVR has a drive caddy, slide it out to access the drive.
- Use a magnetic screw tray to keep screws organized
Step 3: Remove the Existing Hard Drive
Locate the SATA data and power cables connected to the back of the existing drive. Gently disconnect each cable by pulling the connector—not the wires. Some NVRs use a locking tab; press it to release the cable.
Unscrew the four mounting screws (or side‑rail screws) that hold the drive in its bracket. Carefully lift the drive out of the chassis. Place it in an anti‑static bag if you plan to repurpose it as an external drive.
- Keep the screws from the old drive to use with the new 6TB drive
Step 4: Install the New 6TB Hard Drive
Position the new 6TB drive in the same orientation as the old one. Align the screw holes on the drive with the mounting holes in the bracket or chassis. Secure the drive using the original screws—do not overtighten.
Reconnect the SATA data and power cables. Push each connector firmly until it clicks or seats fully. Double‑check that the cables are not pinched or blocking the NVR’s fan. If your NVR uses a drive caddy, slide it back into the bay until it locks.
- Ensure the drive is not touching any motherboard components to avoid short circuits
Step 5: Reassemble and Power On
Replace the chassis cover and secure it with the screws you removed earlier. Reconnect the power cable and all Ethernet or camera cables. Plug the NVR back into a surge protector or UPS.
Press the power button. The NVR will take a minute or two to boot. You should hear the new drive spin up. If the system does not start, double‑check all internal connections.
- Watch for abnormal clicking noises—stop immediately if you hear them
Step 6: Initialize and Format the Drive in the NVR Interface
Once the NVR boots, log in to the local interface using your admin credentials. Go to System > Storage > HDD Management. The new 6TB drive should appear as “Uninitialized” or “Not Detected.” Select the drive and choose the Initialize or Format option. This process writes the file system and can take several minutes for a 6TB drive.
After initialization, set the recording mode (continuous, motion, or schedule) for each camera. The NVR will automatically begin using the new capacity. Verify the total available space appears correctly—around 5.4–5.6 TB usable after formatting.
- Do not interrupt the initialization process—it may corrupt the drive
Troubleshooting Common Issues
If the NVR does not detect the new drive, power down and reseat the SATA cables. Ensure the drive jumper is set to “Master” or “Cable Select” (most modern drives auto‑configure). Also verify the drive is 3.5‑inch SATA, not 2.5‑inch or SAS.
A “Format Failed” error may indicate an incompatible file system. Try reformatting the drive on a PC using NTFS, then reinstall it in the NVR. Some Lorex models require the drive to be blank before initializing.
- Use a known‑good SATA cable if problems persist
Upgrading your Lorex NVR to a 6TB hard drive is a straightforward DIY project that pays off with days—or weeks—of extra footage. Whether you own a compact 2TB system or a high‑capacity 4TB unit, the steps above will let you maximize your recording retention without replacing the entire recorder. For a modern system designed for easy hard drive access, consider the Lorex Fusion 4K+ Ultra HD 12MP 16 Camera Capable (8 Wired + 8 Fusion Wi-Fi ) 2TB Network Video Recorder—it is ready for your storage upgrade and supports the latest AI features.