Quick Answer
For a secure press-on fit without glue, use 3M Sticky Tabs by prepping your nails, choosing the right tab size, and pressing firmly for at least 30 seconds. This method gives you a reliable hold that lasts for days, and it's gentler on your natural nails than liquid adhesives.
Why Choose Sticky Tabs Over Glue?
Sticky tabs offer a no-mess, low-commitment alternative to nail glue. They're perfect if you like to change your press-on sets frequently or want to avoid the harsh chemicals found in some adhesives. The 3M Sticky Tabs Pack is designed with a larger size for better coverage and extra-strong adhesion, so you can trust it to keep your nails in place for days.
One trade-off is that sticky tabs may not last as long as glue on very oily nail beds or during heavy water exposure. If you're planning a long vacation or a lot of swimming, you might want to use glue instead. But for everyday wear and easy removal, tabs are a fantastic choice.
How to Make Your Tabs Last Longer
To extend the life of your sticky tab manicure, avoid soaking your hands in water for long periods, and wear gloves when doing dishes or cleaning. Also, be mindful of using your nails as tools—opening cans or peeling stickers can cause lifting. With a little care, your press-ons will stay put and look great.
Step-by-Step Application Guide
- Prep Your Natural Nails: Start with clean, dry nails. Gently push back your cuticles and buff the nail surface lightly to remove shine. Wipe with rubbing alcohol to remove oils and dust. This ensures the tab adheres directly to your nail plate. Skipping the alcohol wipe is a common cause of early lifting—don't miss this step.
- Choose the Right Tab Size: Select a sticky tab that matches the width of your natural nail. The 3M Sticky Tabs are larger for better coverage, but you can trim them slightly if needed. Make sure the tab covers most of your nail bed without overlapping your skin or cuticles. A tab that's too small leaves gaps where lifting can start; too large can cause irritation.
- Apply the Tab to Your Natural Nail: Peel the backing off the sticky tab and center it on your nail, pressing down firmly from the middle outward to eliminate air bubbles. Leave the other protective film on for the next step. Air bubbles weaken the bond—press out all of them.
- Attach the Press-On Nail: Remove the remaining film, then align the press-on nail at a 45-degree angle at your cuticle. Press down and hold for at least 30 seconds, applying even pressure across the entire nail. Holding longer than 30 seconds improves the seal—don't rush this step.
- Seal and Secure the Edges: After applying all nails, gently press each nail again for a few seconds, paying extra attention to the edges. You can also warm your hands slightly (e.g., with a hair dryer on low) to activate the adhesive for a stronger hold. Re-pressing after a few minutes helps catch any areas that may have lifted.
Product Spotlight
-
3M Sticky Tabs Pack: The 3M Sticky Tabs Pack features a larger size for better coverage and extra-strong adhesion, and includes 5 sheets. This means you get more surface area for a secure bond, reducing the chance of lifting, and the multi-sheet pack gives you plenty of tabs for multiple applications.
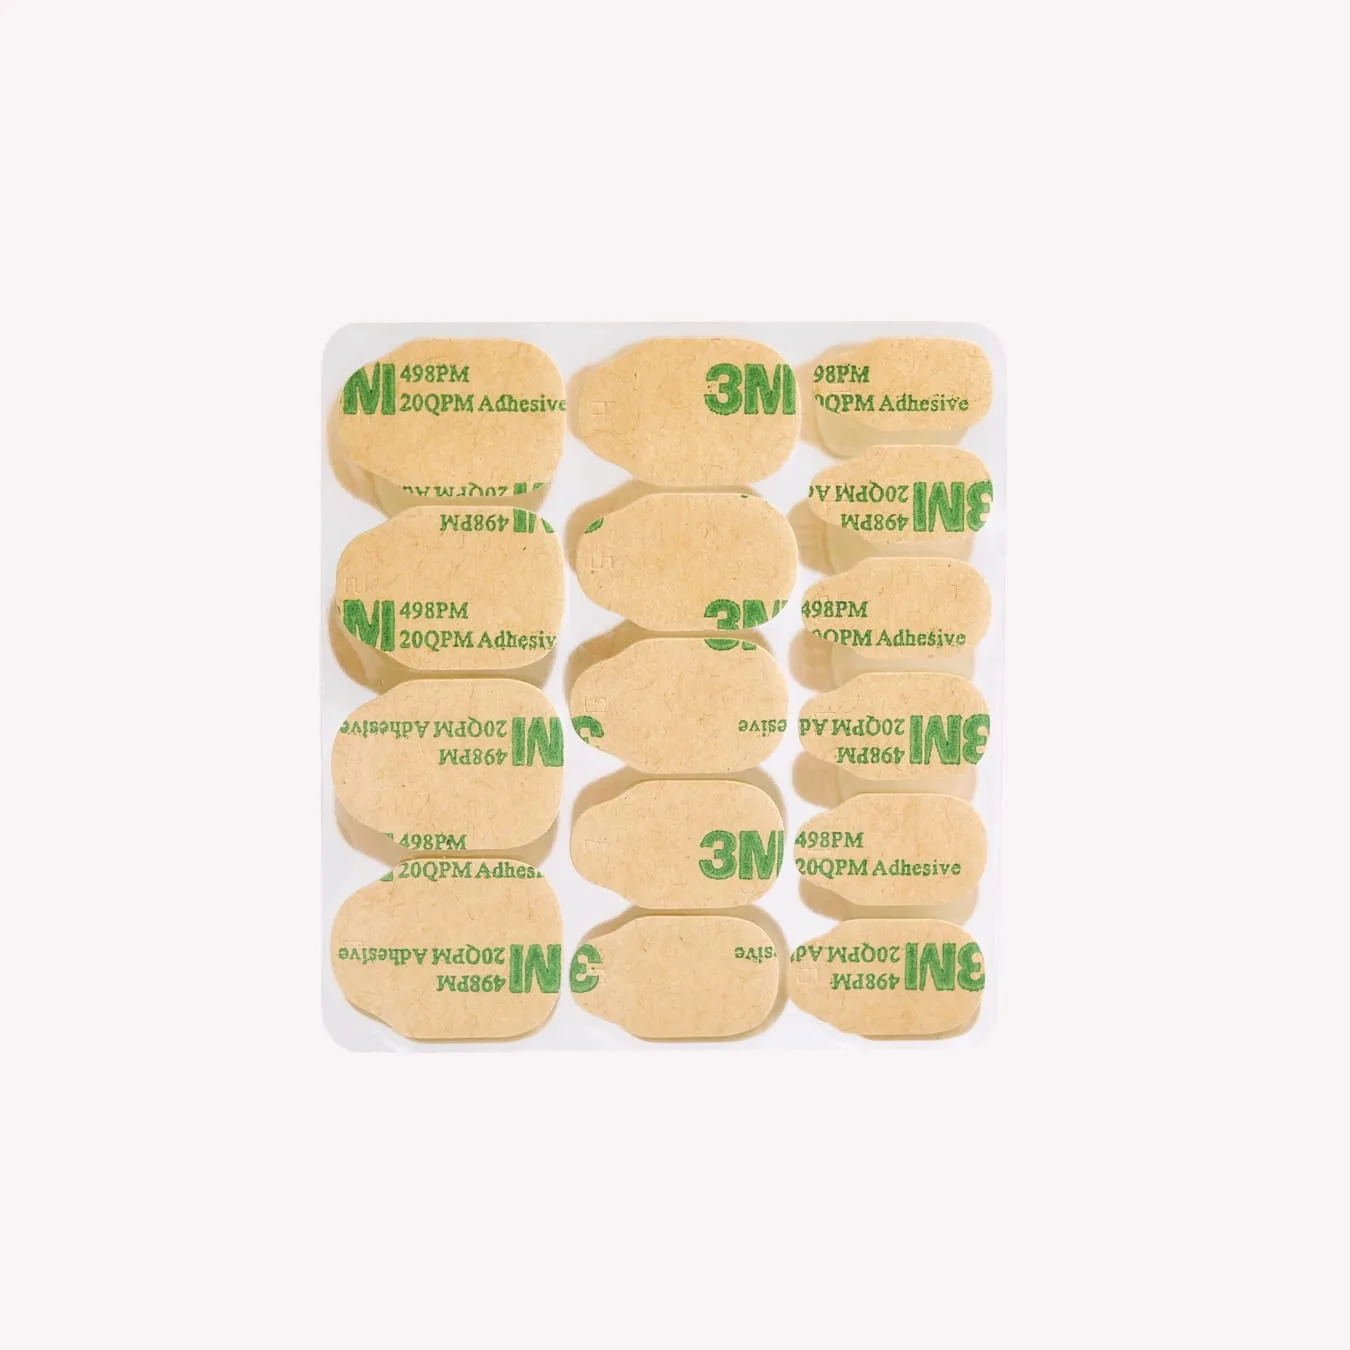
3M Sticky Tabs Pack