Quick answer
Use a 3mm sanding band on a mandrel bit only for prep, shaping free edges, and removing product, never for filing the natural nail plate. Keep the drill at low to medium speed, use light one-direction strokes, and stop before you feel heat. If you are new to e-files, practice on a tip or a practice finger first.
Sanding bands are one of the most useful and most misused nail drill accessories. A 3mm band on a mandrel bit can smooth the sidewalls, refine the free edge, and remove gel or acrylic quickly, but the same band can thin a natural nail in seconds if you use too much speed or pressure.
This guide walks through the full process in order, from choosing the right band and mandrel to cleaning up afterward. Each step includes the mistake that most often causes damage, so you can check your own technique as you go.
What a 3mm sanding band and mandrel bit actually do
A mandrel bit is a reusable metal shaft with a rubber or silicone sleeve. You slide a disposable sanding band over the sleeve, and the band does the abrasive work. The 3mm size refers to the band's diameter, which fits standard small mandrels and reaches tight areas like sidewalls and cuticle lines.
Sanding bands come in different grits. Coarse bands remove product fast, medium bands shape and refine, and fine bands smooth and finish. Because the band is disposable, you replace it when it clogs or loses bite instead of cleaning it. That keeps your work consistent and reduces cross-contamination between clients.
The mandrel itself does not cut. If you feel the metal shaft touching the nail, the band has slipped, worn through, or is the wrong size. Stop and replace it.
- Use coarse grit only on product, never on the natural nail plate.
- Check that the band sits snugly and does not spin off-center before you start.
Set up your station before the drill touches a nail
Good nail drill safety starts before you turn the handpiece on. Sanitize your hands and your client's hands, then disinfect the handpiece and the mandrel according to your state board rules. A mandrel is reusable, so it needs proper cleaning between clients, while the sanding band is discarded after use.
Set your drill to the lowest speed that still does the job. For natural nail prep and free-edge work, that is usually a low setting. For product removal, you can move to medium, but only after you are comfortable with control. Keep the handpiece cord or hose relaxed so it does not pull the bit into the nail.
Have a soft brush, a dust collector or damp wipe, and your chosen gel polish ready. If you plan to finish with a reinforcement layer, have that product within reach so you are not searching mid-service.
- Never wear loose sleeves or dangling jewelry near a running handpiece.
- Test the drill on a practice tip first if you have not used this handpiece before.
Step-by-step: using a 3mm sanding band safely
Work in one direction rather than back and forth. Back-and-forth strokes build heat and can catch the band on a ridge, which is how most nicks happen. Keep the band flat against the surface you are working, and let the abrasive do the cutting instead of pressing down.
Move the bit continuously. Holding it in one spot, even at low speed, concentrates friction and heat in a single area. If the nail feels warm to your client, stop immediately, let it cool, and reduce your speed or switch to a finer grit.
Check your work every few passes. It is much easier to remove a little more product than to replace natural nail that has been filed away. For a natural-nail overlay, you want to leave the nail plate intact and only refine the surface.
- Use the band on the free edge and sidewalls, not across the center of the nail plate.
- If the band skips or chatters, the mandrel may be bent or the band may be too large.
Common mistakes that damage natural nails
The most common mistake is using a coarse band on the natural nail plate to 'rough up' the surface before gel. This thins the nail and can cause sensitivity, peeling, and lifting later. A fine band or a hand file is enough for prep on healthy natural nails.
The second mistake is too much speed. High speed plus light pressure can still generate heat quickly, especially on thin or damaged nails. The third is using a worn or clogged band. A dull band makes you press harder, which is exactly when damage happens.
Finally, do not use a sanding band to push back cuticles or clean under the free edge. Those jobs need different tools. The band is for surface refinement and product removal, not for soft tissue.
- Replace the band as soon as it stops cutting efficiently.
- If your client flinches or pulls away, stop and reassess your speed and pressure.
Aftercare and cleanup
When you finish, brush away dust and wipe the nail with a lint-free pad. Inspect the natural nail for thin spots, white marks, or rings of fire. If you see any, note it and adjust your technique next time, and give the nail a break from e-file work if it looks compromised.
Remove the sanding band and discard it. Clean the mandrel and handpiece, then store them dry. If you used a reinforcement gel to protect the natural nail after filing, cure it fully according to the manufacturer's instructions before continuing with color.
For clients with sensitive or damaged nails, consider skipping the e-file entirely on the natural nail and using hand filing for prep. The drill is a tool, not a requirement.
- Keep a dedicated fine-grit band for natural nail prep only.
- Document any sensitivity in your client notes so you can adjust next visit.
Your 3mm sanding band safety checklist
- Choose the right grit: Match the band to the job: coarse for product removal, medium for shaping, fine for natural nail prep and finishing. Checkpoint: if you are touching the natural nail plate, you should be using fine grit or a hand file.
- Seat the band on the mandrel: Slide the band fully onto the mandrel sleeve and spin the handpiece briefly to confirm it runs true with no wobble. Checkpoint: a wobbling band means a bent mandrel or an ill-fitting band. Replace it before continuing.
- Set a low speed: Start at the lowest speed that cuts effectively. Increase only if the band is not removing product and you can maintain control. Checkpoint: if you cannot stop the bit exactly where you want, your speed is too high.
- Use light, one-direction strokes: Keep the band flat, move continuously, and work in one direction instead of sawing back and forth. Checkpoint: heat means friction is building. Stop, cool the nail, and reduce speed or pressure.
- Inspect and finish: Brush away dust, check for thin spots or rings of fire, then apply a protective layer if needed. Next step: if the natural nail looks compromised, skip the e-file next time and use hand filing for prep.
Products that support safe e-file work
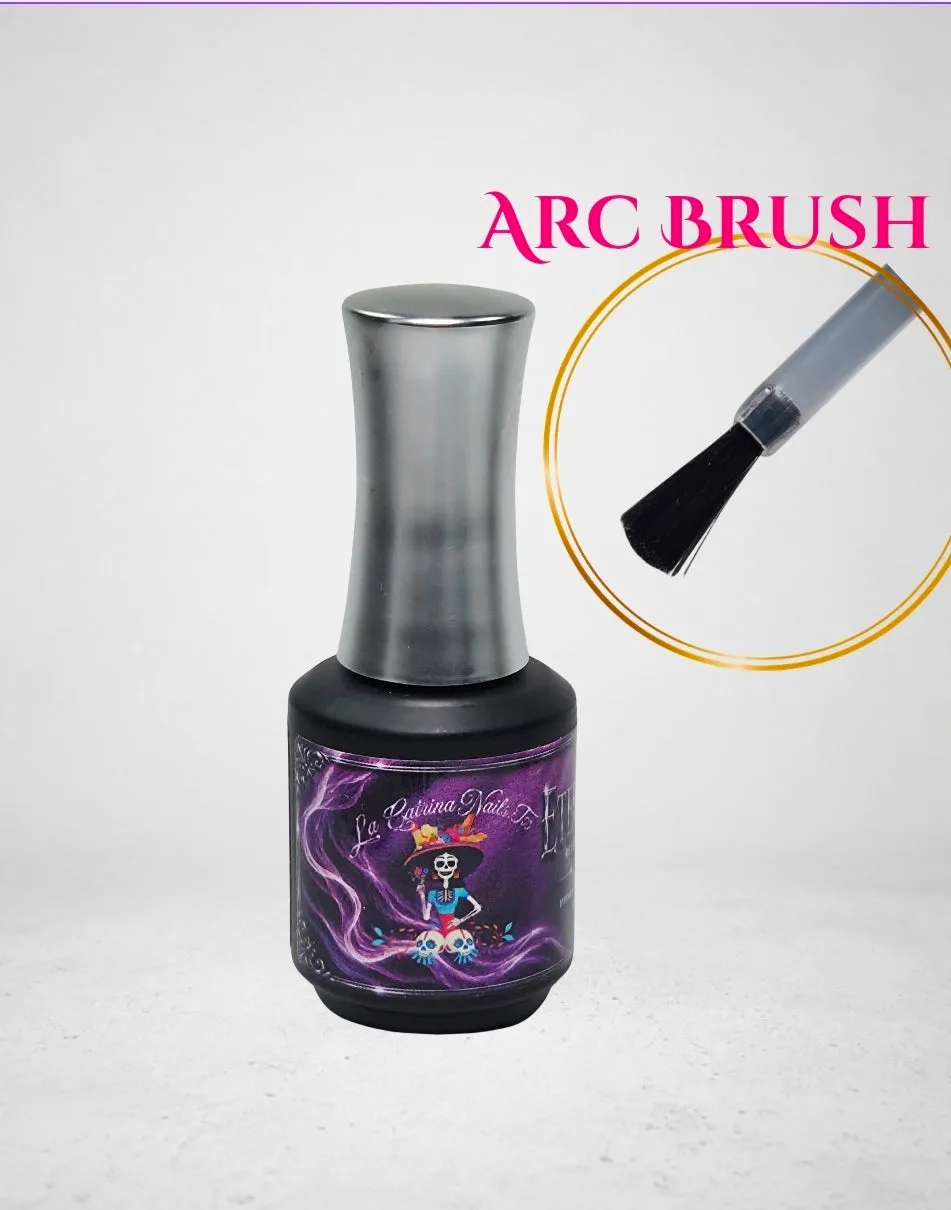
- Eternal Veil Reinforcement Gel~ HEMA-Free and TPO Free: This self-leveling reinforcement gel adds durability, structure, and long-lasting support to natural nails and helps prevent breaks, lifting, and peeling without added bulk. After you refine the natural nail with a fine band, a thin reinforcement layer protects the plate and reduces the chance that future filing or wear causes damage.
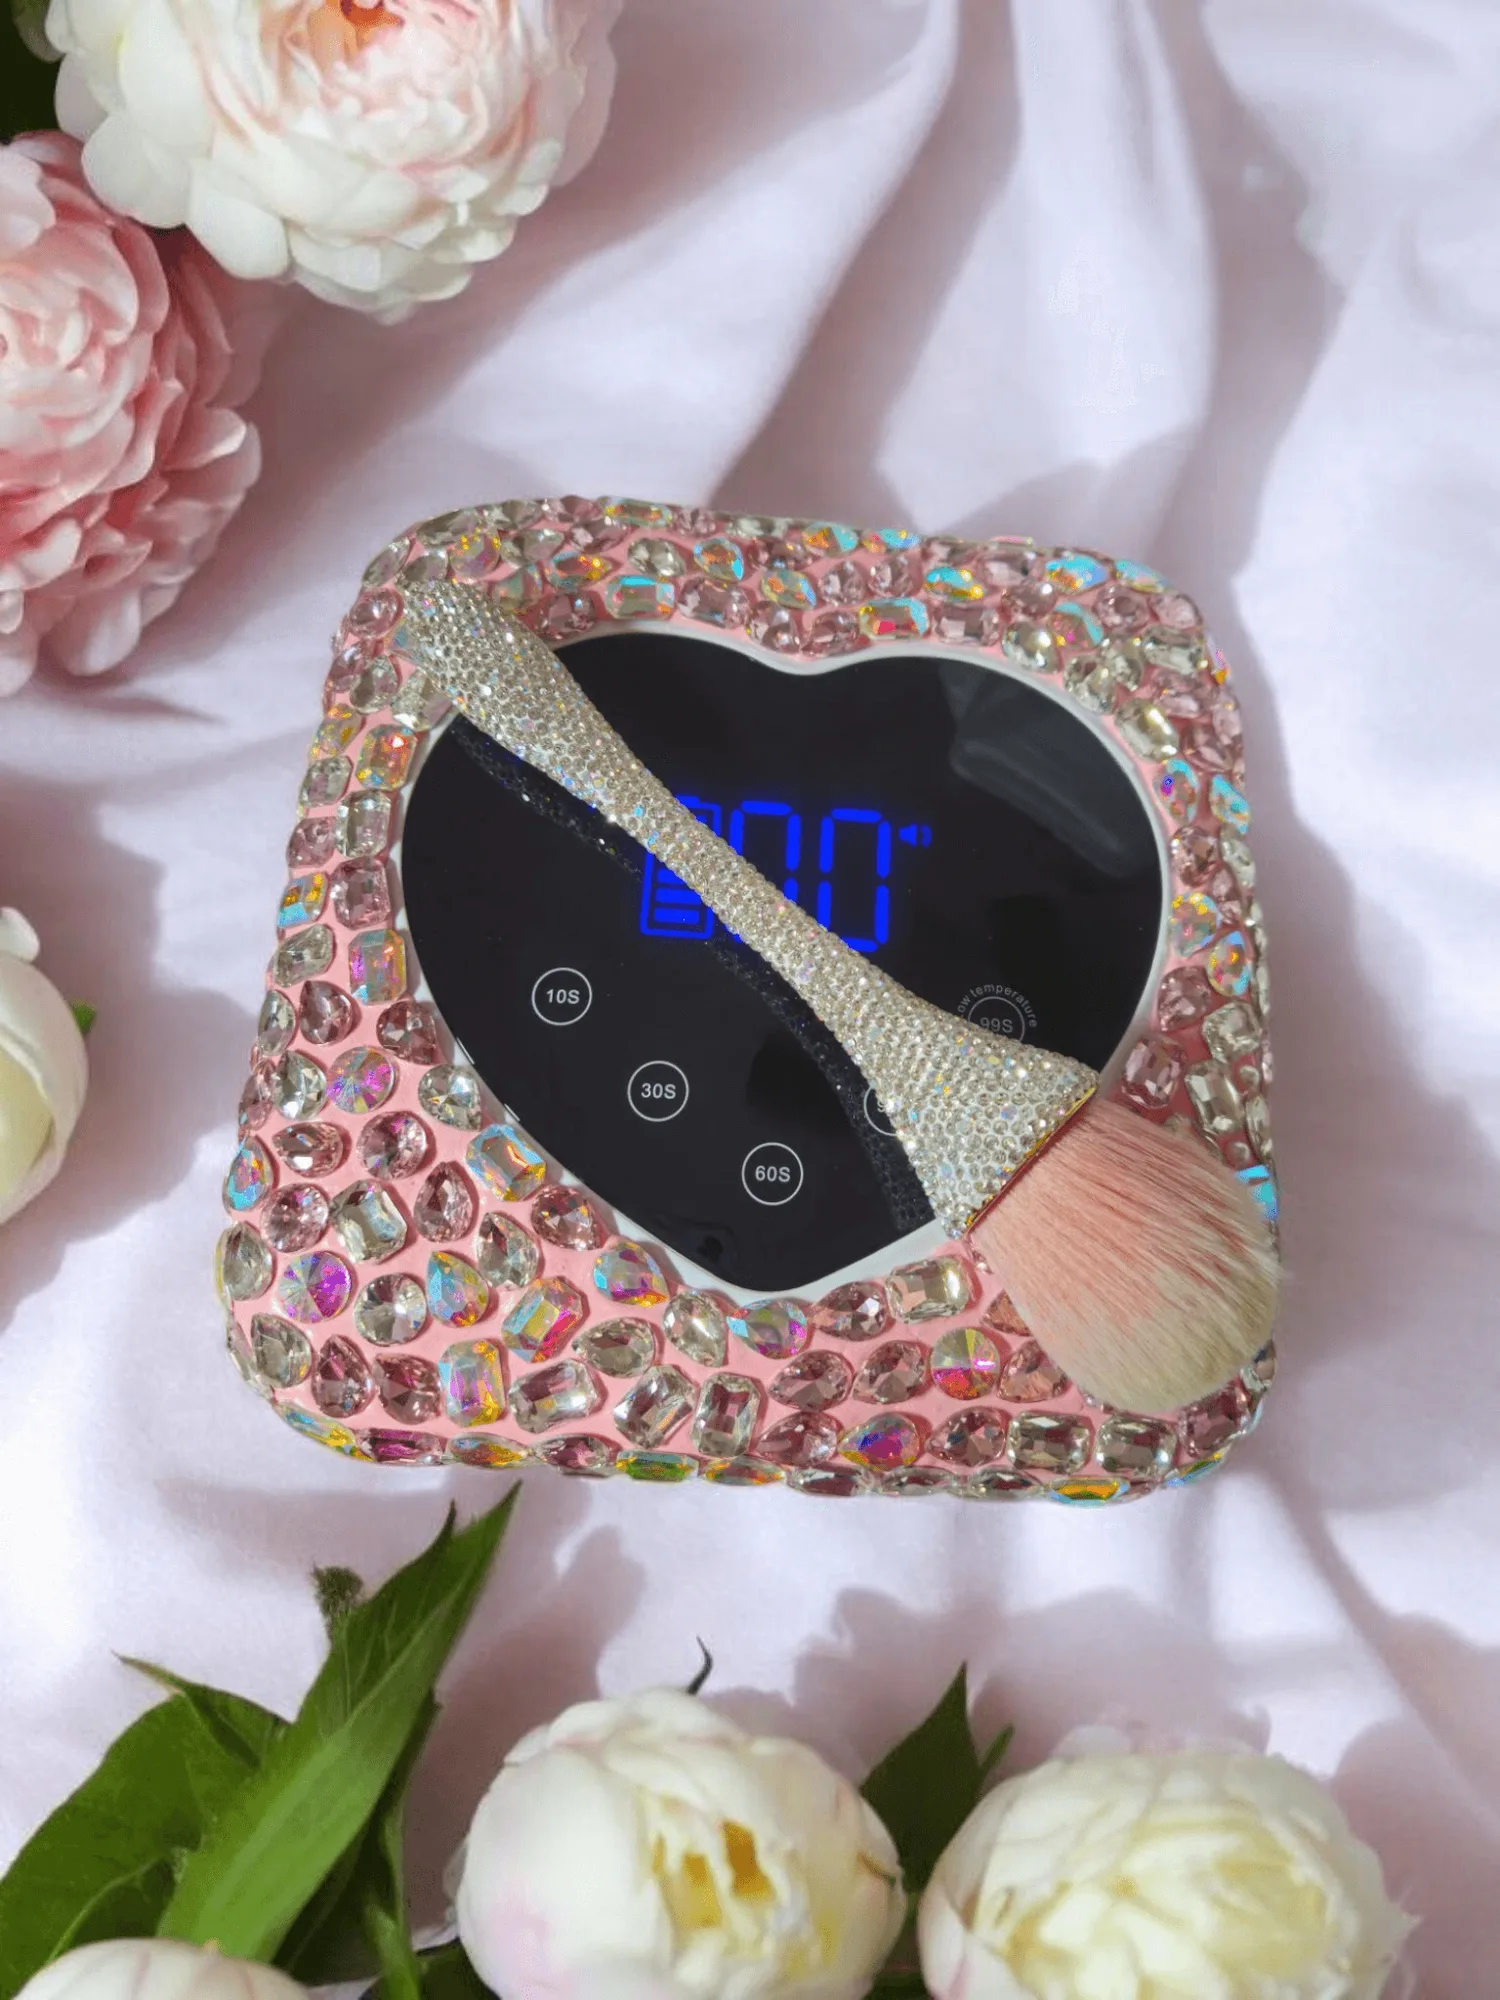
- Large Stone Rechargeable Cordless UV.LED Lamp: This cordless UV/LED lamp is described as heavy due to its embellishments and is still the same quality UV nail lamp the store owner has been using. A cordless lamp lets you cure reinforcement gel or color right at your station without being tethered to an outlet, which keeps your drill setup and curing area separate and organized.
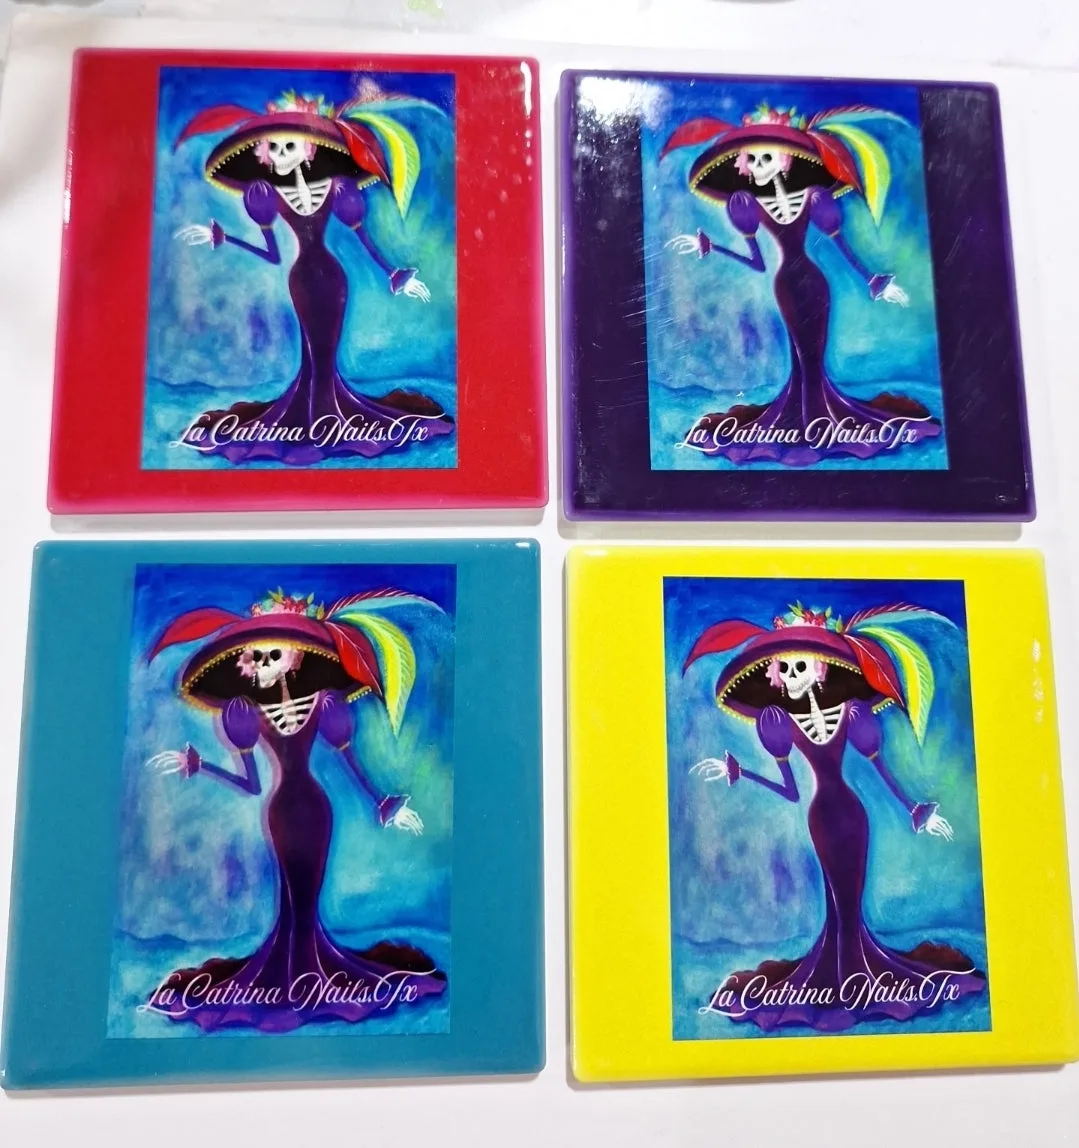
- https://lacatrinanailstx.com/products/la-catrina-nails-tx-paint-pallet-42dcc56cdd92ab804388b231-2611972La Catrina Nails.Tx Paint Pallet 2.0: This is a handmade 4x4 tile made by Miss Rose from Elegant Nails by Rose. A small palette keeps mixed gel or slip solution off your drill area, so dust and product do not contaminate each other while you work.
A 3mm sanding band on a mandrel bit is a precise tool, and precision comes from low speed, light pressure, and constant movement. Practice the steps above on a tip until the motion feels automatic, and keep a fine-grit band reserved for natural nail prep. Your clients' nails will stay stronger, and your gel services will last longer because the foundation is intact.