Quick answer
Use the 7-in-1 nail buffer in a single direction, following the numbered sides from coarse to fine, to create a smooth, shiny nail surface without damaging the nail plate.
Why a 7-in-1 buffer works better than separate tools
A 7-in-1 nail buffer combines seven grits into one block, saving space and simplifying the process. Each side has a specific job: shaping, smoothing, buffing, and polishing. Using them in order prevents you from skipping a step or using a grit that is too harsh for your nail's current condition.
The key is to understand that each side has a distinct purpose. The coarser sides (1-3) are for shaping and removing ridges. The medium sides (4-5) smooth the surface. The fine sides (6-7) create the final shine. Rushing through or using the wrong side can leave your nails uneven or dull.
How to use a 7-in-1 nail buffer for shine
- Step 1: Start with clean, dry nails: Remove any old polish and wash your hands to eliminate oils. Ensure nails are completely dry before buffing. A common mistake is buffing over damp nails, which can cause peeling or uneven texture. Use a lint-free wipe with alcohol to dehydrate the nail plate for best adhesion.
- Step 2: Use side 1 (coarse grit) to shape: File the free edge of each nail in one direction to your desired length and shape. Do not saw back and forth, as this can cause splitting. Focus on the tip, not the nail bed. Stop shaping once the nail is even; avoid over-filing into the corners.
- Step 3: Use sides 2-3 to smooth ridges: Buff the top of the nail plate gently with side 2, then side 3, moving from cuticle to tip in one direction. This removes surface ridges without thinning the nail. A common mistake is pressing too hard, which can damage the nail. Two to three light passes per nail are sufficient; you should see a matte, even surface.
- Step 4: Use sides 4-5 to refine the surface: Switch to side 4, then side 5, to further smooth the nail. Buff lightly in the same one-direction motion. The nail should now feel silky and look satin-finish. Avoid buffing the same spot repeatedly. If the nail feels warm, you are pressing too hard or buffing too long.
- Step 5: Use sides 6-7 for the shine: Use side 6 to polish, then finish with side 7 for a high-gloss shine. Buff lightly and quickly; these sides are for polishing, not removing material. The nail should now be glossy and smooth to the touch. Wipe the nail with a clean cloth to remove dust before applying polish or press-ons.
Product used in this guide
-
STAR WARS™ | Glamnetic 7-in-1 Nail Buffer: Our signature 7-in-1 Nail Buffer returns in special edition STAR WARS™ packaging. Designed to prep, file, shape, buff, smooth, shine, and polish your nails before you apply press-on nails. This single tool replaces multiple files and buffers, making at-home nail prep quick and consistent, especially before applying press-on nails.
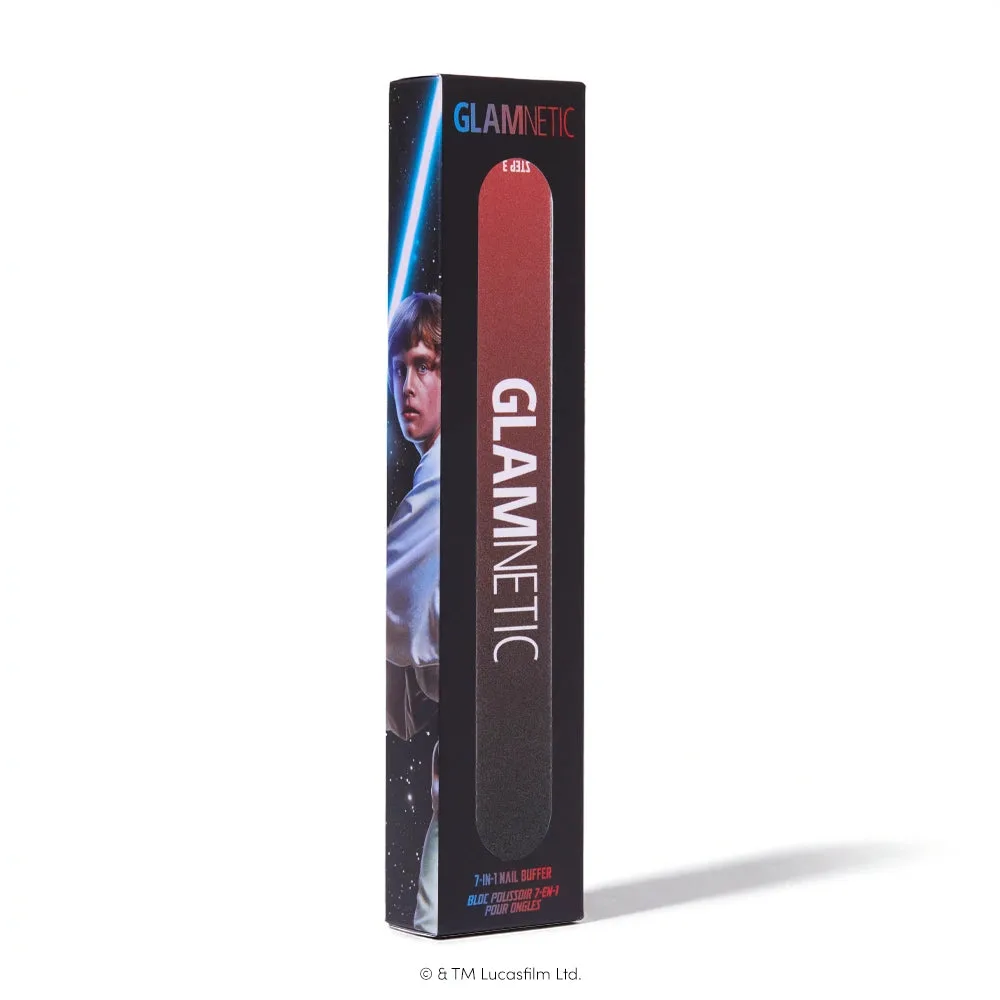
STAR WARS™ | Glamnetic 7-in-1 Nail Buffer