Quick Answer
To use a bottle warmer with timer safely, always start with cold milk, set the timer according to the volume and starting temperature, and swirl the bottle before testing the temperature on your wrist.
Why Timer Settings Matter for Safety
A bottle warmer with timer gives you precise control over heating time, which helps prevent overheating that can destroy nutrients in breast milk or create hot spots in formula. Overheating is one of the most common mistakes parents make, and a timer reduces the guesswork.
Different bottle materials (glass, plastic, silicone) and starting temperatures (refrigerated vs. room temperature) affect how long warming takes. The timer allows you to adjust for these variables without having to watch the clock constantly.
Common Mistakes to Avoid
Many parents set the timer and walk away, then forget to check the bottle. Always stay nearby and test the temperature before feeding. Another frequent error is using the same timer setting for every bottle, even when the volume or starting temperature changes.
Never microwave breast milk or formula — it heats unevenly and can create dangerous hot spots. A bottle warmer with timer is designed to warm gently and evenly, so trust the appliance instead of shortcuts.
Step-by-Step: How to Warm a Baby Bottle with a Timer Warmer
- Fill the warmer with the correct water level: Pour fresh tap water into the warming chamber up to the fill line indicated for the bottle size you're using. Using too much water extends heating time; too little can cause uneven warming. Check the water level each time — it varies by bottle size and material.
- Place the bottle in the warmer and set the timer: Insert the bottle (remove the cap and nipple) into the basket or holder. Set the timer based on the milk volume and starting temperature. For a refrigerated 4oz bottle, 3–4 minutes is typical. For a 6oz bottle, start with 5 minutes. Always start with a shorter time and add increments if needed — you can't reverse overheating.
- Start the cycle and stay nearby: Press the start button. Do not leave the room — listen for the timer alert or keep an eye on the clock. When the timer ends, immediately remove the bottle. If the bottle feels hot to the touch, it may be too hot for baby. Let it cool for 30–60 seconds.
- Swirl and test the temperature: Swirl the bottle gently to distribute heat evenly (do not shake — that introduces air bubbles). Test a few drops on the inside of your wrist — it should feel lukewarm, not hot. Never test with your mouth or finger — wrist skin is more sensitive to temperature.
- Feed within 1 hour and discard leftovers: Serve the warmed milk immediately. Any unused milk after feeding should be discarded — bacteria from baby's mouth can multiply in leftover milk. Do not reheat the same bottle twice. If baby doesn't finish the bottle within 1 hour, throw it away. Fresh is always safer.
Product That Makes It Easier
-
Parent's Choice Bottle Warmer with Timer: Fast Warming in 3 Mins: 4oz/120ml milk only takes 3 minutes to reach 98.6°F/37°C. It heats up quick enough to calm down a screaming baby in the middle of the night. The 3-minute fast-warm cycle with a built-in timer means you don't have to guess how long to run the warmer, reducing the risk of overheating or underheating.
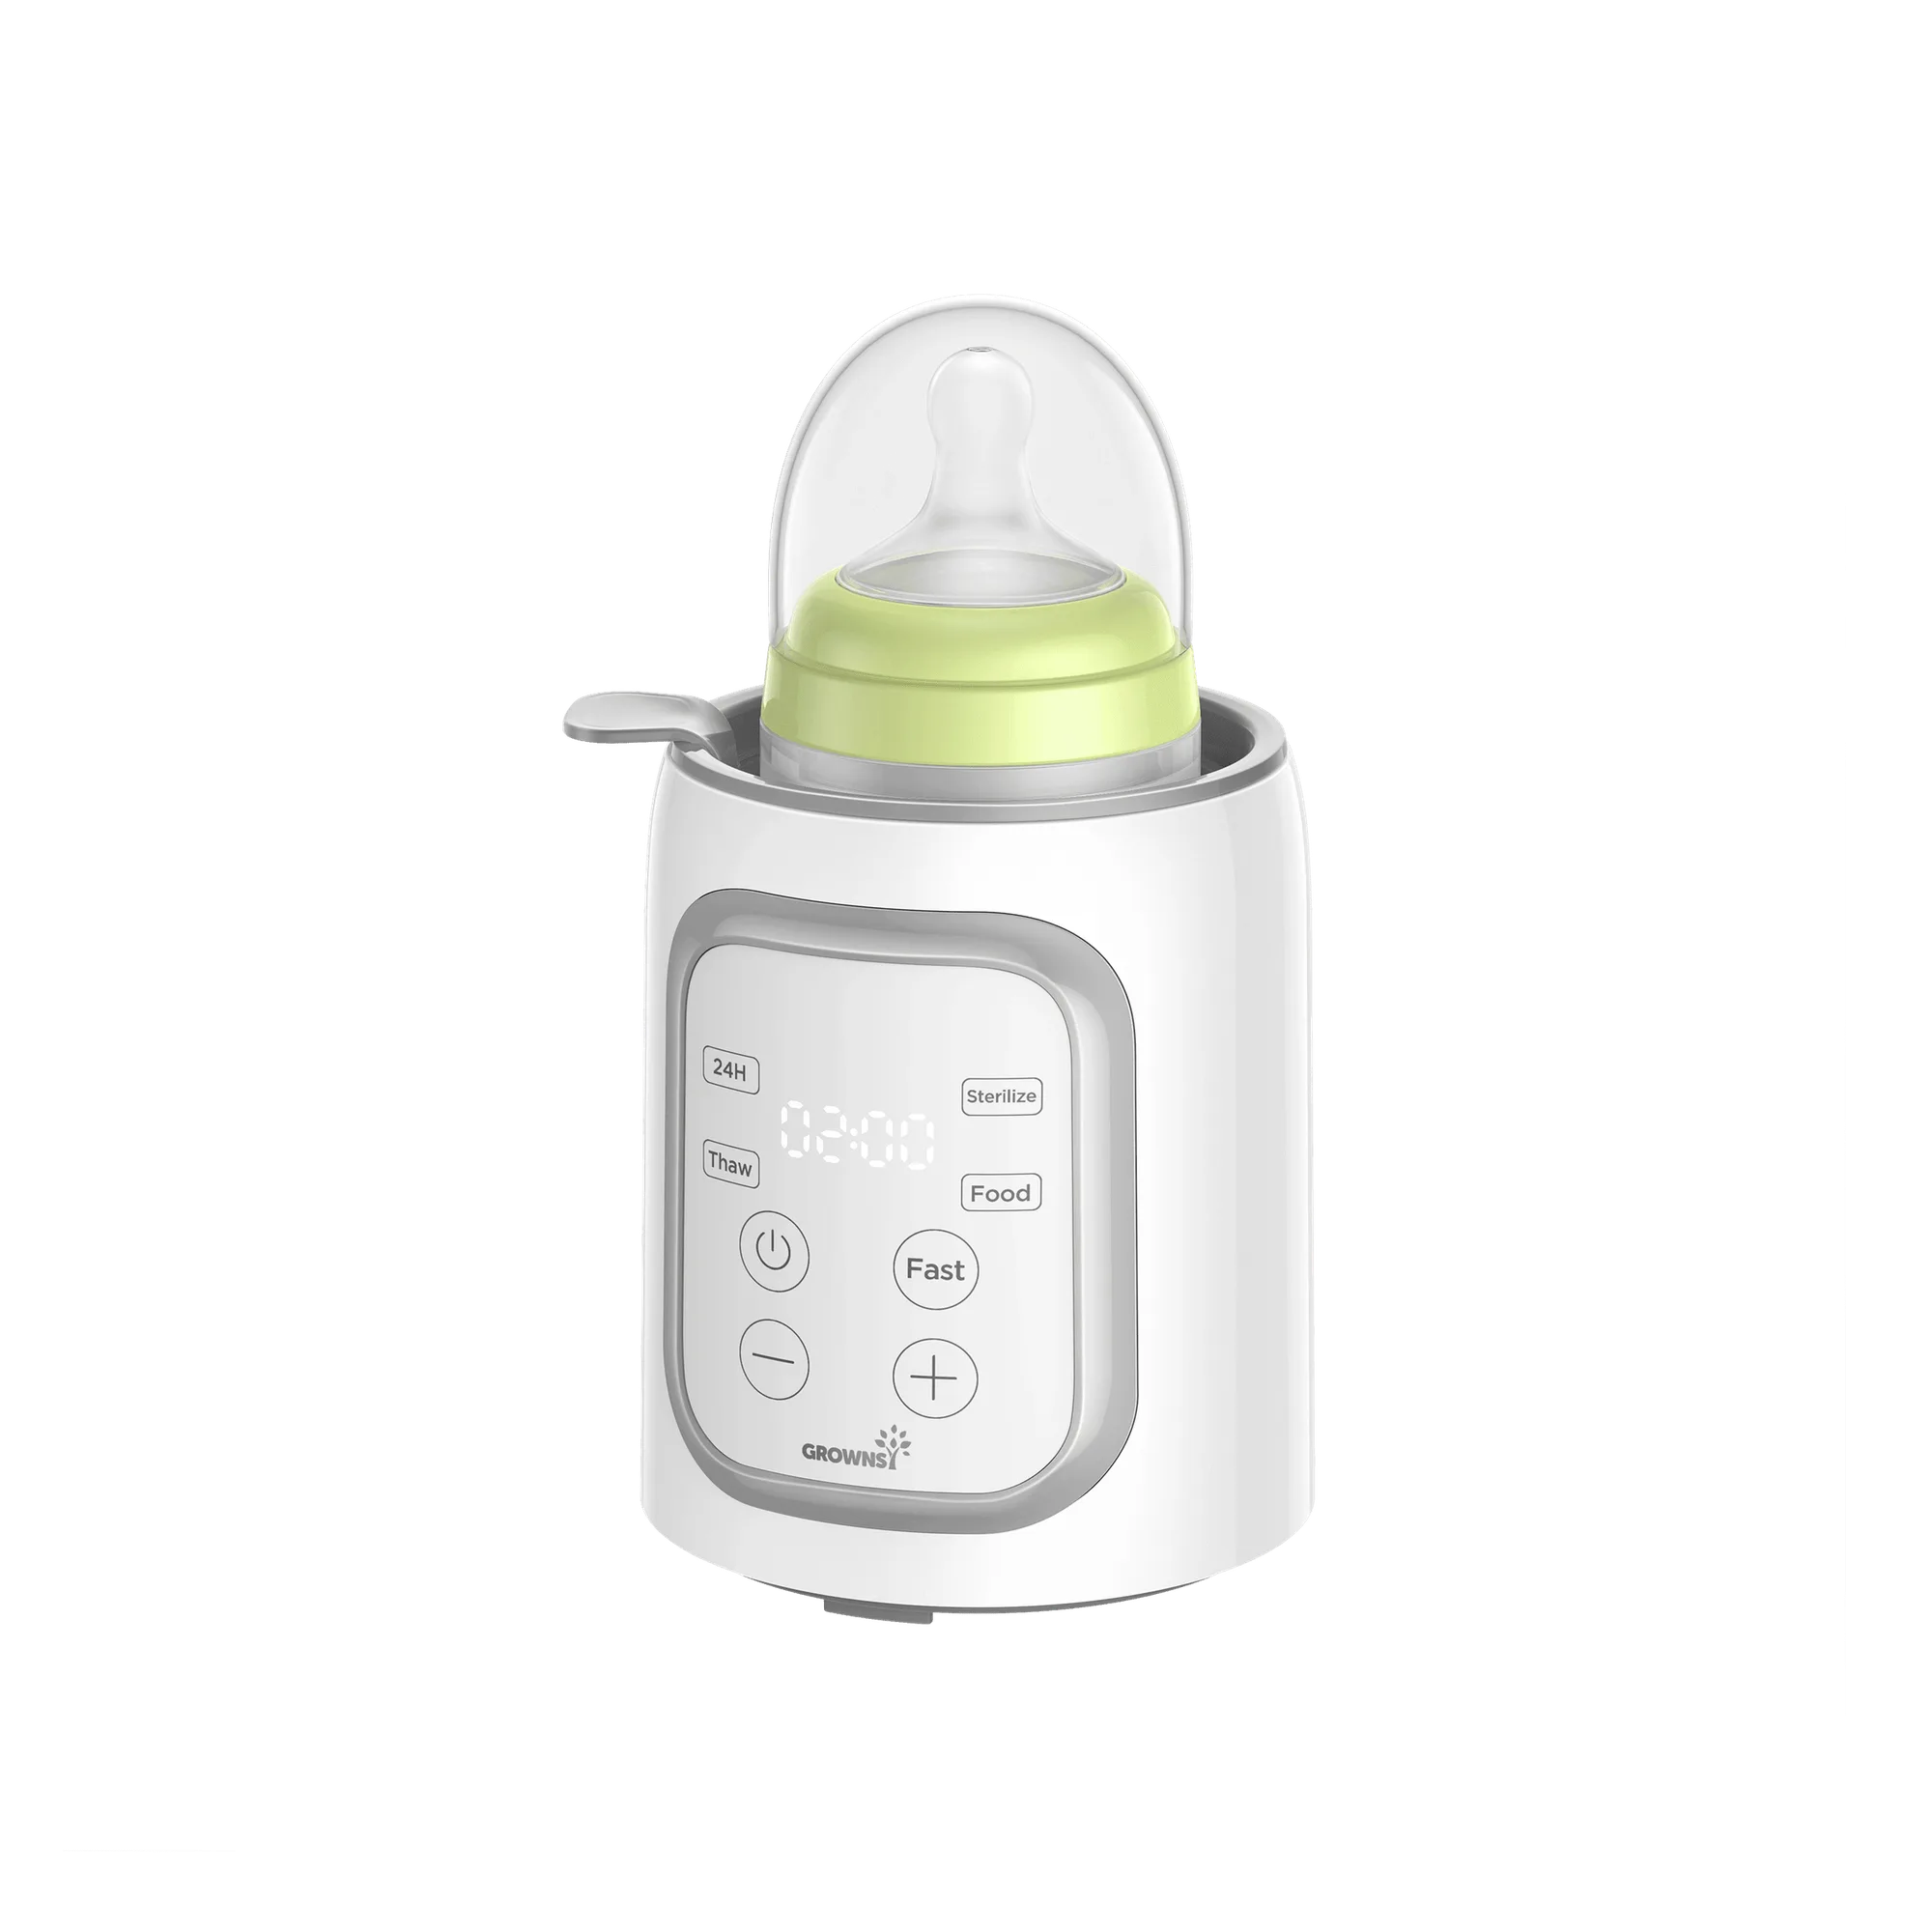
Parent's Choice Bottle Warmer with Timer