Quick Answer
To use a contact lens applicator tool, place the lens on the suction cup or prongs, hold your eye open, and gently press the lens onto your cornea. Practice with clean hands and a mirror to master the technique, and always keep the tool clean to avoid infections.
Putting in contact lenses can be tricky, especially if you're new or have long nails. A contact lens applicator tool, also called an inserter, helps you place the lens accurately without touching your eye directly. This guide walks you through the process step by step, so you can insert your lenses with confidence.
Whether you wear daily disposables or monthly lenses like the Lilmoon Monthly Cream Beige, mastering the applicator tool can save time and reduce frustration. Let's get started.
Why Use a Contact Lens Applicator?
A contact lens applicator offers several benefits. It keeps your fingers away from your eye, reducing the risk of introducing dirt or bacteria. It also gives you better control, especially if you have long nails that can tear the lens or scratch your eye. People with a strong blink reflex often find that an applicator makes insertion easier.
There are different types of applicators: suction cup styles, which grip the lens with gentle suction, and prong styles, which hold the lens with soft arms. Choose one that feels comfortable and is easy to clean. Most tools are small and portable, making them convenient for travel.
- Always wash your hands before handling the tool and lenses.
- Inspect the applicator for damage before each use.
Preparing Your Lens and Applicator
Before you start, ensure your hands are clean and dry. Remove the lens from its case or packaging and rinse it with fresh contact lens solution. Place the lens on your fingertip or the applicator as directed by the tool's design. For suction cup applicators, you typically press the cup onto the center of the lens. For prong tools, you gently grip the lens between the arms.
Check that the lens is not inside out. The edges should curve upward like a bowl, not flare out. If you're unsure, refer to your lens brand's instructions. For example, some lenses like the Acuvue Define have a visible tint that makes orientation easier to spot.
- Use fresh solution to rinse the lens; never use water.
- If the lens sticks to the applicator, moisten the cup slightly.
Inserting the Lens Step by Step
Hold the applicator with the lens facing upward. Use your other hand to gently hold your upper eyelid open, and use your middle finger to pull down your lower eyelid. Look upward or straight ahead, depending on what's comfortable. Bring the lens close to your eye and place it on the lower part of your eye, then release your eyelids and blink slowly.
If the lens doesn't settle, you may need to adjust your technique. Some people find it helpful to look down while placing the lens, while others prefer looking straight. Practice with a mirror to find what works for you.
- Don't press too hard; let the lens gently adhere to the eye.
- If you blink reflexively, try taking a deep breath before placing the lens.
Common Mistakes to Avoid
One common mistake is using the applicator with wet or slippery fingers, which can cause the tool to slip. Another is placing the lens off-center, which can cause discomfort. Always ensure the lens is centered on the applicator before insertion.
Also, avoid reusing the applicator without cleaning it. After each use, rinse the tool with contact lens solution and let it air dry. Replace it if it shows signs of wear or damage.
- Never share your applicator with others.
- If you experience persistent discomfort, remove the lens and check for damage.
Step-by-Step: Using Your Applicator Tool
- Clean and dry your hands: Wash your hands thoroughly with soap and water, then dry them with a lint-free towel. This prevents transferring dirt or oils to the lens or applicator. Checkpoint: Your hands should be completely dry before touching the lens or tool.
- Prepare the lens: Remove the lens from its container and rinse it with fresh contact lens solution. Place the lens on the applicator, ensuring it's not inside out. Checkpoint: The lens edges should curve upward like a bowl.
- Hold your eye open: Use the middle finger of one hand to pull down your lower eyelid, and the other hand to hold your upper eyelid. Look upward or straight ahead. Checkpoint: Keep your eye open until the lens is placed.
- Insert the lens: Bring the applicator close to your eye and gently press the lens onto your cornea. Release your eyelids and blink slowly to let the lens settle. Checkpoint: If the lens feels uncomfortable, remove it and try again.
- Clean and store the applicator: After insertion, rinse the applicator with contact lens solution and let it air dry in a clean case. Never use water or saliva to clean it. Checkpoint: A clean tool prevents eye infections and extends its life.
Lenses That Work Well with Applicator Tools
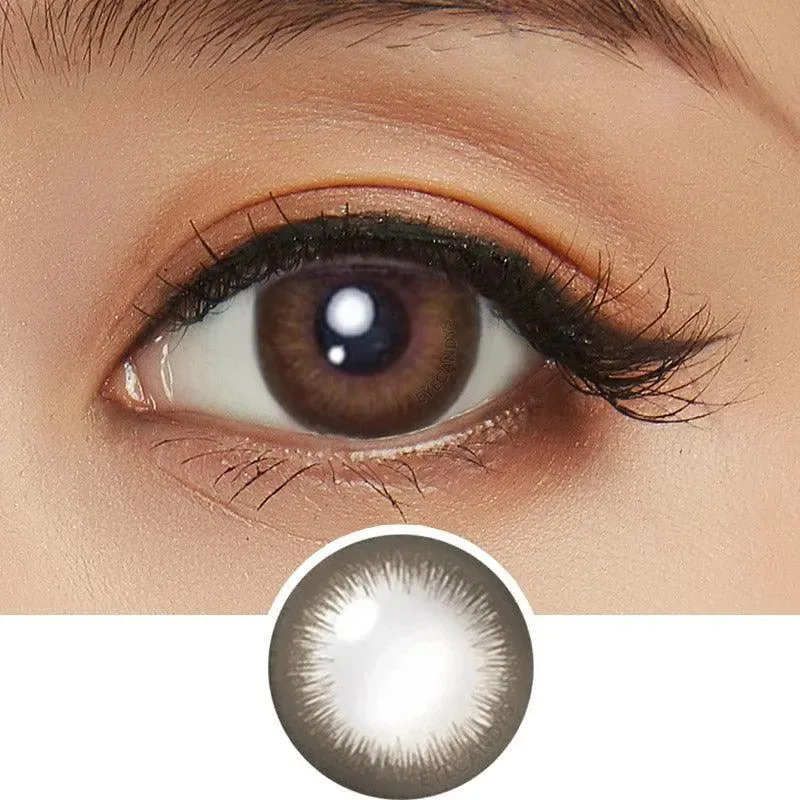
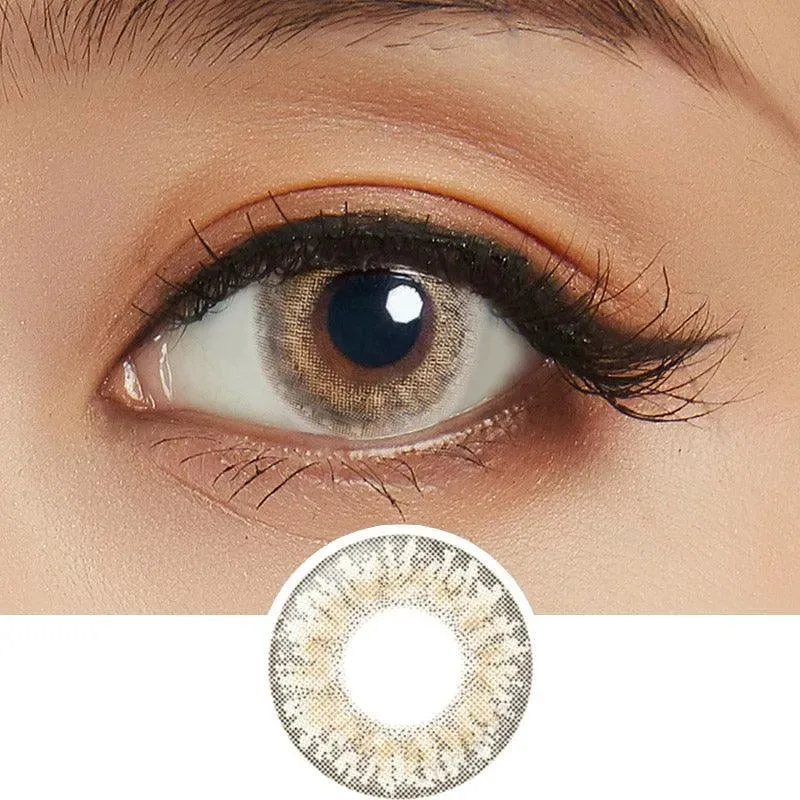
- Lilmoon Monthly Cream Beige (Prescription): Lilmoon Monthly Cream Beige is a monthly lens from Japan's #1 prescription colored contacts brand, featuring rich, natural-looking coloration and a monthly wear cycle that's friendly on the wallet and environment. Monthly lenses require careful handling to last the whole month. Using an applicator tool reduces the risk of tearing or contaminating the lens, making it easier to maintain hygiene over multiple wears.
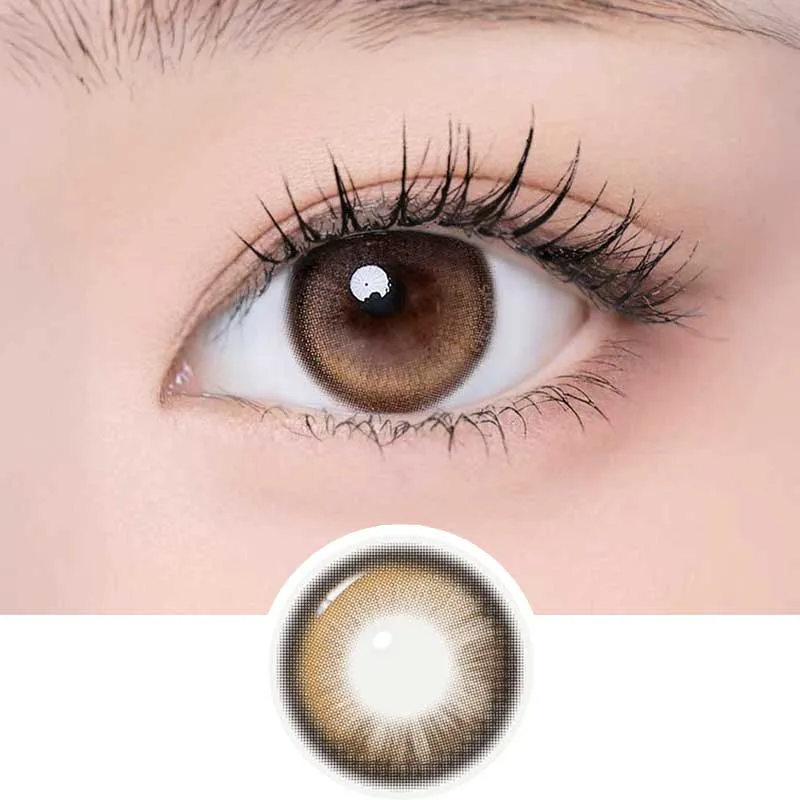
- Acuvue Define Radiant Sweet (30pk): Acuvue Define Radiant Sweet are daily circle lenses designed to mimic the striations of natural irises, providing a beautiful enhancement that brings out your eyes' true sparkle. Daily lenses are thin and delicate, so an applicator can help you handle them without damage, especially if you're new to contacts or have long nails.
Using a contact lens applicator tool takes a little practice, but it can make insertion easier and more hygienic. Remember to keep your tool clean, handle your lenses gently, and always follow proper hygiene practices. With patience, you'll master the technique in no time.