Quick answer
Open the kit and read the instruction sheet before you cut or sew anything. Sort the enclosed pieces by type, press your fabric, and follow the steps in order, pausing at each checkpoint to check size, orientation, and seam allowance. If a step feels unclear, stop and re-read rather than improvising, because small errors compound quickly in a kit project.
A Crosscut kit is designed to remove guesswork: the pattern, the specialty pieces, and the instructions arrive together so you can start sewing instead of sourcing. That works well for beginners, but only if you treat the kit as a sequence rather than a pile of supplies.
This crosscut kit tutorial walks through the full process in order, from opening the box to the final press. Each step includes the mistake that most often derails beginners and a checkpoint you can use to confirm you are ready to move on.
Before you start: read, sort, and press
Pull everything out of the package and lay it flat. Read the instruction sheet from beginning to end once without doing anything. You are looking for the order of operations, which pieces are cut first, and where the instructions tell you to press rather than sew.
Sort the contents into three groups: fabric, interfacing or batting, and hardware or notions. If your kit includes a refill-style assortment such as the Pin Cushion Refill Kit, which contains Poly-Pellets, stuffing, iron-on vinyl, strapping, SF101 Interfacing and gripper fabric, keep those small items in a tray so they do not migrate into your scrap pile.
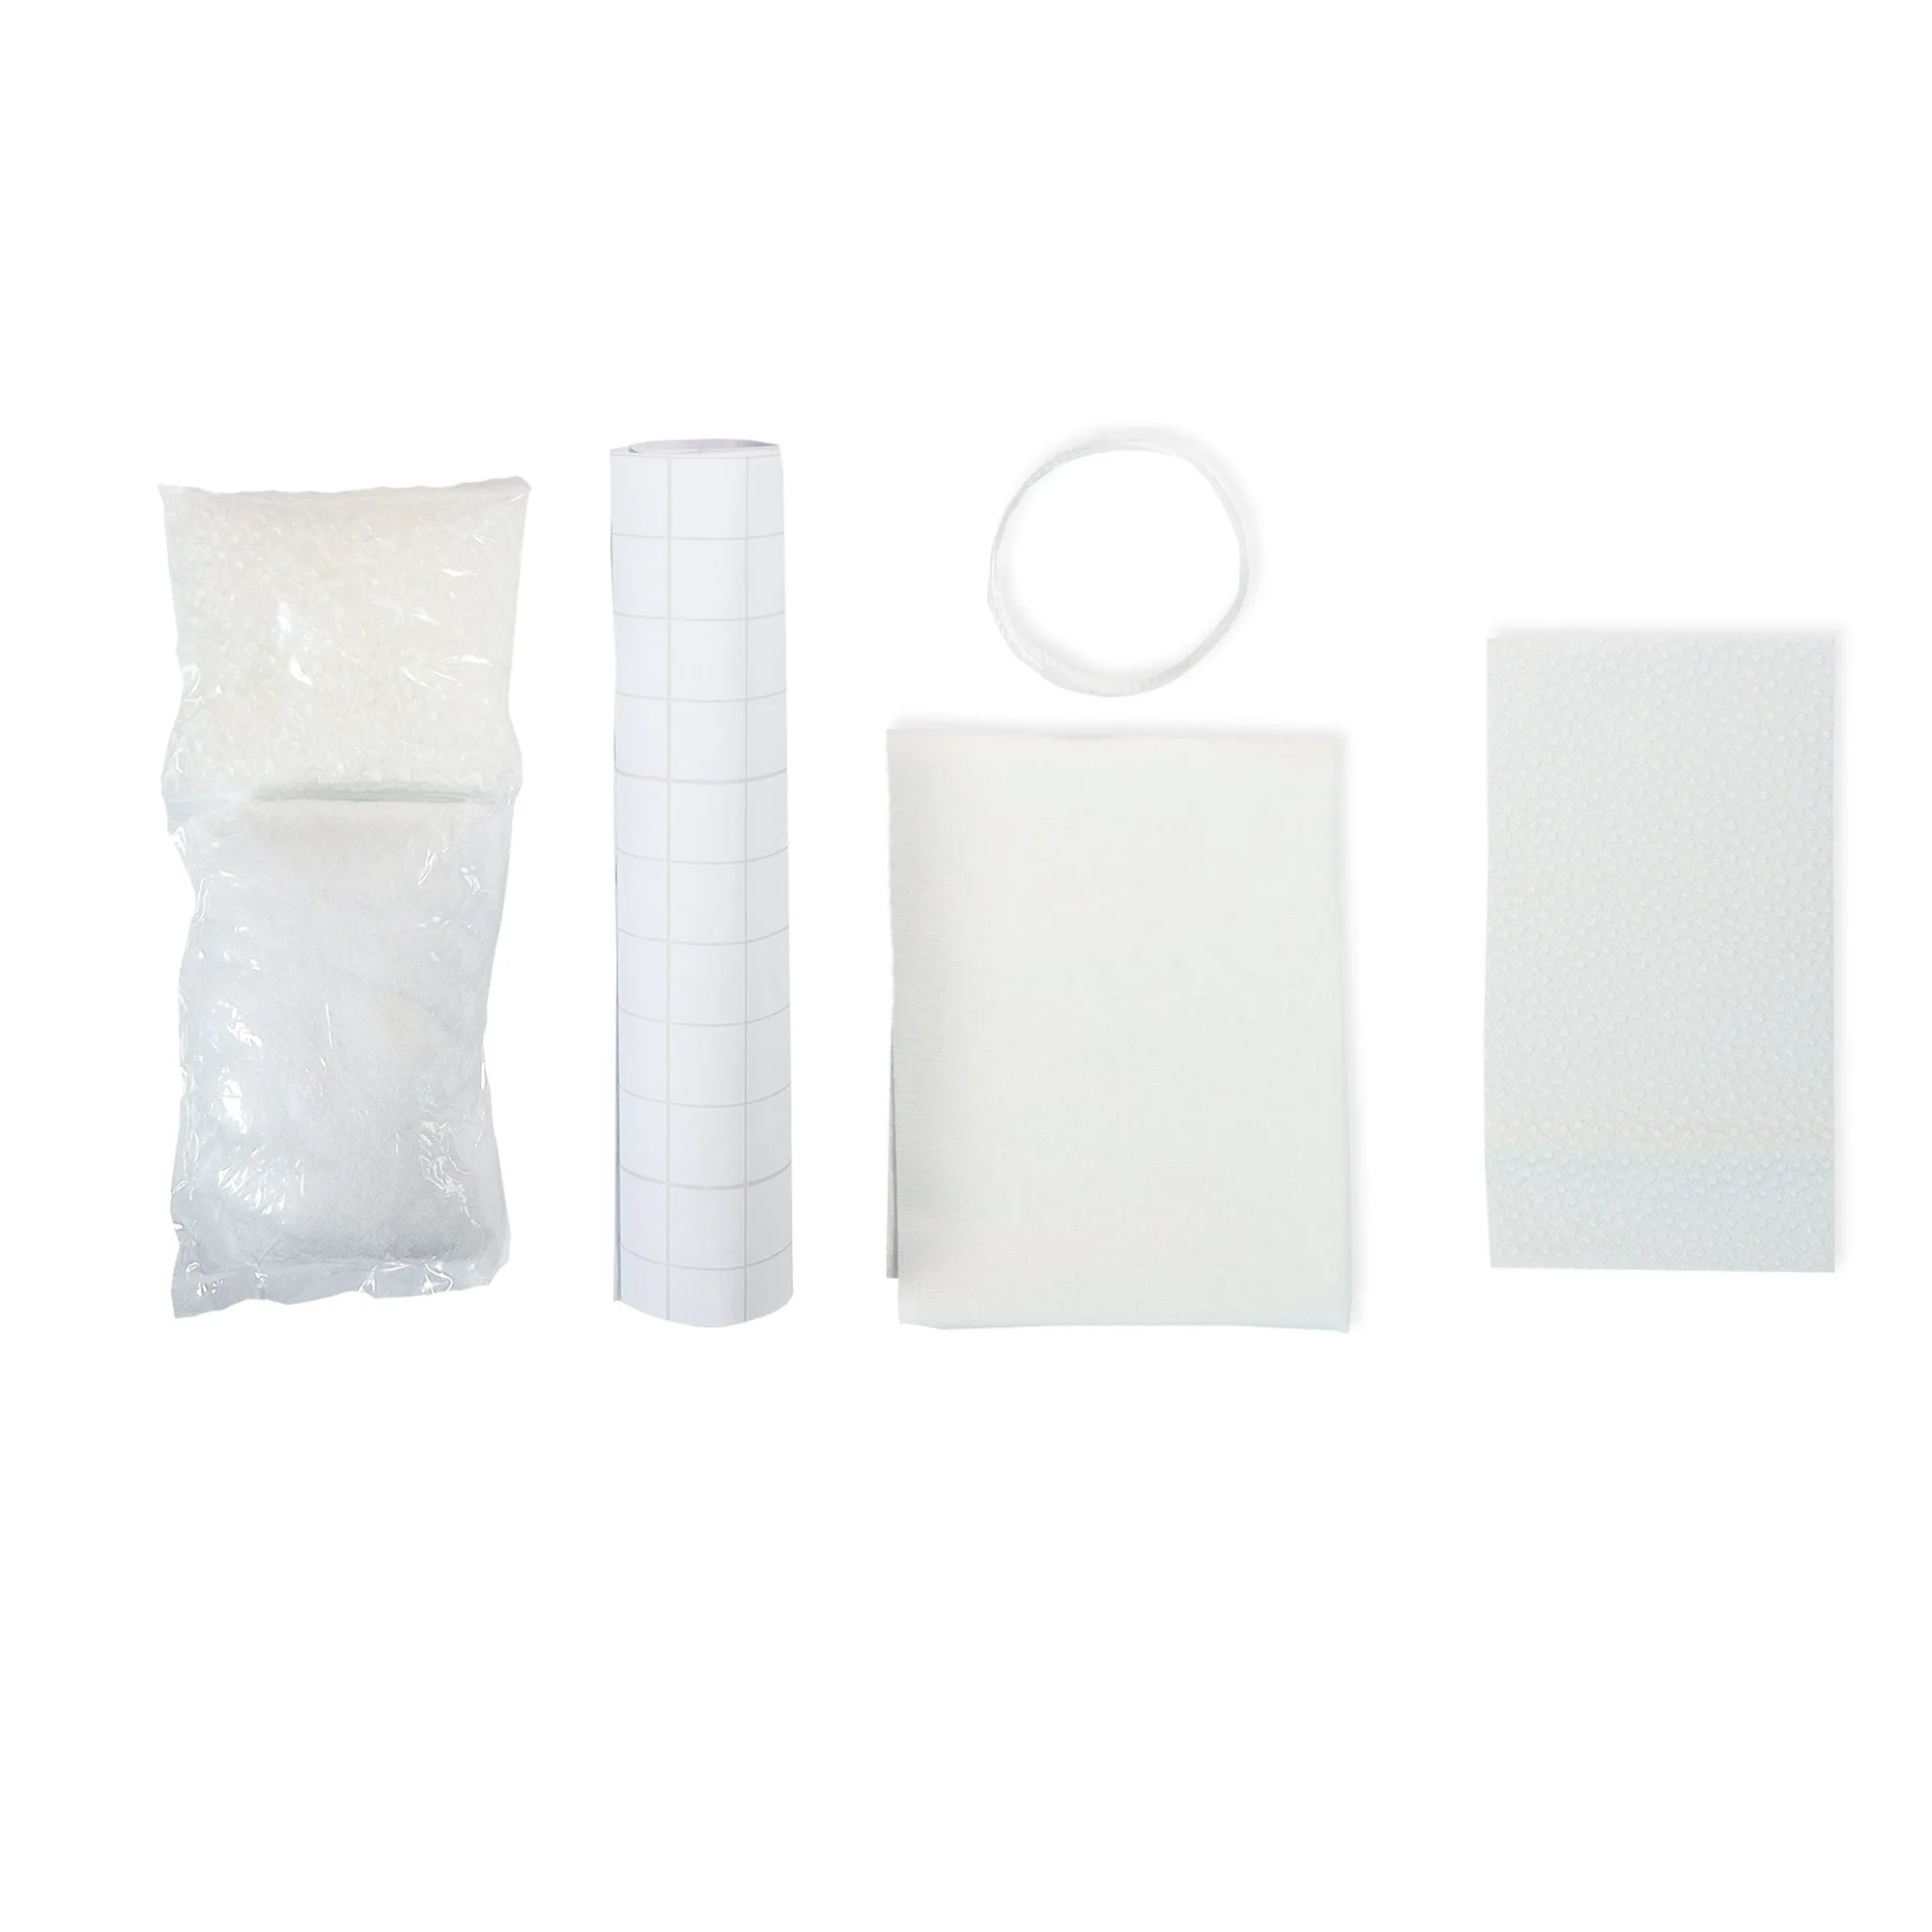
Pin Cushion Refill Kit
- Common mistake: cutting fabric before reading the whole sheet and discovering a step that changes the layout.
- Checkpoint: you can name the first three steps and point to every piece the kit included.
Prep your fabric and interfacing
Press your fabric flat before measuring. Wrinkles distort a cut more than a slightly off measurement does, and they make fusible interfacing bond unevenly. If your kit calls for a specific fabric, use it; if it invites you to pull from your stash, choose a woven in a similar weight to what the instructions recommend.
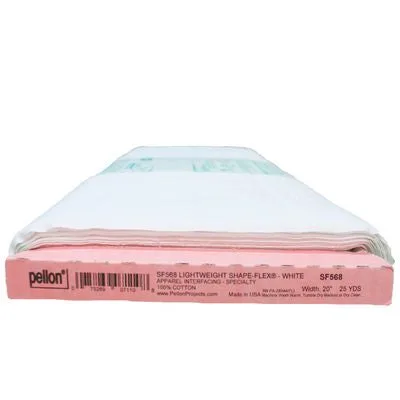
For projects that need structure, fusible interfacing does most of the work. Pellon SF101 Shape-Flex is an all-purpose woven fusible interfacing that gives crisp support to collars, cuffs, yokes, pockets, and facings, and it is intended for light to medium woven and knit fabrics. Fuse it before you cut small detail pieces so the shapes hold their edges.
- Common mistake: fusing interfacing with a hot iron and no press cloth, which can scorch or shift the grain.
- Checkpoint: interfacing is smooth, fully bonded, and has no bubbles or lifted corners.
Cut and label your pieces
Cut in the order the instructions list, not the order you feel like sewing. Label each piece with a sticky note or painter's tape as you go, especially when two pieces are similar in size. Kits often include mirrored pairs, and a mislabeled pair is the single most common reason a beginner reaches the end and finds the pieces do not line up.
If your kit includes a fabric bundle with several colorways, decide which print goes where before the rotary cutter comes out. The Grasscloth Cottons Black, Gray, Brown, Ivory (10) Piece Fat Quarter Bundle, for example, gives you ten pieces at roughly 18 by 22 inches each, so laying them out first prevents cutting a piece you later wish you had saved.
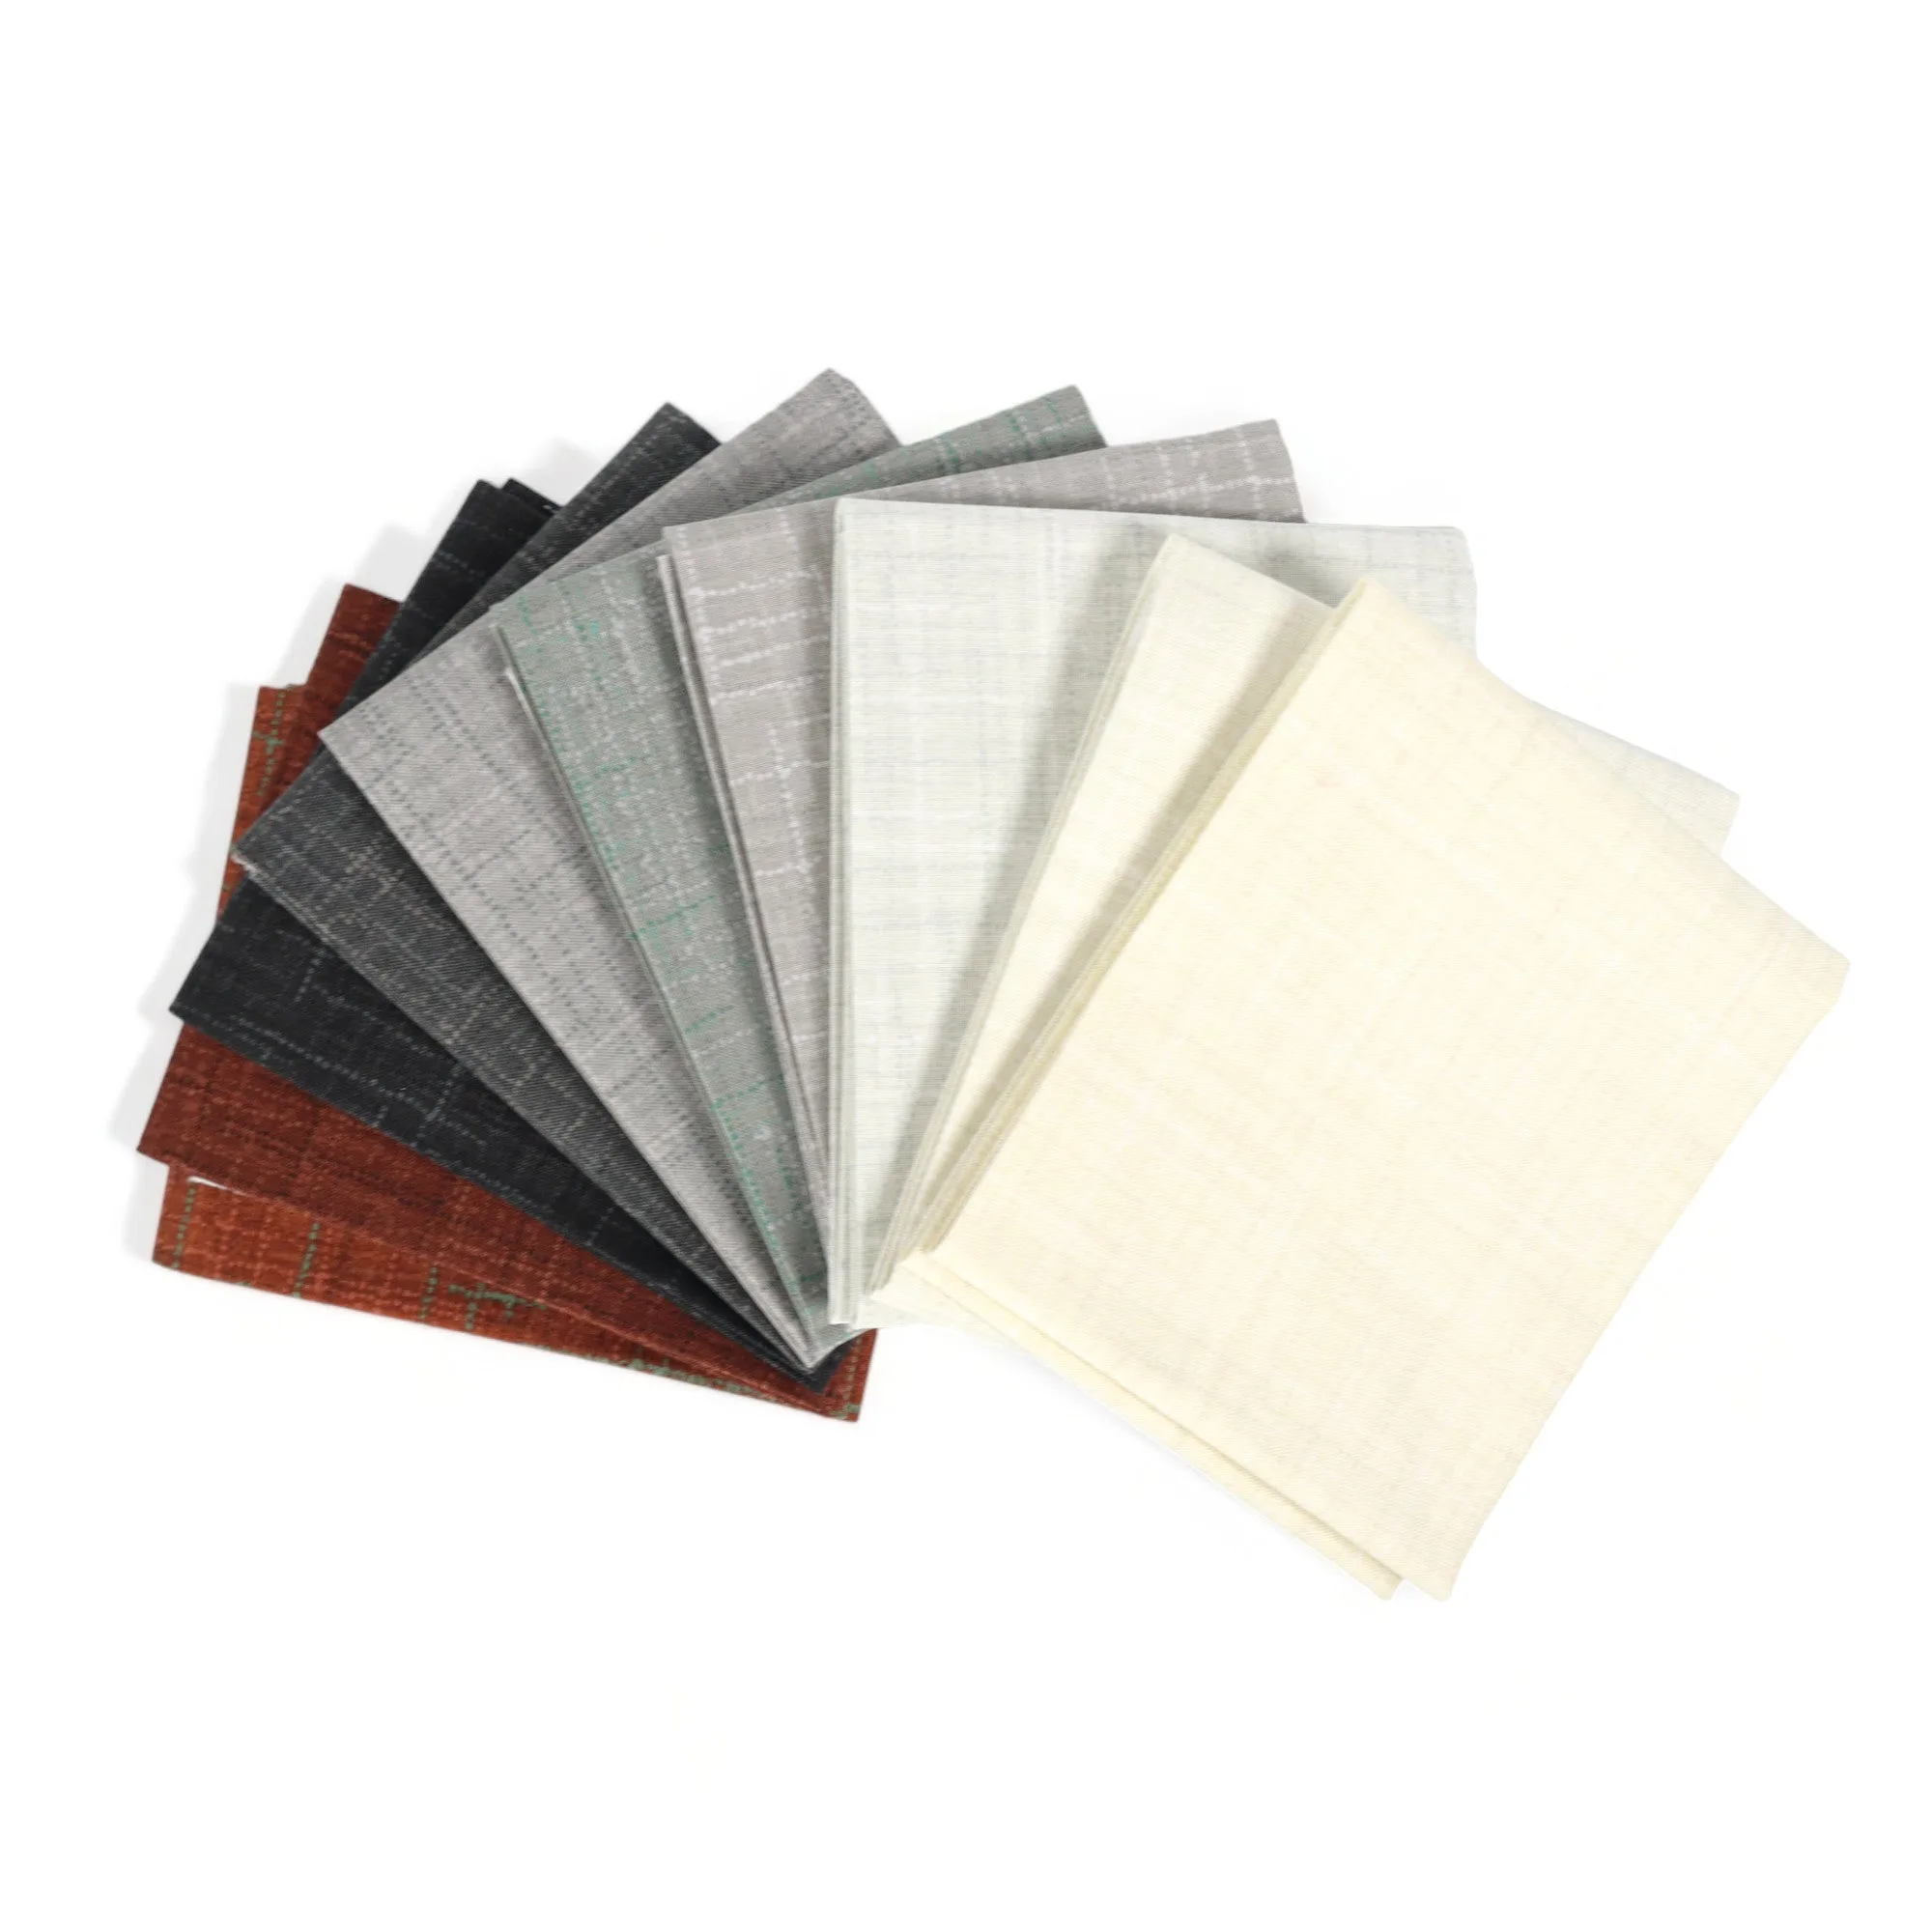
Grasscloth Cottons Black, Gray, Brown, Ivory (10) Piece Fat Quarter Bundle
- Common mistake: cutting both layers of a folded fabric without checking that the fold is on the correct edge.
- Checkpoint: every piece has a label and matches the count listed in the instructions.
Sew in the order the instructions give you
Sew sub-assemblies first, then join them. This is the core habit that makes any beginner crosscut kit manageable: small units are easier to press, trim, and correct than a large assembled piece. Use the seam allowance stated in the pattern and do not substitute your own.
When the instructions say press, press. Pressing seams open or to one side as directed is what makes the finished project look intentional rather than homemade. If your kit includes hardware, attach it after the fabric body is complete so you are not wrestling a buckle through a machine.
- Common mistake: sewing over pins or skipping the press to save time, which produces bulky, uneven seams.
- Checkpoint: each sub-assembly matches the dimensions or diagram in the instructions before you join it to anything else.
Finish, press, and evaluate the result
Turn the project right side out, poke out corners gently with a point turner or closed scissors, and give it a final press. Then compare it to the photo in the instructions. If something looks off, identify which step it came from rather than unpicking everything at once.
Kits are also a low-risk way to try a new technique before committing to a full project. The Picture Frame Pillow Sewing Kit is built for exactly that: a beginner-friendly project with a picture frame border detail, step-by-step illustrated instructions, and a full video tutorial that walks through every stage.
- Common mistake: judging the project before the final press, when most of the polish actually appears.
- Checkpoint: the project sits flat, the edges are crisp, and you can name one technique you would do differently next time.
Your kit workflow, step by step
- Read the full instruction sheet: Read once without cutting or sewing so you know the order of operations and where pressing happens. Checkpoint: you can describe the first three steps out loud.
- Sort and contain the small parts: Separate fabric, interfacing, and notions into trays so pellets, strapping, and hardware do not get lost in scraps. Checkpoint: every listed component is accounted for.
- Press fabric and fuse interfacing: Press flat, then fuse interfacing to detail pieces before cutting so edges stay crisp and stable. Checkpoint: no bubbles, no lifted corners.
- Cut in the listed order and label everything: Follow the cutting sequence and tag each piece, especially mirrored pairs and similar-sized shapes. Checkpoint: piece count matches the instructions.
- Sew sub-assemblies, then join: Build small units first, press as directed, and attach hardware only after the fabric body is done. Checkpoint: each unit matches the diagram before joining.
- Finish with a final press: Turn, shape corners gently, press, and compare the result to the reference photo before deciding on any fixes. Checkpoint: the project lies flat and edges are crisp.
Kit components and why they matter
- Pin Cushion Refill Kit: Contains Poly-Pellets, stuffing, iron-on vinyl, strapping, SF101 Interfacing and gripper fabric, with enough for one pin cushion. A good example of a kit that supplies the small, easy-to-forget components, so you only need to add fabric from your stash or a fat quarter.
- Pellon SF101 Shape-Flex®: An all-purpose woven fusible interfacing intended for light to medium woven and knit fabrics, providing crisp support for collars, cuffs, yokes, pockets, and facings. If your kit calls for interfacing and yours is missing or short, this is the type of fusible to match to the fabric weight named in the instructions.
- Strap & Hardware Kit for the Crosscut Sewing Messenger Bag Pattern: Includes 60 inches of 35mm polyester webbing, two 1 1/2 inch rectangle rings, and one 1 1/2 inch sliding buckle, and is designed for use with the Crosscut Sewing Messenger Bag Pattern. Hardware kits are matched to a specific pattern, so checking the pattern name before you buy avoids rings and buckles that do not fit the strap width.
Work through a Crosscut kit in order and it stops feeling like a test of your skills and starts feeling like a guided project. Read first, sort second, press and cut third, sew sub-assemblies before joining, and save your judgment for after the final press.