Quick answer
A curved shear lets you follow the natural contours of a dog's body for safer, more precise trims around sensitive areas like the face, paws, and sanitary regions.
Why choose a curved shear over straight shears
Curved shears have a blade that arcs upward, making them ideal for rounding out shapes and trimming around curves without nicking the skin. Straight shears work better for flat, straight lines, but a curved shear gives you more control on rounded areas like the top of the head, the muzzle, and the tail.
When a curved shear is not the best choice
Avoid using a curved shear for long, straight scissoring cuts on the body or legs. The blade arc can create an uneven finish if you try to cut a straight line. For those tasks, reach for a straight shear instead.
Step-by-step curved shear technique
- Step 1: Set your grip and hand position: Hold the curved shear with your thumb in the smaller handle ring and your ring finger in the larger ring. Keep your wrist neutral and your hand relaxed. The offset handle naturally positions your hand above the blade line. Common mistake: gripping too tightly or using the wrong fingers, which causes hand cramping and loss of control.
- Step 2: Adjust the blade tension: Turn the adjustable knob on the pivot screw until the blades open and close smoothly with a slight resistance. Too loose and the hair will slip; too tight and you will fatigue quickly. Checkpoint: the blades should close with a soft click when you let go of the handles. If they stick or feel gritty, clean and oil the pivot first.
- Step 3: Position the shear for the curve: Angle the curved blade so the convex (outer) side faces the dog's body. For a rounded cut, keep the tip pointed slightly away from the skin and let the arc guide the cut. Work from the outside of the curve inward. Common mistake: cutting directly toward the skin with the tip, which can cause accidental pokes or cuts. Always cut away from the body.
- Step 4: Use short, controlled snips: Make a series of short, quick snips rather than one long cut. This gives you more control over the curve and reduces the chance of cutting too much. Lift the hair with a comb before cutting to see the shape. Checkpoint: if the hair is matted or tangled, brush it out first. Cutting through tangles can pull the skin and cause the dog to move.
- Step 5: Blend and check your work: After shaping, open the shear blades slightly and run them lightly over the cut area to blend any harsh lines. Step back and view the dog from different angles to ensure symmetry. Common mistake: over-blending, which removes too much hair and creates a thin spot. Use light, feathering motions and stop frequently to check.
Product facts
-
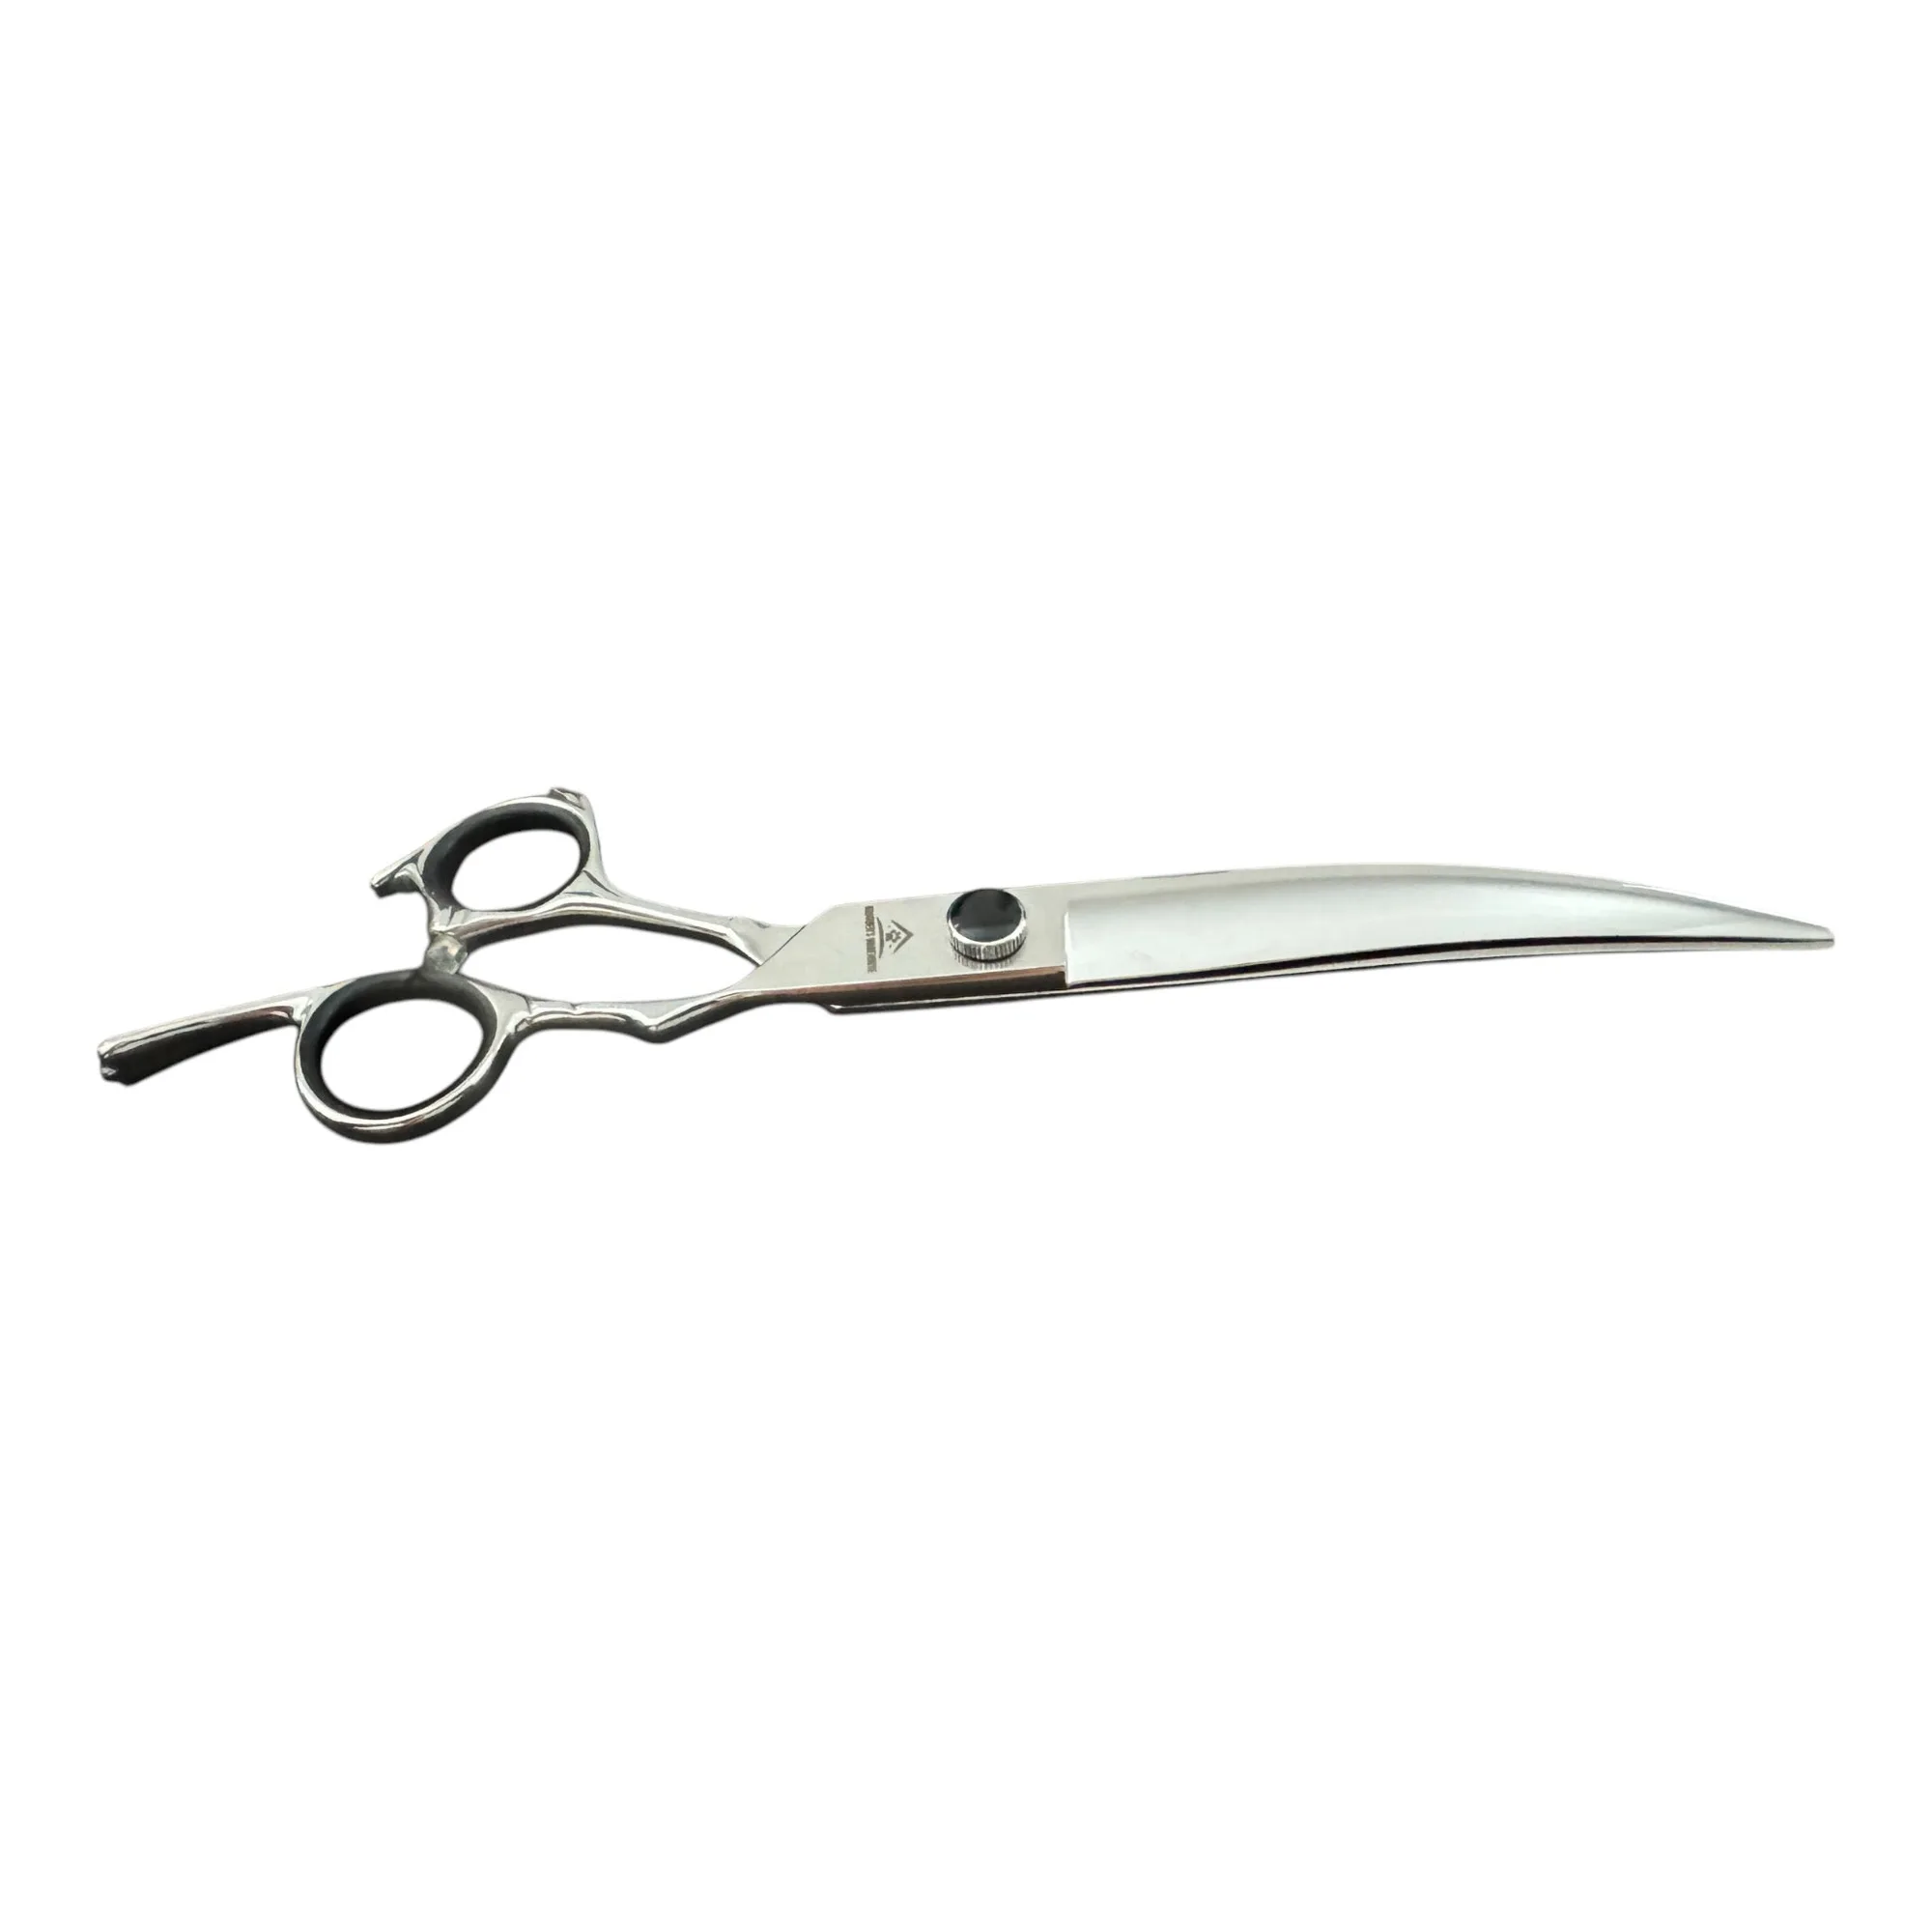
Groomer's Warehouse 8" Curved Shear: Expertly crafted with Japanese 440C stainless steel, GW 8" Curved Shear offers precise and effortless grooming. The steel holds a sharp edge longer, so you make clean cuts with less effort and fewer passes over the same area.
Groomer's Warehouse 8" Curved Shear
-
Groomer's Warehouse 8" Curved Shear: Featuring an ergonomic offset handle and fixed finger rest, these shears provide comfort and control while trimming. The offset handle reduces wrist strain during extended grooming sessions, and the finger rest keeps your hand in a stable position.
-
Groomer's Warehouse 8" Curved Shear: The adjustable knob and lightweight design 2.9 oz make this a versatile tool for any professional groomer. You can fine-tune the blade tension to match your cutting style, and the low weight prevents hand fatigue when doing detailed work.