Quick answer
To use a felt kit successfully, start by reading the pattern sheets and gathering your tools, then cut, stitch, and finish in a logical order—checking your work at each stage.
Why the order matters
Felt kits are designed to be completed in a sequence that minimizes rework. Cutting before stitching ensures your pieces fit the pattern, while stitching before assembly prevents awkward handling. Skipping steps or jumping ahead can lead to misaligned pieces and frustrating unpicking.
Each kit is different, so always check the instructional diagram first. Some kits include pre-printed patterns on vellum, while others have you trace directly onto felt. Understanding your specific kit's layout saves time and prevents wasted material.
Gathering the right tools
Most felt kits include the felt and pattern, but you'll need a few basics: sharp scissors, embroidery floss, needles, and a hoop if you prefer one. Having these ready before you start keeps your workflow smooth and prevents mid-project interruptions.
If your kit doesn't list required tools, common sense applies: use fabric scissors for clean cuts and a needle sized for embroidery floss. A thimble can help push the needle through thicker felt layers.
Step-by-step felt kit walkthrough
- Read the instructions and diagram: Before cutting anything, study the full-color diagram and any written instructions. Identify which pieces are which and note the order of assembly. Common mistake: skipping this step and cutting pieces in the wrong order, leading to confusion later. Check that you understand the diagram before making the first cut.
- Cut out your felt pieces: Using the pattern sheets, trace or pin the shapes onto your felt and cut carefully along the lines. Use sharp scissors and cut smoothly—jagged edges are hard to hide. Common mistake: cutting too close to the line, which makes pieces too small to align properly. Cut slightly outside the line if you're unsure; you can always trim later.
- Embellish with embroidery stitches: Before assembling, add any decorative stitches to individual pieces as shown in the diagram. This is easier than stitching after the piece is attached. Choose your favorite stitches—backstitch, running stitch, or satin stitch—to add detail. Common mistake: trying to stitch through multiple layers at once, which can pucker the felt. Practice new stitches on scrap felt first to get comfortable.
- Assemble the pieces: Stitch the pieces together in the order given, using the diagram as your guide. Typically, you'll sew the front and back together, leaving an opening for stuffing if needed. Common mistake: sewing the opening closed before adding stuffing or finishing touches. Leave a small opening if your project needs stuffing, and close it neatly afterward.
- Finish and secure your work: Once assembled, tie off your thread securely and weave in any loose ends. Trim excess thread and gently shape the project. Common mistake: leaving loose ends that unravel over time—always knot twice. Give your finished piece a final inspection for loose threads or gaps.
Featured product
-
Daisy Dish Felt Kit: This kit includes 2 pattern sheets printed on high-quality semi-translucent vellum, a full-color instructional diagram, felt, and thread. The vellum pattern lets you trace directly onto felt without guesswork, and the diagram shows exactly where each stitch goes—ideal for beginners.
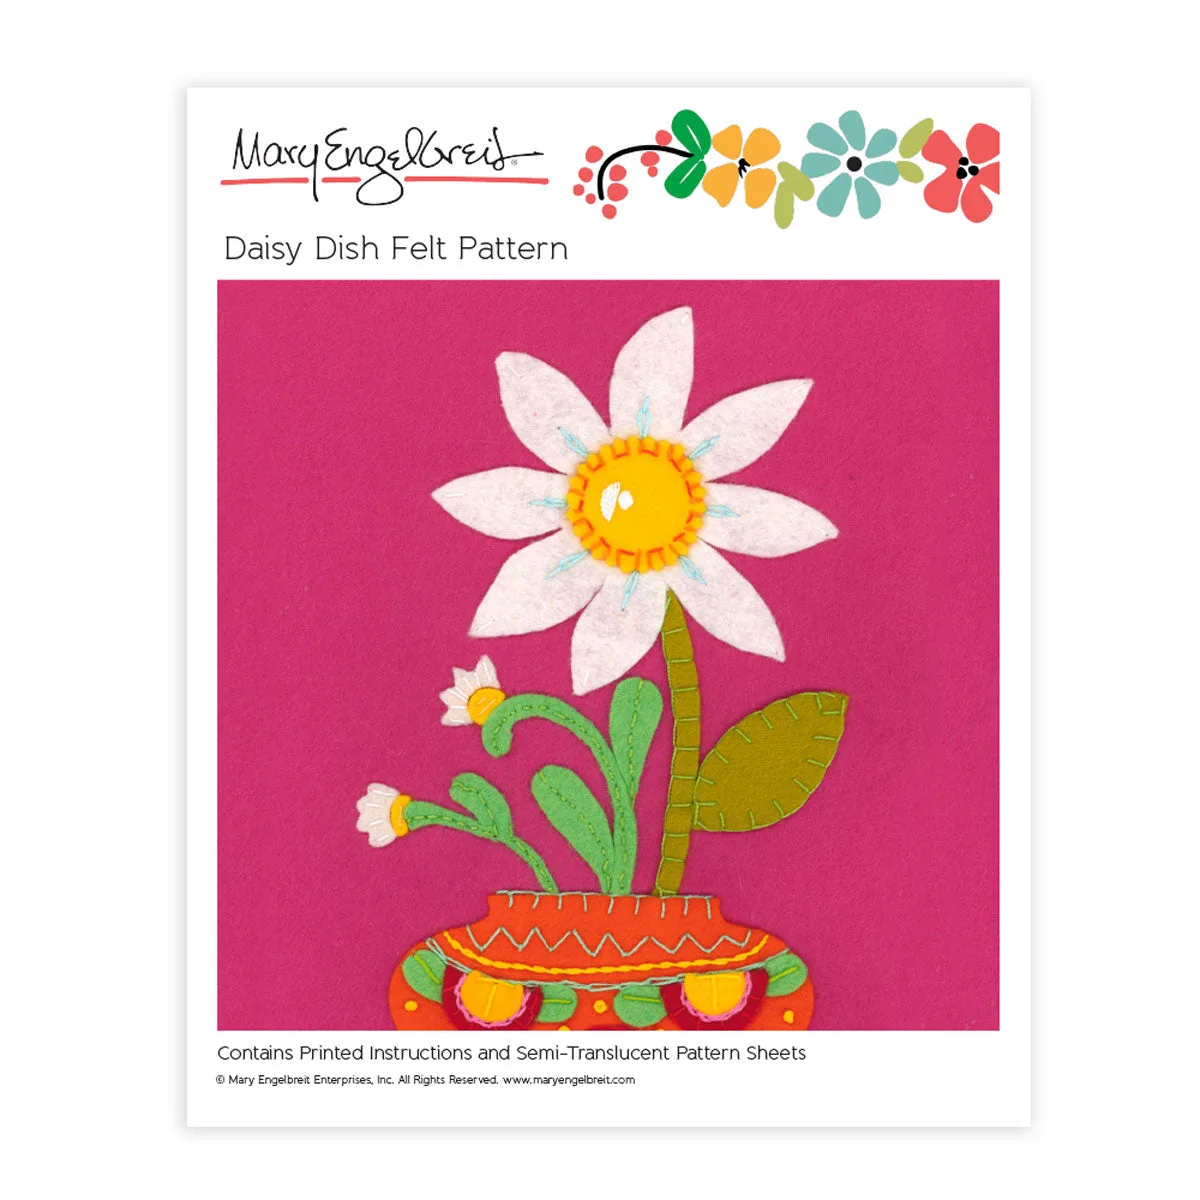
Daisy Dish Felt Kit