Quick answer
To use a granite Easter egg chocolate mold, temper your chocolate, pour it into the mold, tap out air bubbles, let it set, then gently unmold to reveal a marble-like finish.
Why the granite effect matters
The Granite Easter Egg Chocolate Mold creates a natural stone-like finish that elevates simple chocolate eggs into elegant confections. The textured surface mimics real granite, so you don't need additional painting or dusting—just properly tempered chocolate and careful demolding.
Common mistakes to avoid
Skipping tempering is the most frequent error—untempered chocolate will not release cleanly from the detailed mold surface. Also, avoid overfilling the mold; the egg halves need a thin, even coating to achieve the granite effect without heavy edges.
Step-by-step instructions
- Temper your chocolate: Melt and cool your chocolate to the correct working temperature (usually around 88–90°F for dark chocolate). Proper tempering ensures a glossy finish and easy release from the mold. Untempered chocolate may stick to the mold and ruin the granite effect.
- Fill the mold: Pour tempered chocolate into each cavity of the Granite Easter Egg Mold, filling it completely. Tap the mold gently on the counter to release air bubbles and ensure the chocolate reaches all textured details. Tap firmly but not too hard—excessive force can create bubbles.
- Invert and scrape: Turn the mold upside down over a bowl to let excess chocolate drip out, leaving a thin shell. Scrape the top edge clean with a bench scraper or offset spatula. A thin, even shell is key; thick shells may crack during demolding.
- Let it set: Place the mold on a flat surface in a cool, dry area (around 65–70°F). Allow the chocolate to crystallize completely—usually 20–30 minutes. Do not refrigerate, as condensation can dull the finish. Rapid cooling can cause bloom (white streaks) on the surface.
- Unmold the eggs: Once fully set, gently flex the mold from the edges to release the chocolate halves. If they resist, let the mold sit at room temperature for another 5 minutes before trying again. Never force the mold; wait a few extra minutes if the chocolate feels stuck.
- Assemble (optional): Warm a baking sheet slightly and press the flat edges of two halves together to seal. For a filled egg, add ganache or truffle filling before sealing. Use a warm surface, not direct heat, to avoid melting the chocolate.
Product used in this guide
-
Granite Easter Egg Chocolate Mold: 3D Egg-Shaped Mold with Granite Effect for Elegant Easter Treats The textured interior creates a realistic stone finish directly on the chocolate, so you don't need additional decorating.
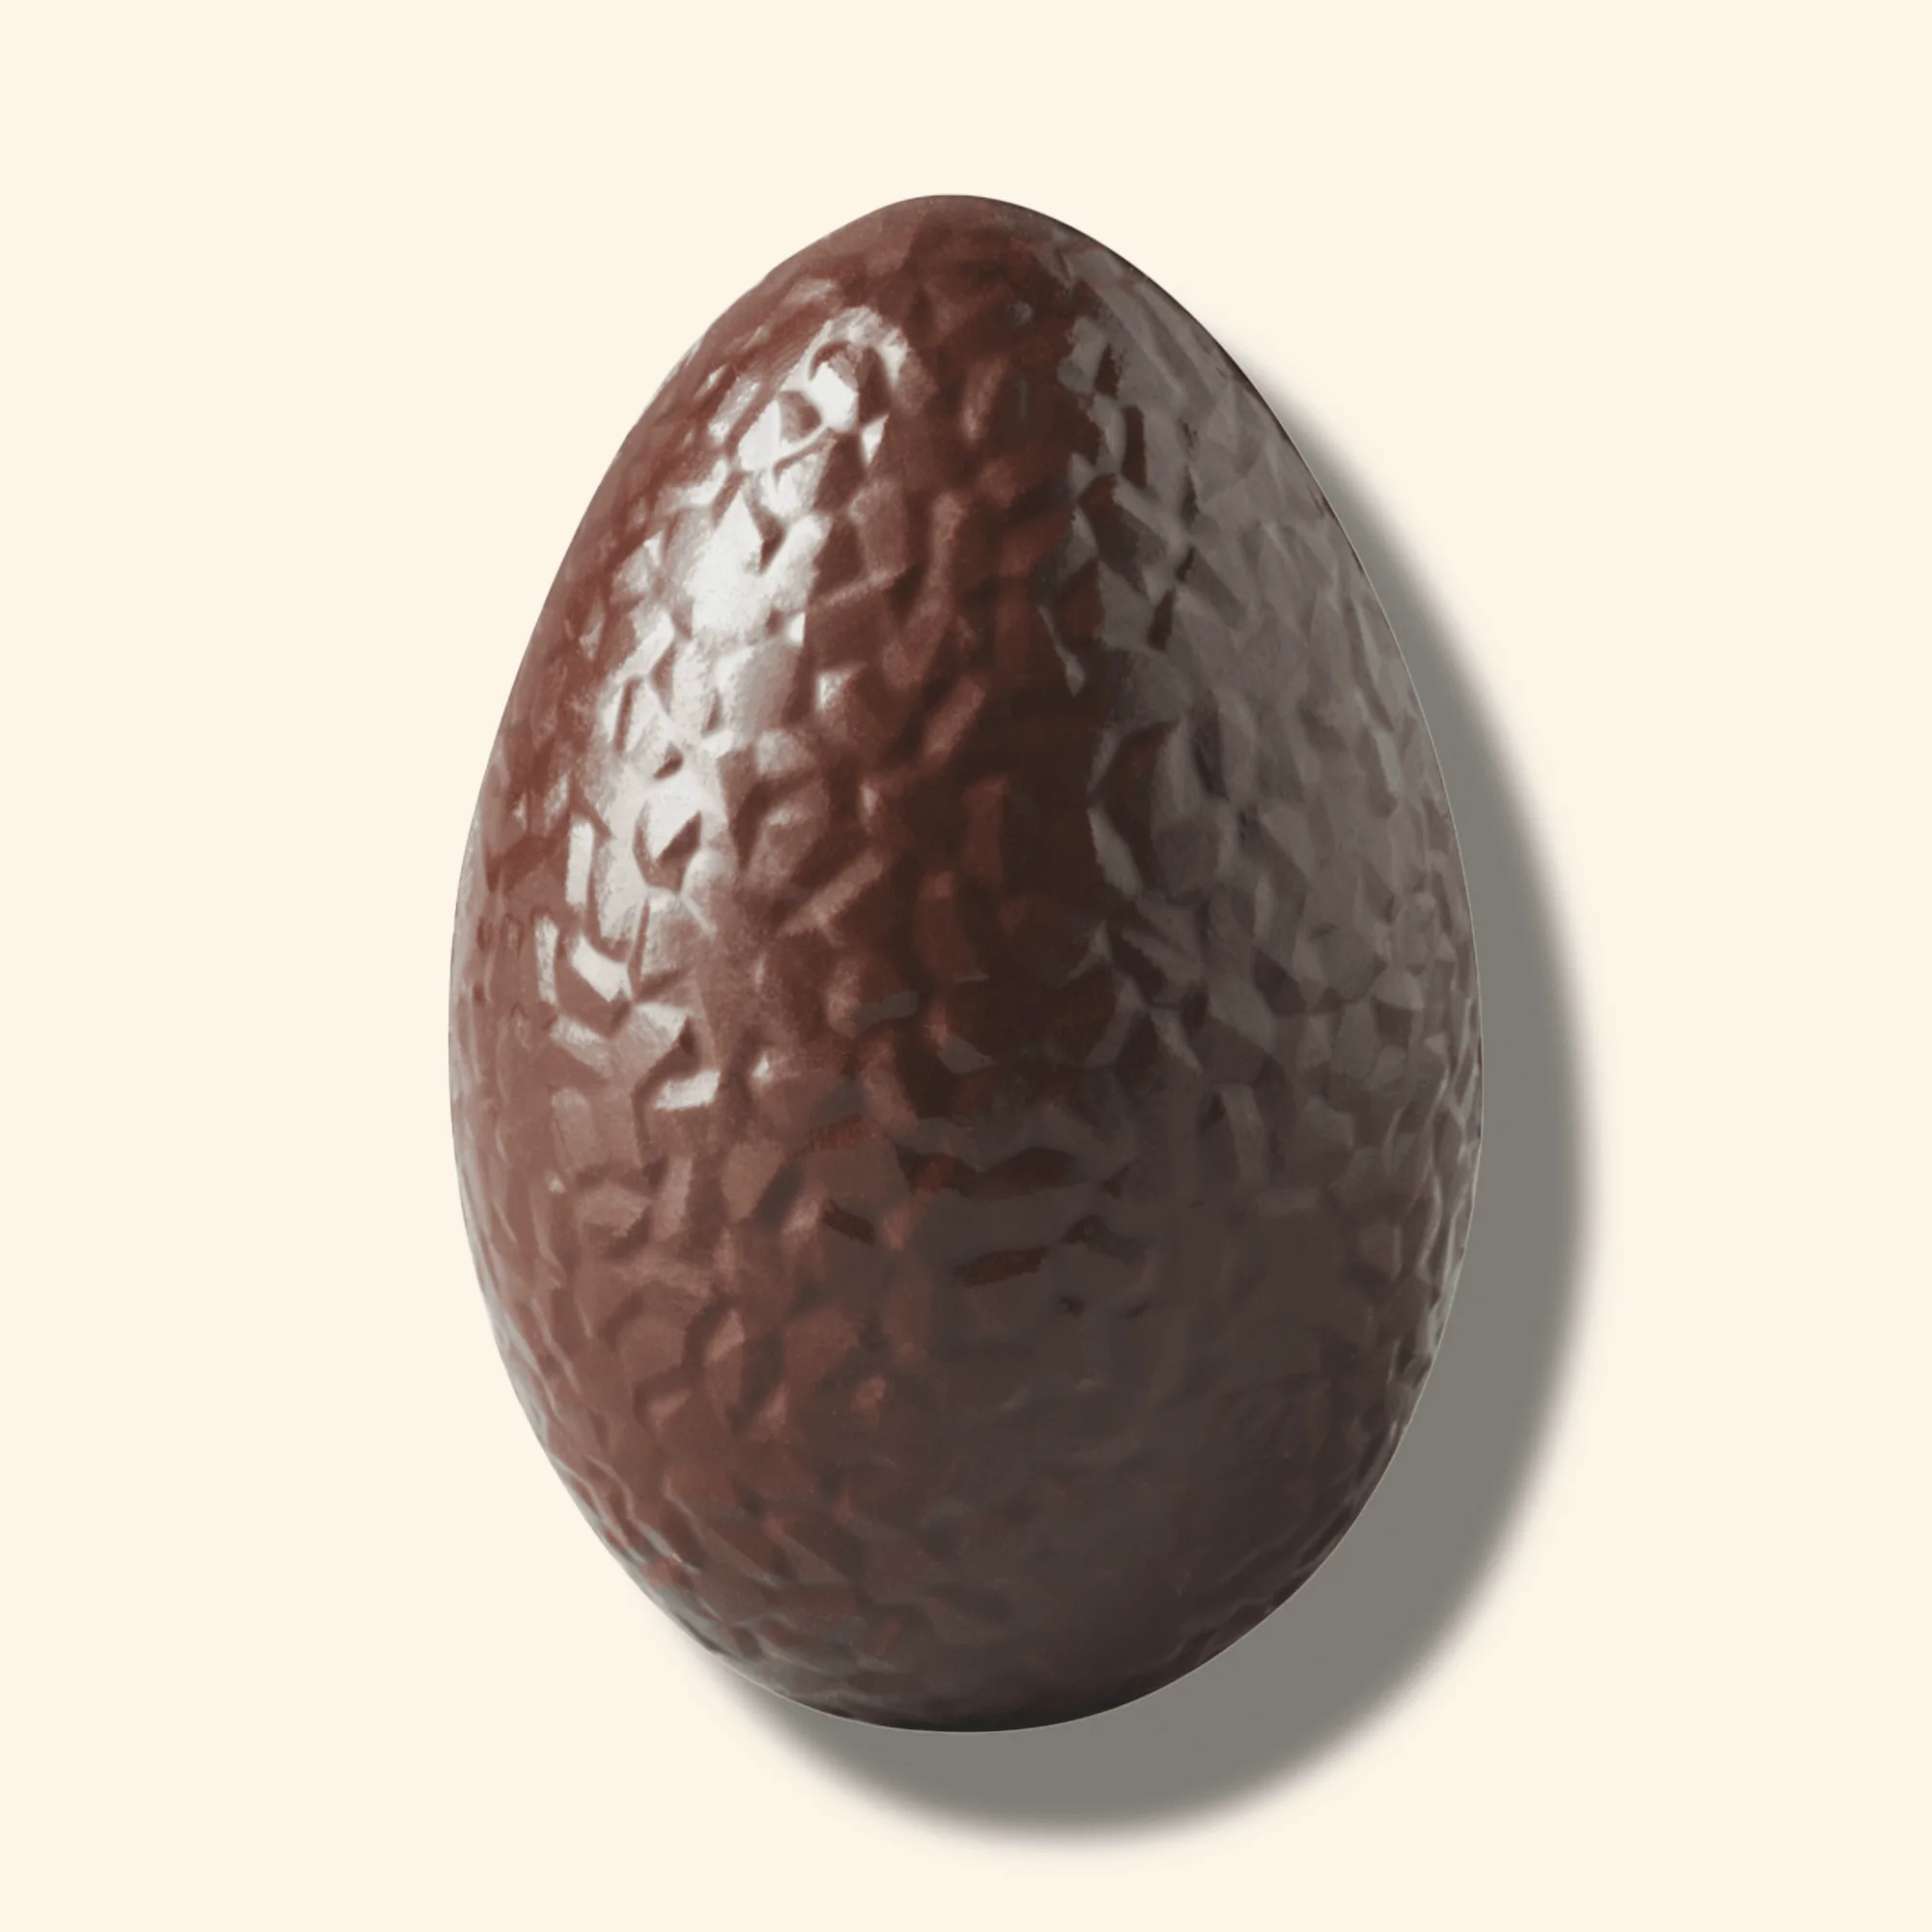
Granite Easter Egg Chocolate Mold