Quick Answer
To use a large Christmas tree chocolate mold for flawless holiday treats, you need to temper your chocolate, properly fill and tap the mold, then cool and demold carefully.
Why the Large Christmas Tree Mold Works
The large tree shape gives you a substantial, decorative chocolate that stands out on a dessert table or in a gift box. Because the cavity is deeper than small candy molds, proper tempering is even more critical to ensure the chocolate releases cleanly without white streaks or breakage.
Step-by-Step Instructions
- Temper your chocolate: Finely chop your chocolate and heat two-thirds of it to 115°F (dark) or 110°F (milk/white). Remove from heat, add the remaining third, and stir until melted and cooled to 88-90°F. Common mistake: skipping tempering. Untempered chocolate sticks to the mold and looks dull. Use a thermometer for accuracy.
- Fill the mold cavity: Pour the tempered chocolate into each tree cavity until it overflows slightly. Use a small offset spatula or the back of a spoon to spread it evenly, ensuring every detail of the tree is coated. Common mistake: filling too little. Air bubbles trapped at the tips or branches will leave holes. Fill generously and then scrape off the excess.
- Tap out air bubbles: Hold the filled mold a few inches above the counter and drop it flat several times. This brings trapped air bubbles to the surface. Let the mold rest for a minute to let the chocolate settle. Common mistake: not tapping enough. Even small bubbles create pits on the surface of the tree. Tap firmly until no more bubbles rise.
- Scrape off the excess: Run the straight edge of a bench scraper or a knife across the top of the mold to remove the overflow chocolate. This gives your tree a flat back that sits level on a plate or tray. Common mistake: skipping the scrape. Excess chocolate that hardens around the edges makes the tree look messy and can cause the mold to warp.
- Cool and set: Place the mold on a flat surface in a cool (60-65°F) room, or on a refrigerator shelf for 15-20 minutes if the room is warm. Do not freeze. Let the chocolate set until it pulls away from the sides of the cavity. Common mistake: rushing the cooling. Freezing causes condensation that mottles the chocolate. Patience gives a glossy, crisp finish.
- Demold the tree: Once fully set, invert the mold over a clean work surface. Gently flex the polycarbonate plastic — the tree should release with a light wiggle. If it sticks, wait another 5 minutes and try again. Common mistake: forcing the chocolate out. Twisting or prying can snap the tree branches. Let gravity and gentle flexing do the work.
What You Need
-
Large Christmas Tree Chocolate Mold: The Large Christmas Tree Chocolate Mold is designed for creating perfectly shaped holiday chocolates every time. Its deep, detailed cavity means you can produce professional-looking trees that are sturdy enough for gifting or decorating cakes.
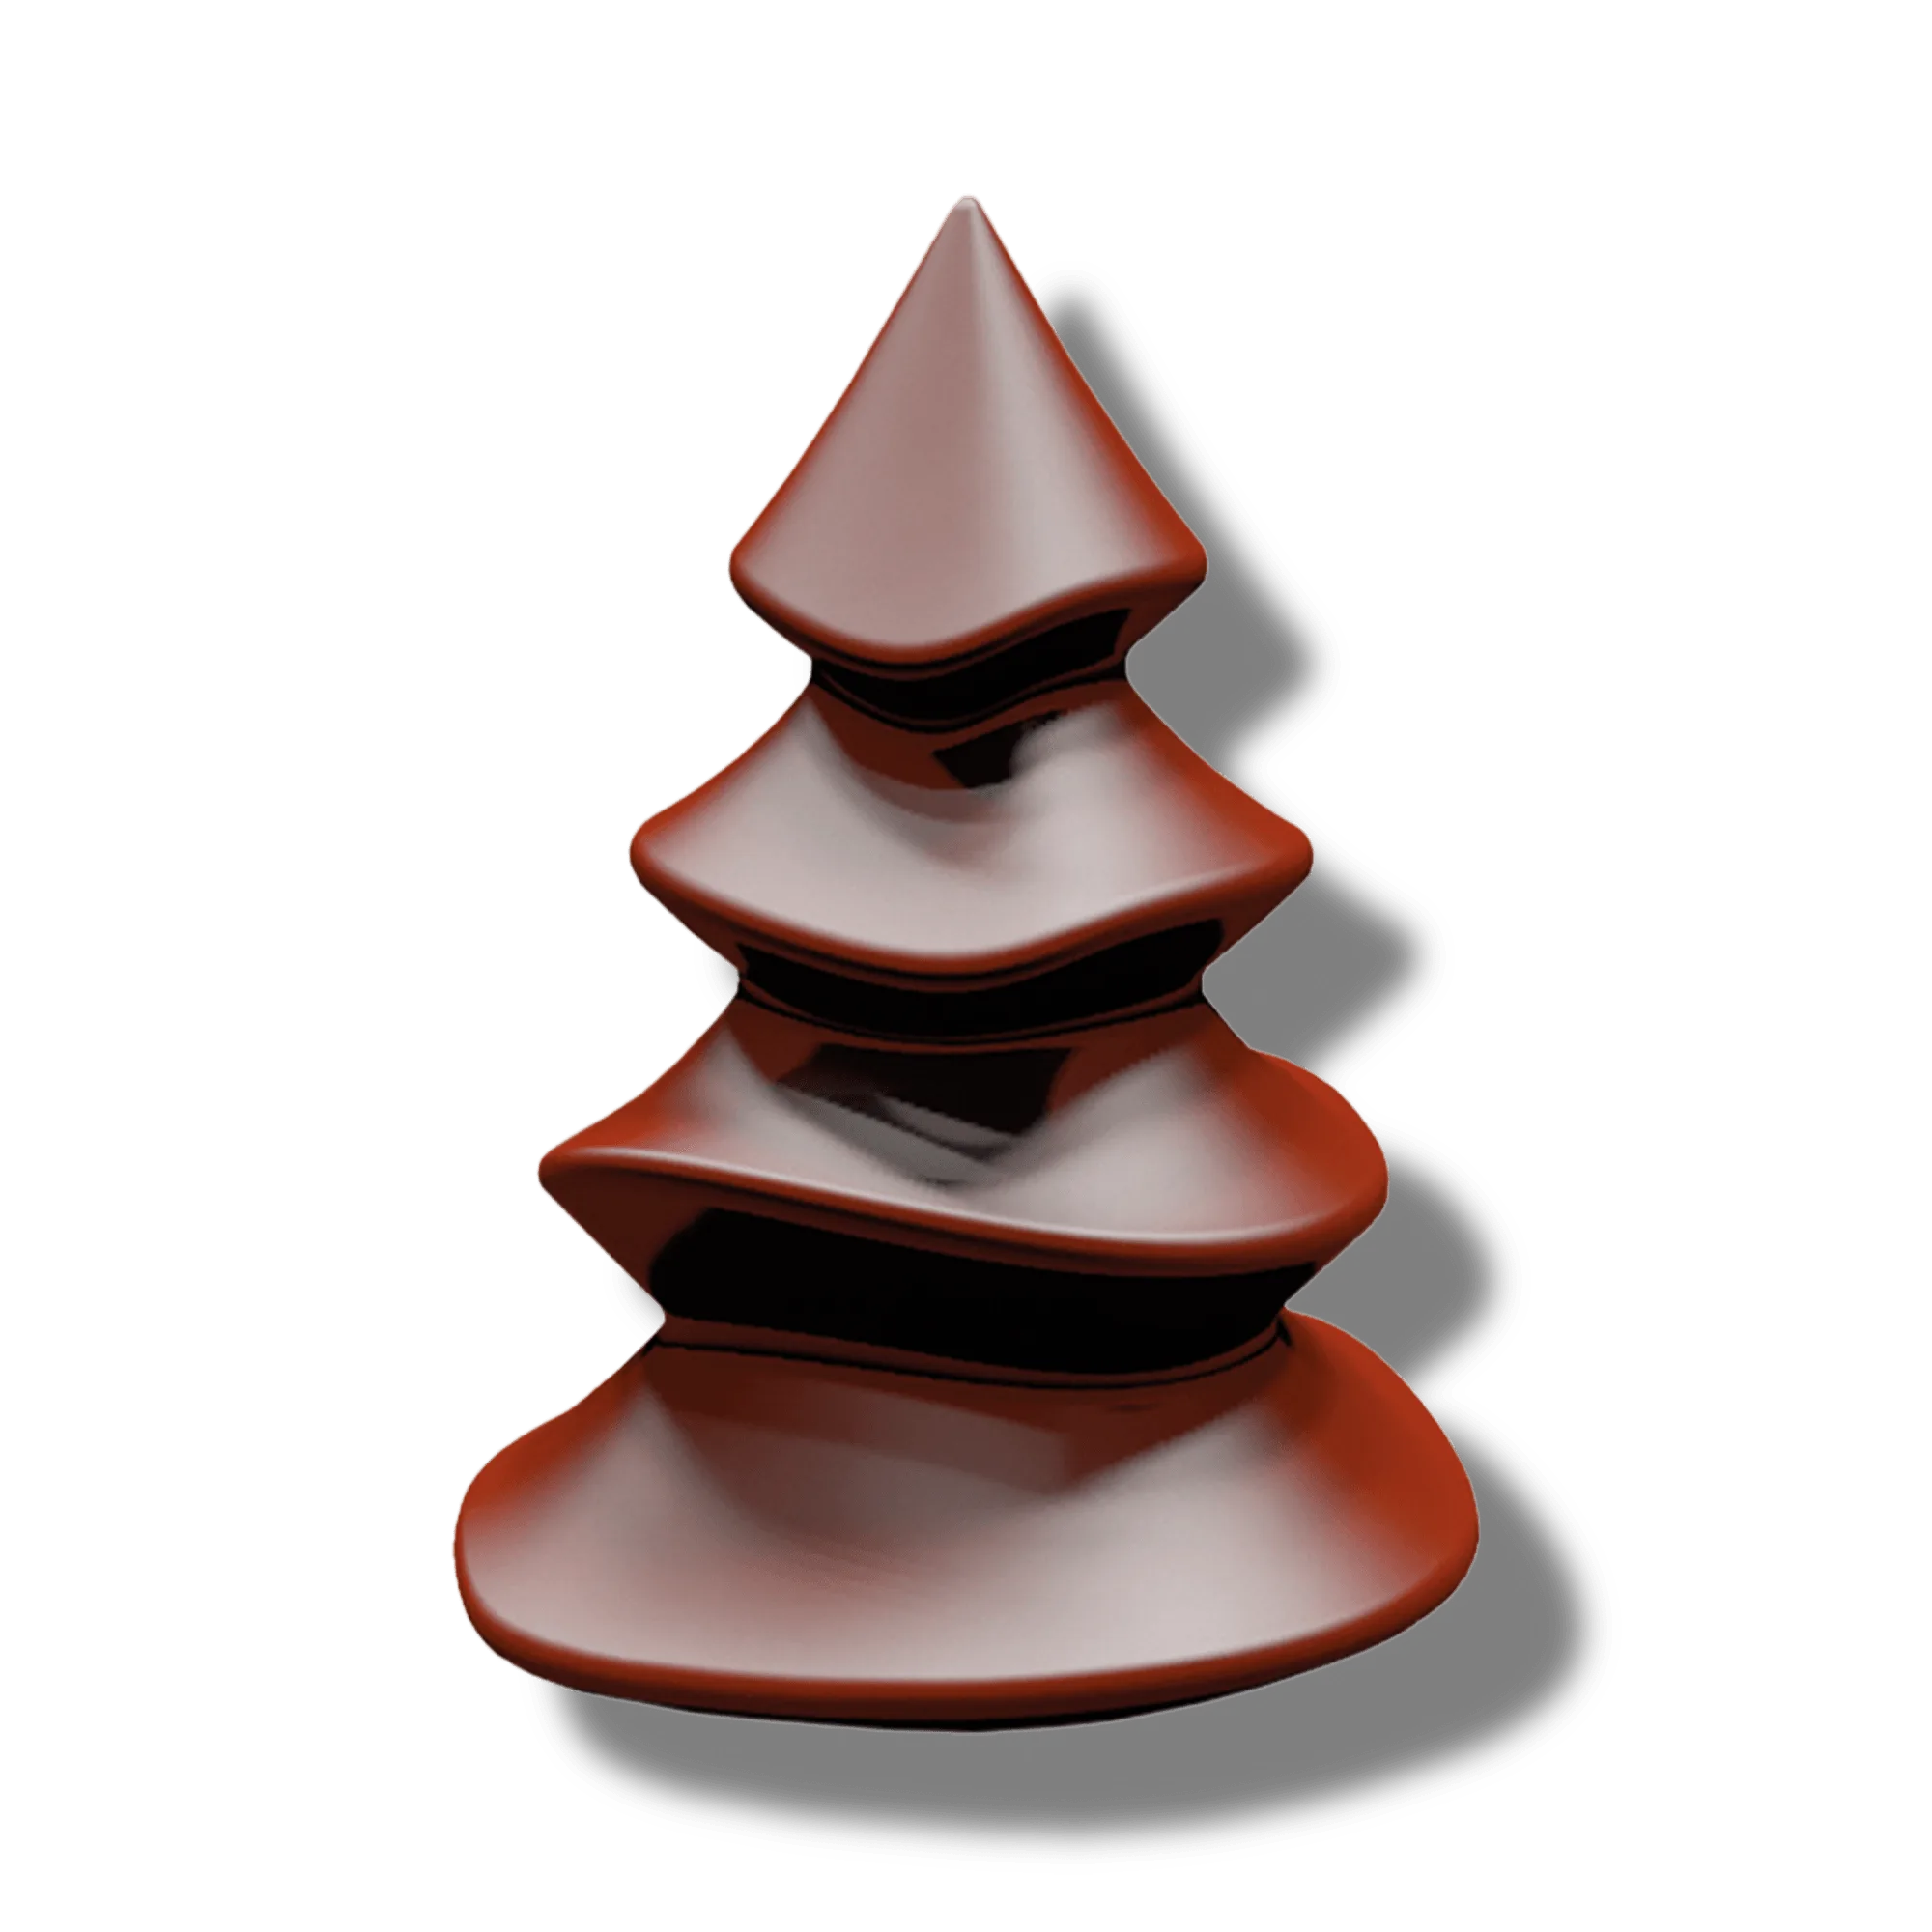
Large Christmas Tree Chocolate Mold
With a properly tempered chocolate and a few careful steps, you can create stunning chocolate Christmas trees that are perfect for holiday trays, gift boxes, or decorating. Remember to avoid the common pitfalls for a smooth, glossy finish.