Quick answer
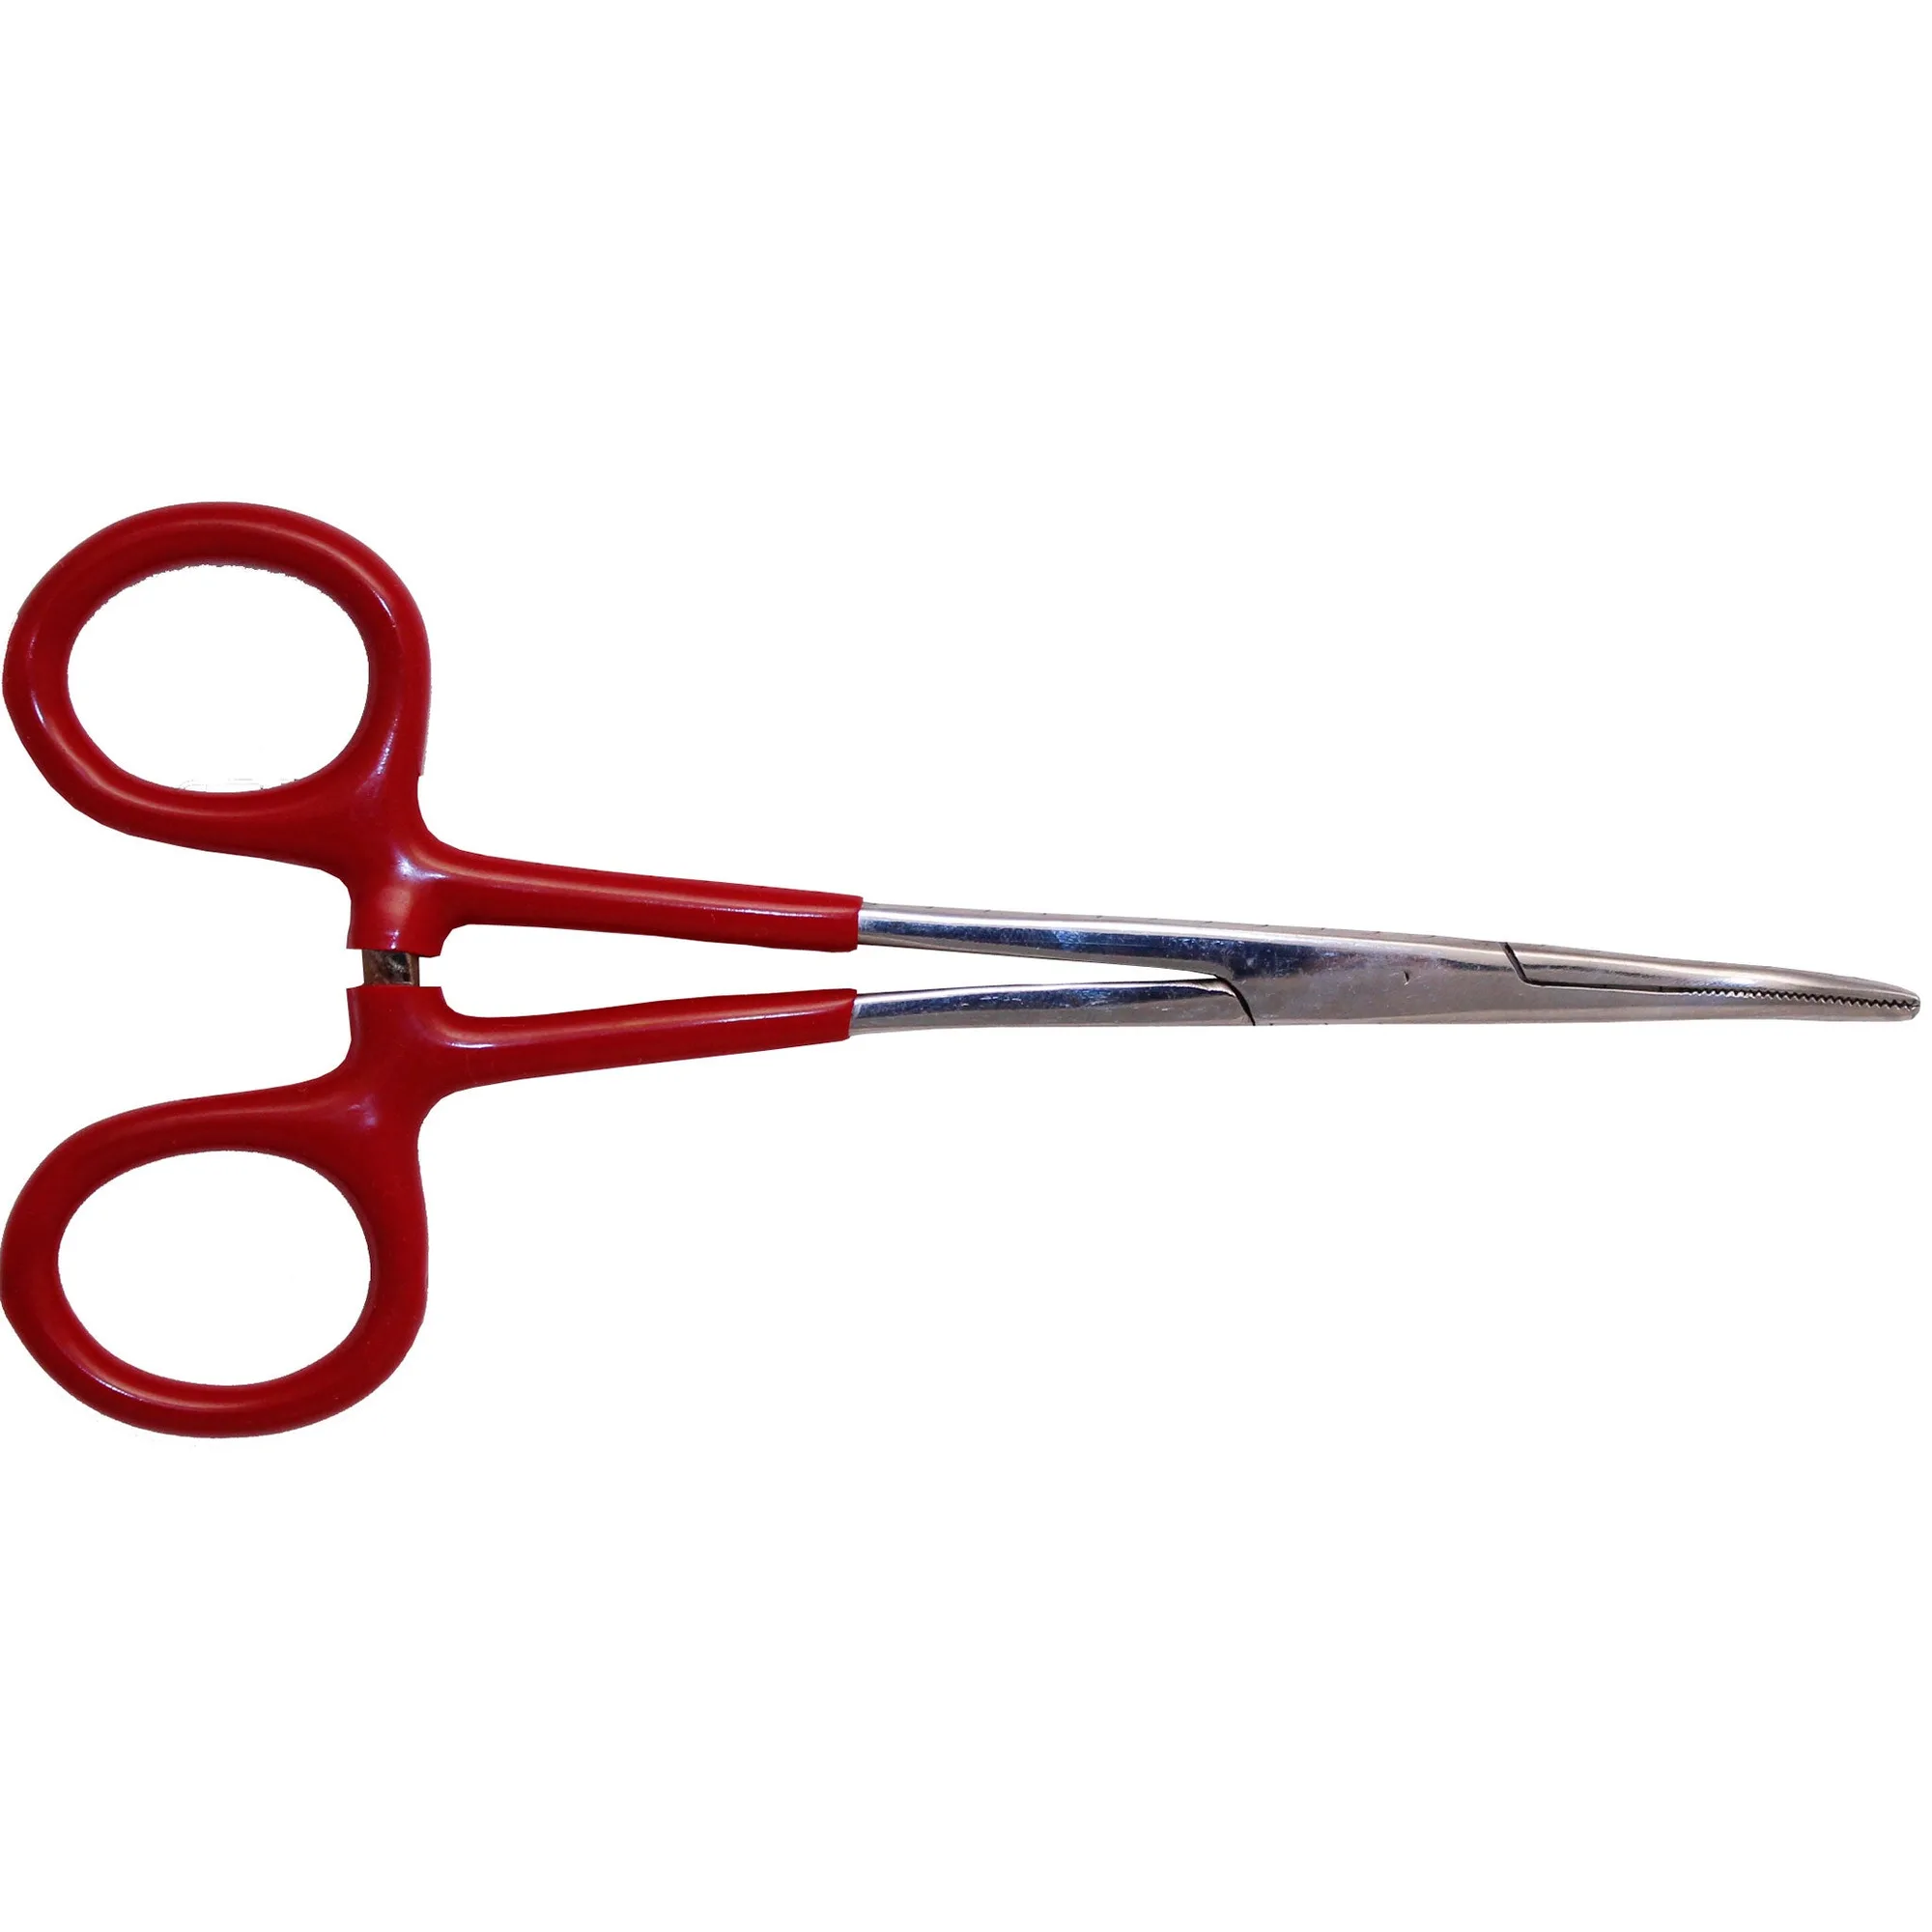
Use a hemostat as a locking clamp by gripping the handle rings, squeezing until the ratchet locks at the pressure you need, and releasing by pressing the handles apart. For craft and repair work, pick a curved nose hemostat when you need to reach around an obstruction, and a straight one for direct clamping. The 5.5" Deluxe Curved Nose Hemostat with Soft Handle is a practical starting point because its soft grip reduces hand fatigue during longer sessions.
Choose the right hemostat for the task
Hemostats come in straight and curved nose versions. A curved nose hemostat crafts users favor for reaching into tight spots, holding wire out of the way, or picking up small parts that have fallen behind an assembly. A straight hemostat gives you more direct clamping force and is easier to align on a flat surface. For jewelry making, a curved tip helps you position jump rings and hold them while you close them. For repair work, a straight tip often works better for holding a screw or pin steady. If you only buy one, consider how often you work in obstructed spaces versus how often you clamp flat parts.
Set your grip and lock the jaws
Hold the hemostat with your thumb and ring finger inside the handle loops, using your index finger to steady the body. Squeeze gently until the jaws close on the object. The ratchet mechanism has multiple locking positions, so you can choose light pressure for delicate parts or firmer pressure for metal. Do not force the jaws closed on a hard object; if the ratchet will not advance, reposition the jaws rather than squeezing harder. To release, press the two handle loops apart with your thumb and fingers. Practice locking and releasing on a scrap piece of wire before you use it on a finished assembly.
Use a hemostat as a third hand
The most common craft use for a hemostat is as a temporary clamp. Lock the jaws onto a wire, a dowel, or a small component, then let the hemostat rest on your bench so the part stays put while you work with both hands. This is especially useful when soldering, gluing, or painting small items. Because the hemostat is stainless steel, it can handle brief heat exposure, but avoid leaving it in a flame or on a hot plate. For electronics repair, a hemostat can hold a wire in place while you solder, but keep the jaws away from sensitive components to avoid scratching or shorting.
Avoid common mistakes
Do not use a hemostat as a substitute for a wrench or pliers on nuts and bolts; the serrated jaws can mar the fastener. Do not overtighten the ratchet on plastic or soft materials, as the teeth can leave deep impressions. Do not use a hemostat to pull or twist with force; it is a clamping tool, not a lever. Finally, do not assume all hemostats are the same size. A 5.5-inch hemostat fits most craft and hobby tasks, but a smaller or larger one may suit your hand or workspace better. Check the length before you buy if you plan to work in tight spaces.
Step-by-step: using a hemostat from first grip to release
- Inspect the jaws and ratchet: Before each use, check that the jaw teeth are clean and the ratchet locks smoothly. A bent tip or sticky ratchet can slip under pressure. If the jaws do not meet evenly, do not use the tool for clamping. Checkpoint: jaws should close with light pressure and lock without forcing.
- Position the jaws on the object: Place the tip of the jaws around the wire, pin, or part you want to hold. For a curved nose hemostat, approach from the side so the curve wraps around the object. For a straight hemostat, align the jaws perpendicular to the object. Checkpoint: the object should sit in the middle of the jaws, not at the very tip.
- Squeeze and lock at the right pressure: Close your hand gradually until you feel the ratchet click into the first or second position. Use the lightest lock that holds the object without crushing it. For metal wire, you may need the third position; for plastic or delicate parts, stop at the first. Checkpoint: if the object deforms or the jaws slip, release and reposition.
- Let the hemostat rest as a clamp: Once locked, you can rest the handle on your bench or hold it in a vise. This frees both hands for soldering, gluing, or tying. Do not hang the hemostat from the object; support the handle to avoid stressing the jaws. Checkpoint: the object should stay steady without you holding the hemostat.
- Release and store: To release, press the handle loops apart with your thumb and fingers. Do not pull the jaws off the object while locked. Wipe the hemostat with a dry cloth after use and store it in a dry place to prevent rust. Checkpoint: the ratchet should open smoothly and the jaws should spring apart.
Product facts
- 5.5" Deluxe Curved Nose Hemostat with Soft Handle: 5.5" Deluxe Curved Nose Hemostat with Soft Handle, stainless steel body, curved tip, three-level locking mechanism, soft grip handle. The curved tip reaches around obstructions, and the three locking positions let you match pressure to delicate or firm clamping tasks. The soft handle reduces hand fatigue during longer sessions.