Quick Answer
To use a jelly roll for a quilt top, lay out the strips in a pleasing order, sew them together along the long edges, and then cut and rearrange the resulting panel to create your design. This tutorial walks you through each step, with checkpoints to keep your seams accurate and your fabric square.
What You Need to Get Started
Before you begin, gather your jelly roll, a quarter-inch foot, a rotary cutter, a cutting mat, and a ruler. A jelly roll typically contains 2.5-inch wide strips that are already cut, so you don't need to do any initial cutting. If you are using a pre-cut bundle like the Timeless Stitches - 6.5" strips, note that those are wider and may require a different layout, but the sewing technique is the same.
Press your strips before sewing to remove any creases from storage. This helps your seams lie flat and ensures accurate piecing. Take your time to organize the strips in a sequence you like; this is your chance to plan the color flow of your quilt top.
Understanding Strip Layouts
There are many ways to arrange jelly roll strips. The simplest is to sew them all together edge-to-edge to create a striped panel, then cut that panel into segments to rotate and rearrange. This creates a classic bargello or rail fence effect. Alternatively, you can sew strips into pairs, then cut and resew to create a checkerboard or brick pattern.
For a first project, a straight strip set is the most forgiving. It lets you focus on consistent seam allowances and pressing without worrying about complex geometry. Once you are comfortable, you can experiment with more intricate layouts.
Step-by-Step Process
- Step 1: Press and Organize Strips: Lay out your jelly roll strips on a flat surface and decide the order. Press each strip to remove wrinkles, but avoid stretching the fabric. Use a dry iron on cotton setting. Checkpoint: Your strips should lie flat and have straight edges. If any strip is twisted, press it again before sewing.
- Step 2: Sew Strips Together with a Quarter-Inch Seam: Place two strips right sides together, aligning the long edges. Sew with a quarter-inch seam allowance. Continue adding strips one at a time to create a long panel. Use pins if needed to keep edges aligned. Checkpoint: After sewing a few strips, measure the seam allowance. It should be exactly a quarter inch; adjust if your seams are wider or narrower.
- Step 3: Press Seams in One Direction: After each seam, press the seam allowance to one side (usually toward the darker fabric). This reduces bulk and helps the panel lie flat. Avoid pressing with an iron that is too hot, as it can distort the fabric. Checkpoint: The panel should be smooth with no puckers. If you see puckering, check your seam allowance and press again.
- Step 4: Cut the Panel into Segments: Once your panel is complete, trim the uneven edges with a rotary cutter and ruler. Then cut the panel into segments of your desired width (commonly 6.5 or 8.5 inches). This creates blocks that you can rotate and rearrange. Checkpoint: Ensure your cuts are straight and perpendicular to the seams. A dull blade can cause uneven cuts, so replace if necessary.
- Step 5: Arrange and Sew the Blocks: Lay out the cut segments on a design wall or floor. Rotate them to create a pattern you like. Once satisfied, sew the blocks together in rows, then join the rows to complete your quilt top. Checkpoint: Before sewing the final seams, double-check that all blocks are oriented correctly. A quick photo from above can help you see the pattern without straining.
Products That Help
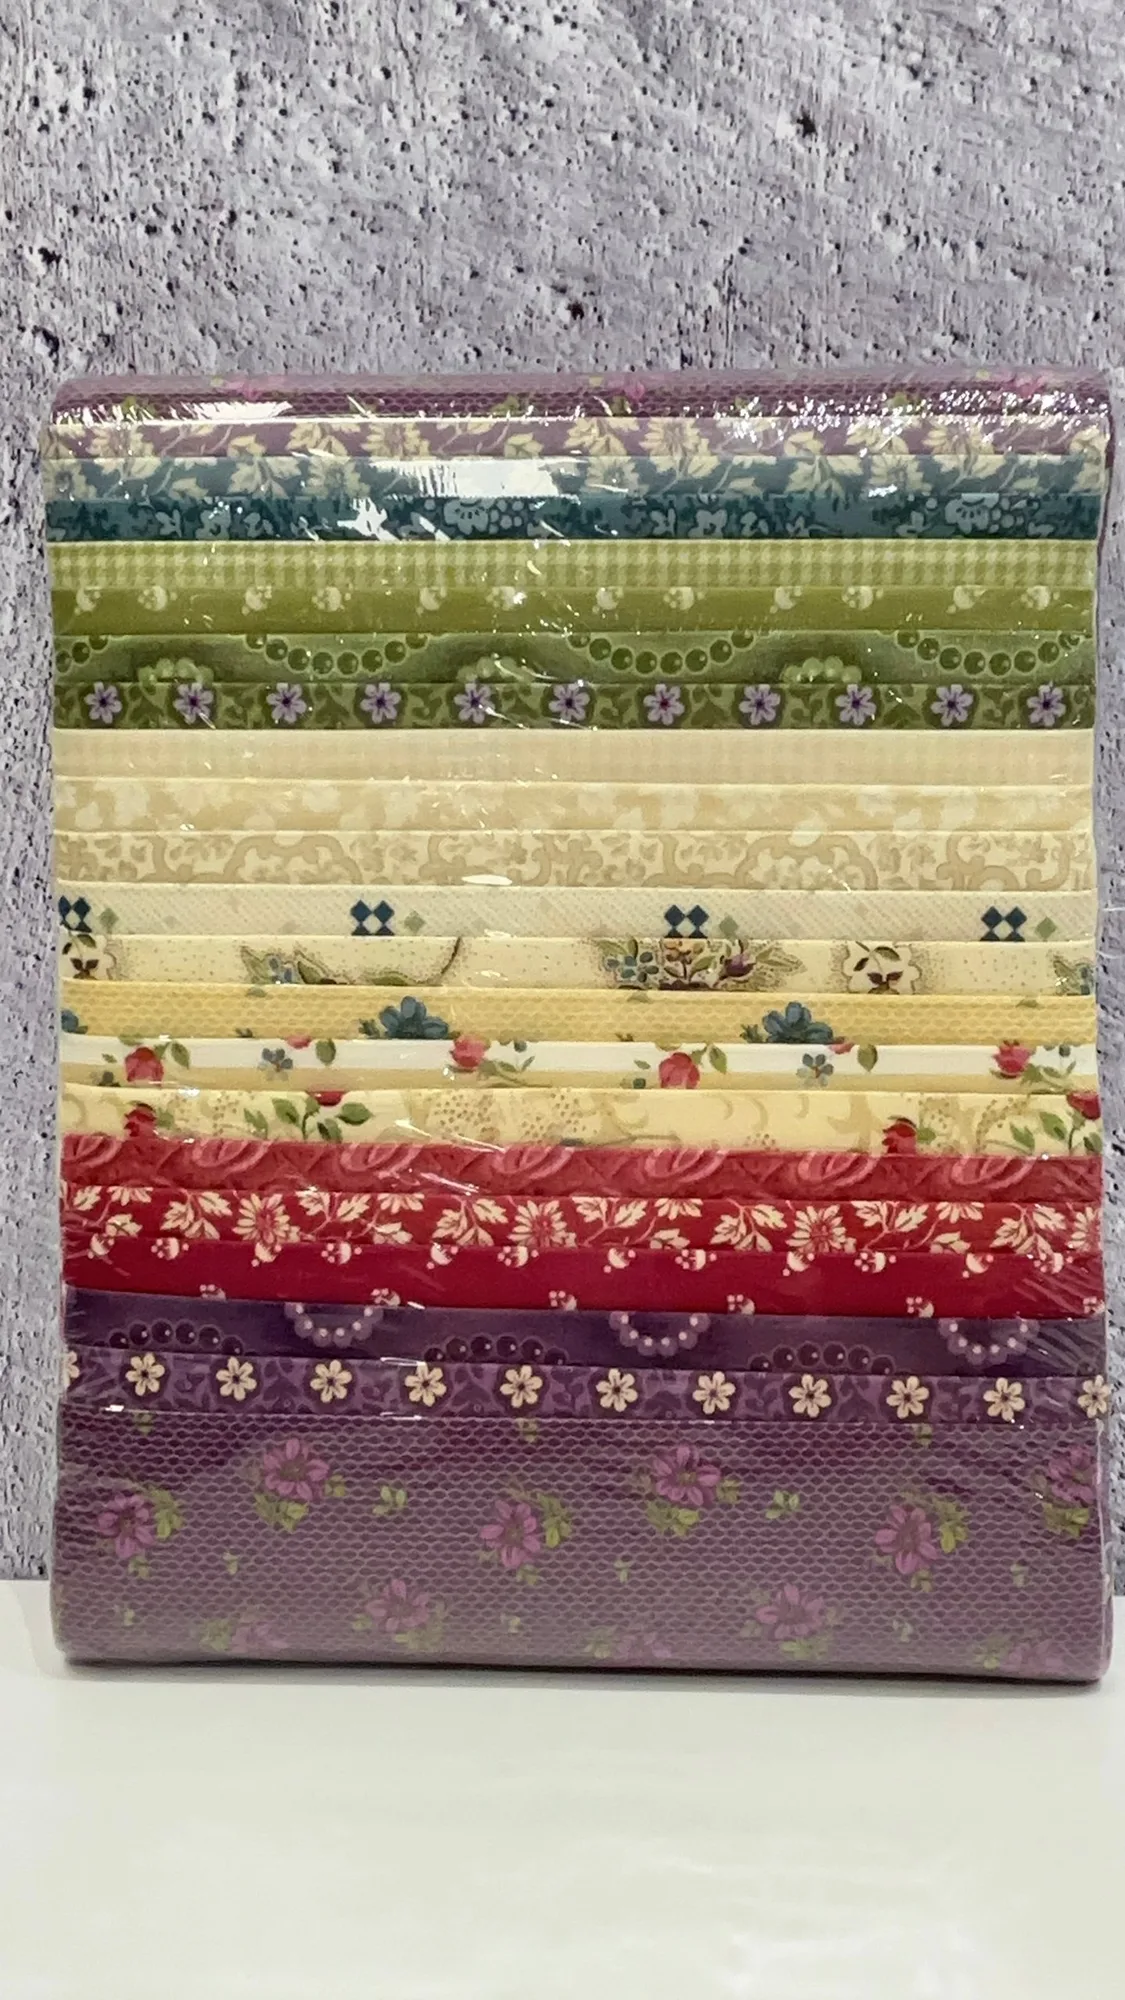
- Timeless Stitches - 6.5", 21 pcs - Vegas Strip: The Timeless Stitches - 6.5" pre-cut bundle includes 21 pieces of cotton fabric, each cut to 6.5 inches, making it a convenient choice for projects that require coordinated strips. If you prefer wider strips than a standard jelly roll, this bundle gives you a head start. The 6.5-inch width means fewer seams for a given quilt size, which can speed up your piecing and reduce bulk.