Quick Answer
To use a layer cake for a quilt, start by planning your layout, then sew the 10-inch squares into rows, press seams, and assemble the quilt top. Keep your fabric squares square by handling them gently and pressing with a dry iron.
Why Layer Cakes Are Great for Beginners
Layer cakes are bundles of 42 coordinating 10-inch fabric squares, so they take the guesswork out of color matching. Because the squares are already cut, you can skip the tedious fabric cutting and dive straight into sewing.
The 10-inch size is versatile: you can sew squares as-is for a simple patchwork quilt, or cut them into smaller pieces like half-square triangles or quarter-square triangles for more complex patterns. This flexibility makes layer cakes ideal for trying new techniques without committing to a large fabric purchase.
Choosing a Layer Cake Pattern
Not all layer cake quilt patterns are equal. Some use the full 10-inch square, while others require cutting into smaller units. For your first quilt, pick a pattern that uses the squares whole or only cuts them into halves or quarters. This keeps the project manageable and reduces the risk of miscutting.
Many patterns specify how many squares you need. A standard layer cake has 42 squares, which is enough for a lap quilt or a baby quilt, but not for a large bed quilt. Check the pattern requirements before you start to avoid running out of fabric.
What to Know About Fabric Quality
The quality of your layer cake affects how your quilt looks and lasts. Look for 100% cotton fabric, which is easy to sew, presses well, and holds its shape. Some layer cakes include a variety of prints, from florals to geometrics, so you can find a style that suits your project.
If you're unsure about a brand, read the product description for details about the fabric content and collection. This helps you know what to expect before you buy.
Step-by-Step: Make a Layer Cake Quilt
- Plan your layout: Decide how many squares you'll use and arrange them on a flat surface. For a simple quilt, lay squares in a grid, like 6 squares across by 7 rows. Move squares around until you like the color balance. Take a photo of your layout so you can refer to it while sewing.
- Sew squares into rows: Pair two squares right sides together and sew with a 1/4-inch seam allowance. Continue adding squares to make a row. Press the seams to one side, alternating direction from row to row. Check that your seam allowance is consistent; a 1/4-inch foot helps.
- Join the rows: Place two rows right sides together, matching the seams. Pin at each seam intersection to keep the points aligned. Sew the rows together, then press the seams open or to one side. Match seams carefully to avoid wavy rows; pinning prevents shifting.
- Add borders (optional): Cut border strips from coordinating fabric and sew them to the quilt top. Borders frame your quilt and can make it larger. Measure the quilt top before cutting borders to ensure they fit. Measure the quilt top, not the edges, to avoid wavy borders.
- Quilt and finish: Layer the quilt top, batting, and backing, then baste them together. Quilt by machine or hand, then trim the edges and add binding. This step turns your quilt top into a finished quilt. Use a walking foot for even feeding when quilting.
Layer Cakes to Consider
-
Still 10 X 10 Squares - 42 Cuts Each 3S-STILL-X: This Andover Fabrics layer cake includes 42 coordinating 10-inch squares from the Still collection. With 42 squares, you have enough fabric for a lap quilt, and the coordinating prints simplify color planning.
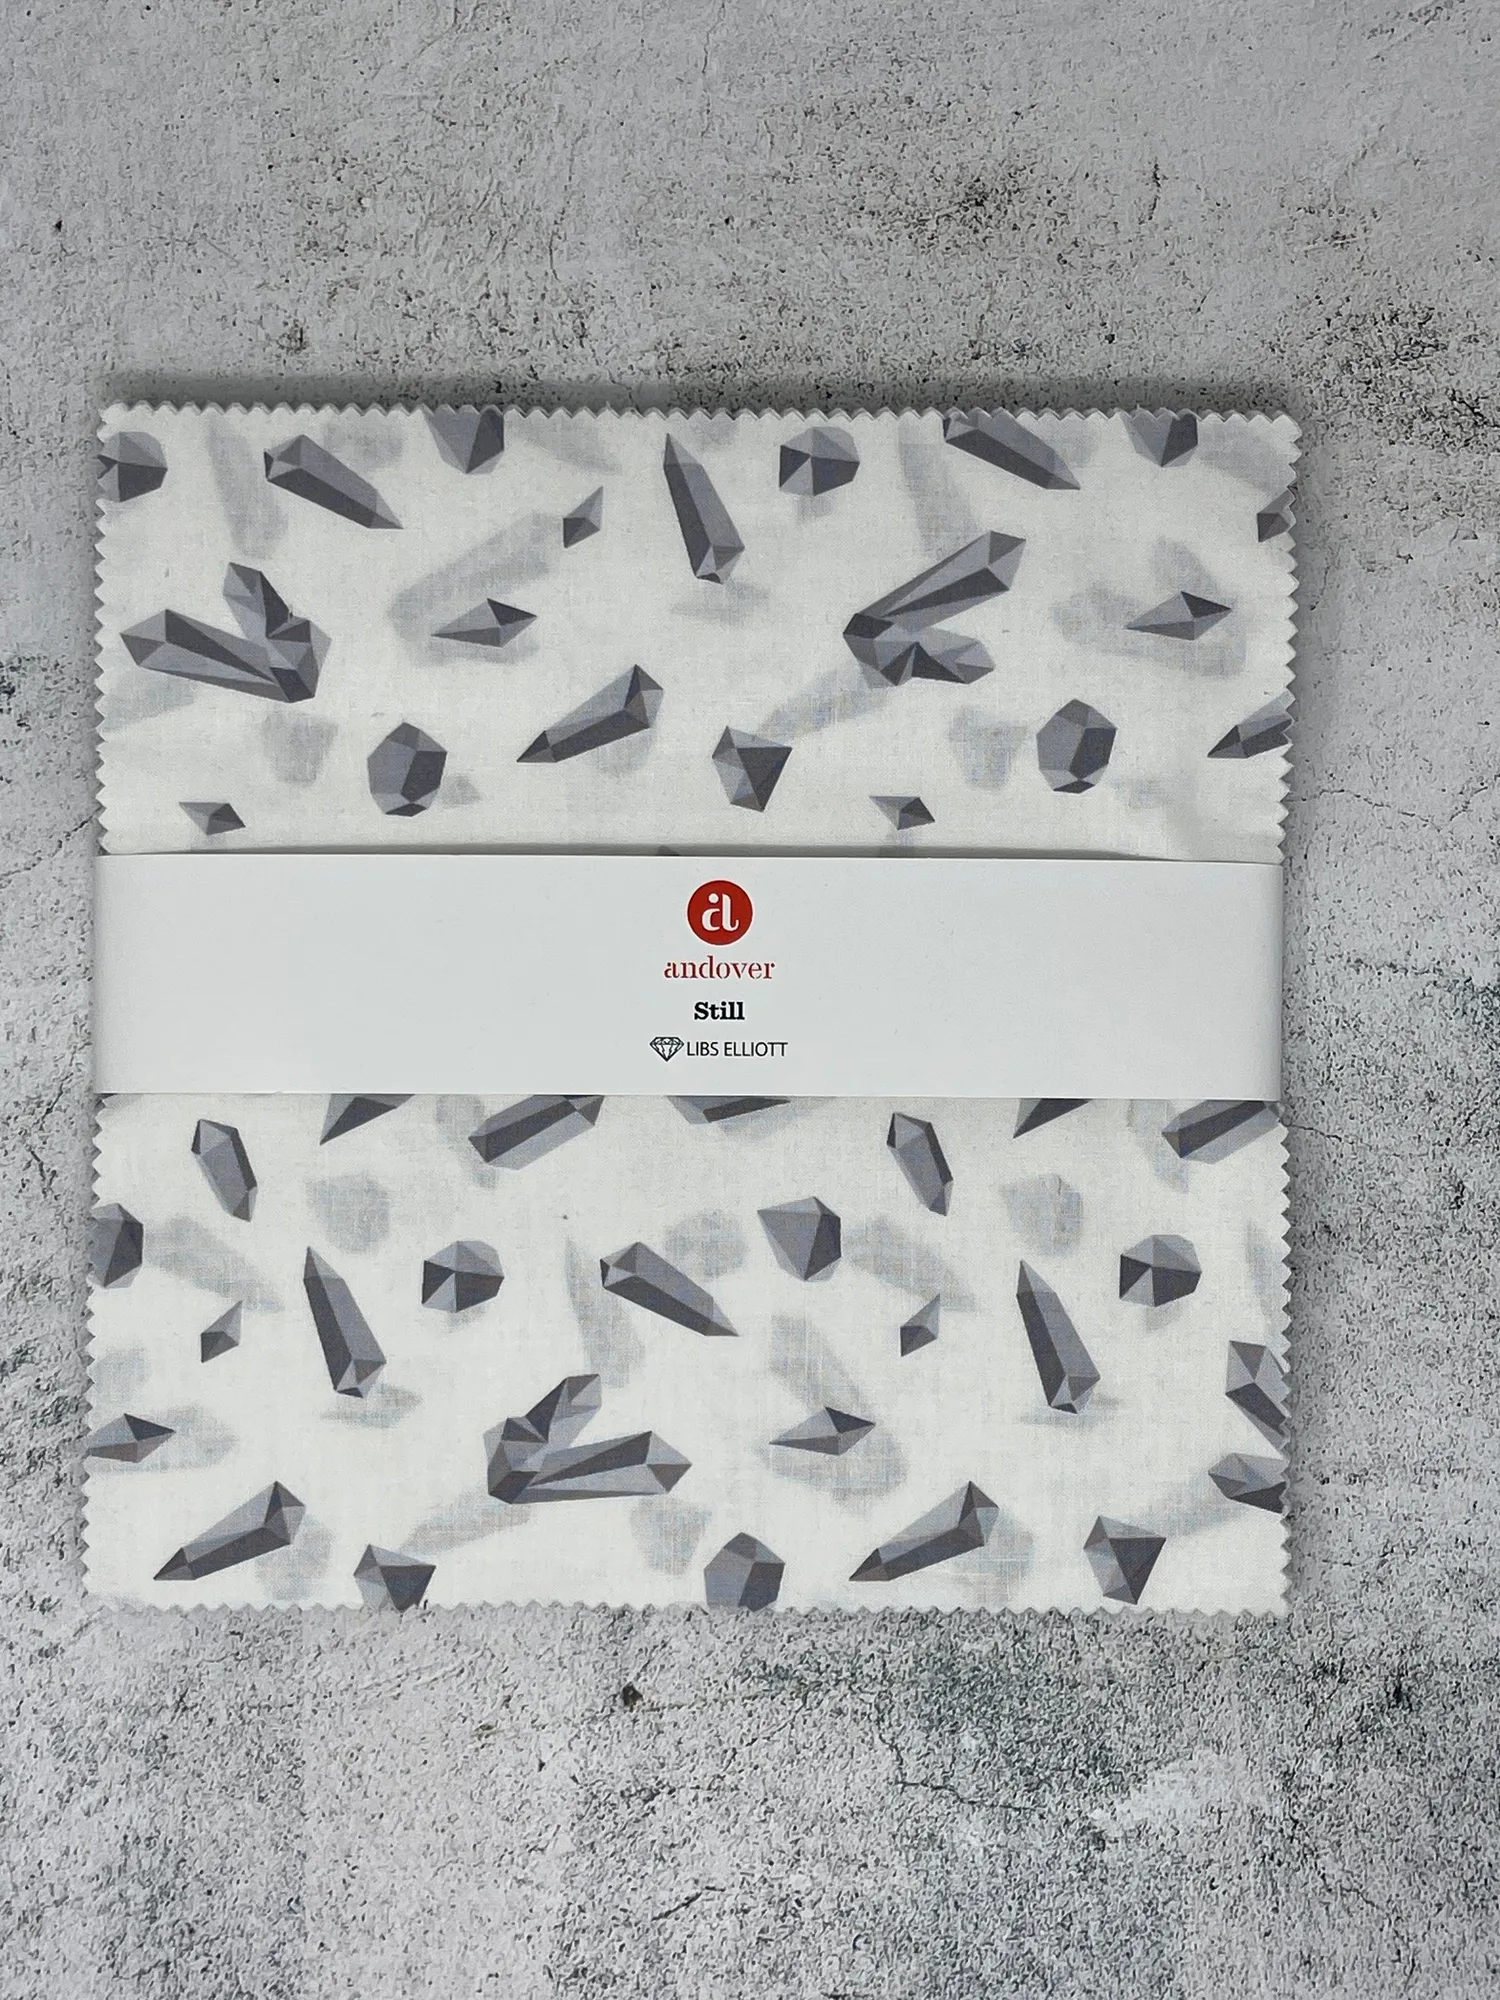
Still 10 X 10 Squares - 42 Cuts Each 3S-STILL-X
-
Bee Haven 10x10 Pack BEE10PK: The Bee Haven collection by Benartex features bee, honeycomb, and floral prints in warm colors, and the fabric is cotton. Cotton fabric is beginner-friendly for sewing and pressing, and the cheerful prints add personality to your quilt.
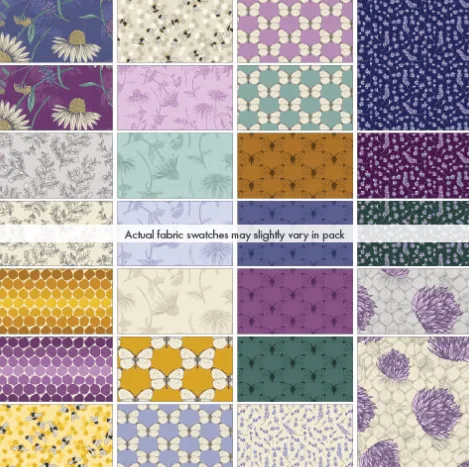
Bee Haven 10x10 Pack BEE10PK