Quick answer
Paint a thin base layer, then apply your second or third coat and immediately hold a nail magnet about 1–2 mm above the wet polish for 10–20 seconds without touching it. Pull the magnet straight up before moving on, and finish with a quick-dry top coat to lock in the magnetic effect.
Magnetic nail polish is one of the few finishes that lets you control where the shimmer lands. The magnet pulls reflective particles into a band, a cat-eye, or a soft glow, but the effect only appears if you work with wet polish and a steady hand.
This tutorial walks through the full process, from choosing a magnet to sealing the design. You will also find the small checkpoints that separate a crisp magnetic line from a muddy one, plus how a shade like Parallel Possibilities behaves when a magnet is involved.
What you need before you start
You do not need a full salon setup, but a few basics make the process far more predictable. Start with a magnetic polish, a nail magnet, a base coat, and a quick-dry top coat. A silicone mat or a steady surface helps because you will be holding the magnet still for several seconds at a time.
Magnetic polish is activated by the magnet, not by the brush. If you skip the magnet, the polish still looks like a multichrome or shimmer, but the signature pull effect will not appear. That is why the magnet is a required tool rather than an optional extra for this finish.
- Work one nail at a time so the polish stays wet while the magnet is in place.
- Keep a paper towel nearby for quick brush wipes between coats.
Step 1: Prep and apply a base coat
Clean the nail, push back cuticles if needed, and apply a thin base coat. Let it dry completely before moving on. A smooth base helps the magnetic particles line up evenly, and it also protects the nail from any staining that can come with deeply pigmented shades.
If you are using a polish that is also a topper, such as Joker or Royal Flush, decide now whether you want a full-coverage look or a layer over a base color. Both products are designed to work either way, so the choice changes how many coats you will need.
- Do not skip base coat, even for a single test nail.
- If your base coat is still tacky, wait another minute before painting color.
Step 2: Apply the first color coat and let it settle
Paint a thin first coat of your magnetic polish and let it dry to the touch. This layer builds color and gives the second coat something to grab onto. Most magnetic polishes recommend two to three coats total, so the first pass is about even coverage rather than the final look.
Do not hover the magnet over this first coat. The magnet works best on the last wet layer, and using it too early can pull particles into a weak pattern that later coats will cover up.
- Keep the first coat thin to avoid pooling at the cuticle.
- Check for bald spots now; they are easier to fix before the magnet step.
Step 3: Apply the magnet-ready coat
Apply your second or third coat and leave it wet. This is the layer the magnet will activate. Work on one nail at a time and keep the brush strokes smooth so the surface is level. If the polish looks uneven, add a little more before you pick up the magnet.
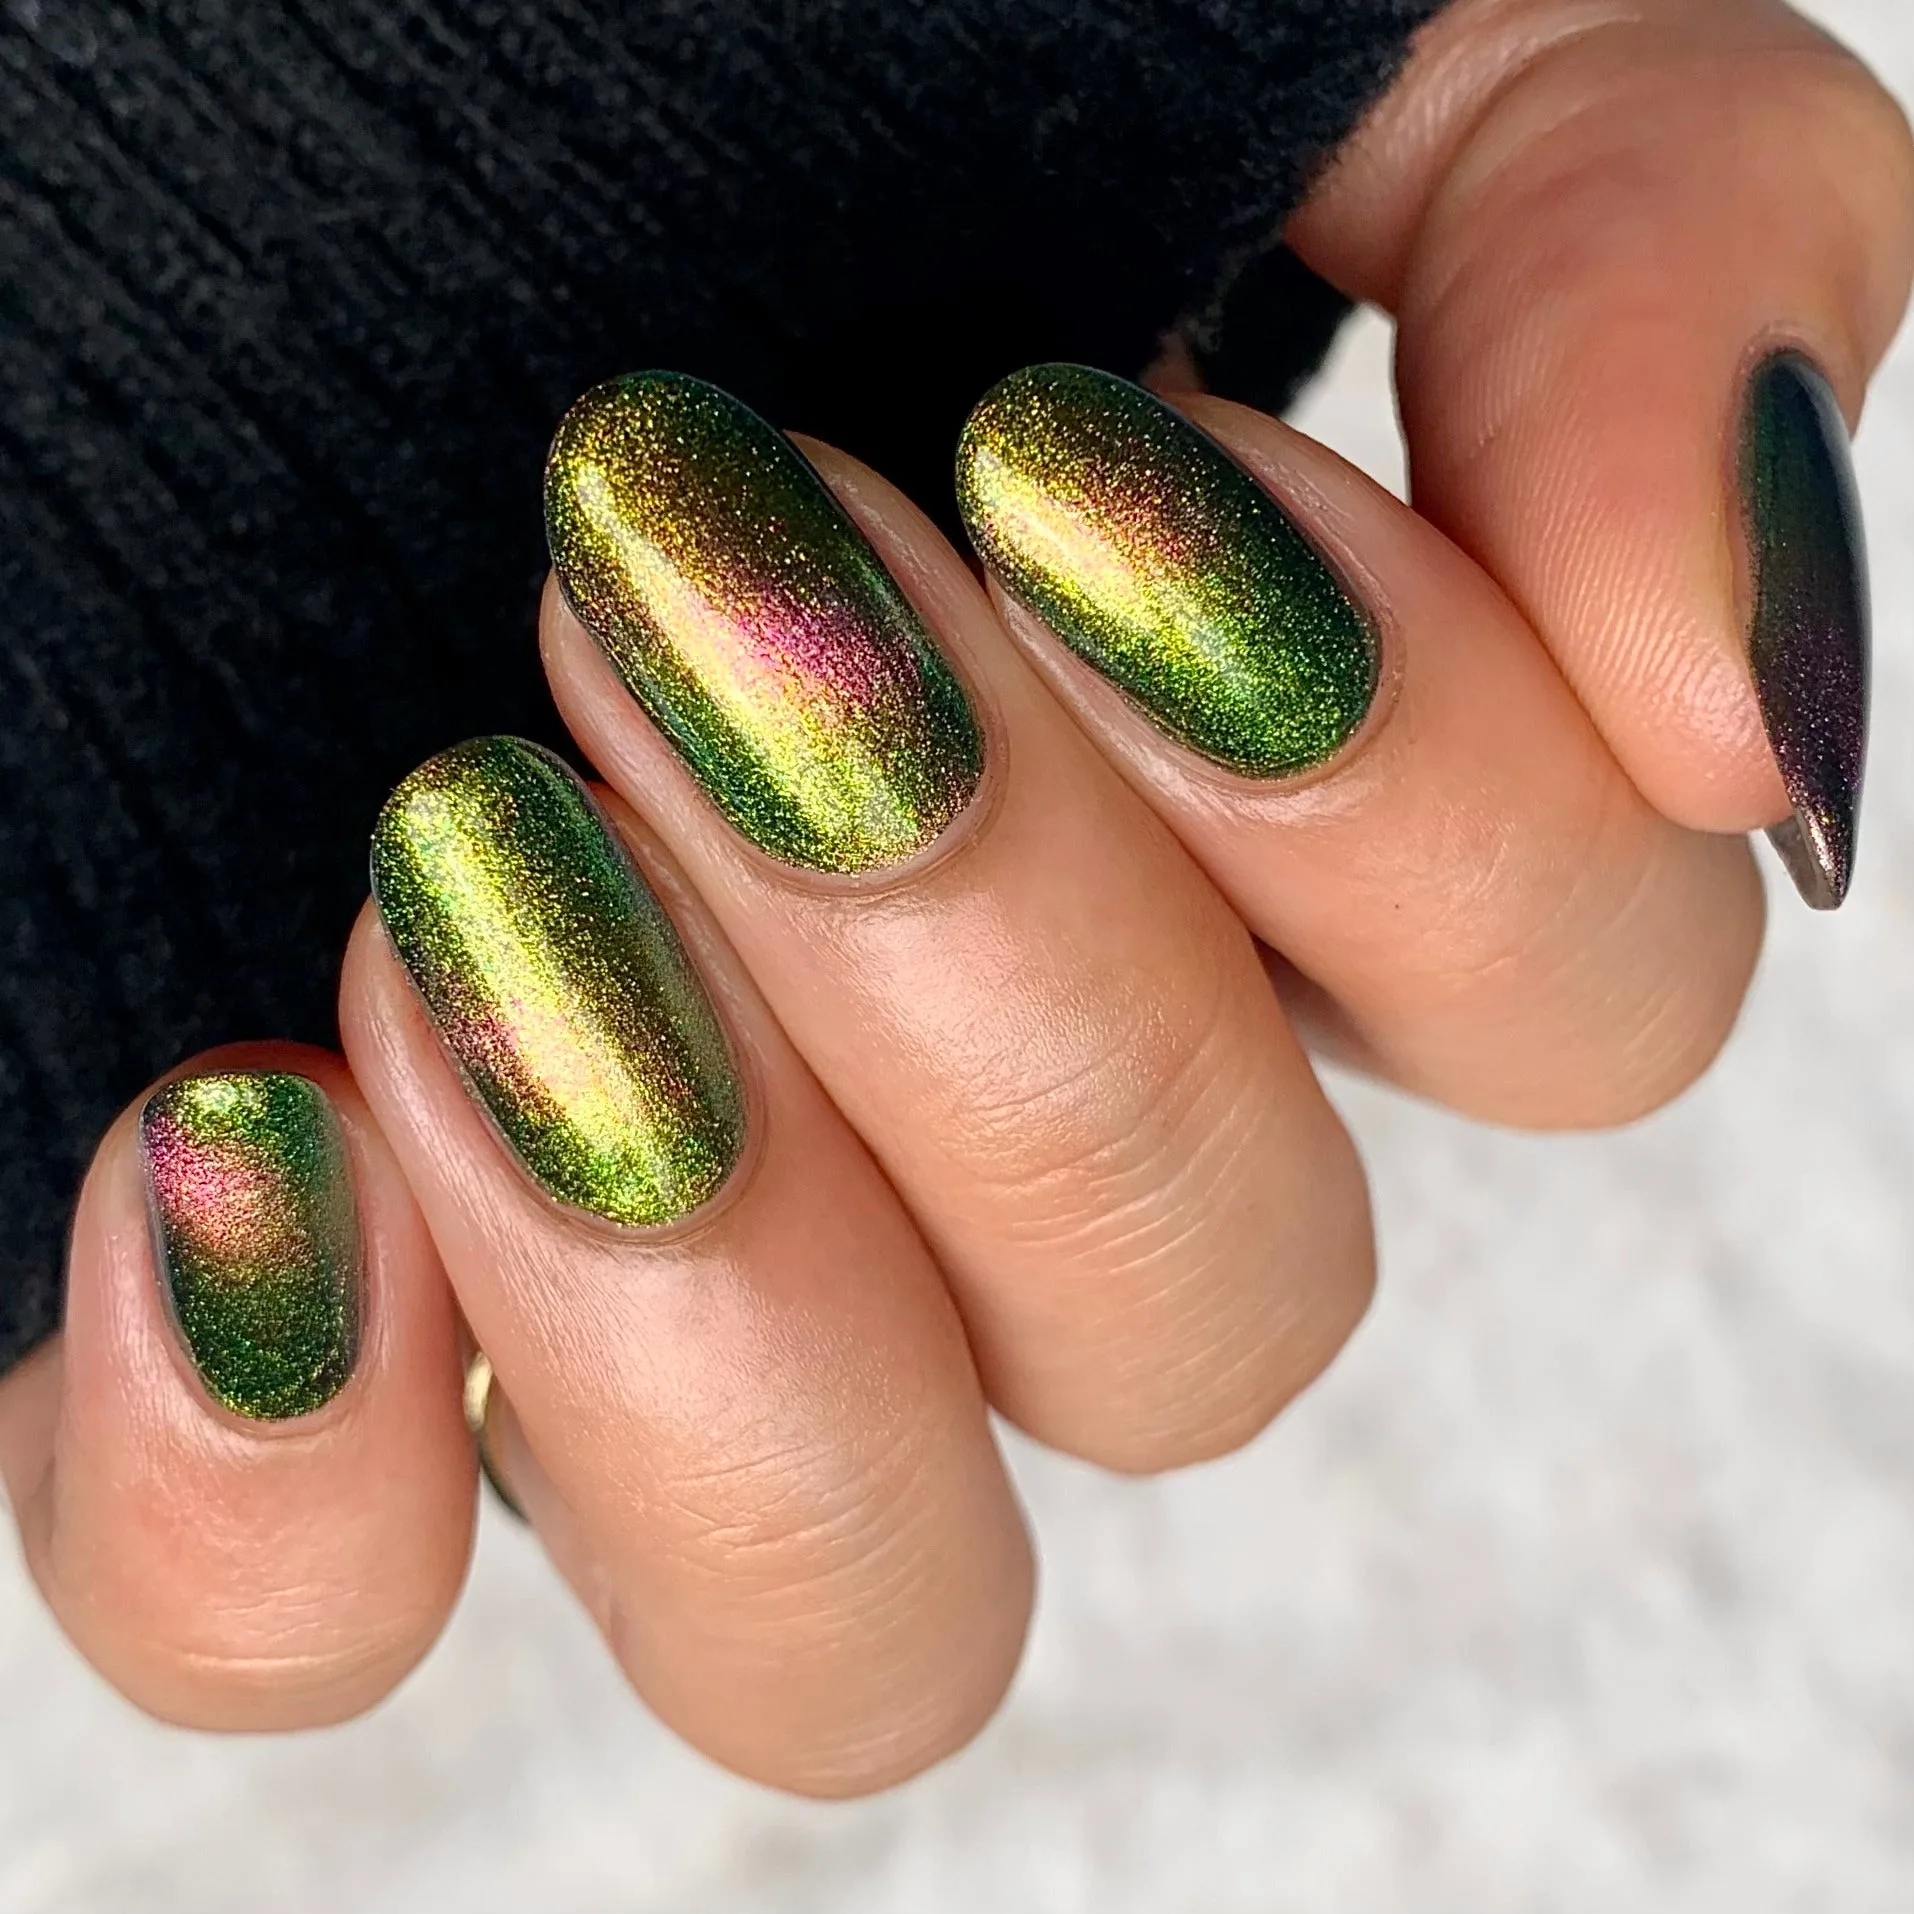
For a shade like Parallel Possibilities, the polish is a multichrome that shifts gold, green, and blue, and the magnetic effect shifts pink to gold. That means the magnet changes the direction of the shimmer, not the base color, so the wet layer needs to be thick enough for particles to move.
- Do not let this coat dry before the magnet goes on.
- If you are painting multiple nails, finish one nail completely before starting the next.
Step 4: Hold the magnet still and close
Hold the nail magnet about 1–2 mm above the wet polish. Do not touch the surface. Keep the magnet still for 10–20 seconds. Small movements will blur the line, so brace your hand against the table or your other hand if needed. The closer the magnet, the sharper the effect, but touching the polish will ruin the coat.
When the time is up, lift the magnet straight up and away. Do not drag it sideways across the nail. If you want a different pattern, such as a diagonal band or a cat-eye, change the magnet angle before you lower it, not after.
- Set a timer for 15 seconds if you tend to rush.
- If the pattern looks weak, you can sometimes re-wet the surface with a thin layer of polish and try again.
Step 5: Seal the effect with top coat
Once the magnetic pattern is set, apply a quick-dry top coat. This locks the particles in place and adds gloss. Some magnetic polishes also contain shimmer or reflective glitter, and a top coat helps those particles sparkle instead of looking dull. Take That Risk, for example, is a yellow-gold shimmer with silver reflective glitters that become flashy under bright light, and a top coat helps those glitters pop.
Wrap the top coat over the tip of the nail to reduce chipping. Let it dry fully before you use your hands for anything rough. If you are wearing a topper like Joker or Royal Flush over a base color, the top coat also smooths any glitter texture.
- Use a quick-dry top coat to prevent smudging the magnetic line.
- Avoid matte top coat if you want the reflective particles to stay bright.
Common mistakes and how to avoid them
The most common mistake is waiting too long between painting and magnetizing. Magnetic polish needs to be wet for the particles to move. If the polish has started to skin over, the magnet will barely do anything. Another frequent issue is holding the magnet at an angle or moving it, which creates a soft blur instead of a defined line.
A third mistake is using too many coats. More than three coats can make the polish thick and slow to dry, which increases the chance of dents. Stick to the recommended two to three coats and let each layer dry enough to support the next one. If you are working with a topper, one to three coats is typical, depending on whether you want full coverage or a layered look.
- Keep the magnet parallel to the nail for a cleaner line.
- If the polish gets tacky, remove it and start that nail again rather than fighting it.
Magnetic polish step-by-step checklist
- Prep the nail and apply base coat: Clean the nail, push back cuticles, and apply a thin base coat. Let it dry completely. Checkpoint: the nail should feel dry to the touch before color goes on.
- Paint a thin first color coat: Apply one thin layer of magnetic polish and let it settle. Do not use the magnet yet. Checkpoint: coverage should be even but not fully opaque.
- Apply the wet magnet-ready coat: Paint a second or third coat and leave it wet. Work one nail at a time. Checkpoint: the surface should look glossy and movable, not tacky.
- Hold the magnet 1–2 mm above the polish: Keep the magnet still for 10–20 seconds, then lift it straight up. Checkpoint: a defined band or glow should appear before you move on.
- Seal with quick-dry top coat: Apply top coat over the magnetic pattern and wrap the tip. Checkpoint: the pattern should stay sharp and the surface should dry without smudging.
Products that work well with this method
- Parallel Possibilities - Shifting Multichrome Magnetic Nail Polish - Shifts Gold, Green, and Blue - Into the Multiverse Collection: This polish is a multichrome that shifts gold, green, and blue and has a magnetic effect that shifts pink to gold. A nail art magnet is required to create the magnetic effect. It is a clear example of a magnetic polish where the magnet changes the shimmer direction, so the wet-coat timing in this tutorial directly controls how strong the pink-to-gold shift looks.
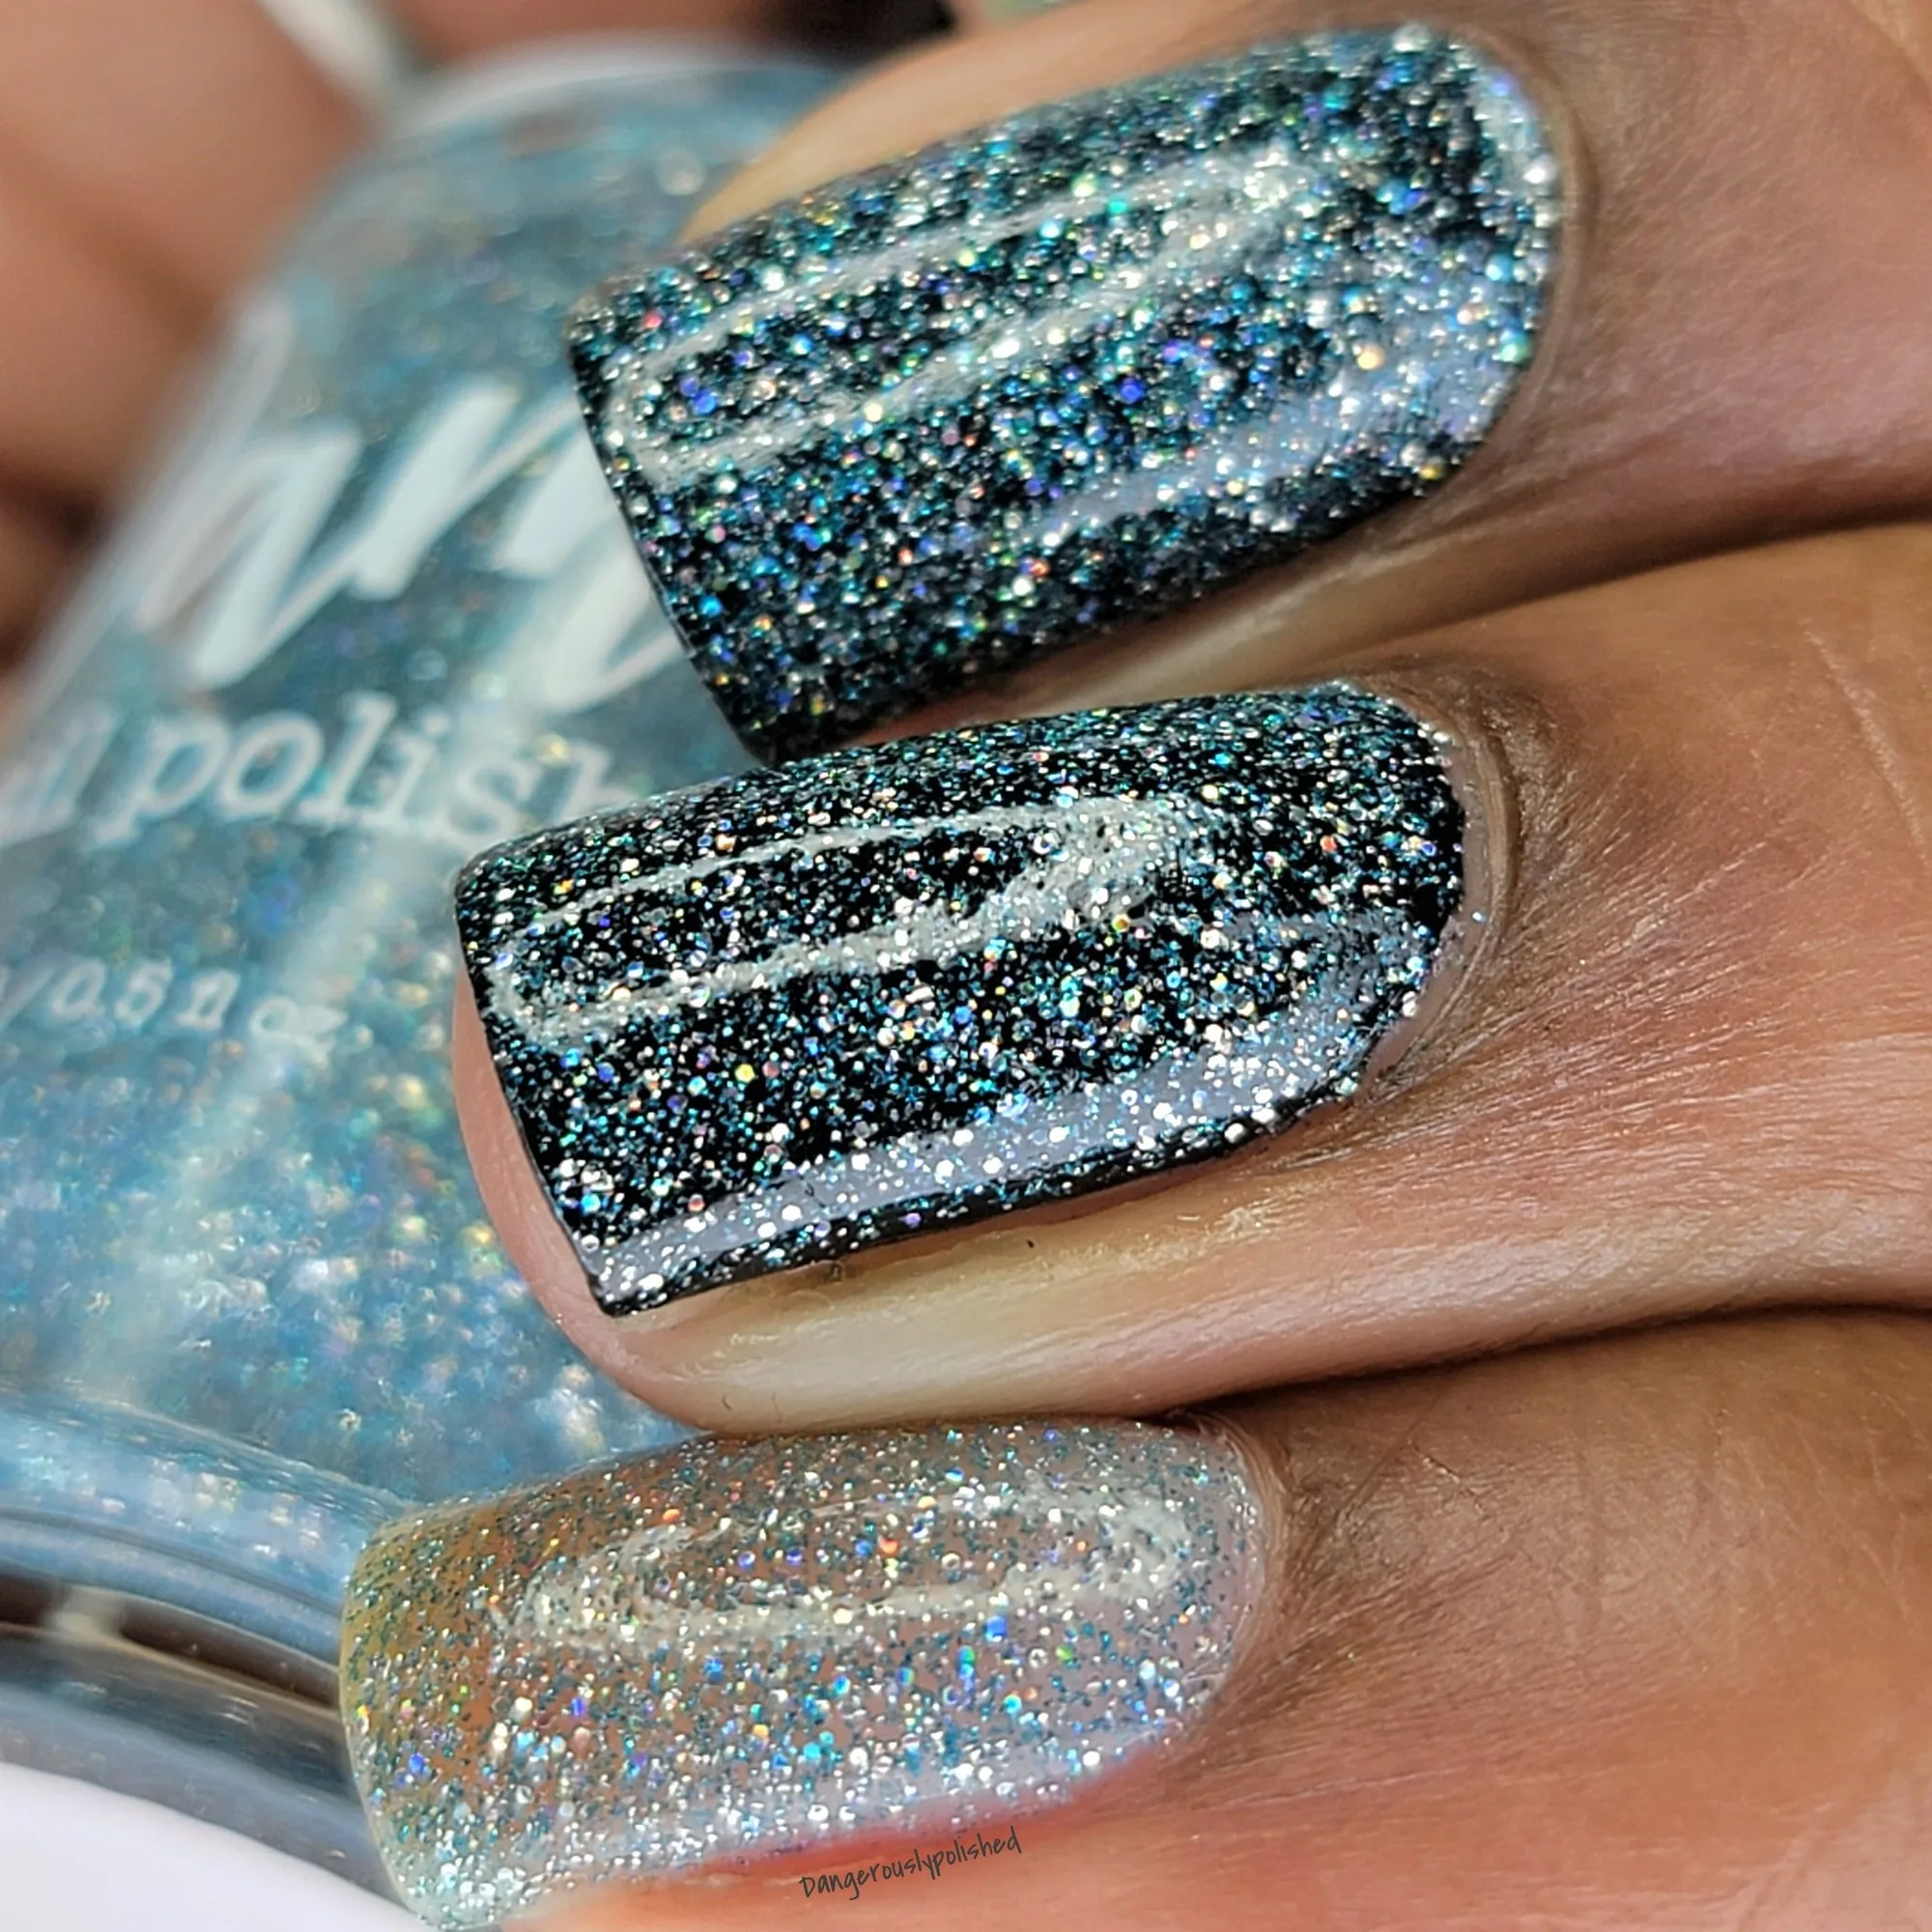
- Joker - Light Blue Holographic Reflective Glitter Nail Polish: This one is a light blue reflective glitter topper with ultra holographic glitters that sparkle in the sun and sparkle under flash. This topper was designed to be used over a base color or as a standalone full coverage polish. It shows that reflective glitter can be layered over a magnetic manicure or worn alone, so you can add sparkle without changing your magnet technique.
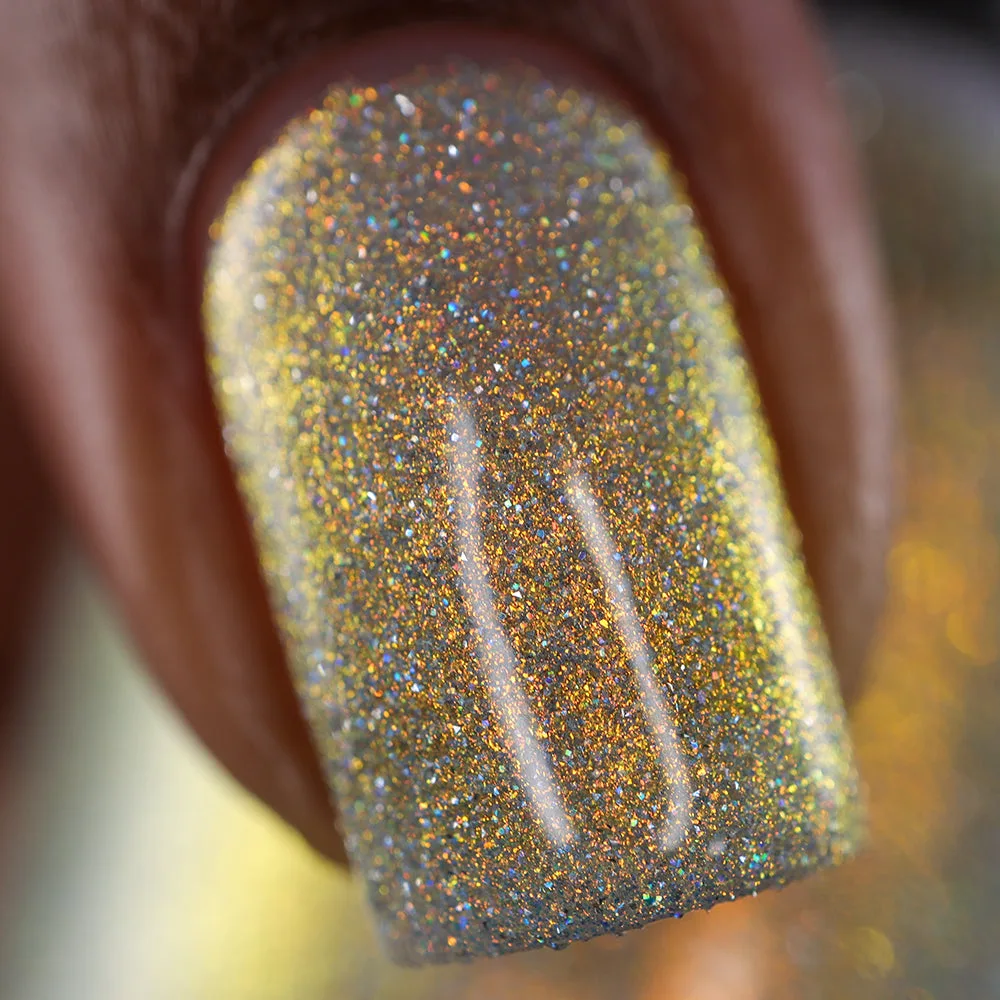
- Take That Risk - Yellow Gold Shimmer - Silver Reflective Nail Polish - Glitter Nail Polish - Life is Short Collection: This one is a yellow/gold shimmer polish that also has silver reflective glitters that become incredibly flashy when under bright lights. The micro ultra holographic glitters add an extra pop of sparkles. Glitter Whisperer and Quick Dry Top Coat are recommended to help the shimmers shine and the glitters sparkle! It is a good reminder that some polishes need a top coat to look their best, which is the same sealing step that protects a magnetic pattern.
Using a magnet for magnetic nail polish comes down to timing, distance, and a still hand. Keep the polish wet, hold the magnet close without touching, and seal the effect with a quick-dry top coat. Once you have the rhythm, you can experiment with different magnet angles and layer reflective toppers for even more dimension.