Quick answer
Use a Baking Steel Dough Container to store your sourdough starter in the fridge between feedings. Keep it sealed, feed it regularly, and use the clear markings to track fermentation. This container is durable, food-safe, and designed for dough, making it ideal for starter storage.

Baking Steel
If you bake sourdough regularly, you know the starter is the heart of the loaf. Keeping it healthy and active requires consistent feeding and proper storage. The Baking Steel Dough Container is built for dough work, but it also excels at storing and maintaining a sourdough starter.
This guide walks through a simple, practical system for using your Baking Steel Dough Container for sourdough starter storage. You'll learn how to feed, refrigerate, and revive your starter with minimal fuss, plus common mistakes to avoid along the way.
Why a Baking Steel Dough Container Works for Starter Storage
The Baking Steel Dough Container is designed with the home baker in mind. Its sturdy construction and clear markings help you track fermentation and portioning. For sourdough starter, this means you can easily see how much your starter has grown and when it's ready to use.
Unlike glass jars that can crack in the fridge or plastic containers that stain, this container is built to handle the rigors of dough work. It's food-safe, easy to clean, and the lid seals well to keep your starter from drying out. Its size is practical for daily feedings without taking up too much fridge space.
One key advantage is the ability to monitor your starter's rise. The clear sides let you see the bubbles and volume increase, which is a reliable indicator of activity. This visual cue is especially helpful for beginners learning to read their starter.
- Choose a container that fits comfortably in your fridge and allows room for your starter to double or triple in size.
- Use the markings on the container to track the starting volume and the peak rise.
Feeding Your Starter in the Container
Feeding your starter directly in the Baking Steel Dough Container is convenient and reduces mess. Start by removing the starter from the fridge, letting it come to room temperature for about 30 minutes. Then, discard a portion and add fresh flour and water according to your usual ratio.
Mix thoroughly with a spatula or spoon, scraping down the sides to ensure even hydration. Cover the container with its lid, but leave it slightly ajar if you're fermenting at room temperature to allow airflow. For fridge storage, seal it completely.
Checkpoint: After feeding, note the level on the container. If your starter doesn't show visible bubbles within 6-12 hours at room temperature, it may need a warmer spot or a more frequent feeding schedule.
- Use a kitchen scale for consistent feeding ratios—this is the most reliable way to keep your starter healthy.
- If your starter is very active, leave more headroom in the container to prevent overflow.
Cold Proofing and Fridge Storage
Cold proofing your sourdough starter in the fridge slows down fermentation, allowing you to bake on your own schedule. After a room-temperature feeding, let the starter sit for 1-2 hours to start fermenting, then transfer it to the fridge with the lid sealed.
The Baking Steel Dough Container's airtight seal prevents your starter from drying out or absorbing fridge odors. It also protects the starter from temperature fluctuations that can stress the yeast and bacteria.
Checkpoint: Your starter can stay in the fridge for up to two weeks without feeding, but for best results, feed it weekly. If you notice a gray liquid on top (hooch), that's a sign it's hungry—pour it off or stir it in, then feed as usual.
- Label the container with the date of the last feeding to keep track.
- Keep the container away from the back wall of the fridge where it's coldest.
Reviving and Using Your Starter
When you're ready to bake, take the container out of the fridge and let it warm up for about an hour. Discard most of the starter, leaving a small amount, then feed it with fresh flour and water. Leave it at room temperature until it's bubbly and doubled—this can take 4-12 hours depending on your starter's strength.
Once your starter is active, you can use it directly in your dough recipe. The Baking Steel Dough Container makes it easy to see when your starter is at its peak, which is the best time to mix your dough.
Checkpoint: If your starter doesn't double within 12 hours, it may need more frequent feedings or a warmer environment. Don't bake with a sluggish starter—give it another feeding and wait for it to become vigorous.
- Keep a small backup of your starter in the fridge in case your main batch fails.
- Use the container's markings to measure the exact amount of starter you need for your recipe.
Step-by-step: Storing your sourdough starter in a Baking Steel Dough Container
- Prepare the container: Wash and dry the Baking Steel Dough Container thoroughly. Make sure it's completely dry before adding your starter to avoid introducing unwanted bacteria. Checkpoint: A clean, dry container prevents mold and off-flavors.
- Feed your starter: Add your starter, flour, and water to the container. Mix well, scraping the sides. Note the starting volume using the container's markings. Checkpoint: Use a consistent ratio (e.g., 1:1:1) for predictable results.
- Ferment at room temperature: Leave the container at room temperature with the lid slightly ajar. Watch for bubbles and a rise in volume, which indicates active fermentation. Checkpoint: If no activity within 12 hours, move to a warmer spot or adjust feeding frequency.
- Refrigerate for cold proofing: Once the starter shows signs of fermentation, seal the lid and place the container in the fridge. The cold slows down the yeast, preserving your starter for up to two weeks. Checkpoint: Feed weekly to keep your starter healthy; watch for hooch as a hunger signal.
- Revive and bake: Take the container out, let it warm up, discard most of the starter, and feed it fresh. Wait until it doubles and is bubbly before using it in your dough. Checkpoint: A vigorous starter is essential for a good rise—don't rush this step.
Product facts
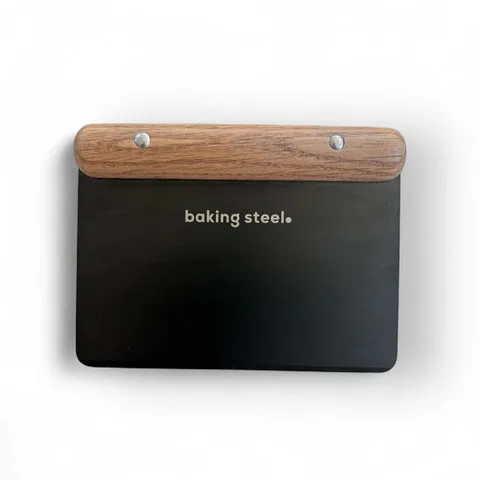
- Baking Steel Dough Cutter – 304 SS, Tapered Blade, Oak Handle: The Baking Steel Dough Cutter is a practical tool for home pizza makers who want clean, precise cuts. It features a tapered blade made from 304 stainless steel, paired with a comfortable oak handle. While storing your starter, you'll also need to portion dough. This cutter makes clean cuts and is easy to clean, so you can use it to divide your dough after proofing.
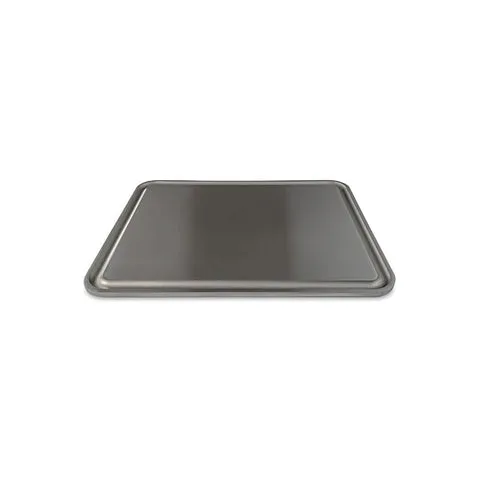
- The Baking Steel Griddle: The Baking Steel Griddle (14" x 18" x 3/8") is a 25-pound reversible slab of solid carbon steel. One side is a true Baking Steel — engineered for restaurant-quality pizza, bread, and flatbreads in your oven or on your grill. Once your sourdough starter is active, you can bake bread or pizza directly on the Baking Steel side for a crisp, restaurant-quality crust.
Using a Baking Steel Dough Container for sourdough starter storage is a practical, low-fuss solution. It keeps your starter healthy, visible, and ready to bake whenever you are. With regular feeding and proper cold proofing, you'll have a reliable starter for all your sourdough bread and pizza projects.