Quick Answer
Use the Bookmark Interfacing and Twill Tape Refill to fuse Peltex 72F interfacing onto fabric scraps, then bind the edges with twill tape for a sturdy, finished bookmark.
Why Peltex 72F and Twill Tape Work Together
Peltex 72F is a double-sided fusible interfacing that adds stiffness and structure to fabric. When fused between two layers of fabric, it creates a firm yet sewable base that holds its shape—perfect for bookmarks that need to stay flat and durable.
Twill tape is a woven, sturdy tape that works well for binding edges. It gives a clean finish and reinforces the bookmark's edges, preventing fraying and wear over time.
What the Refill Kit Includes
The refill kit provides 1/3 yard of Peltex 72F and 1 3/4 yards of twill tape, enough to make 16 bookmarks. You'll need fabric scraps or a fat quarter—one fat quarter makes about 12 bookmarks.
Step-by-Step: Sewing Your Bookmark
- Cut Your Fabric and Interfacing: Cut two rectangles of fabric (front and back) and one rectangle of Peltex 72F, all the same size. For a standard bookmark, a size like 2.5 x 7 inches works well, but you can adjust to your preference. Check that your fabric pieces are exactly the same size to avoid misaligned edges.
- Fuse the Interfacing to the Wrong Side of One Fabric Piece: Place the Peltex 72F on the wrong side of one fabric rectangle, with the fusible side down. Cover with a pressing cloth and press with a hot, dry iron for 10-15 seconds, moving the iron slowly to ensure even adhesion. Do not use steam. Avoid sliding the iron; press firmly and lift to prevent the interfacing from shifting or bubbling.
- Layer and Pin the Fabric Pieces: Place the second fabric rectangle on top, right sides together, so the interfacing is sandwiched between the two fabric layers. Pin along the edges to keep everything aligned. Double-check that the right sides are facing each other, or your bookmark will end up inside out.
- Sew Around the Edges, Leaving an Opening: Using a 1/4-inch seam allowance, sew around the bookmark, leaving a 2-inch opening on one side for turning. Backstitch at the start and end to secure the stitches. Be careful not to sew the opening shut—mark it with a pin or chalk to remember where to stop.
- Turn and Press the Bookmark: Turn the bookmark right side out through the opening. Use a point turner or a blunt tool to push out the corners. Press the bookmark flat, folding the seam allowances inward at the opening. Press with a dry iron to set the seams and make the bookmark crisp.
- Attach the Twill Tape: Cut a piece of twill tape long enough to wrap around the bookmark's edge, leaving a small tail for a decorative loop if desired. Fold the tape over the edge and pin it in place. Topstitch along the tape, close to the edge, to secure it. Take your time when sewing around corners—stop with the needle down, lift the presser foot, and pivot to keep the tape smooth.
Product Facts
-
Bookmark Interfacing and Twill Tape Refill: This kit includes 1/3 yard of Peltex 72F Double Sided Fusible Interfacing and 1 3/4 yard of twill tape, which will make 16 of the Crosscut Sewing Bookmarks. You get everything needed to sew a batch of bookmarks without buying extra interfacing or tape.
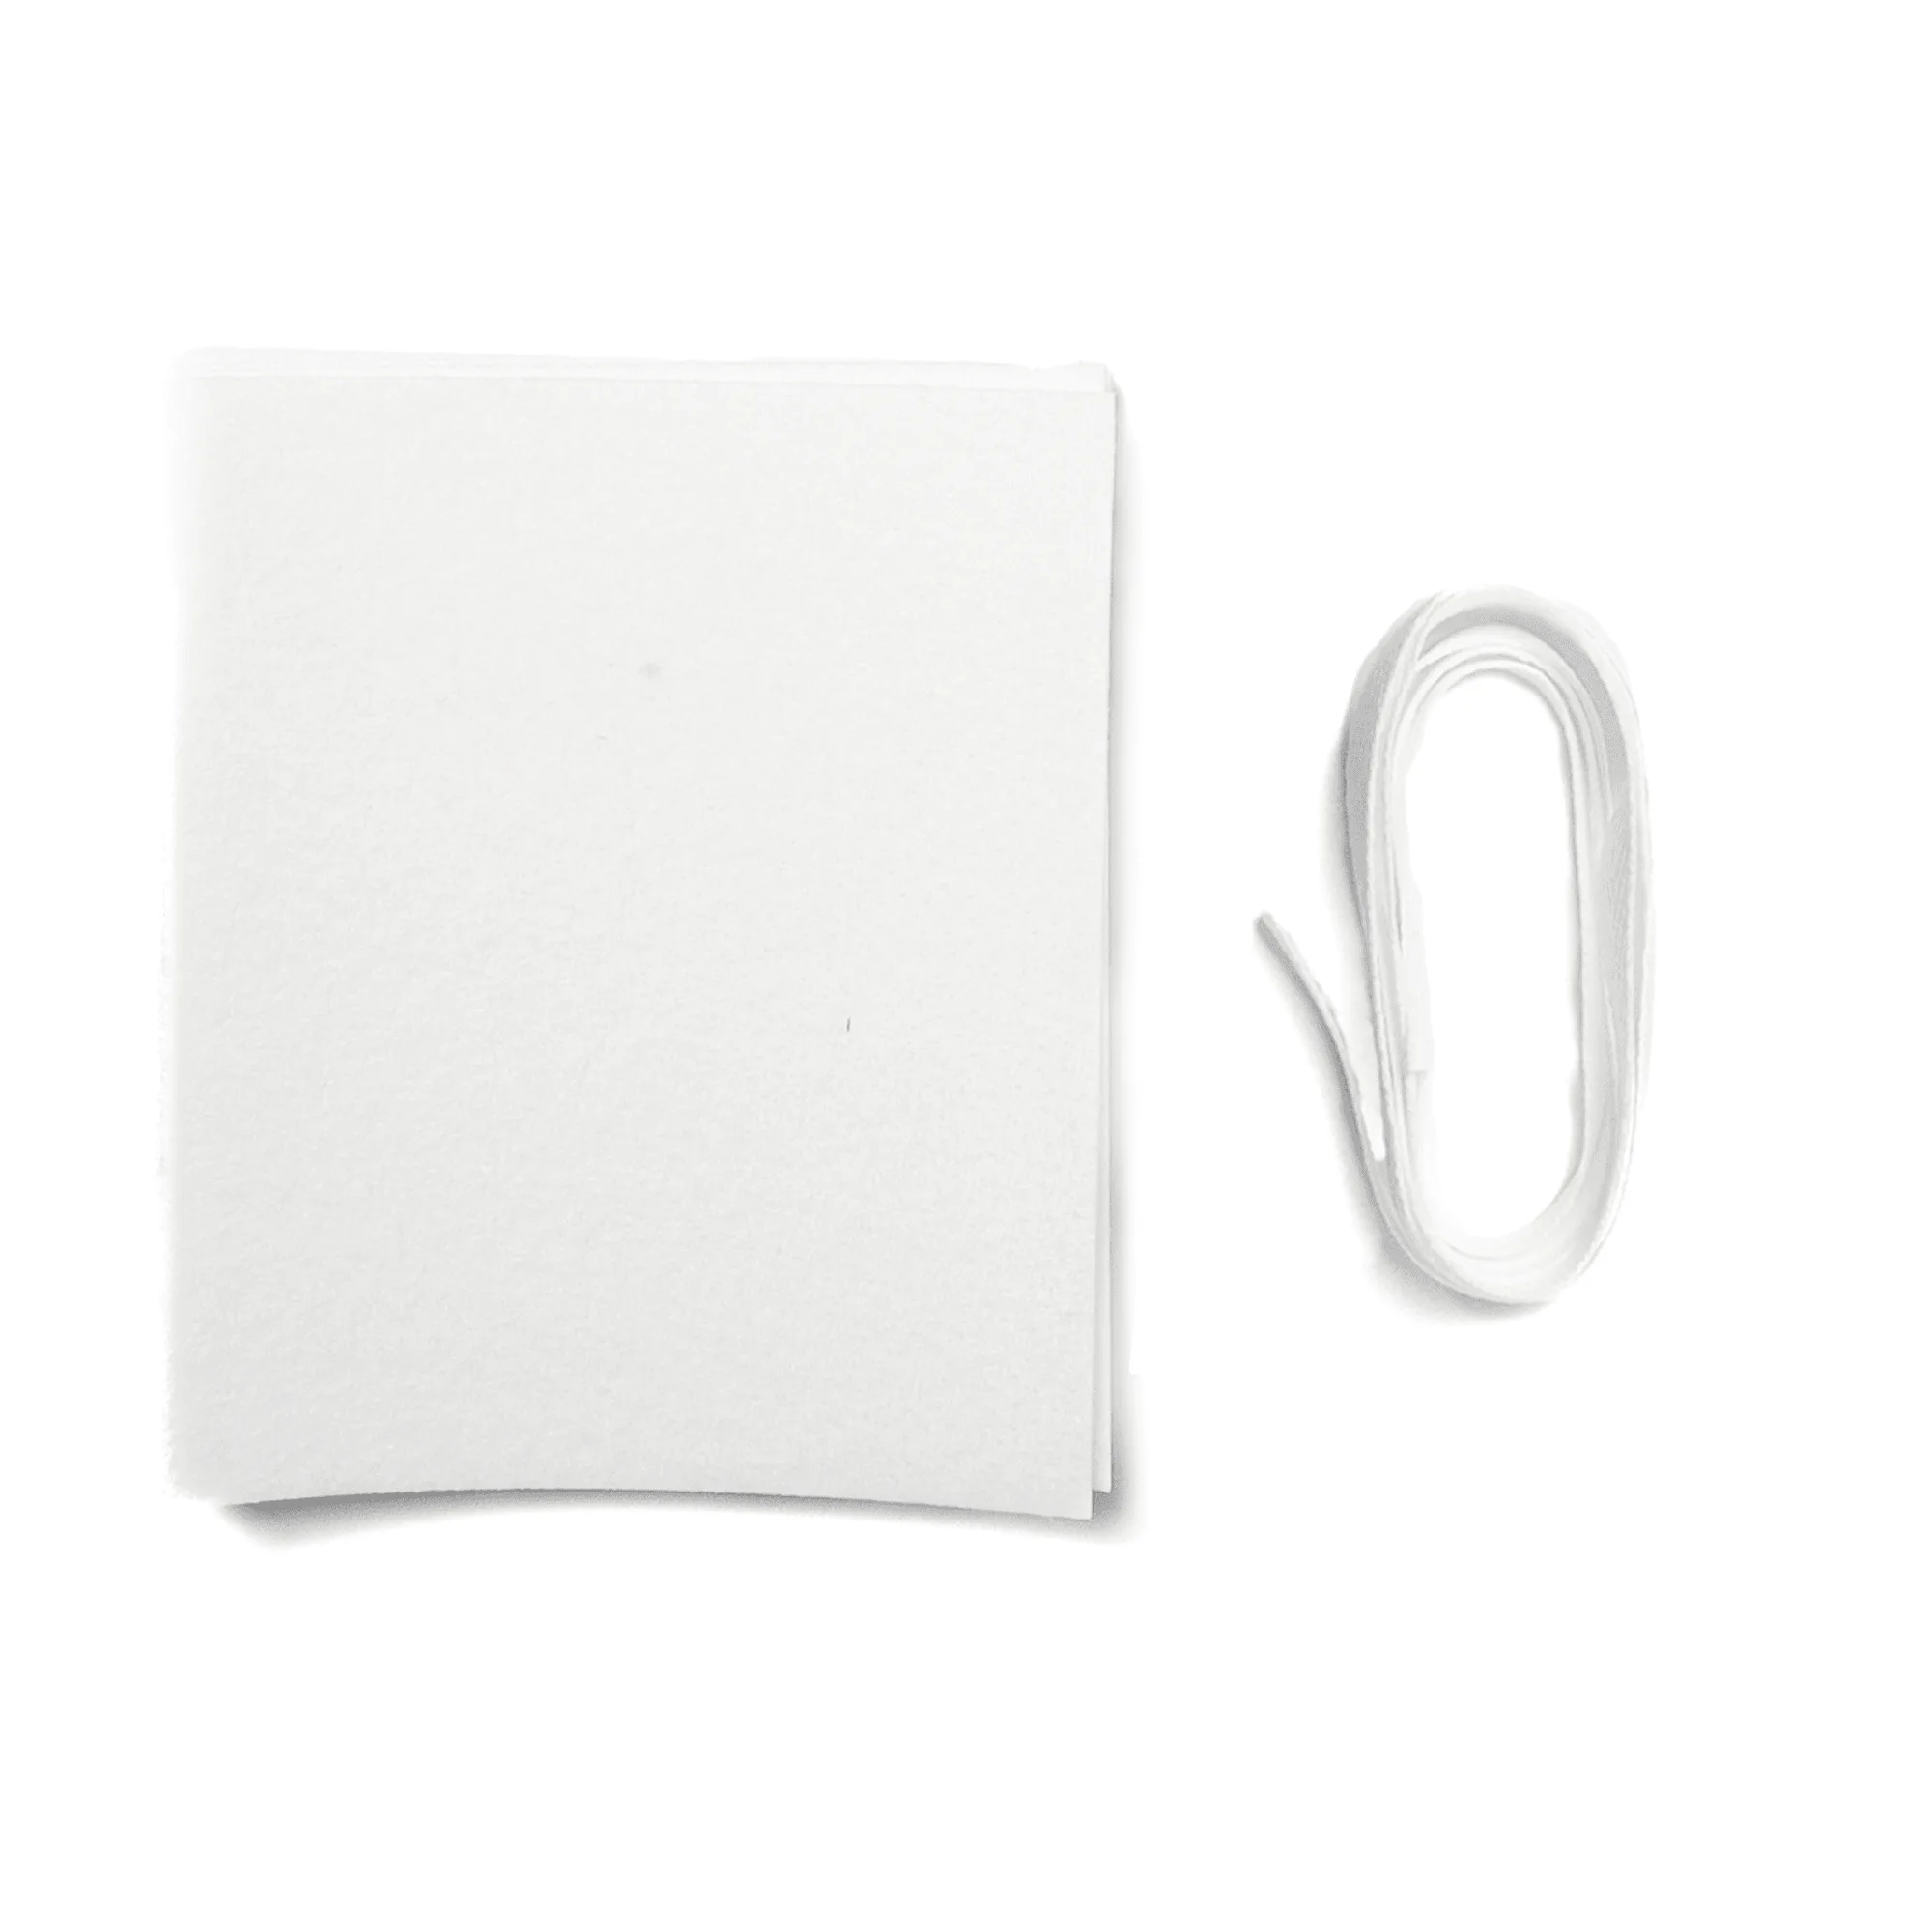
Bookmark Interfacing and Twill Tape Refill
-
Bookmark Interfacing and Twill Tape Refill: One fat quarter will make 12 bookmarks. Plan your fabric stash accordingly—a single fat quarter is enough for a small project, but you'll need more for a full set of 16.