Quick answer
Attach the chenille car wash mop head cover to a compatible handle, then use a two-bucket wash method to safely clean large vehicles like trucks, SUVs, and RVs without scratching the paint.
Why use a chenille mop head cover instead of a standard mitt
A chenille mop head cover gives you extra reach for cleaning roofs, hoods, and high panels without a ladder or stool. The plush microfiber fibers trap dirt and lift it away from the paint, reducing swirl marks when used correctly. It's a practical alternative to a traditional wash mitt for larger vehicles, but the technique matters more than the tool.
Important limitations to know before starting
This listing includes only the mop head cover—you need a separate handle and any necessary adapters. The cover is not designed for wheels, tires, or undercarriage areas. For those sections, use a dedicated wheel brush or mitt to avoid cross-contamination.
Step-by-step guide: How to wash your car with a chenille mop head cover
- 1. Prepare your handle and attach the mop head cover: Choose a handle that fits the mop head cover's attachment. If using a telescoping pole, ensure it's locked securely. Slide the cover onto the handle until it's snug. Common mistake: using a handle that's too long or too short for your vehicle's height—test the reach before adding soap. Check that the cover does not slip or rotate during use.
- 2. Set up a two-bucket wash system: Fill one bucket with car shampoo and water (follow the shampoo's dilution ratio). Fill the second bucket with plain water for rinsing the mop head. Use a grit guard in the rinse bucket to trap dirt. Common mistake: skipping the rinse bucket or using the same water for the whole car—this grinds dirt into the paint. Change the rinse water when it becomes visibly dirty.
- 3. Wet the mop head and start from the top: Dip the mop head into the soap bucket, then lift it to the highest point of the vehicle (roof or hood). Work in straight, overlapping passes from top to bottom. Common mistake: using circular motions that can create swirl marks—always go in one direction. Do not apply heavy pressure; let the chenille fibers do the work.
- 4. Rinse the mop head after every panel: After washing one section (roof, hood, side panel), dip the mop head into the rinse bucket and agitate it to release trapped dirt. Squeeze out excess water before returning to the soap bucket. Common mistake: rinsing infrequently or skipping the squeeze—this re-deposits grit onto the paint. If you drop the mop head on the ground, rinse it thoroughly before continuing.
- 5. Wash lower panels and bumpers last: Once the upper areas are clean, wash the lower sections, bumpers, and rocker panels. These areas collect more road grime and are more prone to scratches. Common mistake: using the same mop head for the entire car without a final rinse—consider swapping to a fresh cover for the lower sections. After finishing, remove the cover and wash it separately with microfiber-safe detergent.
Product facts
-
Chenille Car Wash Mop Head Cover: The Chenille Car Wash Mop Head Cover is an ultra-soft, fluffy microfiber mitt designed to help detailers wash large vehicles without ladders or stools. Its plush chenille fibers trap dirt and grime for a scratch-minimizing wash, especially on higher, harder-to-reach areas.
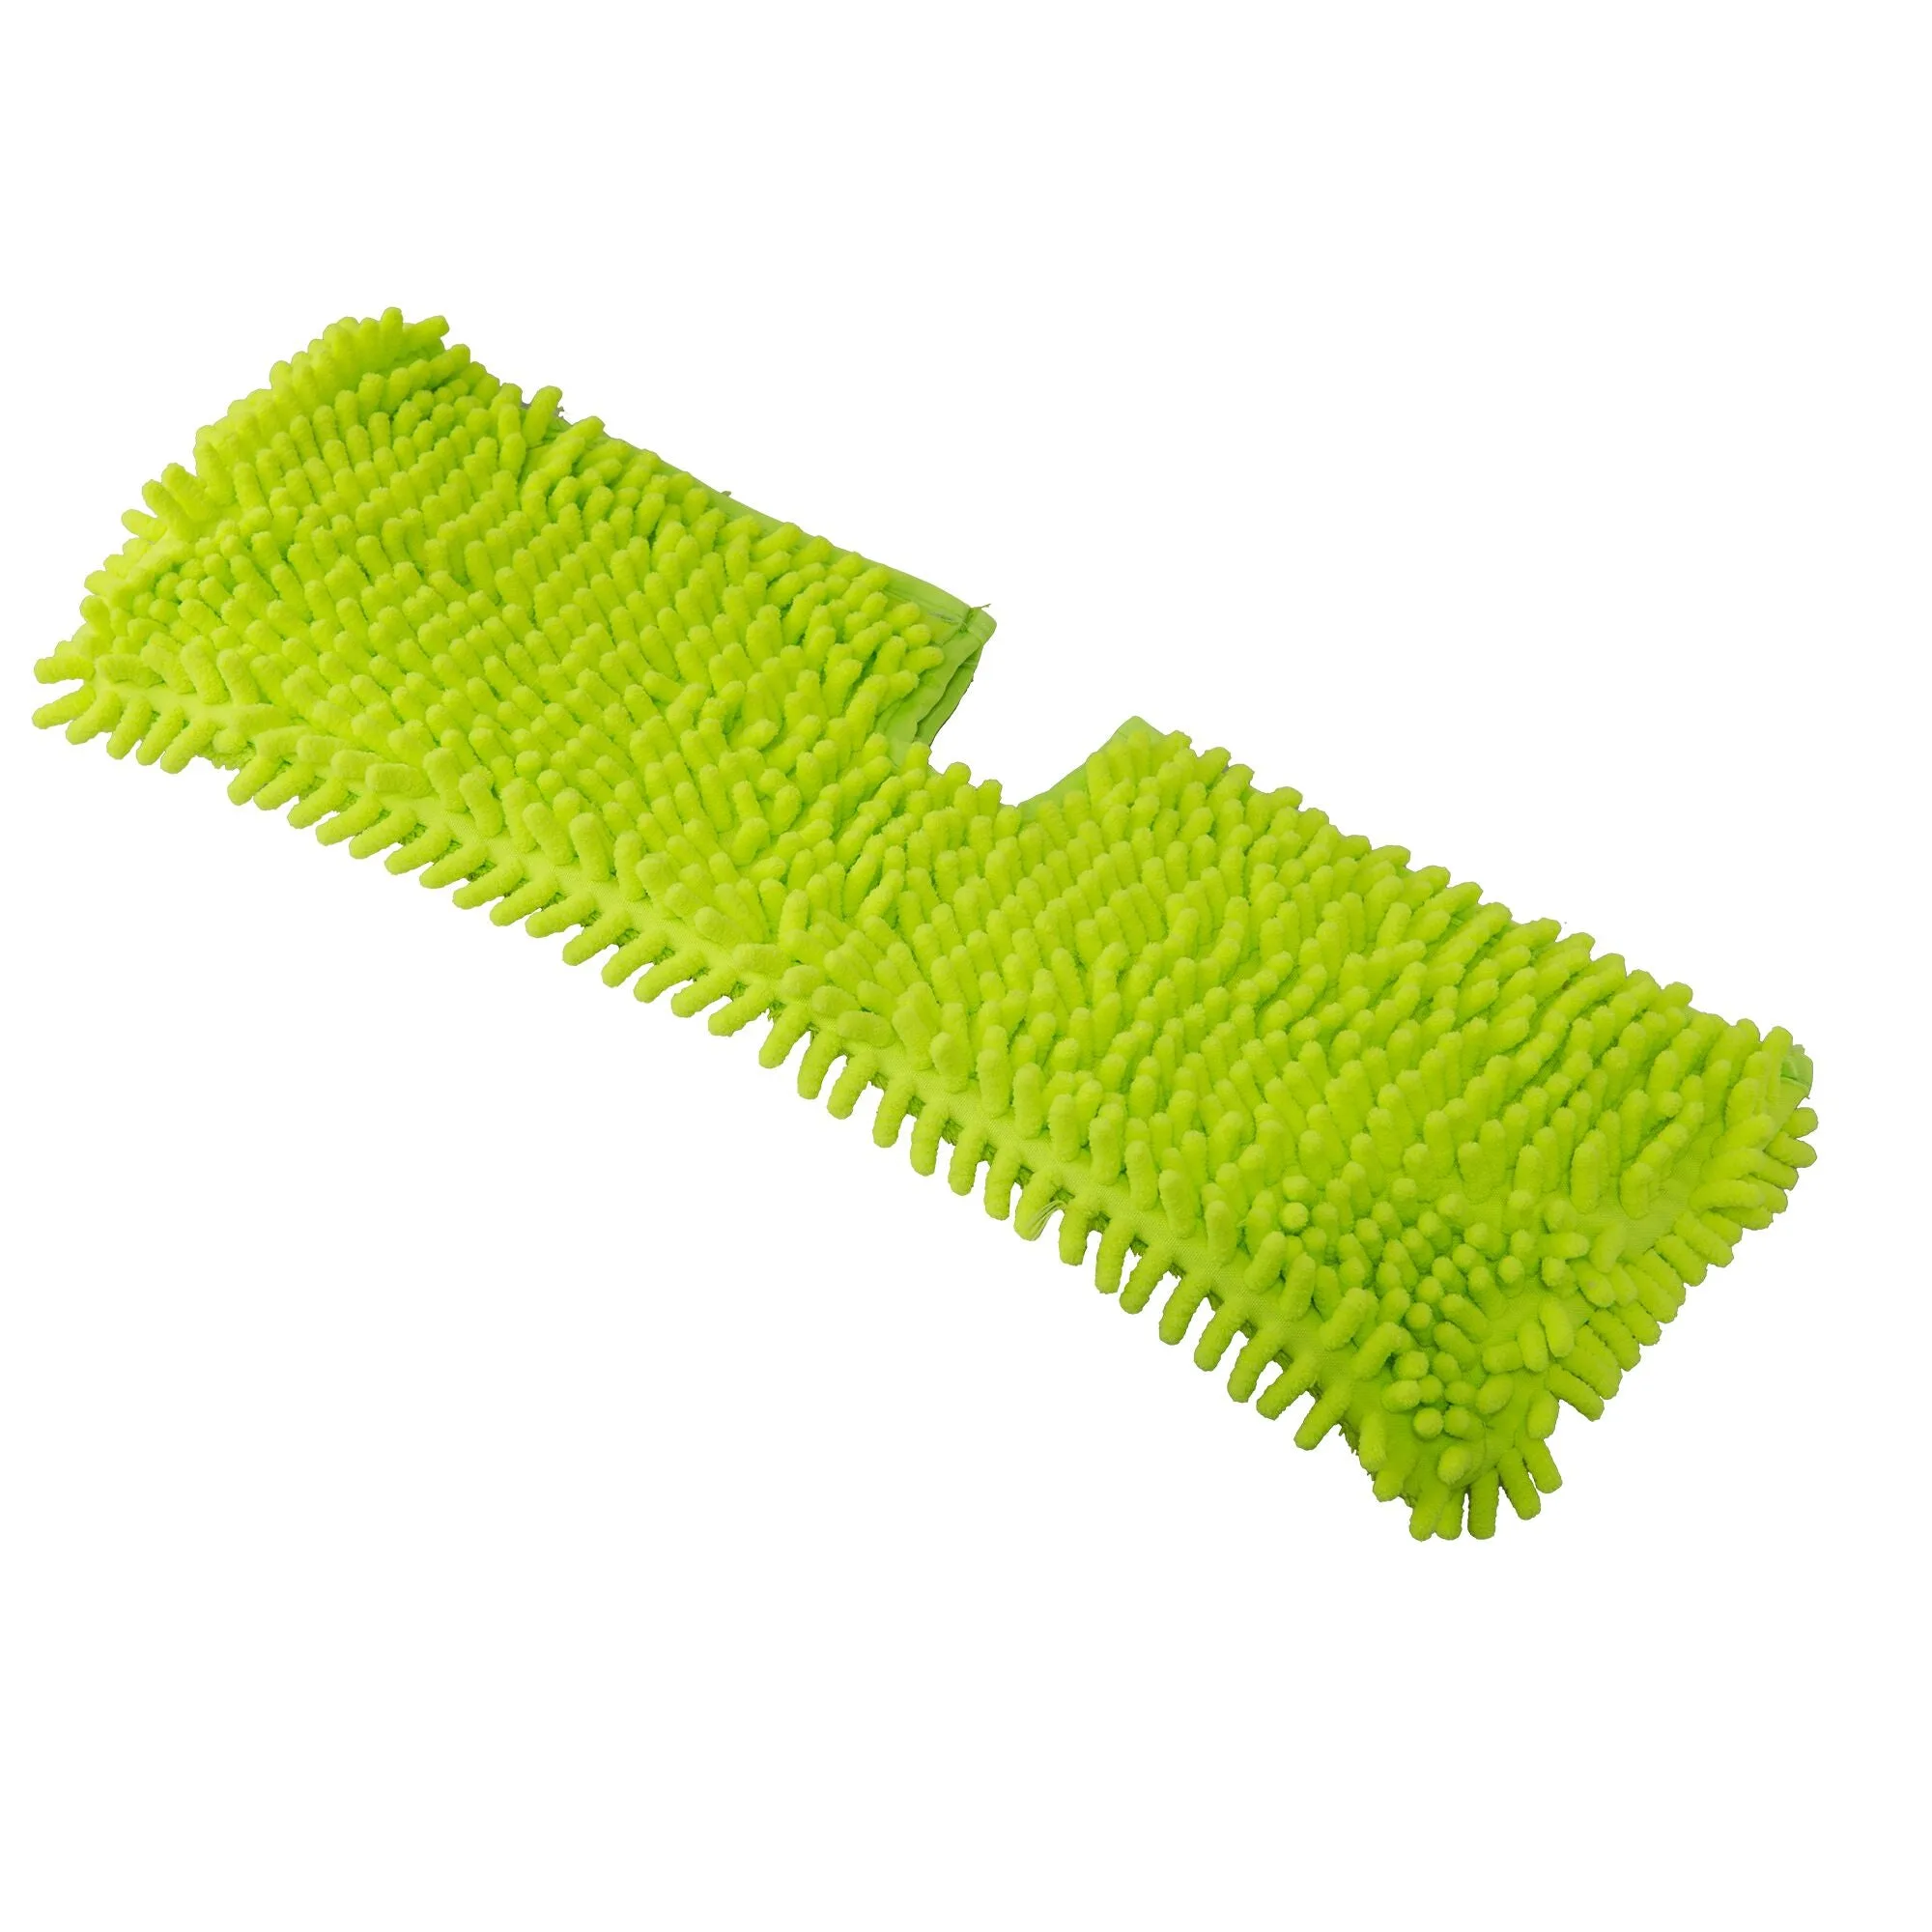
Chenille Car Wash Mop Head Cover