Quick Answer
To get perfect shapes from chocolate molds, start with properly tempered chocolate, clean and dry molds, and fill them completely. Tap out air bubbles, scrape off excess, then let the chocolate set before unmolding. For best results, use molds designed for chocolate and avoid overfilling.
Working with chocolate molds is one of the most satisfying ways to create professional-looking chocolates at home. Whether you're making Easter eggs, holiday ornaments, or cute animal shapes, the technique is the same. With a few simple steps, you can avoid common pitfalls like dull spots, air bubbles, and stuck chocolates.
This guide walks you through the entire process, from preparing your molds to unmolding your finished pieces. You'll learn the essential chocolate mold techniques that work for any design, plus specific tips for popular mold styles like eggs, owls, and mini ornaments.
Start with the Right Chocolate and Mold
The quality of your chocolate and mold matters more than you might think. Choose couverture chocolate with a high cocoa butter content for a glossy finish and clean snap. Avoid chocolate chips that contain stabilizers, as they don't temper as well and can leave a dull, soft texture.
Your mold should be made of food-grade polycarbonate or silicone. Polycarbonate molds give a high-gloss finish and are more durable, while silicone molds are flexible and easier to unmold. Whichever you choose, make sure it's completely clean and dry before use. Any moisture or grease will cause the chocolate to stick or bloom.
- Wash new molds with warm soapy water, rinse thoroughly, and dry with a soft cloth. Do not use abrasive cleaners that can scratch the surface.
Temper Your Chocolate Correctly
Tempering is the most important step for shiny, snappy chocolate. It involves heating and cooling the chocolate to specific temperatures so the cocoa butter crystallizes properly. Untempered chocolate will set slowly, look streaky, and may bloom with white spots.
The easiest method for home bakers is the seeding method. Melt about two-thirds of your chocolate to 115°F (46°C) for dark chocolate, then add the remaining one-third in small pieces, stirring until it melts and the temperature drops to about 88-90°F (31-32°C). Keep the chocolate in this temperature range while you work.
- If you don't have a thermometer, test temper by smearing a small amount on parchment. It should set within a few minutes with a glossy shine.
Fill the Mold Evenly
Pour the tempered chocolate into the mold, filling each cavity completely. For detailed molds, use a small offset spatula or a piping bag to get chocolate into all the nooks and crannies. Tap the mold firmly on the counter a few times to release air bubbles.
After tapping, turn the mold upside down over the bowl to let the excess chocolate drain out. This leaves a thin, even shell inside the mold. Scrape the top with a straight spatula to remove any excess. If you want solid chocolates, skip the draining step and fill to the brim.
- For hollow shapes like eggs, the draining method creates a perfect shell. For solid pieces, fill completely and tap to remove bubbles.
Let the Chocolate Set Properly
Allow the chocolate to set at room temperature (around 65-70°F) or in the refrigerator. Room temperature setting gives the best gloss, but it takes longer. If you use the fridge, keep the mold covered to prevent condensation from forming on the chocolate.
Do not rush the process. Properly tempered chocolate will shrink slightly as it sets, which makes unmolding easier. Depending on the thickness, this can take 15 to 30 minutes at room temperature. If you're making multiple batches, keep your chocolate at working temperature by placing the bowl on a warming pad or in a warm spot.
- Check for doneness by pressing a finger on the surface. If it feels firm and doesn't dent, it's ready to unmold.
Unmold with Care
Turn the mold upside down over a clean surface and gently flex it. For polycarbonate molds, press on the back of each cavity. For silicone molds, push from the bottom to pop the chocolate out. If the chocolate doesn't release easily, it may not be fully set or the mold may have been dirty.
Handle the finished chocolates by the edges to avoid leaving fingerprints. Store them in a cool, dry place in an airtight container. Properly tempered chocolate will keep for several weeks, but it's best to enjoy your creations within a few days for optimal freshness.
- If you plan to fill the chocolates with ganache or caramel, wait until they are fully set, then fill and seal with a thin layer of tempered chocolate.
Step-by-Step Chocolate Mold Success
- Prepare your molds: Wash and dry your molds thoroughly. Ensure they are completely free of dust, grease, and moisture. A clean mold is the first step to a shiny, non-stick finish.
- Temper your chocolate: Melt and cool your chocolate to the correct temperature using the seeding method. Keep it in the working range. Proper tempering gives a glossy shine and a satisfying snap.
- Fill and tap: Pour chocolate into the mold, filling each cavity. Tap the mold firmly on the counter to release air bubbles. Tapping prevents air pockets that cause weak spots and dull surfaces.
- Scrape and set: Scrape off excess chocolate with a spatula. Let the mold set at room temperature or in the fridge until firm. A clean scrape ensures neat edges and even thickness.
- Unmold gently: Turn the mold over and flex or press to release the chocolate. Handle by the edges to avoid fingerprints. If chocolates stick, they aren't fully set or the mold wasn't clean.
Chocolate Molds We Recommend
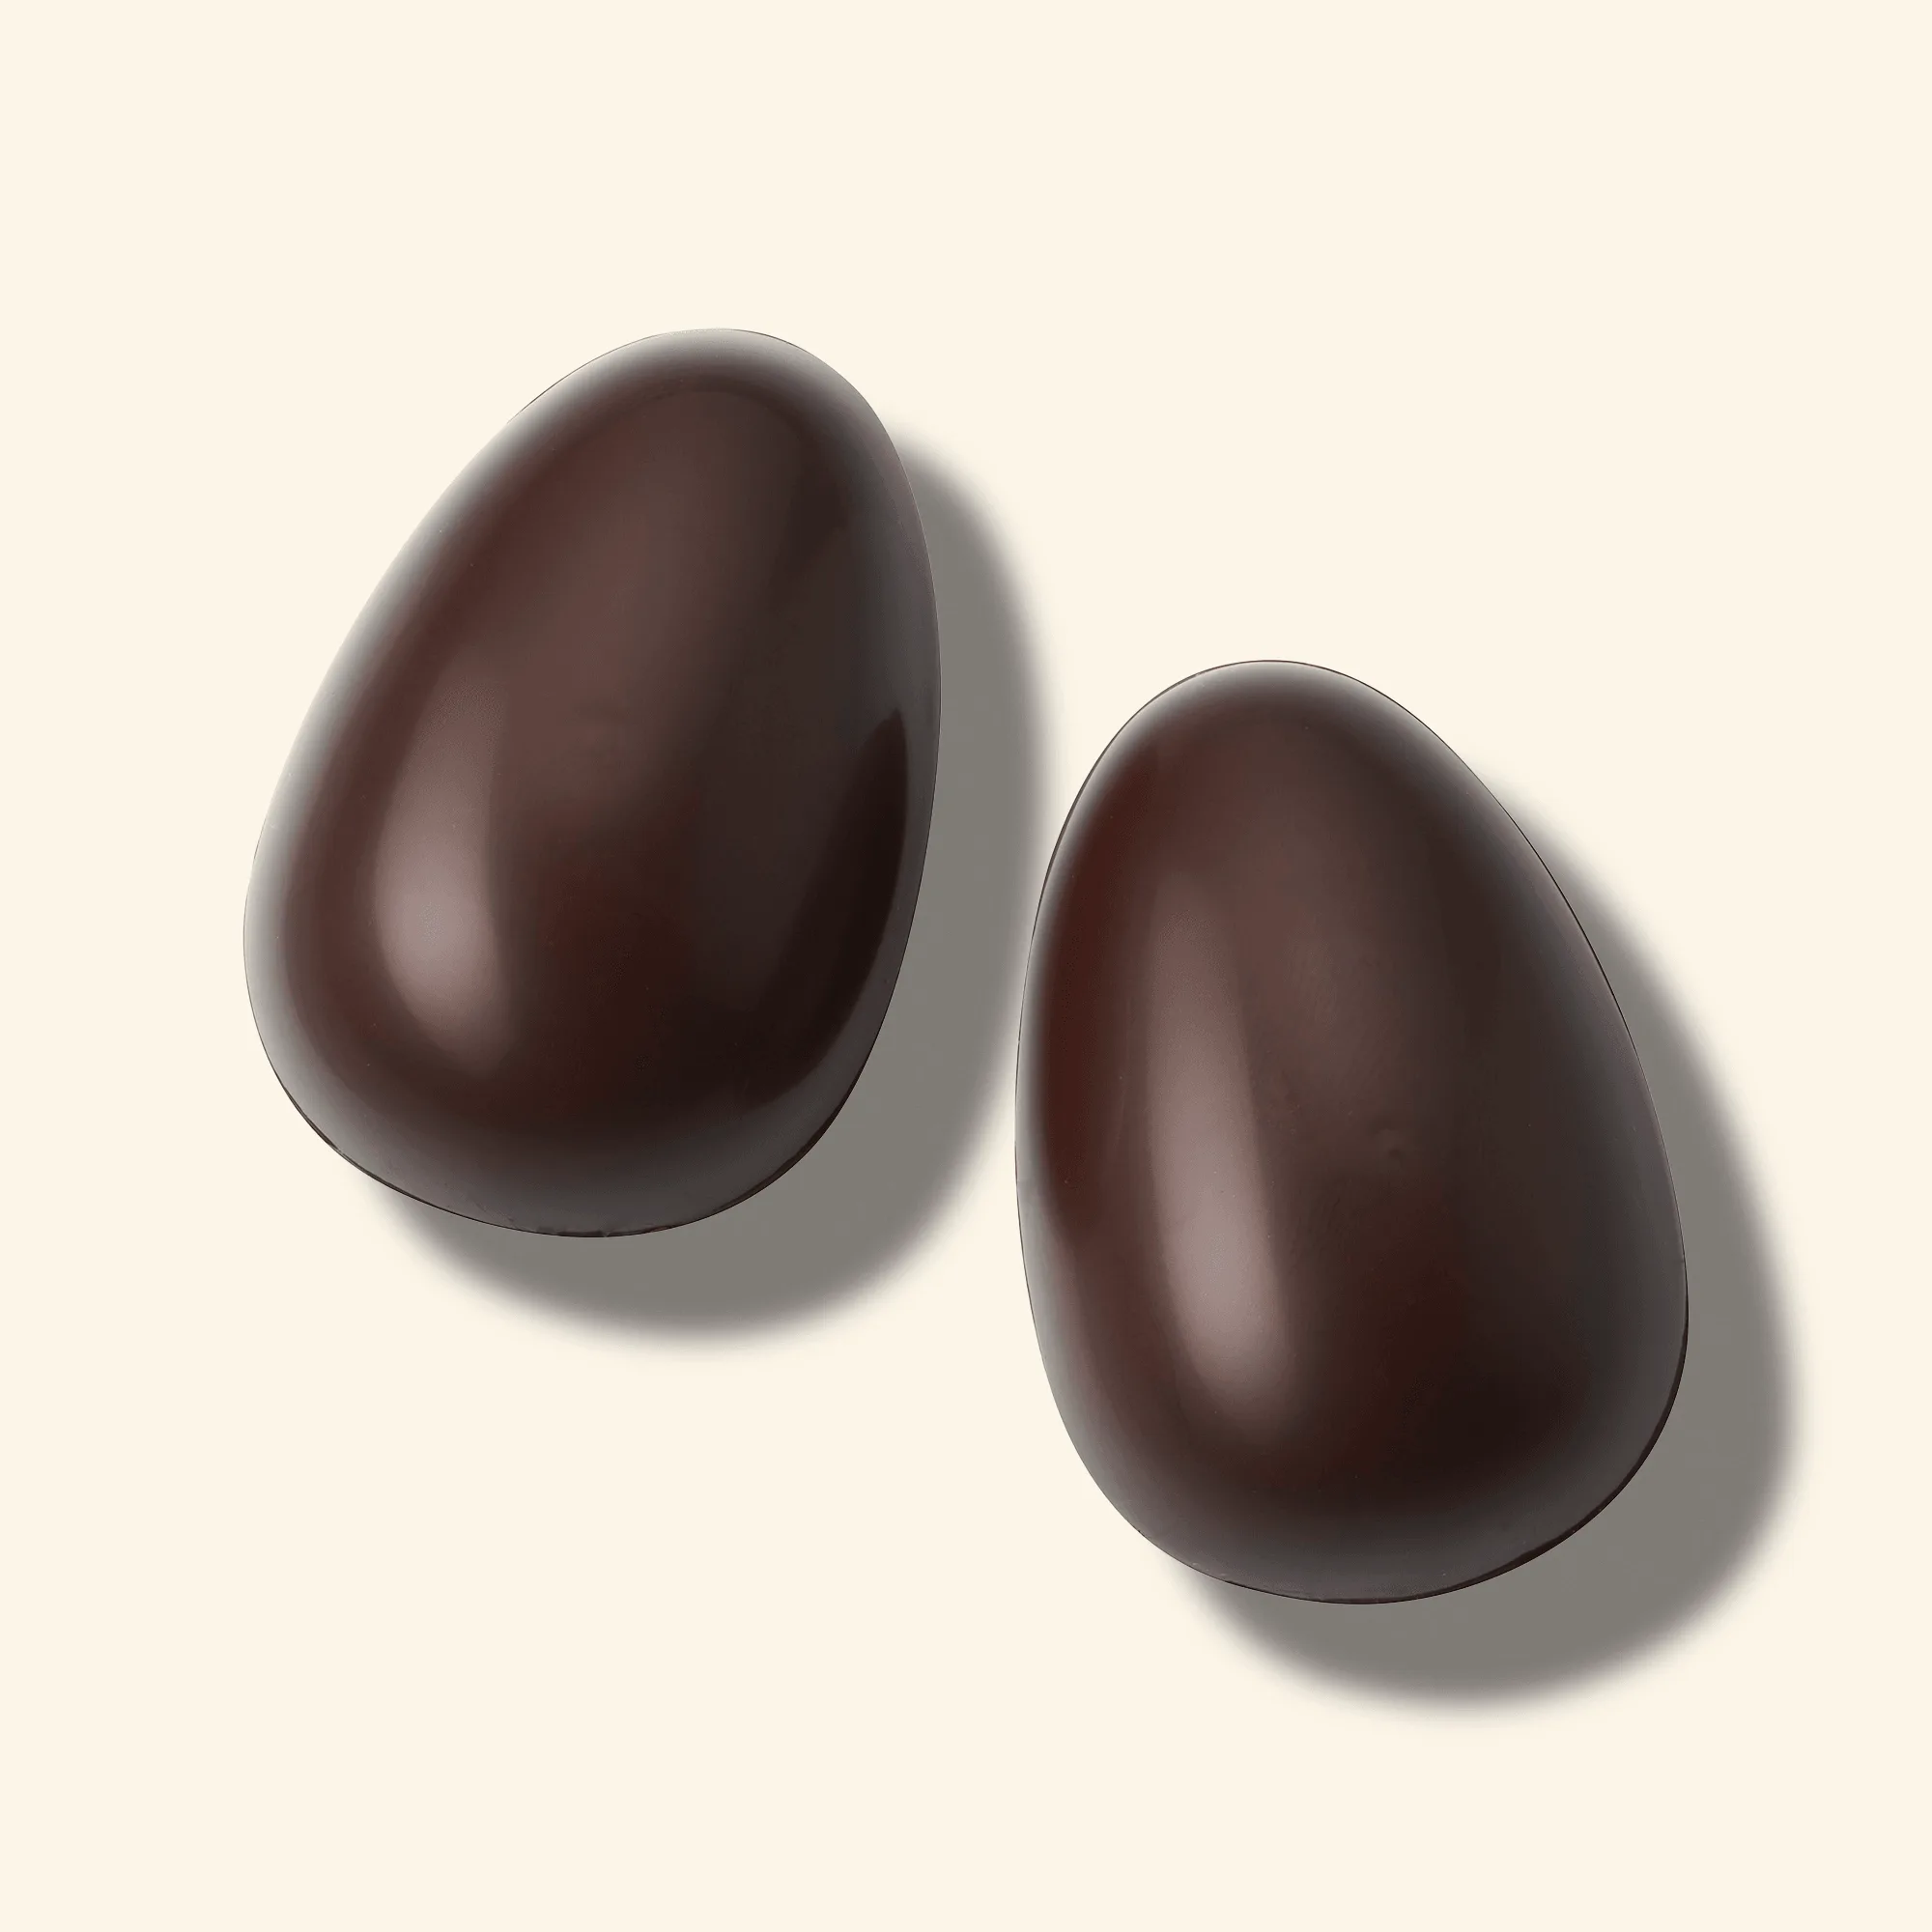
- Large Half Egg Easter Chocolate Mold: Craft beautiful Easter chocolates with ease. This mold helps you create high-quality, large half egg chocolates for professional or artisan use. Perfect for making impressive hollow eggs or solid halves. The large size is great for gift-giving or as a centerpiece.
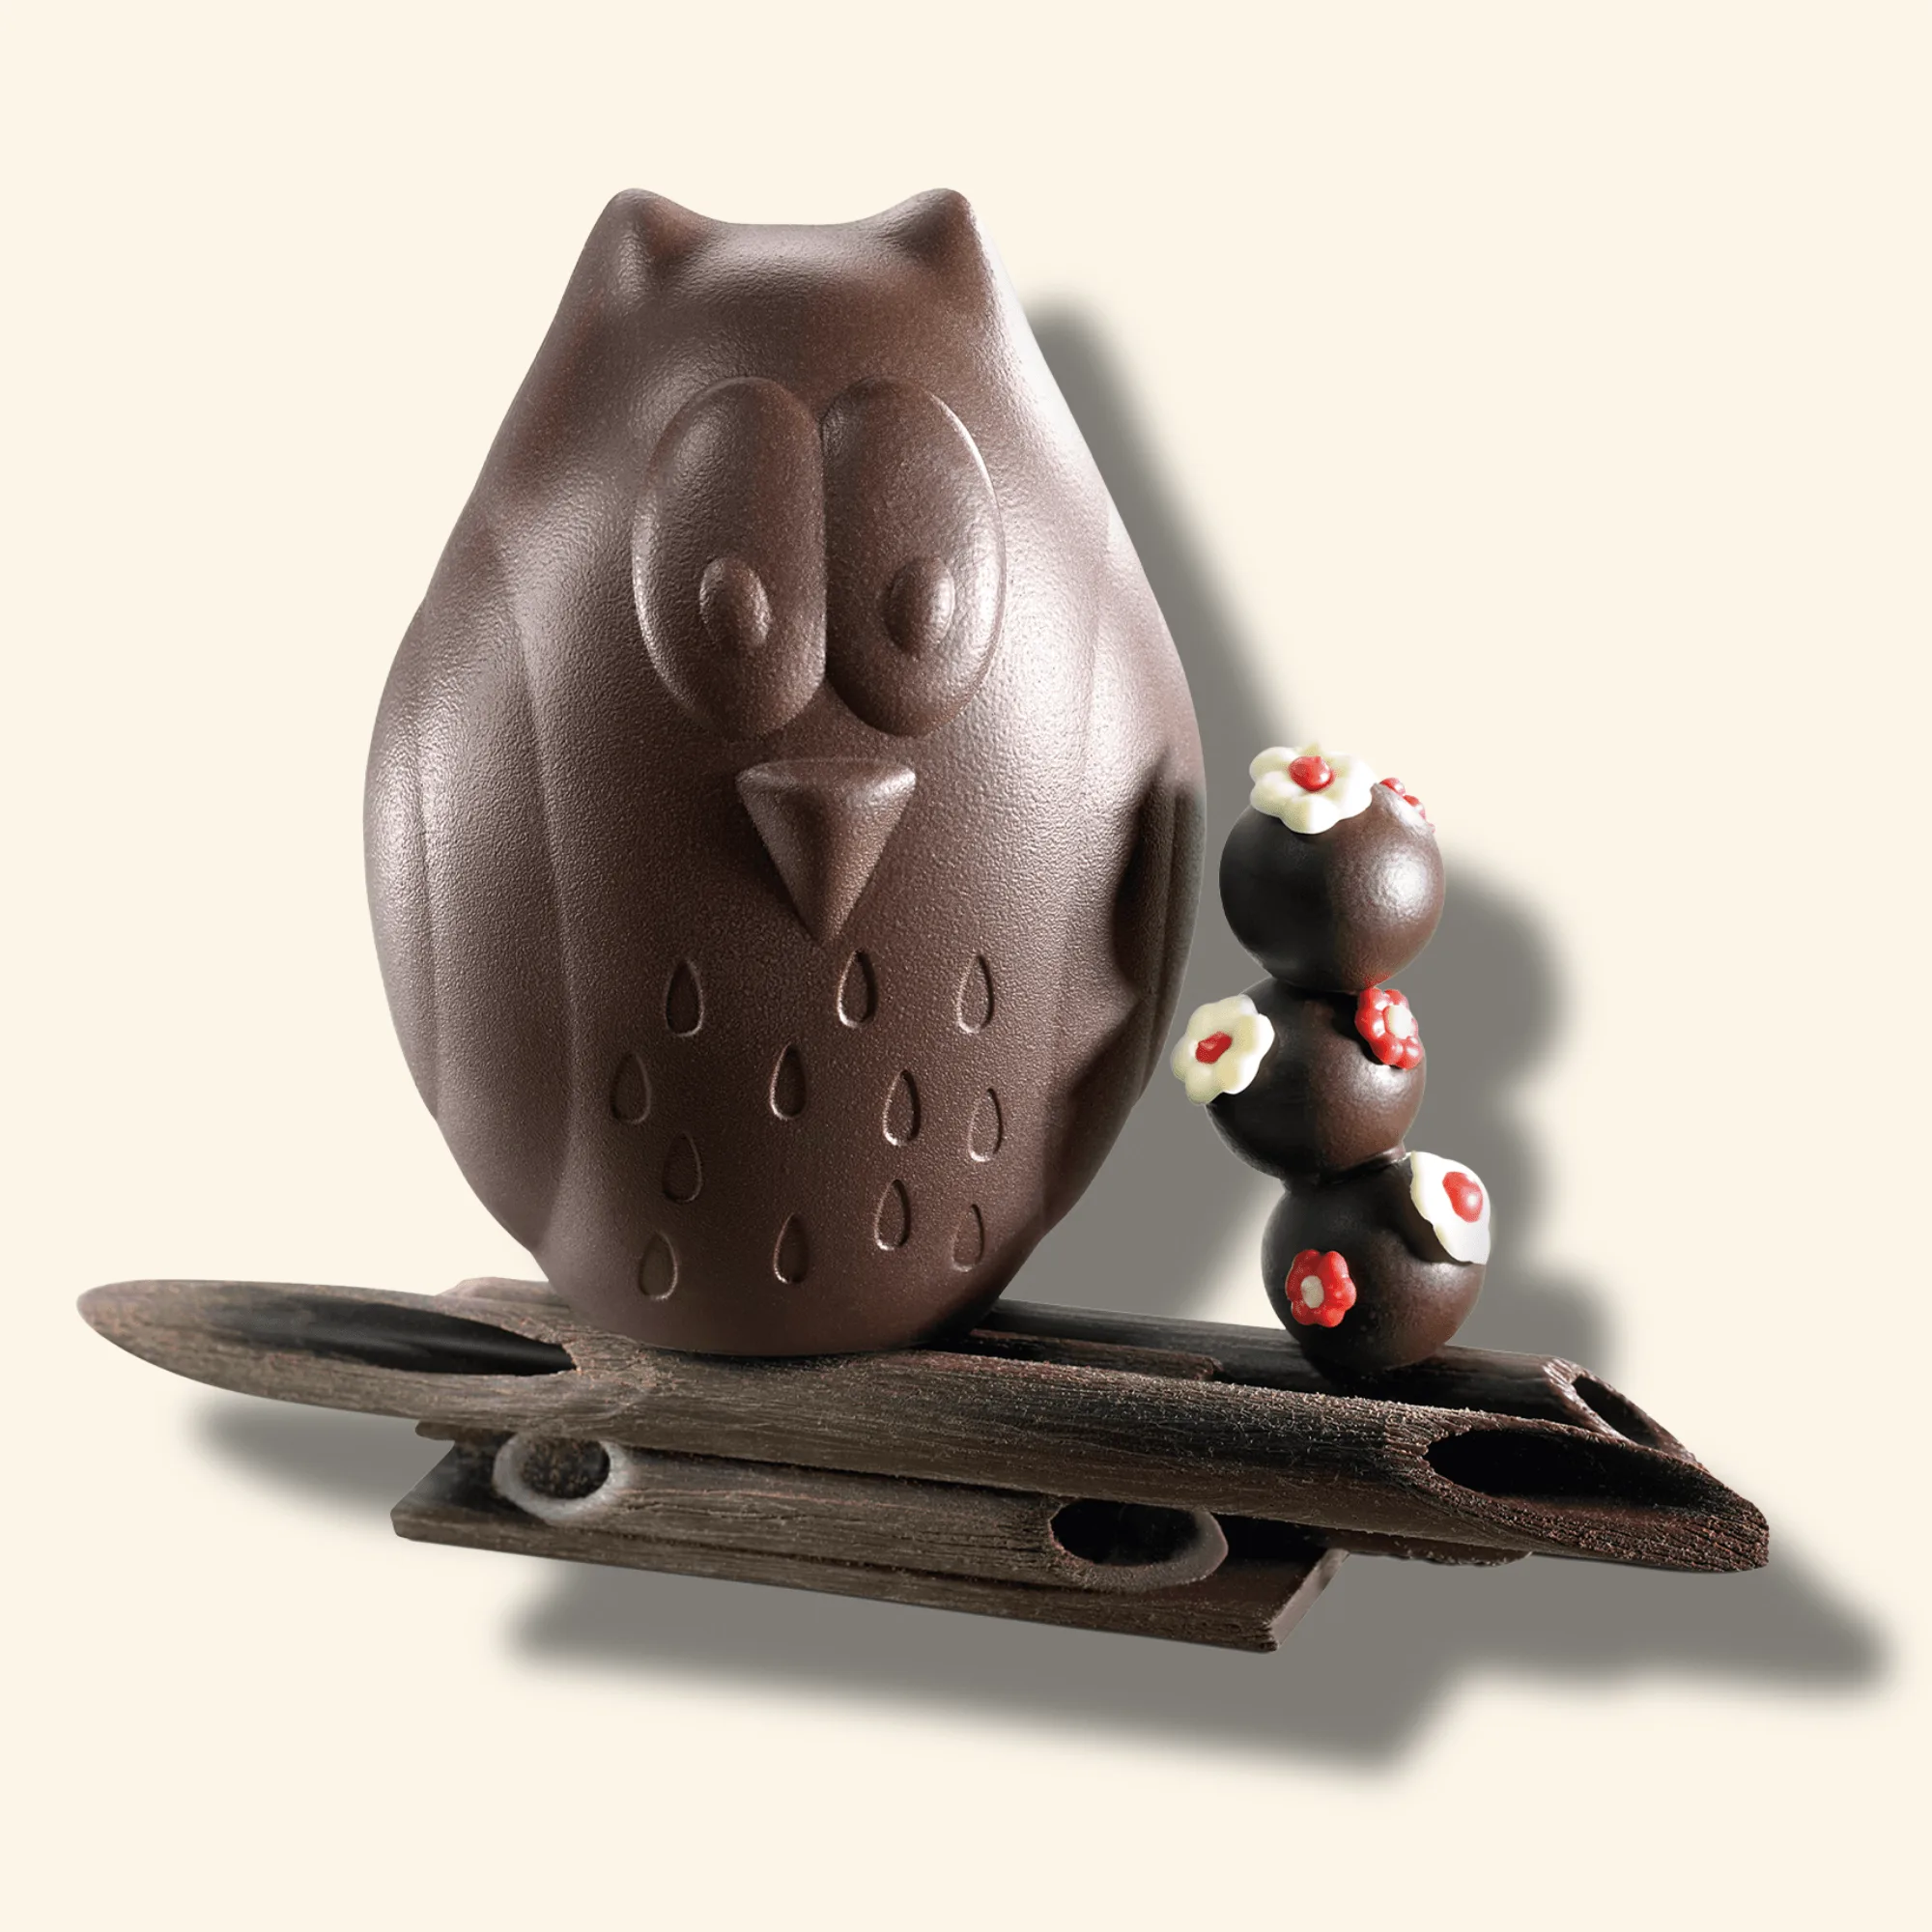
- Small Owl Easter Chocolate Mold: Features a cute 3D owl design, ideal for Easter baskets, party favors, and adding a charming touch to your creations. The 3D design adds depth and detail, making your chocolates look professional. Great for beginners and kids' projects.
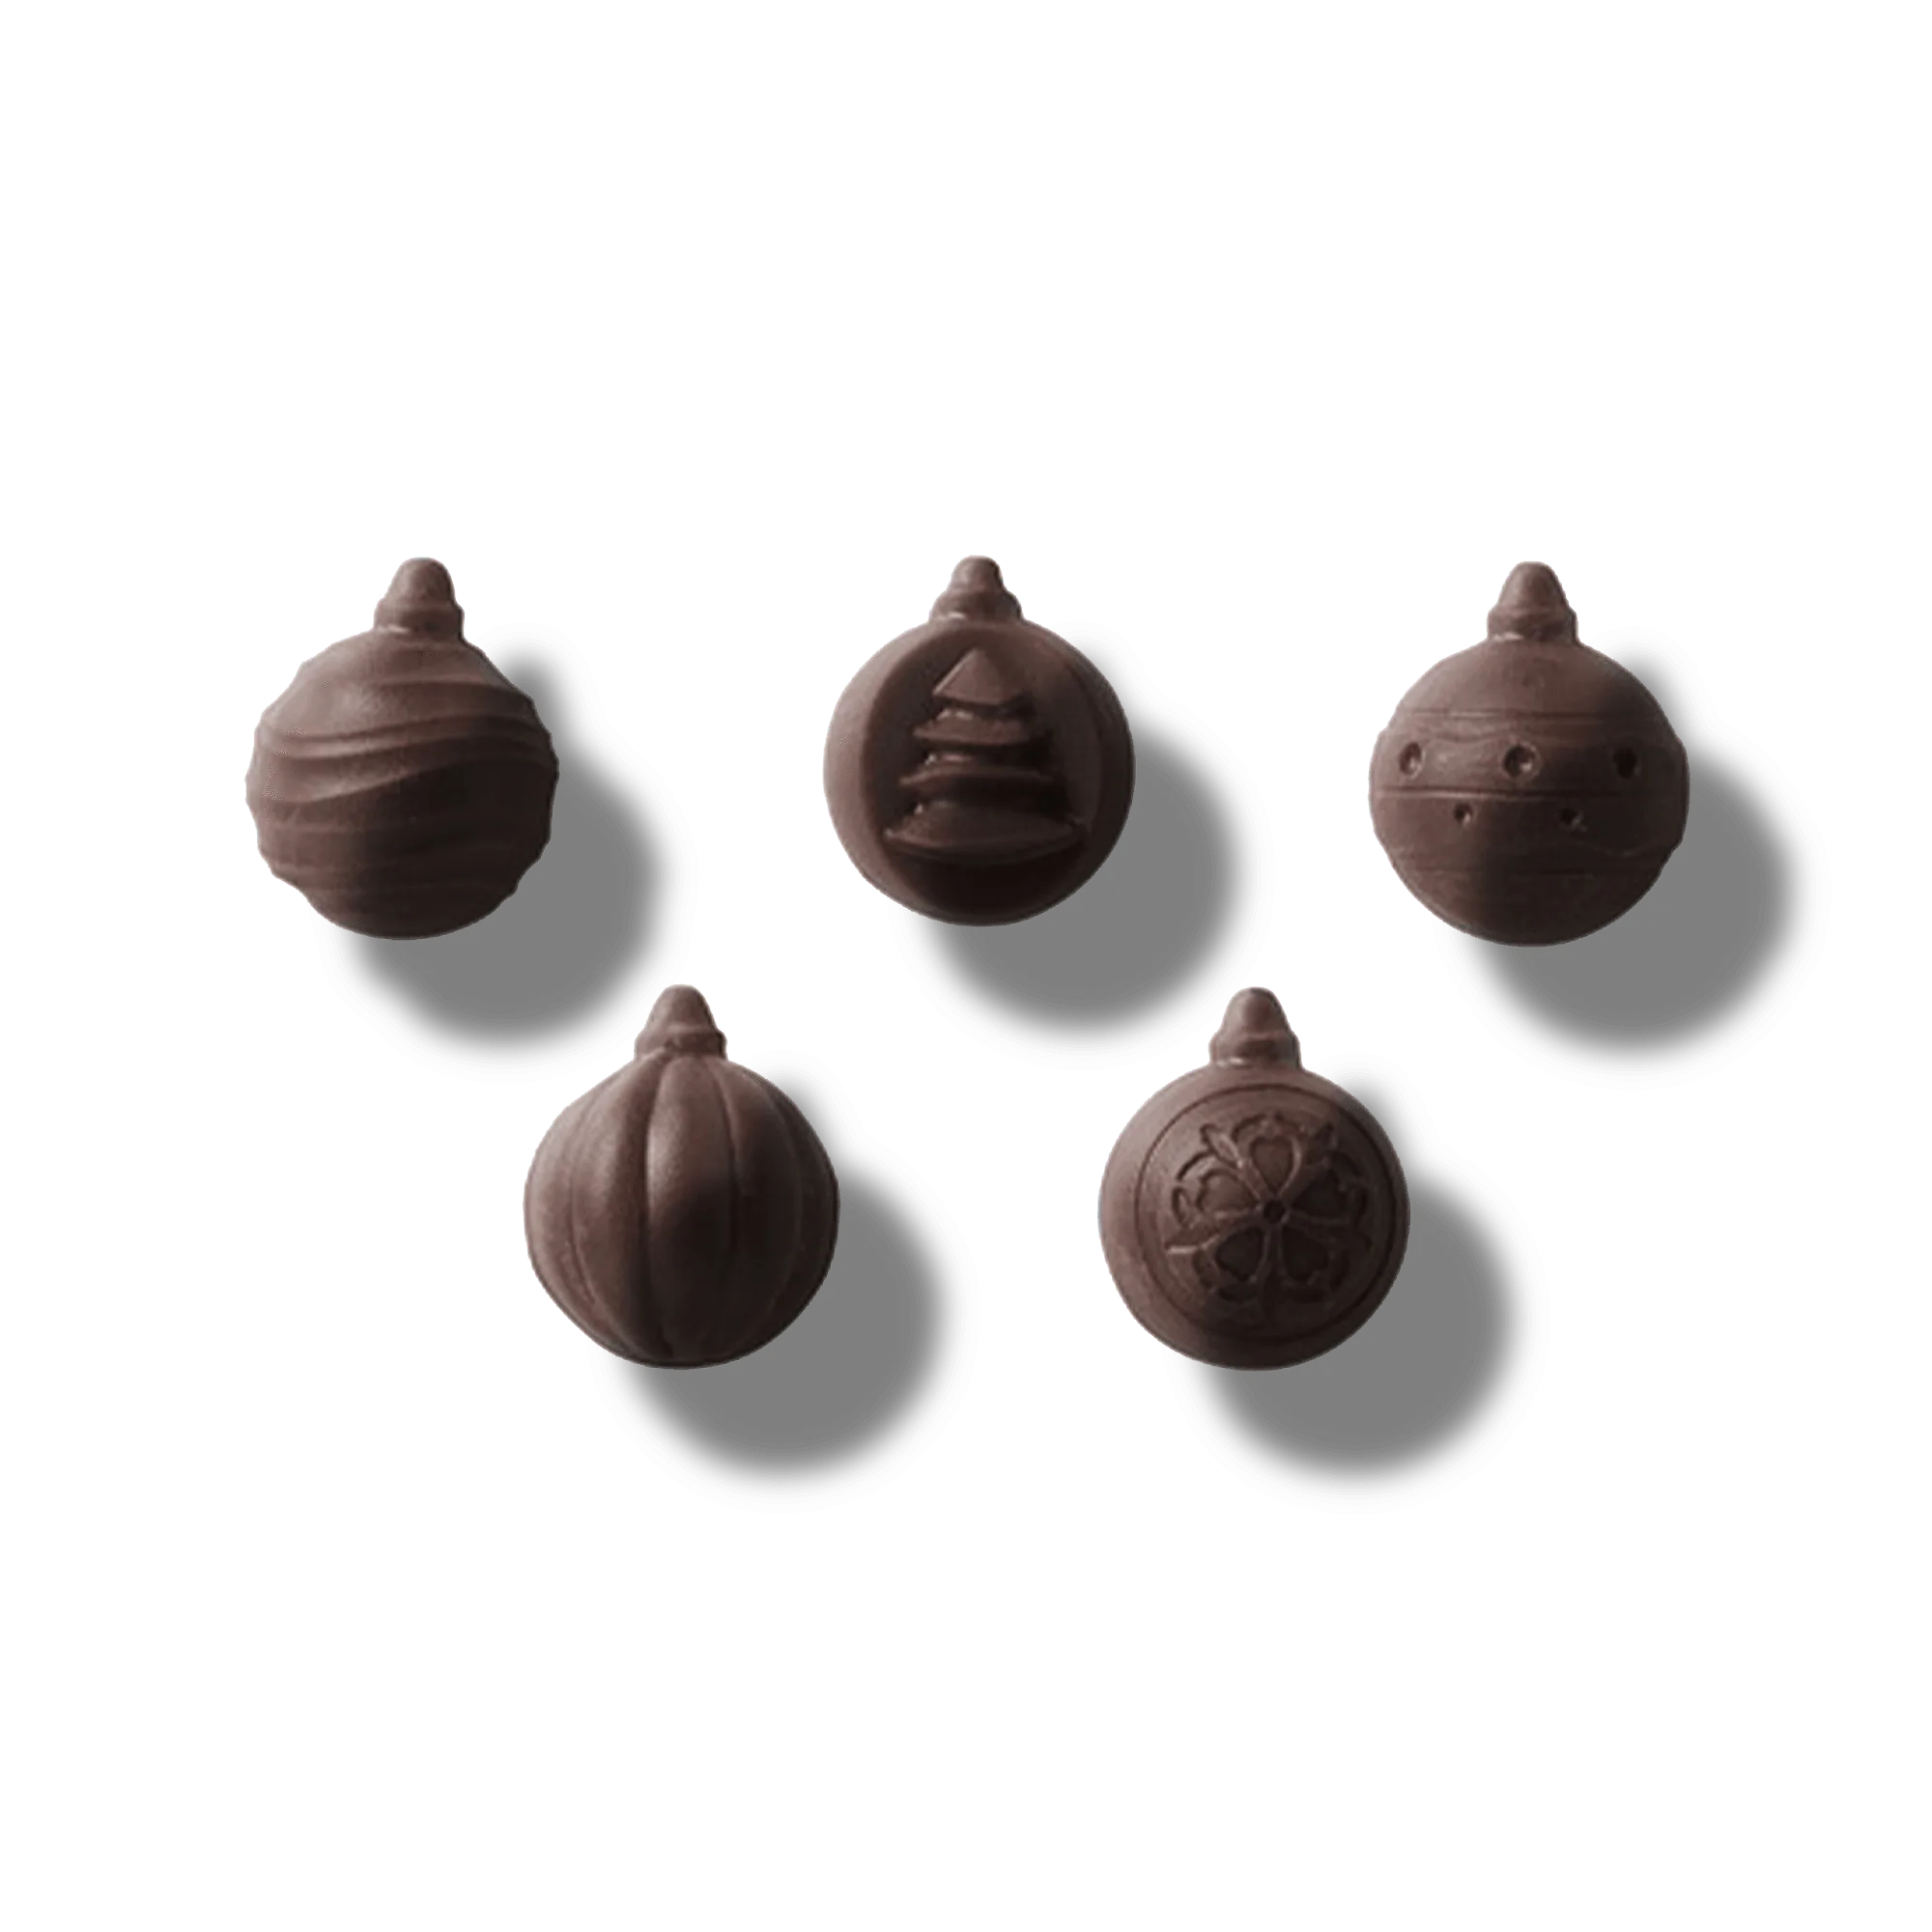
- Mini Ornament Christmas Chocolate Mold: Makes adorable mini ornament-shaped chocolates, perfect for personalizing holiday treats. Suitable for novice and expert bakers. Tiny shapes are easy to unmold and perfect for decorating cookies or topping desserts. A versatile mold for the holiday season.
With these chocolate mold techniques, you can create beautiful, professional-looking chocolates at home. Remember to temper your chocolate, keep your molds clean, and be patient during setting. Whether you're making Easter eggs, holiday ornaments, or cute animal shapes, these tips will help you achieve perfect shapes every time.