Quick answer
To use a cocktail shaker lid without leaks, dry the rim and threads, screw the lid on firmly until it stops, and shake with both hands using short, controlled pulses rather than wide swings. If it still leaks, check that the rim is free of ice chips and debris, then reseat the lid. Persistent leaking usually means the lid or cup threads are worn and the lid should be replaced.
Why cocktail shaker lids leak in the first place
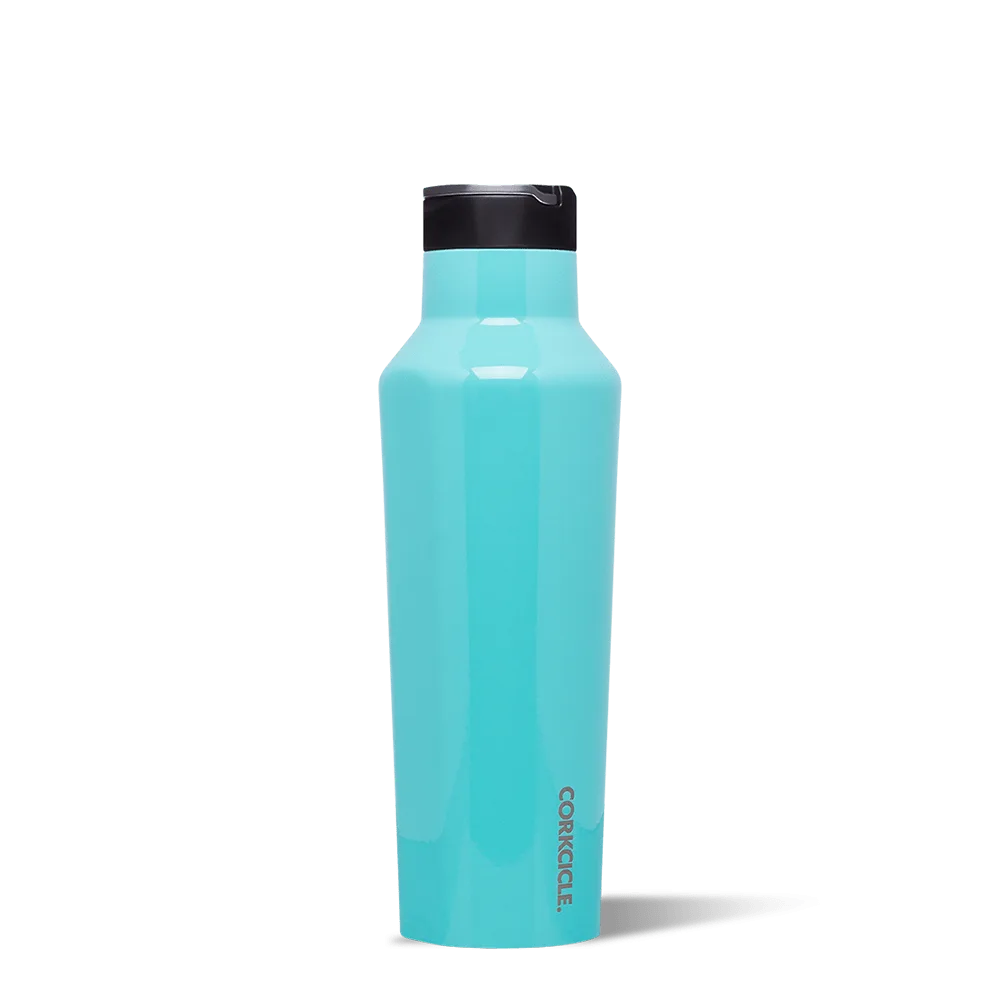
Most leaks come from three avoidable conditions: a wet or gritty sealing surface, a lid that is only partially threaded, or shaking that forces liquid against the seal at an angle. The Corkcicle Cocktail Shaker Lid is a leak-proof screw-on lid that doubles as a measuring cup and has a built-in strainer, but it still relies on clean threads and a firm seat to keep liquid inside. If you are using the lid on a Commuter Cup, note that it fits both 17oz and 9oz sizes, so confirm you have the correct cup before troubleshooting the seal.
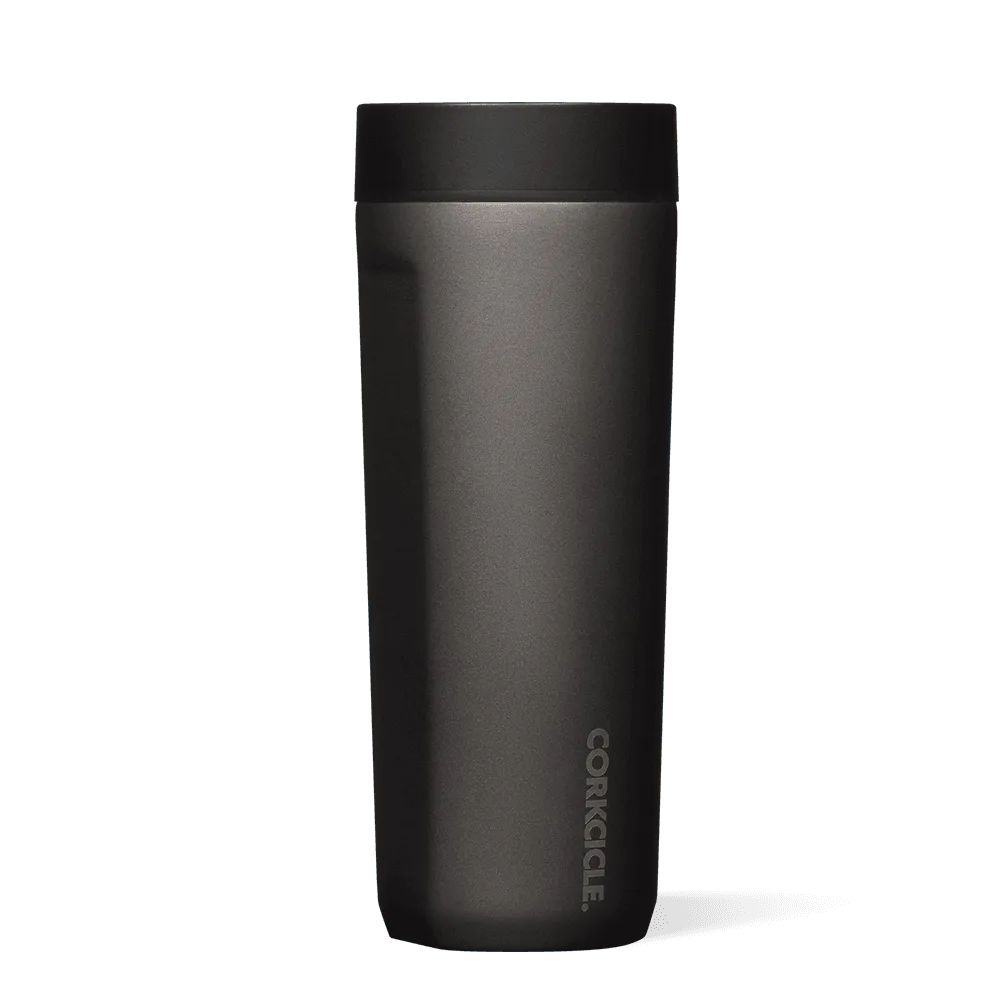
Commuter Cup
What to check before you blame the lid
Before you assume the lid is faulty, inspect the cup rim, the lid threads, and the strainer area. A single ice chip or a sticky dried juice residue can create a gap that lets liquid escape. Also confirm you are not overfilling; leave at least a half-inch of headspace so the liquid has room to move when you shake. If the lid threads look flattened or the cup rim is dented, no amount of tightening will fix the seal, and replacement is the practical answer.
Step-by-step: leak-free shaking
- 1. Dry and inspect the rim and threads: Wipe the cup rim and the lid threads with a clean cloth until they are completely dry and free of ice chips, pulp, or sticky residue. Checkpoint: run your finger around the rim. If you feel any grit or moisture, the lid will not seal properly.
- 2. Fill to the correct level: Add ingredients and ice, but leave at least a half-inch of empty space below the rim. Overfilling forces liquid into the threads as soon as you shake. Common mistake: filling to the very top because the recipe looks small. Headspace is part of the seal.
- 3. Screw the lid on until it stops: Place the lid straight down and turn it clockwise until it seats firmly. Do not stop at the first resistance; continue until it will not turn further without forcing. Checkpoint: the lid should feel snug and aligned, not cross-threaded or tilted.
- 4. Shake with short, controlled pulses: Hold the cup body with one hand and press down on the lid with the other. Shake in short back-and-forth pulses close to your body rather than wide, swinging arcs. Common mistake: shaking with long, loose swings. That motion pushes liquid sideways against the seal and causes leaks.
- 5. Test the seal before you commit: After the first two or three shakes, stop and check for drips around the lid edge. If you see moisture, dry it, reseat the lid, and continue. Checkpoint: a dry paper towel pressed against the lid seam should come away dry.
- 6. Open and strain without tilting the lid: Set the cup down, unscrew the lid slowly, and pour through the built-in strainer. Keep the cup upright and let the strainer do the work instead of tilting the lid away from the cup. If the lid still leaks after steps 1 through 5, the lid or cup threads are likely worn. Replace the lid rather than over-tightening it.
Product facts
- Cocktail Shaker Lid: The Cocktail Shaker Lid is a leak-proof screw-on lid that doubles as a measuring cup and has a built-in strainer. It fits both 17oz and 9oz Commuter Cups. This means you can use the same lid for measuring, shaking, and straining, and you can swap it between two cup sizes without buying a second lid.
- Cocktail Shaker: The Corkcicle Cocktail Shaker is made from triple-insulated stainless steel and has a leak-proof screw-on lid that doubles as a measuring cup with a built-in strainer. If you shake directly in this shaker, the insulated body keeps the drink cold and your hands comfortable, and the lid design is the same sealing system you are learning to use.