Quick answer
Sprinkle Colour Creation Powder onto your card or tag, spritz with water, and watch the color bloom. For more control, mix the powder with water first to create a custom paint.
Why use Colour Creation Powder instead of regular embossing powder?
Regular embossing powder creates a raised, glossy finish that requires heat to set. Colour Creation Powder is water-activated, so you can achieve vibrant color without a heat tool. It also lets you blend colors directly on the paper for soft ombré effects that are hard to do with standard embossing powders.
Choosing the right paper and tools
Thicker cardstock or watercolor paper works best because the water can cause thin paper to wrinkle. You will need a fine-mist spray bottle, a small spoon or scoop for the powder, and a clean surface to catch excess powder. A palette or small dish helps if you plan to mix the powder with water.
Step-by-step: Using Colour Creation Powder on cards and tags
- Prepare your surface: Place your card or tag on a protected work surface. If you want a crisp design, apply a light layer of embossing ink or a wet glue in the areas you want the powder to stick. For an all-over color wash, skip this step. Common mistake: applying too much water at once can make the powder run outside your intended area. Use a fine mist.
- Apply the powder: Using a small spoon or the container's shaker top, sprinkle Colour Creation Powder over the wet areas or directly onto dry cardstock. Tap off the excess onto a scrap paper to reuse later. Work over a folded paper so you can funnel the excess back into the container easily.
- Activate with water: Spritz the powder lightly with water from a fine-mist bottle. Watch the colors bloom and blend. For more intense color, add more powder before the first layer dries. For a softer wash, use more water. If you spray too heavily, the powder can puddle and create uneven patches. Mist from about 6 inches away.
- Let it dry completely: Set the card or tag aside to air dry. This usually takes 10–20 minutes depending on how much water you used. Do not touch the wet powder or it will smear. To speed up drying, use a heat tool on a low setting, but keep it moving to avoid scorching the paper.
- Add details or seal (optional): Once dry, you can stamp, write, or add embellishments over the colored area. If you plan to handle the card often, seal the powder with a clear acrylic spray or a light coat of matte medium. Test the sealant on a scrap first, because some sprays can reactivate the powder and cause bleeding.
Product used in this guide
-
Crafter's Companion - Colour Creation Powder - 8pc: This versatile powder can be used on its own, combined with water to make a paint, and mixed together for stunning ombré effects. You get three techniques from one product: dry sprinkle, wet paint, and layered blends, making it a flexible choice for card and tag projects.
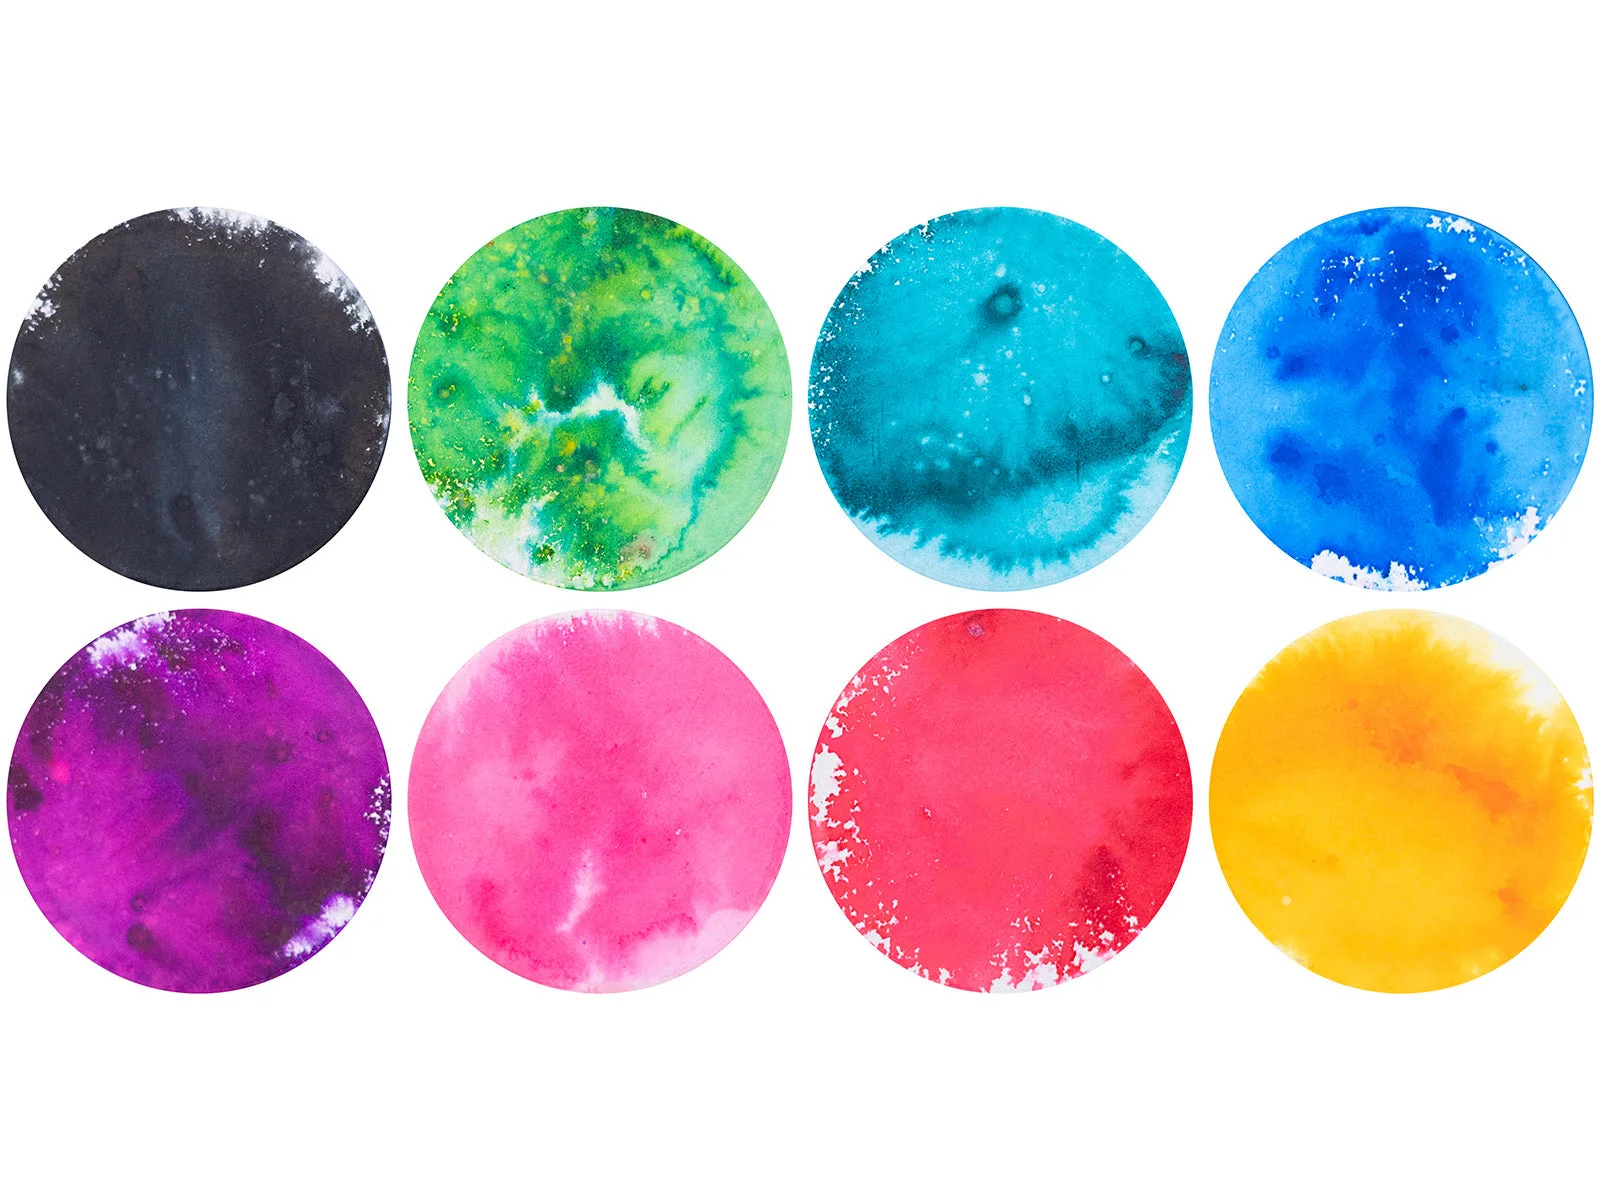
Crafter's Companion - Colour Creation Powder - 8pc