Quick Answer
To use a crystal cuticle pusher safely, always work on clean, dry nails and gently push back the cuticle at a 45-degree angle using light pressure—never cut or dig. Pair it with a nourishing cuticle oil and a precise cleanup routine to keep your nail beds healthy and your manicure crisp.

crystal cuticle pusher
A crystal cuticle pusher is a staple in professional nail care, and for good reason: it gives you a precise, clean line without the risk of cuts that metal tools often bring. But using it correctly matters more than owning one. Pushing too hard, at the wrong angle, or on wet skin can lead to tears, inflammation, and damaged nail beds.
In this guide, you'll learn a safe, step-by-step technique for using a crystal cuticle pusher at home. We'll cover preparation, the correct angle and pressure, and how to incorporate cuticle care tools into your routine for a polished, healthy look.
Why Choose a Crystal Cuticle Pusher?
Crystal cuticle pushers are favored for their smooth, non-porous surface that glides over the cuticle without dragging or tearing. Unlike metal pushers, they're less likely to nick the skin or scratch the nail plate, making them a safer option for beginners and those with sensitive cuticles.
They also work well with both wet and dry cuticles, though for safety, we recommend using them on dry skin to avoid over-softening, which can make the cuticle more prone to tearing. The key is to use gentle, consistent pressure and to stop if you feel any resistance.
- Always sterilize your crystal pusher with rubbing alcohol before and after each use.
- If your cuticles are very dry or overgrown, soften them with cuticle oil first, then wipe off excess before pushing.
Preparing Your Nails for Pushing
Start with clean, dry nails. Remove any old polish with a gentle, acetone-free remover, and wash your hands to eliminate oils and dirt. If your cuticles are dry or thick, apply a small amount of cuticle oil and let it absorb for a minute, then gently wipe away any excess—this softens the skin without making it slippery.
Avoid soaking your nails in water before pushing. Water swells the skin, making it more fragile and prone to tearing. Instead, work on dry skin and rely on the crystal tool's smooth edge to do the work.
- Use a cuticle remover gel only if your cuticles are very stubborn, but always follow with a gentle wipe and dry before pushing.
Mastering the Angle and Pressure
Hold the crystal pusher at a 45-degree angle to the nail plate. This lets the flat end gently lift the cuticle away from the nail without digging into the skin. Use short, sweeping strokes from the base of the nail toward the tip, working your way around the entire cuticle line.
Apply light, even pressure—just enough to see the cuticle lift. If you feel pain or see redness, you're pushing too hard. The goal is to gently push back the skin, not to scrape it off. Never use the pointed end to dig under the cuticle; that's for cleaning under the nail tip only.
- If you have a hangnail, don't push it—trim it carefully with sanitized cuticle nippers instead.
Finishing with Nourishment and Cleanup
After pushing, your cuticles may look slightly red or feel sensitive. Immediately apply a hydrating cuticle oil to soothe the area and lock in moisture. This step is crucial for maintaining healthy cuticles and preventing dryness or peeling.
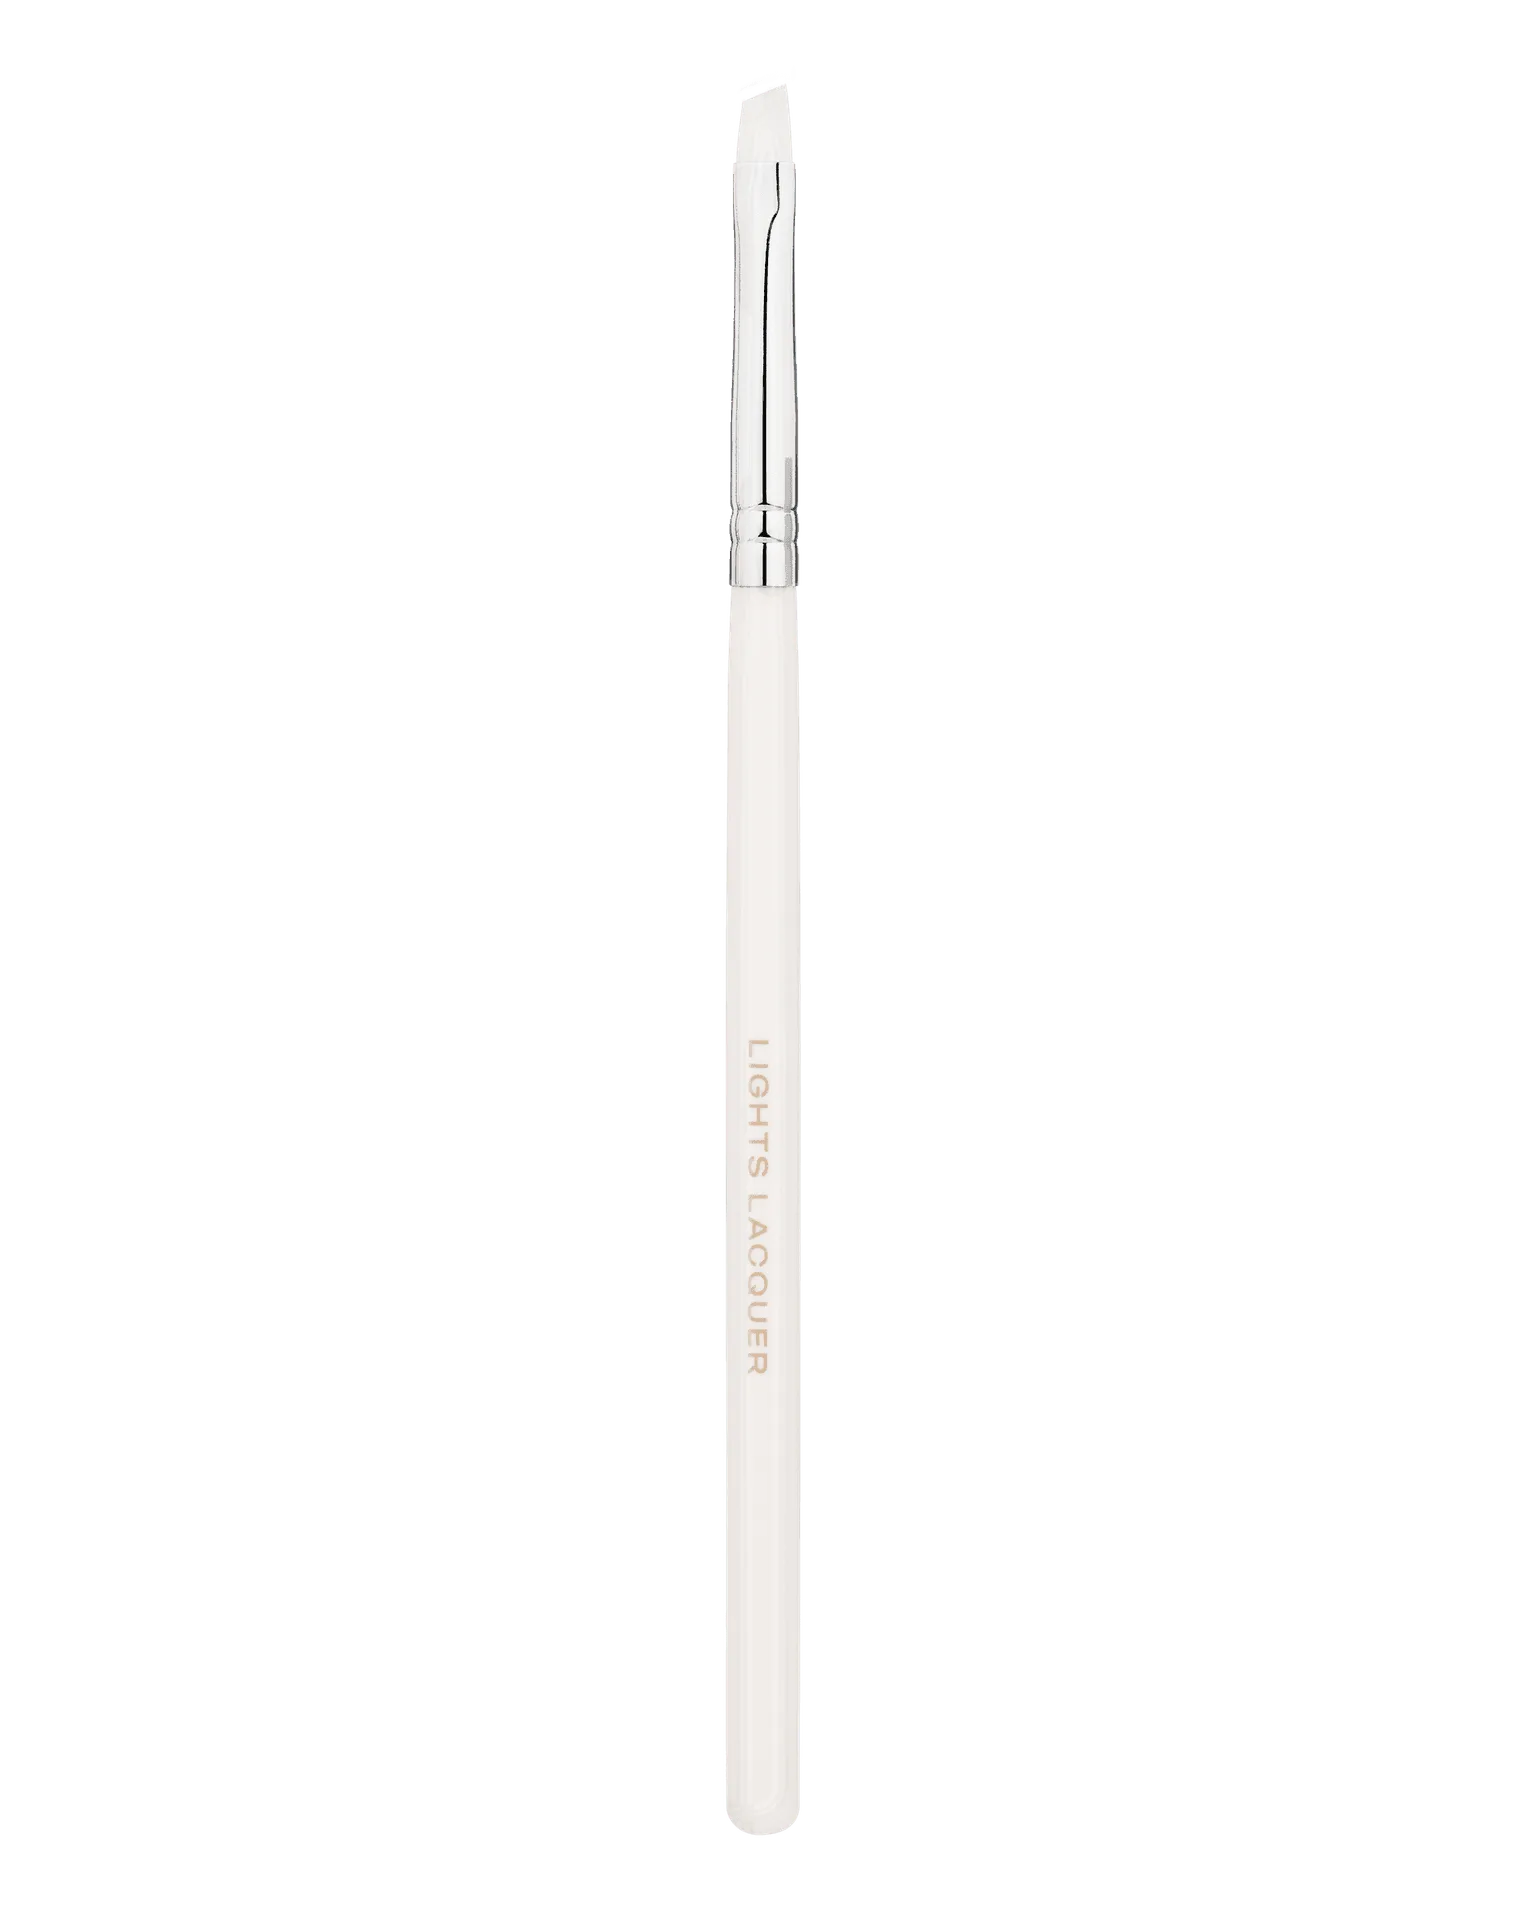
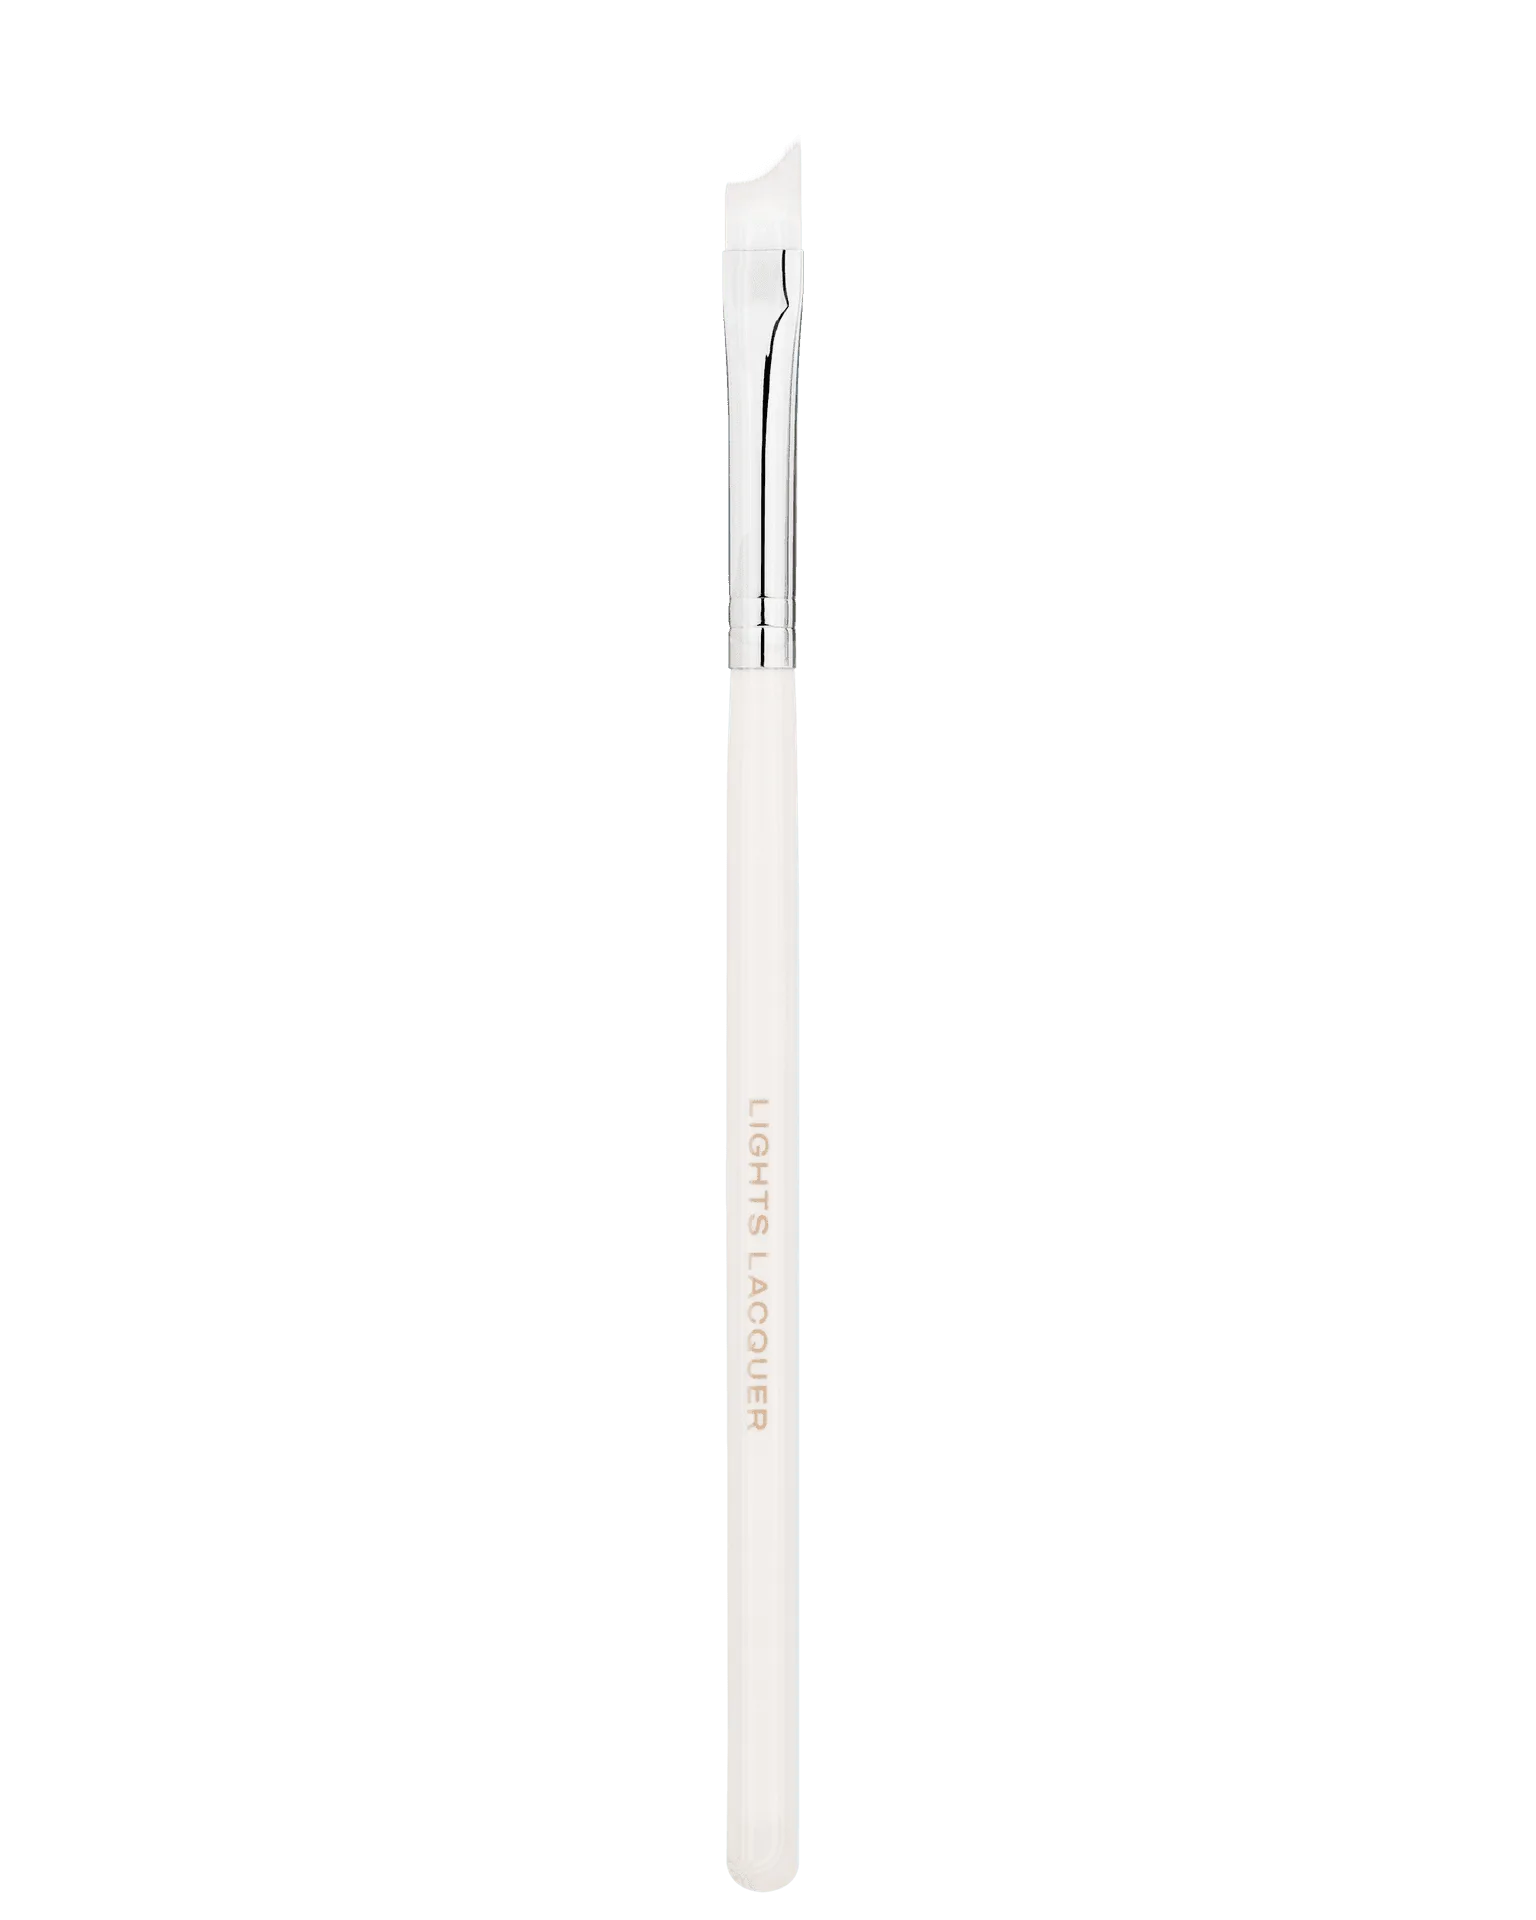
For a truly crisp finish, especially if you're about to apply polish, use a precision cleanup brush dipped in a gentle polish remover to erase any stray oil or product along the cuticle line. This sharpens the edge and ensures your polish adheres perfectly.
- Incorporate cuticle oil into your daily routine—not just after pushing—to keep cuticles flexible and less prone to overgrowth.
Step-by-Step: Safe Crystal Cuticle Pusher Technique
- Sanitize Your Tools: Wipe your crystal cuticle pusher with rubbing alcohol and wash your hands thoroughly. This prevents introducing bacteria to the cuticle area. Checkpoint: A clean tool is non-negotiable to avoid infection.
- Prep Your Nails: Remove old polish and ensure nails are dry. If cuticles are dry, apply a small amount of cuticle oil, let it absorb, then wipe off excess. Checkpoint: Dry skin is safer than wet skin for pushing.
- Push at a 45-Degree Angle: Hold the flat end of the pusher against the cuticle at a 45-degree angle. Use gentle, short strokes to lift the cuticle away from the nail plate, moving from the base toward the tip. Checkpoint: If it hurts, you're pressing too hard—lighten up.
- Clean Under the Nail Tip (Optional): Use the pointed end of the pusher to gently sweep under the free edge of the nail to remove debris. Never use it to dig under the cuticle. Checkpoint: Keep this step gentle to avoid scratching the nail.
- Nourish and Clean Up: Apply a hydrating cuticle oil to soothe and moisturize. For a polished look, use a cleanup brush with polish remover to tidy any oily residue along the cuticle line. Checkpoint: Hydration is key—make it a daily habit.
Tools That Support Safe Cuticle Care
- Vanilla Hydrating Cuticle Oil: Our fan-favorite formula — in a lush vanilla scent. This decadent essential blends nutrient-rich oils to lock in moisture, soothe dry skin, and promote stronger, shinier nails—naturally. With its dreamy blend of amber and sandalwood, it’s a luxurious treat in every swipe. Use it daily for your best nail glow yet. Applying cuticle oil after pushing helps calm the skin and keeps it hydrated, reducing the risk of tears and promoting healthy nail growth.
- The Clean Finish Duo: Because the details matter. Polish Potion gently removes polish without stripping, making it perfect for refining edges and cleaning up excess after application. Infused with Sweet Almond Oil and Vitamin E, it helps condition nails while you perfect your look. Paired with our precision Clean Up Brush, it sharpens lines and erases mistakes for a crisp, intentional finish. After pushing cuticles, this duo helps you clean up any oil or residue for a flawless base, ensuring your polish goes on smoothly and lasts longer.
Using a crystal cuticle pusher safely is all about technique and patience. With the right angle, light pressure, and a nourishing finish, you can achieve a clean, professional-looking manicure at home while keeping your cuticles healthy. Remember to sanitize your tools, work on dry skin, and always follow up with cuticle oil for the best results.