Quick answer
Keep your curling wand at the lowest temperature that holds a curl, always apply heat protection first, and wrap hair smoothly around the barrel without clamping or twisting. Let each curl cool completely before touching it. That combination limits curling wand heat damage more than any single-3100978">single product or tool.
Most curling wand damage comes from three habits: too much heat, no heat protection, and rough wrapping. Fix those and you can curl your hair regularly without the crunch, split ends, and mid-shaft breakage that make people give up on wands.
This guide walks through a repeatable routine, from dry hair and temperature choice to wrapping technique and cool-down. It also explains what to look for in a heat protectant so you are not just adding another layer of product.
Start with completely dry, product-free hair
A curling wand should only touch dry hair. Water inside the hair shaft expands when heated, which weakens the strand and makes that sizzling sound you hear when damp hair meets a hot barrel. If you just showered, either air-dry or blow-dry fully before you begin.
Heavy oils, leave-in creams, and dry shampoo buildup can also cook onto the hair and make curls stiff. Apply your heat protectant to clean, dry hair, then comb it through so the coverage is even from root to tip.
- Checkpoint: run your fingers through a small section. If it feels cool or damp, wait longer before curling.
- Mistake to avoid: curling hair that is still damp because you are in a hurry.
Choose the lowest temperature that actually holds
Temperature is the biggest lever you control. Fine or color-treated hair usually responds well to a lower setting, while thick, coarse, or resistant hair may need more heat. Start low and test one section before committing to your whole head.
If a curl falls out within a few minutes, the fix is not always more heat. Smaller sections, a slightly longer hold, and a proper cool-down often solve the problem without pushing the wand hotter.
- Checkpoint: if the wand smells hot or the hair feels rough immediately after wrapping, drop the temperature.
- Mistake to avoid: leaving the wand on the highest setting because it curls faster.
Apply heat protection before any heat touches hair
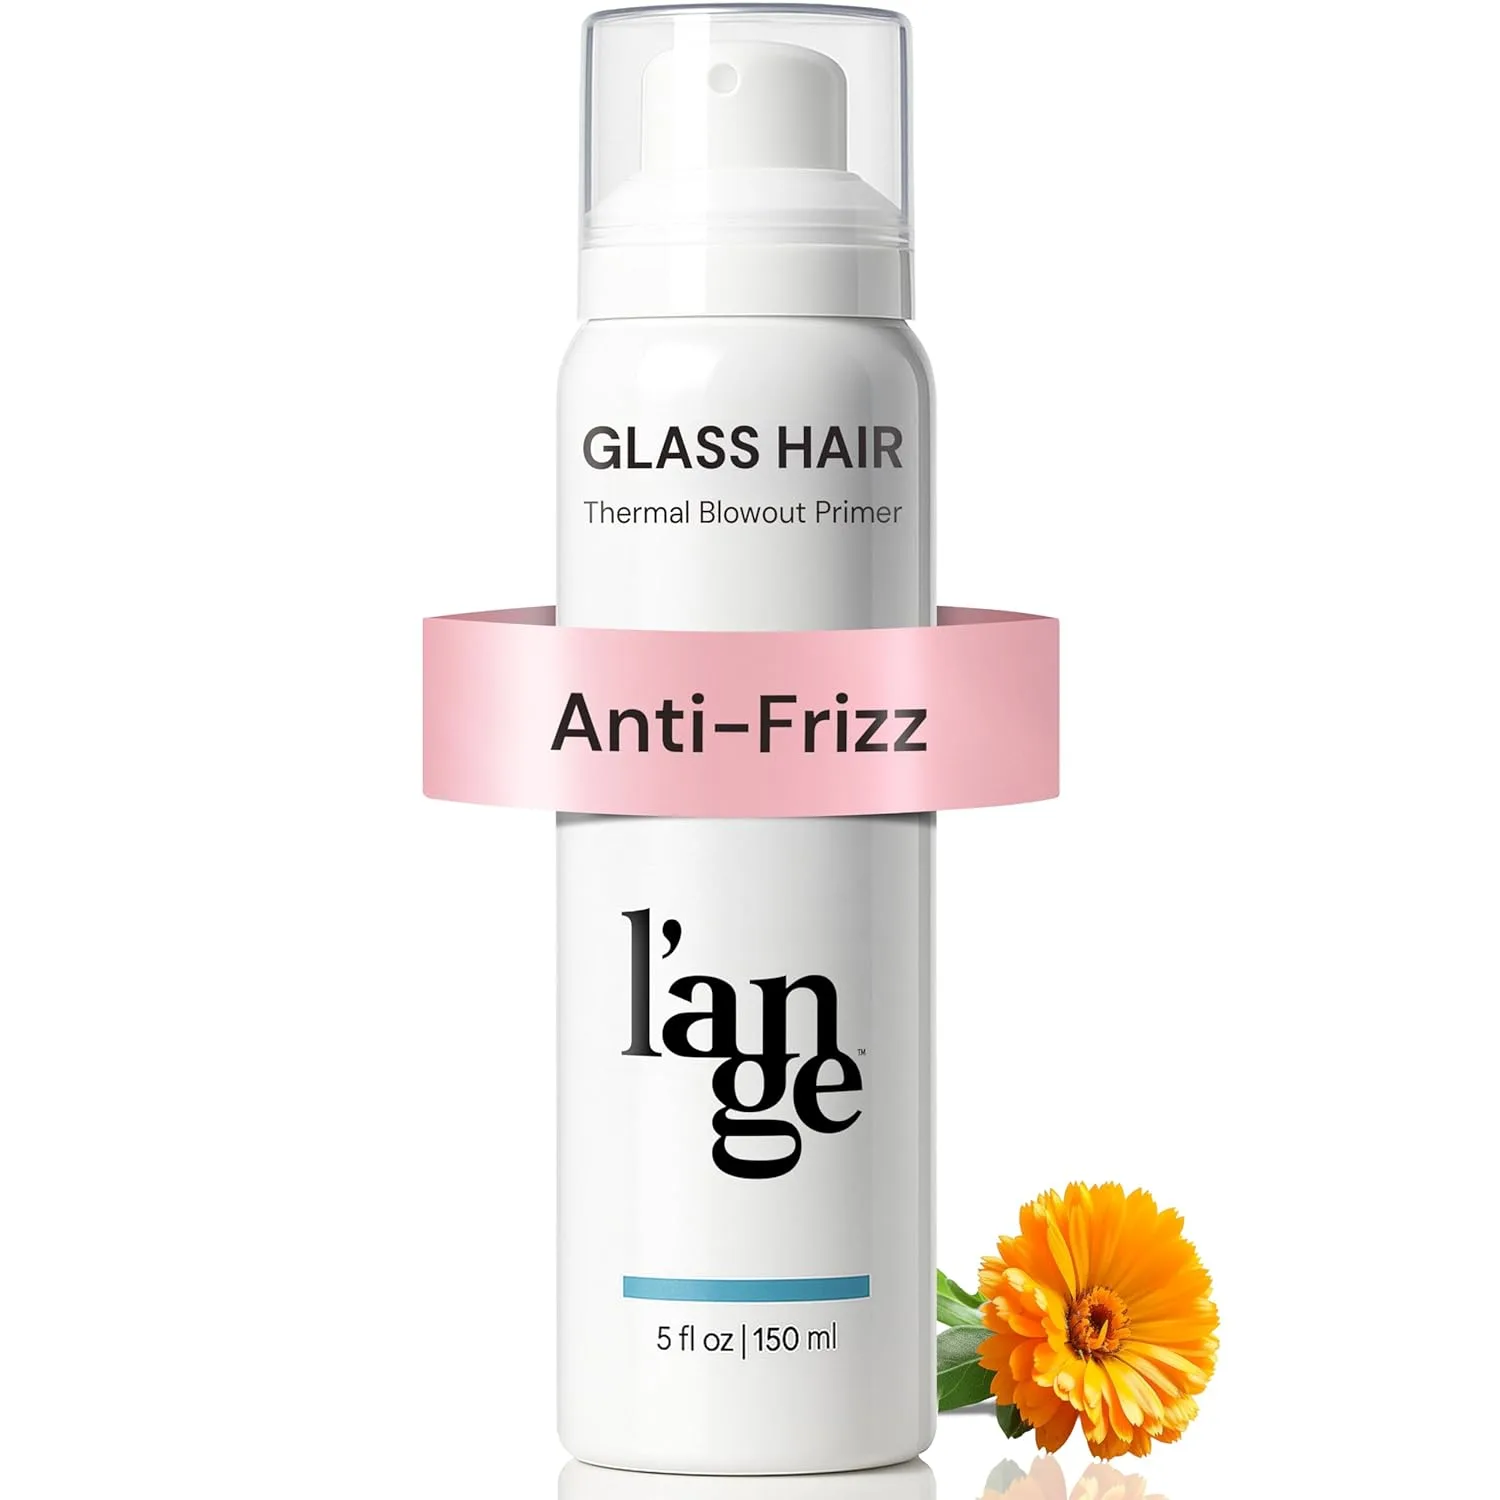
Heat protectant is not optional if you curl more than once a week. Look for a spray or serum designed for hot tools and apply it to dry hair before you section. Give it a moment to dry so it does not steam against the barrel.
You do not need to drench your hair. A light, even layer on each section is enough. If your hair is fine, a lightweight spray is usually easier to work with than a heavy cream that can weigh curls down.
- Checkpoint: your hair should feel slightly coated, not wet or sticky, before you pick up the wand.
- Mistake to avoid: spraying heat protectant only on the top layer of hair.
Section hair and wrap smoothly, not tightly
Work in sections about one to two inches wide. Wider sections force you to hold the wand in place longer, which concentrates heat in one spot. Clip the rest of your hair out of the way so you are not re-curling strands by accident.
Wrap the section around the barrel in a smooth spiral, keeping the strand flat against the wand. Do not twist or clamp the hair. Hold for a few seconds, then release. The goal is an even curve, not a tight coil.
- Checkpoint: each section should wrap around the barrel no more than once or twice.
- Mistake to avoid: wrapping hair over itself, which creates hot spots and kinks.
Let curls cool before you touch them
Curls set as they cool. If you immediately run your fingers through a warm curl, you break the shape and often end up re-curling the same section, doubling the heat exposure. Let each curl hang or rest in your palm until it is cool to the touch.
Once all curls are cool, shake them out gently or use a wide-tooth comb. Finish with a light hold spray if you need it, but keep your hands off the curls while they are still warm.
- Checkpoint: a cooled curl should spring back when you gently pull it.
- Mistake to avoid: brushing hot curls, which causes frizz and breakage.
Your step-by-step curling wand routine
- Step 1: Prep dry hair: Wash and dry hair completely, then comb through a light heat protectant from root to tip. Checkpoint: hair feels dry and slightly coated, not damp or sticky.
- Step 2: Set a low temperature: Start at the lowest setting that holds a curl for your hair type, and test one small section first. Checkpoint: if the test curl falls within minutes, adjust technique before adding heat.
- Step 3: Section and wrap: Divide hair into one- to two-inch sections and wrap each smoothly around the barrel without twisting or clamping. Checkpoint: each section wraps around the barrel only once or twice.
- Step 4: Hold briefly and release: Hold each section for a few seconds, then release the curl without pulling it straight. Checkpoint: the curl should keep its shape as it leaves the wand.
- Step 5: Cool completely: Let each curl rest until cool to the touch before you touch, shake, or comb it. Checkpoint: cooled curls spring back when gently pulled.
Products that support a safer curling routine
- Dock & Bay Quick Dry Towel - Cancun Green: The Cabana collection towel is lightweight, quick-drying, and comes in an XL size that covers a full sun lounger, with a handy hook. A quick-dry towel helps you avoid wrapping wet hair in a heavy towel for too long, so hair dries more evenly before you use a curling wand.
- MOON GARDEN Cotton Linen - Verde Sample: This cotton-linen sample in Verde lets you preview the fabric's color and texture before committing to a larger project. Testing a small sample first is the same principle as testing one curl section at a low temperature before styling your whole head.
A curling wand does not have to mean damaged hair. Keep the temperature low, protect every section, wrap smoothly, and let curls cool before you touch them. That routine protects your hair and gives you curls that actually last.