Quick answer
For even, mess-free face mask application, use a soft silicone face mask brush to spread a thin, uniform layer over clean skin, working in gentle upward strokes. This technique minimizes waste and ensures every contour gets covered.
Why a brush beats your fingers
Applying masks with your fingers can trap product under nails, create uneven patches, and introduce bacteria to your skin. A silicone brush glides smoothly, pushing the mask into contours like the nose and under-eye area without tugging. It also keeps your hands clean and reduces product waste, as less mask stays on the brush or your fingertips.
Silicone is non-porous, so it won’t absorb your mask’s active ingredients. That means more of the formula stays on your skin where it belongs, and the brush rinses clean in seconds.
Choosing the right brush for your mask
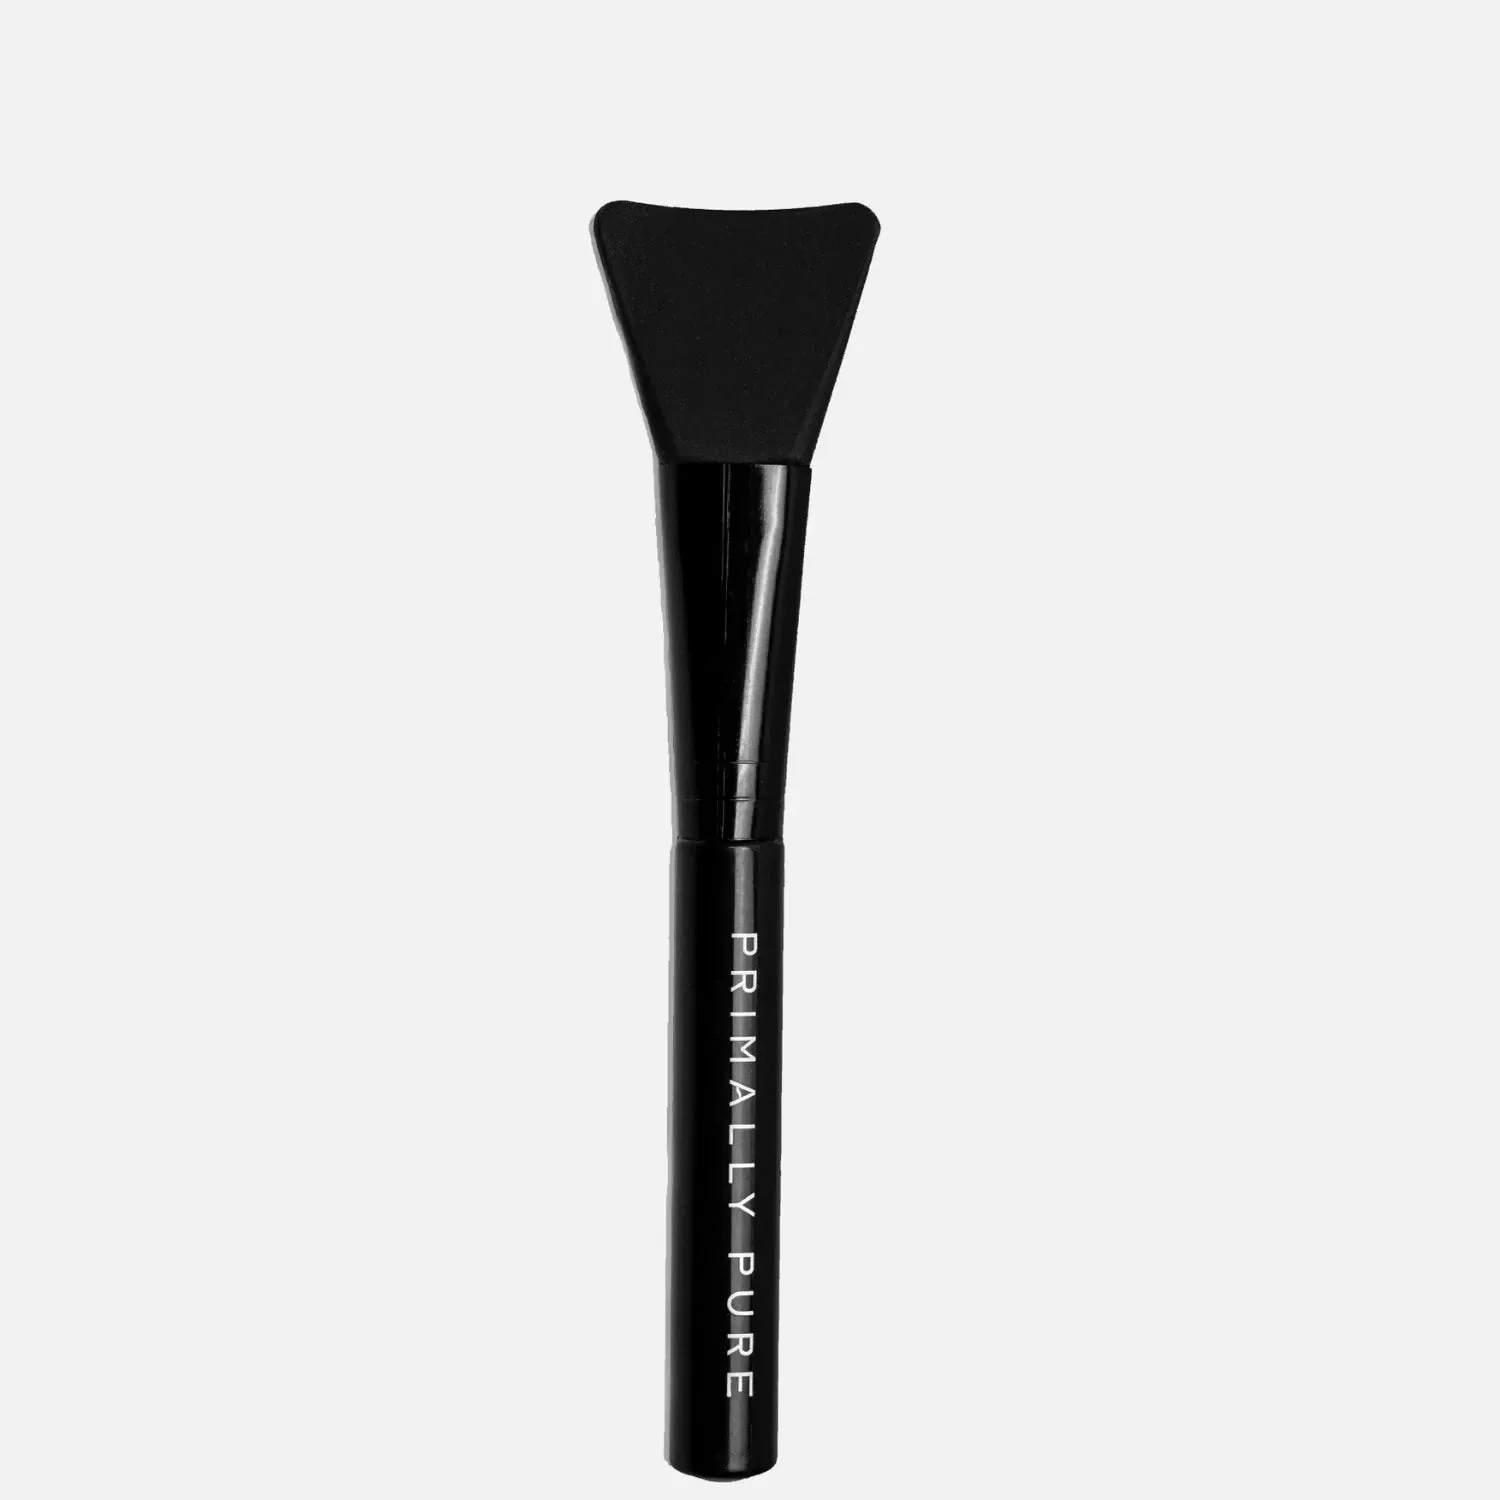
Not all brushes are created equal. The Primally Pure Face Mask Brush features a soft, flexible silicone head with a mindfully curved design that fits facial contours for complete, precise coverage. Its smooth surface is ideal for both creamy and clay masks, and it won’t scratch or irritate sensitive skin.
If your mask is very thick or gritty, a flexible silicone brush helps you spread it thinly without clumping. For gel or cream masks, the same brush works beautifully—just adjust the pressure to avoid pulling the skin.
Step-by-step guide to even application
- Start with clean, dry skin: Wash your face and pat dry. Applying mask to damp skin can dilute the formula and reduce effectiveness. This also prevents slipping, which leads to uneven coverage. Always cleanse before masking to remove dirt and oil that could block absorption.
- Scoop a small amount of mask: Use a spatula or the brush itself to pick up a pea-to-nickel-sized amount. Avoid dipping the brush back into the jar to prevent contamination. Start with less—you can always add more. Checkpoint: If you see excess product pooling on the brush, you’ve scooped too much.
- Apply in thin, even strokes: Holding the brush at a 45-degree angle, spread the mask in upward, outward strokes. Work in sections: forehead, cheeks, nose, and chin. Use light pressure to avoid dragging the skin. Aim for a uniform layer that’s thick enough to cover the skin tone but not cakey. Checkpoint: Look in a mirror to ensure no bare spots, especially along the jawline and hairline.
- Let it sit, then rinse: Follow the mask’s recommended time (usually 10–15 minutes). Rinse with lukewarm water using your fingertips or a soft cloth. Avoid leaving the mask on longer than directed, as it can dry out skin. Checkpoint: If the mask feels tight or cracks before the timer, remove it earlier—your skin is telling you it’s dry.
- Clean the brush immediately: Rinse the brush under warm water, using your thumb to gently rub the silicone bristles. For deeper cleaning, use a mild soap or a drop of gentle cleanser, then rinse thoroughly. Let it air dry on a clean towel. Never soak the handle if it’s not waterproof. Checkpoint: A clean brush prevents bacteria buildup, ensuring your next mask application is hygienic.
Featured product
-
Face Mask Brush: Crafted from soft, flexible silicone with a mindfully curved design, it glides product onto skin for less mess and less waste. The curved shape reaches contours like the nose and chin, while the non-porous silicone prevents product absorption, so more mask stays on your skin.
Face Mask Brush