Quick answer
Roll Fantasy Clay into small balls or coils, press it onto a fully cured gel base, and seal the edges with a gel top coat before curing. Work in thin, small pieces, keep your tools damp, and cure any gel layer around the clay for the full 60 seconds so the design stays put.
Fantasy Clay is a fluffy, smooth clay made for 3D nail art, so it behaves nothing like a gel polish. You shape it with your fingers or a silicone tool, press it onto the nail, and lock it down with gel. That difference is exactly why it makes bold nail art look dimensional instead of painted flat.
This guide walks through the order that keeps clay polish application clean: prep, base, shaping, placement, sealing, and curing. Each step includes the mistake that ruins the result most often. Two Ballpit Nails clays, Light Magenta and Ultraviolet, are used as examples throughout.
What you need before you start
You need a cured gel base to press clay onto, a gel top coat for sealing, a UV/LED lamp, and something to shape with. A silicone sculpting tool, a dotting tool, or clean fingers all work. Keep a small dish of water or a damp lint-free wipe nearby. Clay picks up lint and dust easily, so wipe your work surface and wash your hands first.
Fantasy Clay is designed for creating 3D nail art and comes in shades like Light Magenta and Ultraviolet. It is not a polish you brush on, and it does not cure on its own. The gel around it does the holding, so plan your gel layers before you open the clay.
- Work over a silicone mat so dropped clay pieces stay clean and reusable.
- Keep clay sealed when not in use; it stays workable longer that way.
Step 1: Prep and cure a gel base
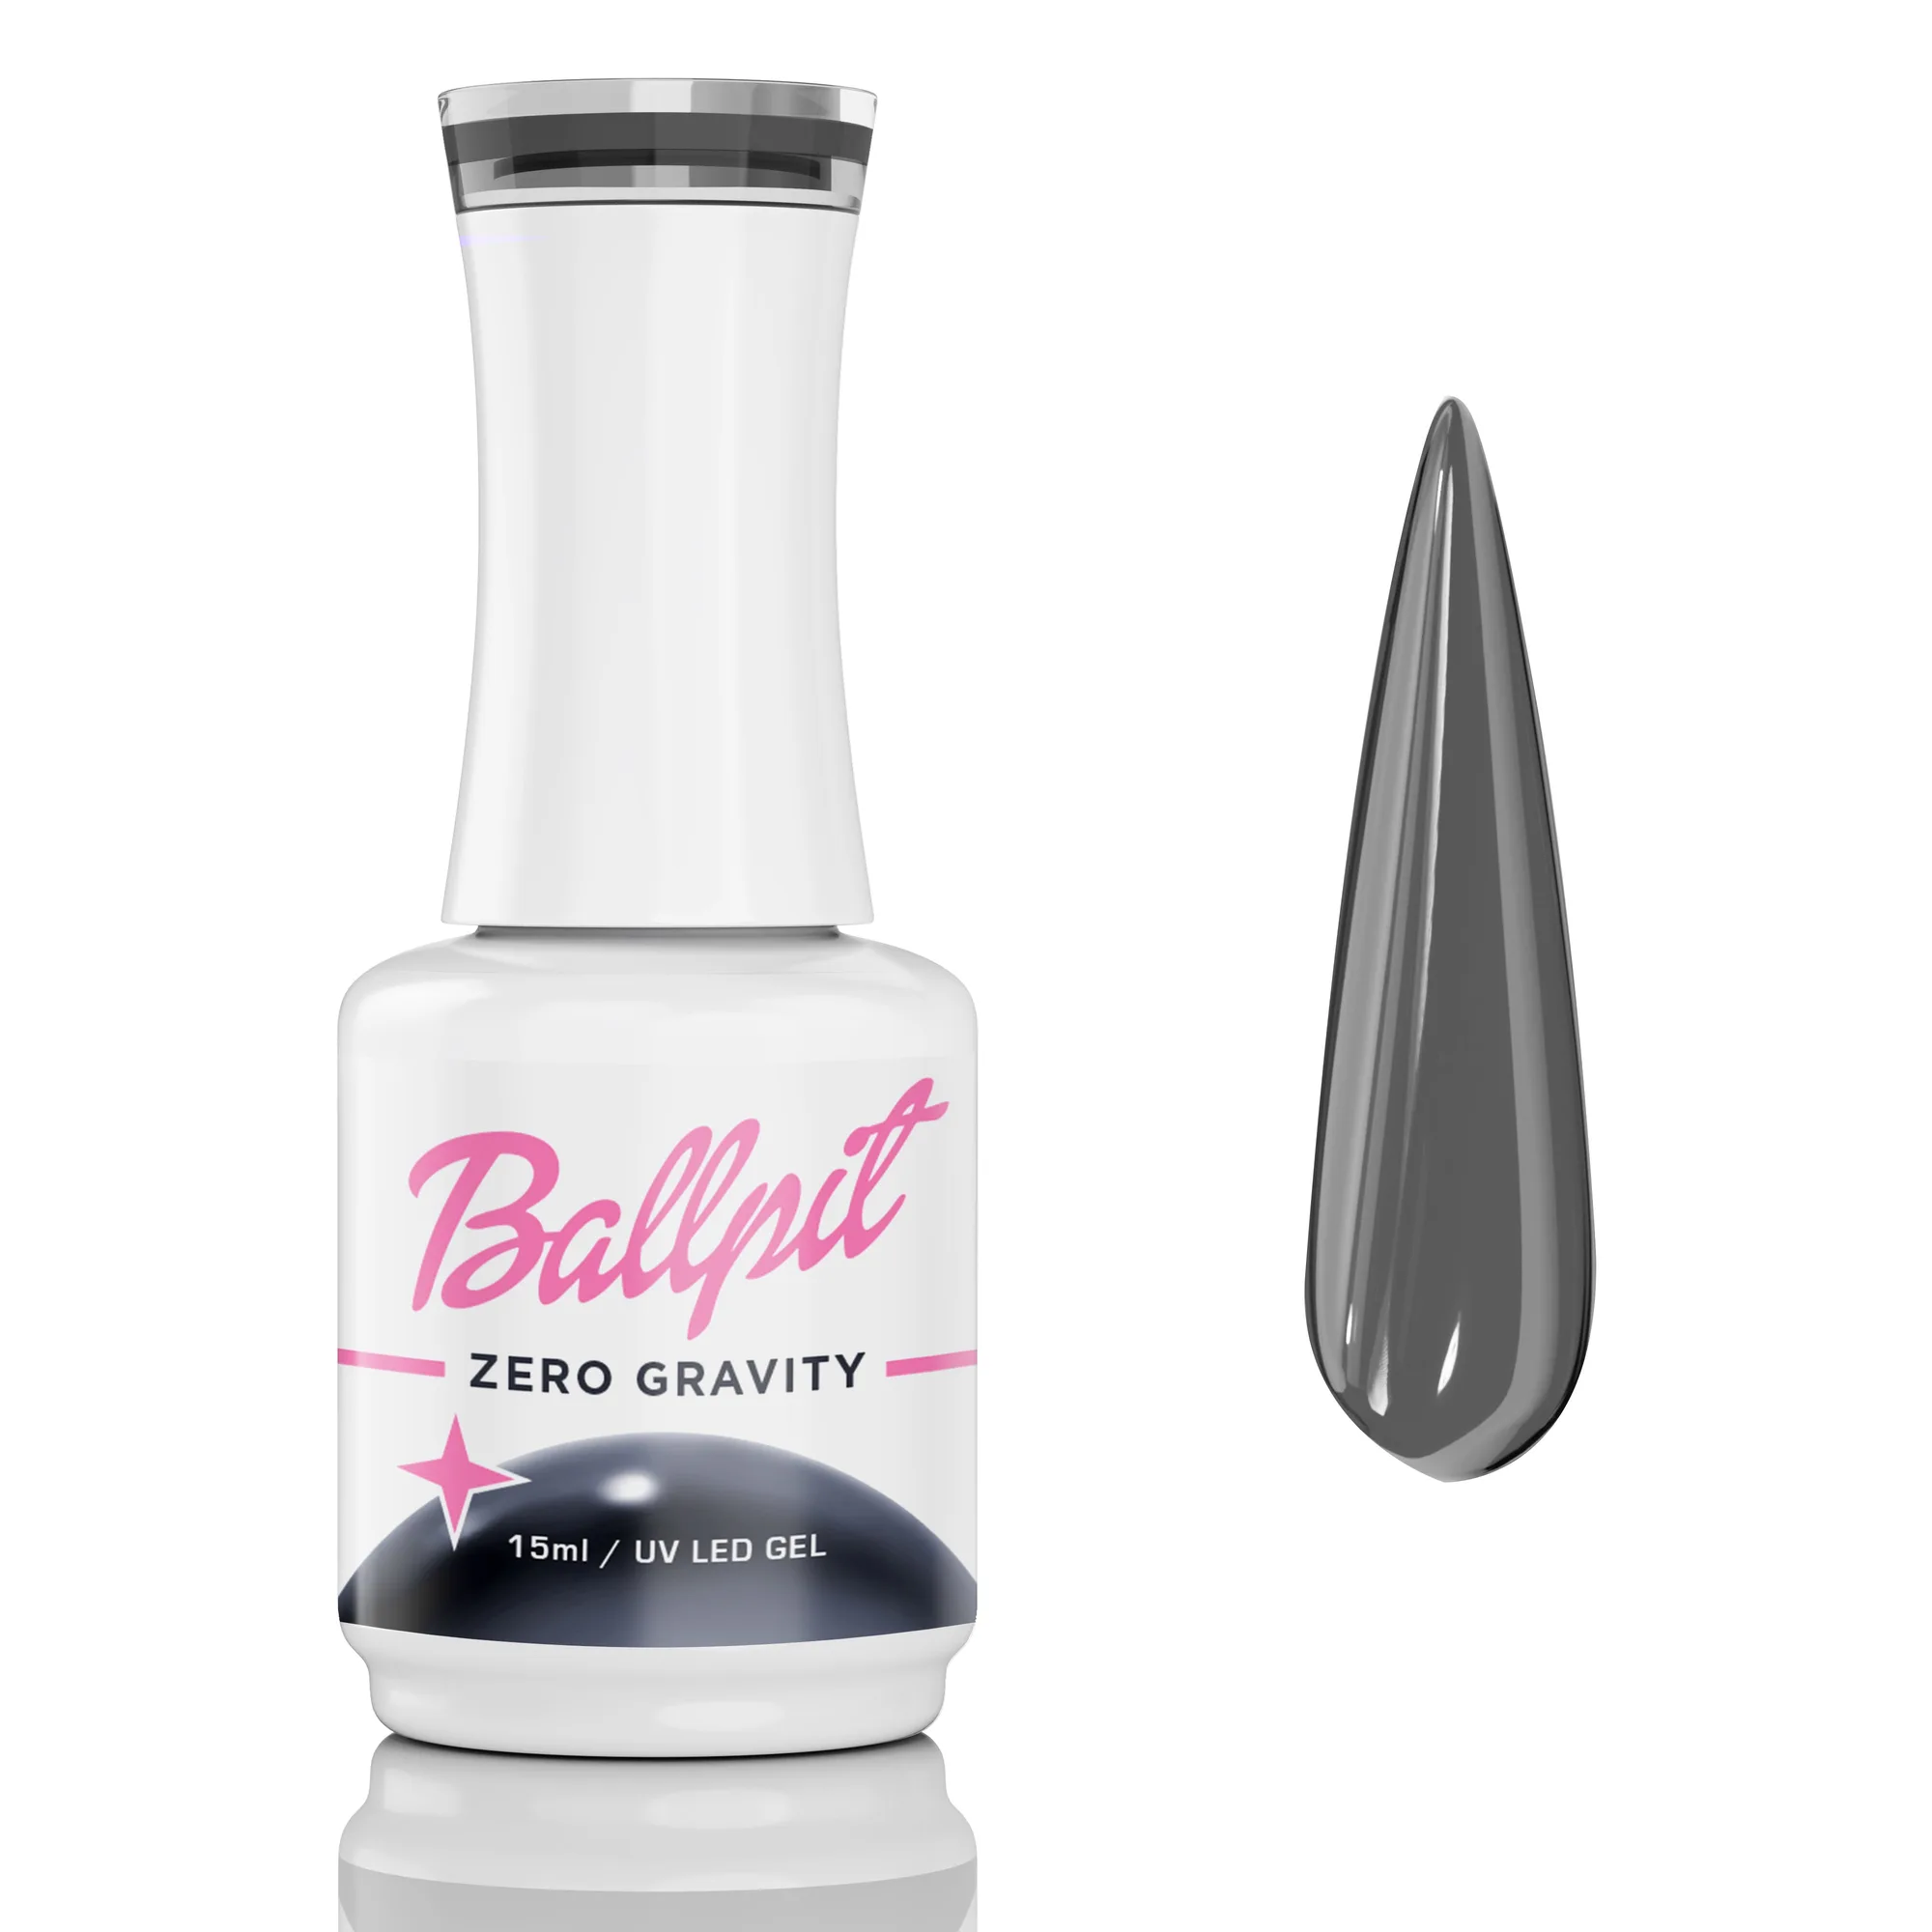
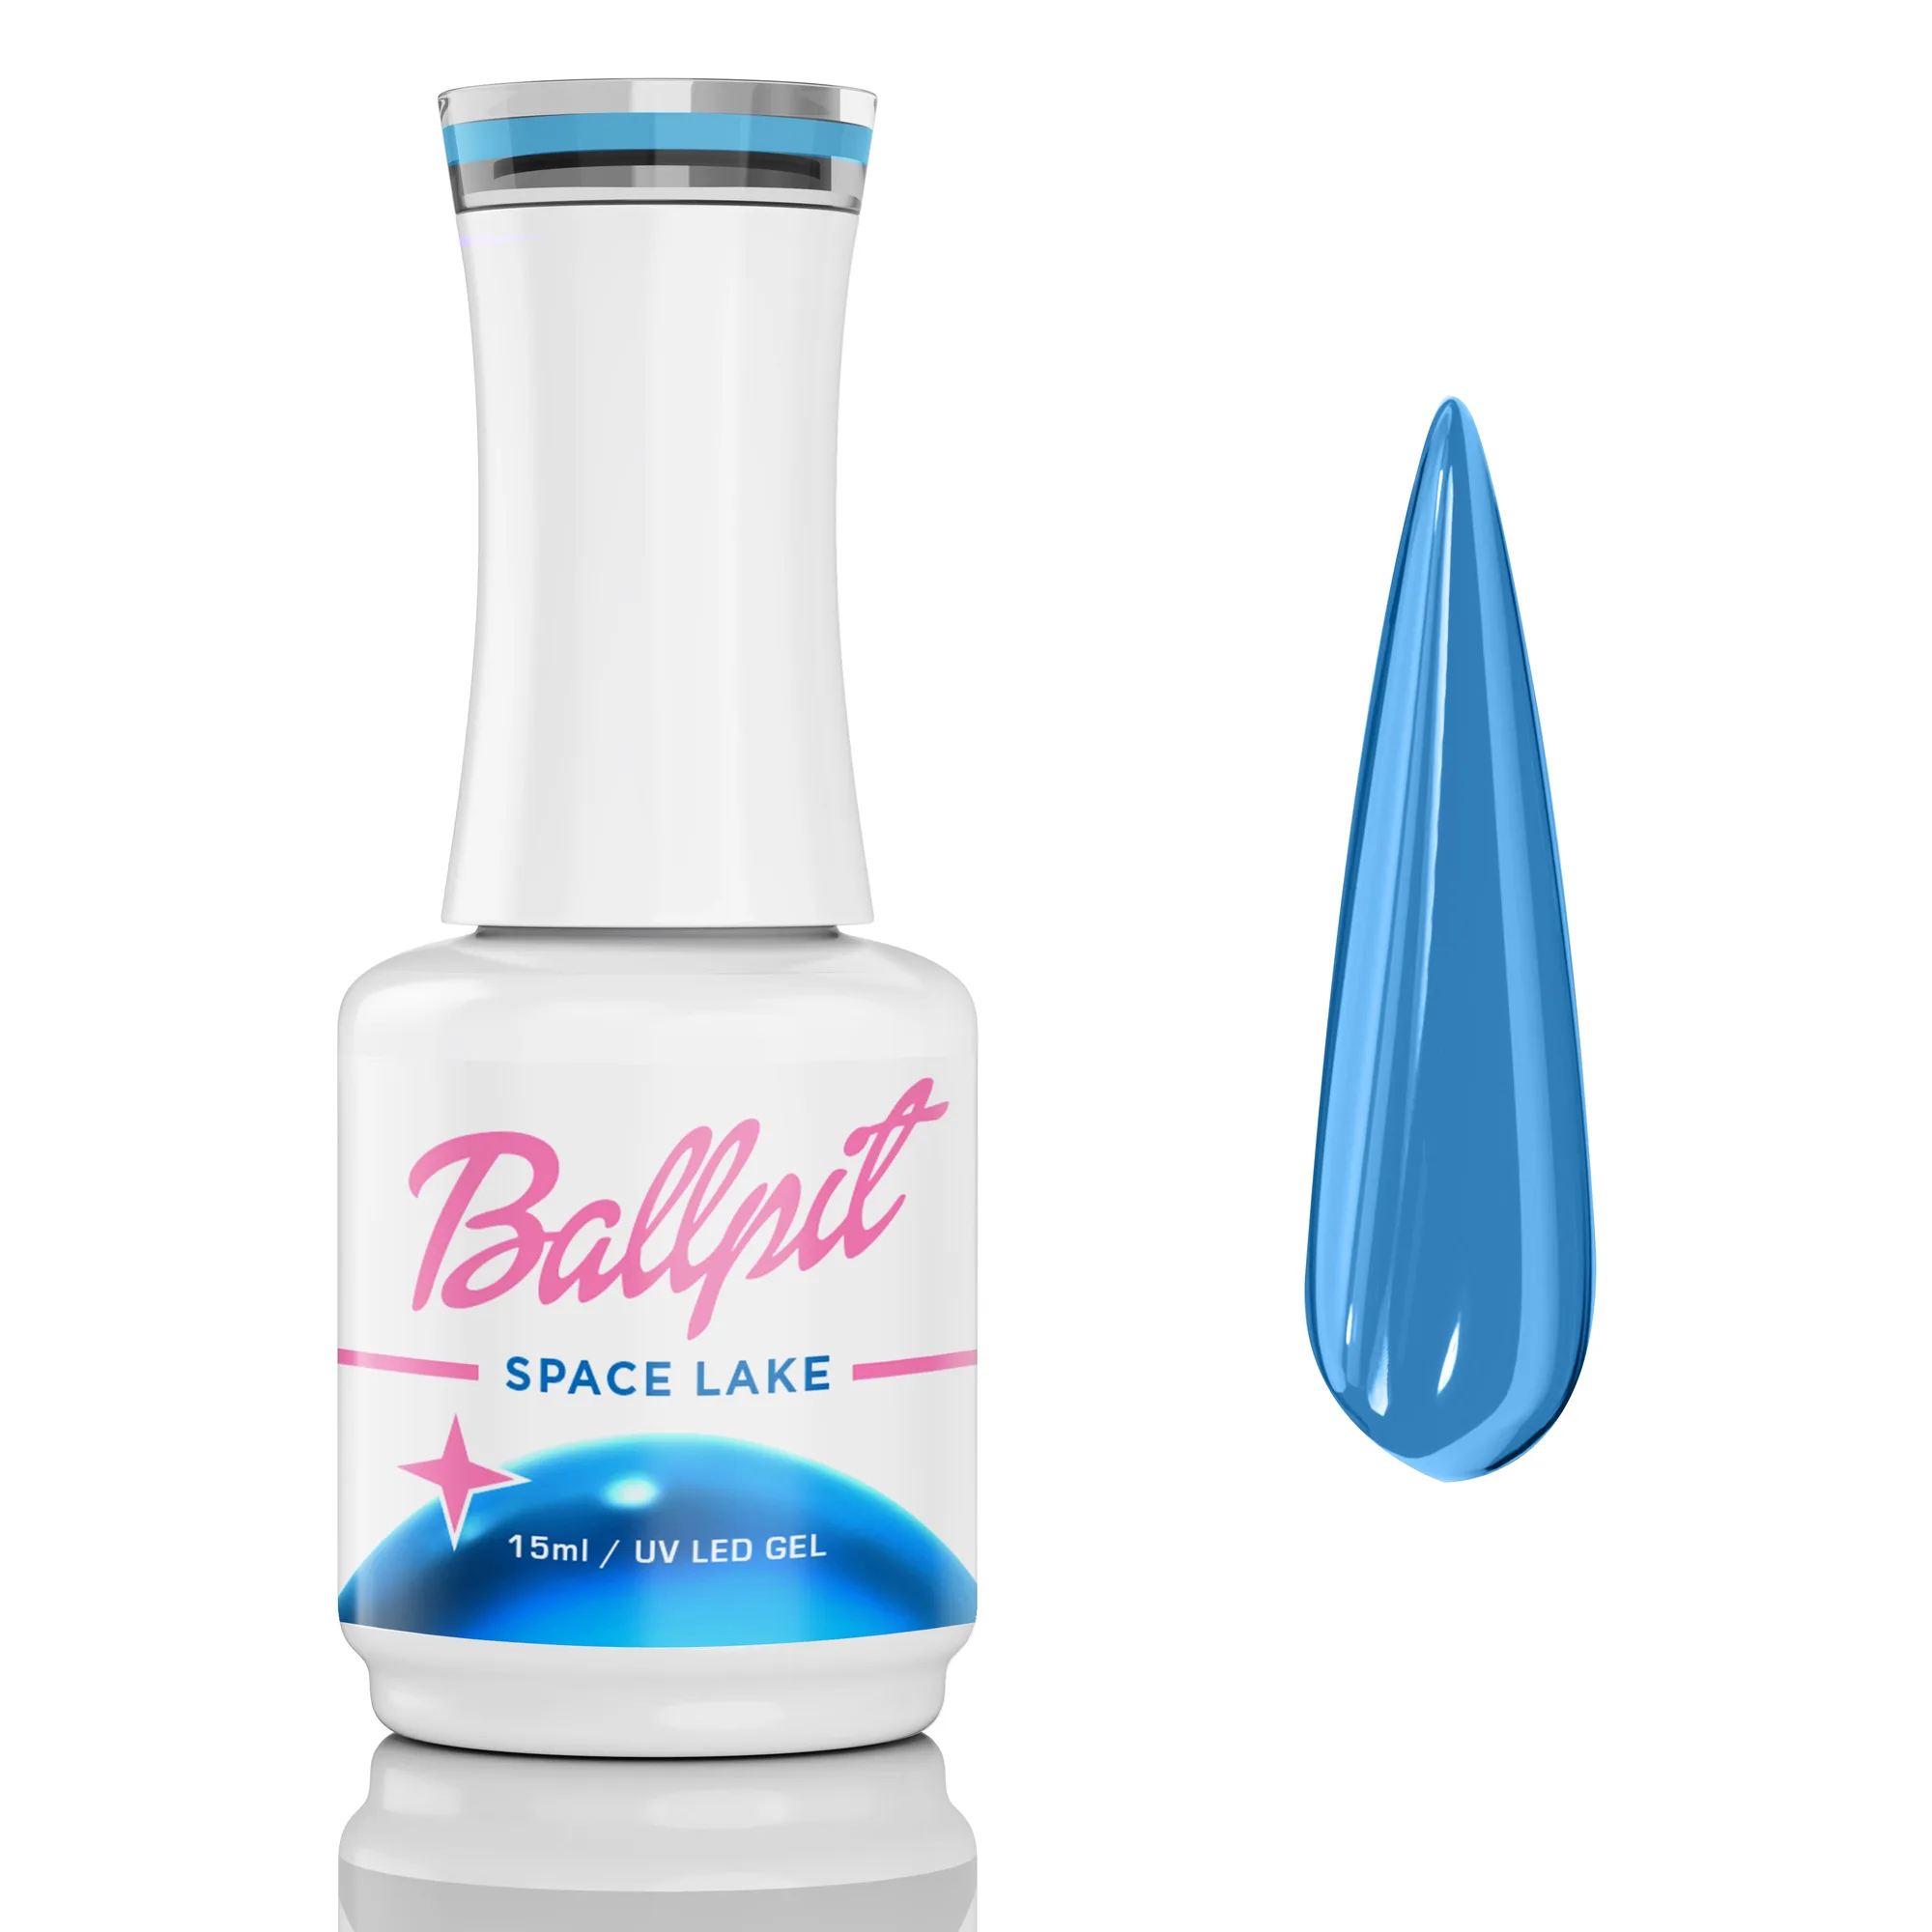
Shape and buff the natural nail, push back cuticles, and dehydrate the surface. Apply your base coat and cure it. Then apply your color layer, whether that is a gel polish like Space Lake or a jelly like Zero Gravity, and cure it fully. The clay needs a hard, cured surface to grip.
If you press clay onto uncured gel, the gel will smear out from under the clay and the design will slide. Cure every gel layer for the full 60 seconds before the clay touches the nail.
- Checkpoint: the base should feel completely dry and cool before you add clay.
Step 2: Condition the clay
Pinch off a small piece, about the size of a peppercorn, and roll it between clean palms or fingers until it is warm and pliable. Fantasy Clay is already fluffy and smooth, so it needs only a few seconds of kneading. Overworking it makes it sticky and hard to shape.
Common mistake: pulling a large chunk and trying to sculpt it in place. Small pieces give you control and let you build dimension in layers. Keep the rest of the clay sealed while you work so it does not dry out.
- If the clay feels tacky, let it rest for a minute rather than adding water directly to it.
Step 3: Shape the piece
Roll the clay into a ball for dots, a coil for swirls, or a teardrop for petals. Press it flat on your mat first to test the thickness. Aim for 1 to 2 millimeters for most designs; anything thicker catches on hair and clothing and can pop off.
Common mistake: shaping directly on the nail. If you build the shape on the nail, you will press too hard and distort the gel underneath. Shape on the mat, then transfer with a damp tool or clean fingers.
- For a fantasy clay manicure with mixed colors, shape all pieces first, then place them in one pass.
Step 4: Place and press the clay
Set the shaped piece on the cured nail and press gently from the center outward. You want contact across the whole base of the piece, not just the middle. A slight press with a silicone tool blends the edge into the gel and hides the seam.
Common mistake: pressing so hard the clay flattens into a pancake. Stop when the shape still reads as 3D. If you are placing multiple pieces, leave a small gap between them so the top coat can flow into the seams.
- Wipe your tool between placements so colors do not muddy together.
Step 5: Seal the edges with gel
Float a thin layer of gel top coat over the clay and around every edge, then cure for 60 seconds. The top coat is what keeps the clay attached, so the seal matters more than the clay itself. Use a liner brush to push top coat into tight corners.
Common mistake: skipping the edges and coating only the top. Clay lifts from the perimeter first. If a piece has a tall peak, seal the base thoroughly and leave the very tip lightly coated so it does not pool.
- Checkpoint: run a cuticle stick along the edge. If it catches, add more top coat and cure again.
Step 6: Finish and check the cure
Once sealed, wipe away any sticky layer if your top coat has one, then oil the surrounding skin. Press a fingernail gently against each clay piece. If it shifts, the seal is incomplete; add top coat around the base and cure again.
Common mistake: assuming the clay itself needs curing. It does not. Only the gel layers around it cure, which is why every gel application in this process, including the seal, needs the full 60 seconds. Rushing the final cure is the most common reason a fantasy clay manicure fails early.
- Avoid soaking the nails in water for the first few hours after finishing.
Fantasy Clay application checklist
- 1. Cure the base fully: Apply and cure base and color layers for 60 seconds each before any clay touches the nail. Checkpoint: the surface should feel dry and cool.
- 2. Condition small pieces: Knead a peppercorn-sized piece until warm and pliable, keeping the rest of the clay sealed. Overworked clay turns sticky and loses its shape.
- 3. Shape off the nail: Roll balls, coils, or teardrops on a silicone mat and keep them 1 to 2 millimeters thick. Thick pieces catch on hair and lift sooner.
- 4. Press from the center out: Set the piece on the cured nail and press gently outward so the whole base makes contact. Stop before the shape flattens.
- 5. Seal every edge: Float a thin top coat layer over the clay and around the perimeter, then cure 60 seconds. Checkpoint: a cuticle stick should not catch on any edge.
- 6. Test and re-cure if needed: Press each piece gently after finishing; if it shifts, add top coat at the base and cure again. The clay never cures on its own; only the gel around it does.
Products used in this technique
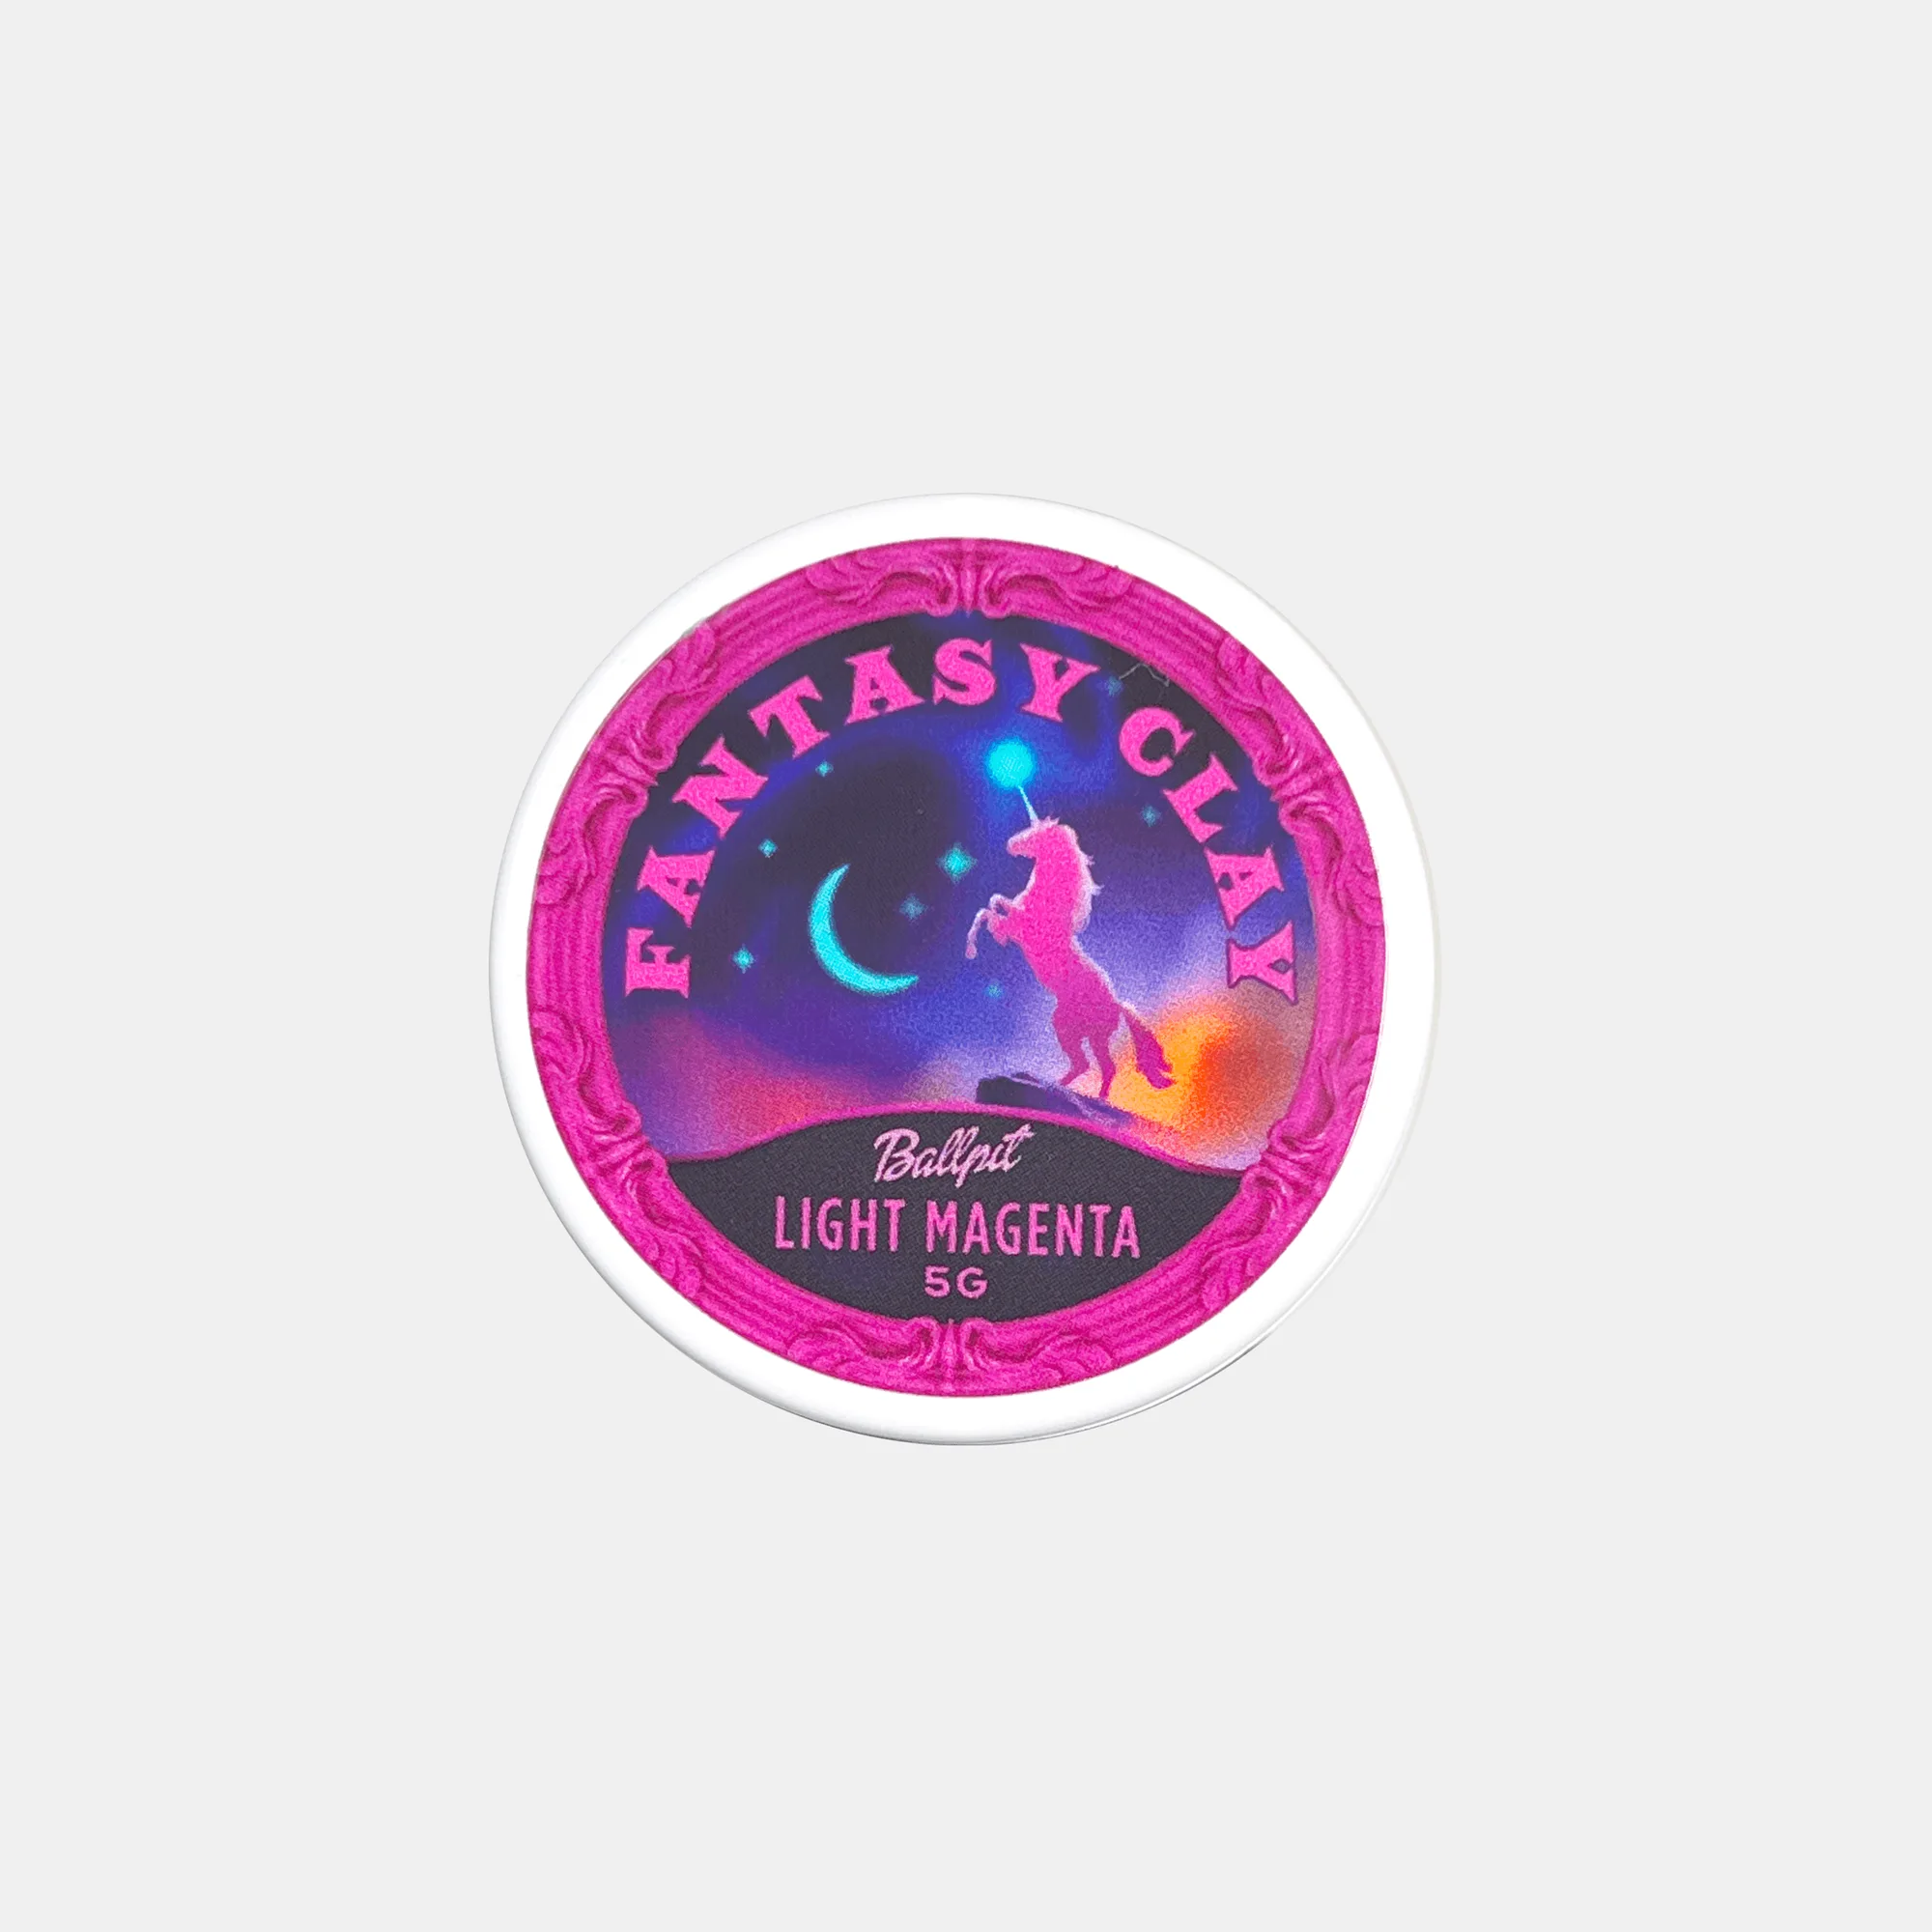
- Light Magenta - Fantasy Clay: Fluffy, smooth clay texture in a light magenta shade, designed for creating 3D nail art. The soft shade reads clearly against a neutral or dark gel base, and the smooth texture rolls into clean coils without cracking.
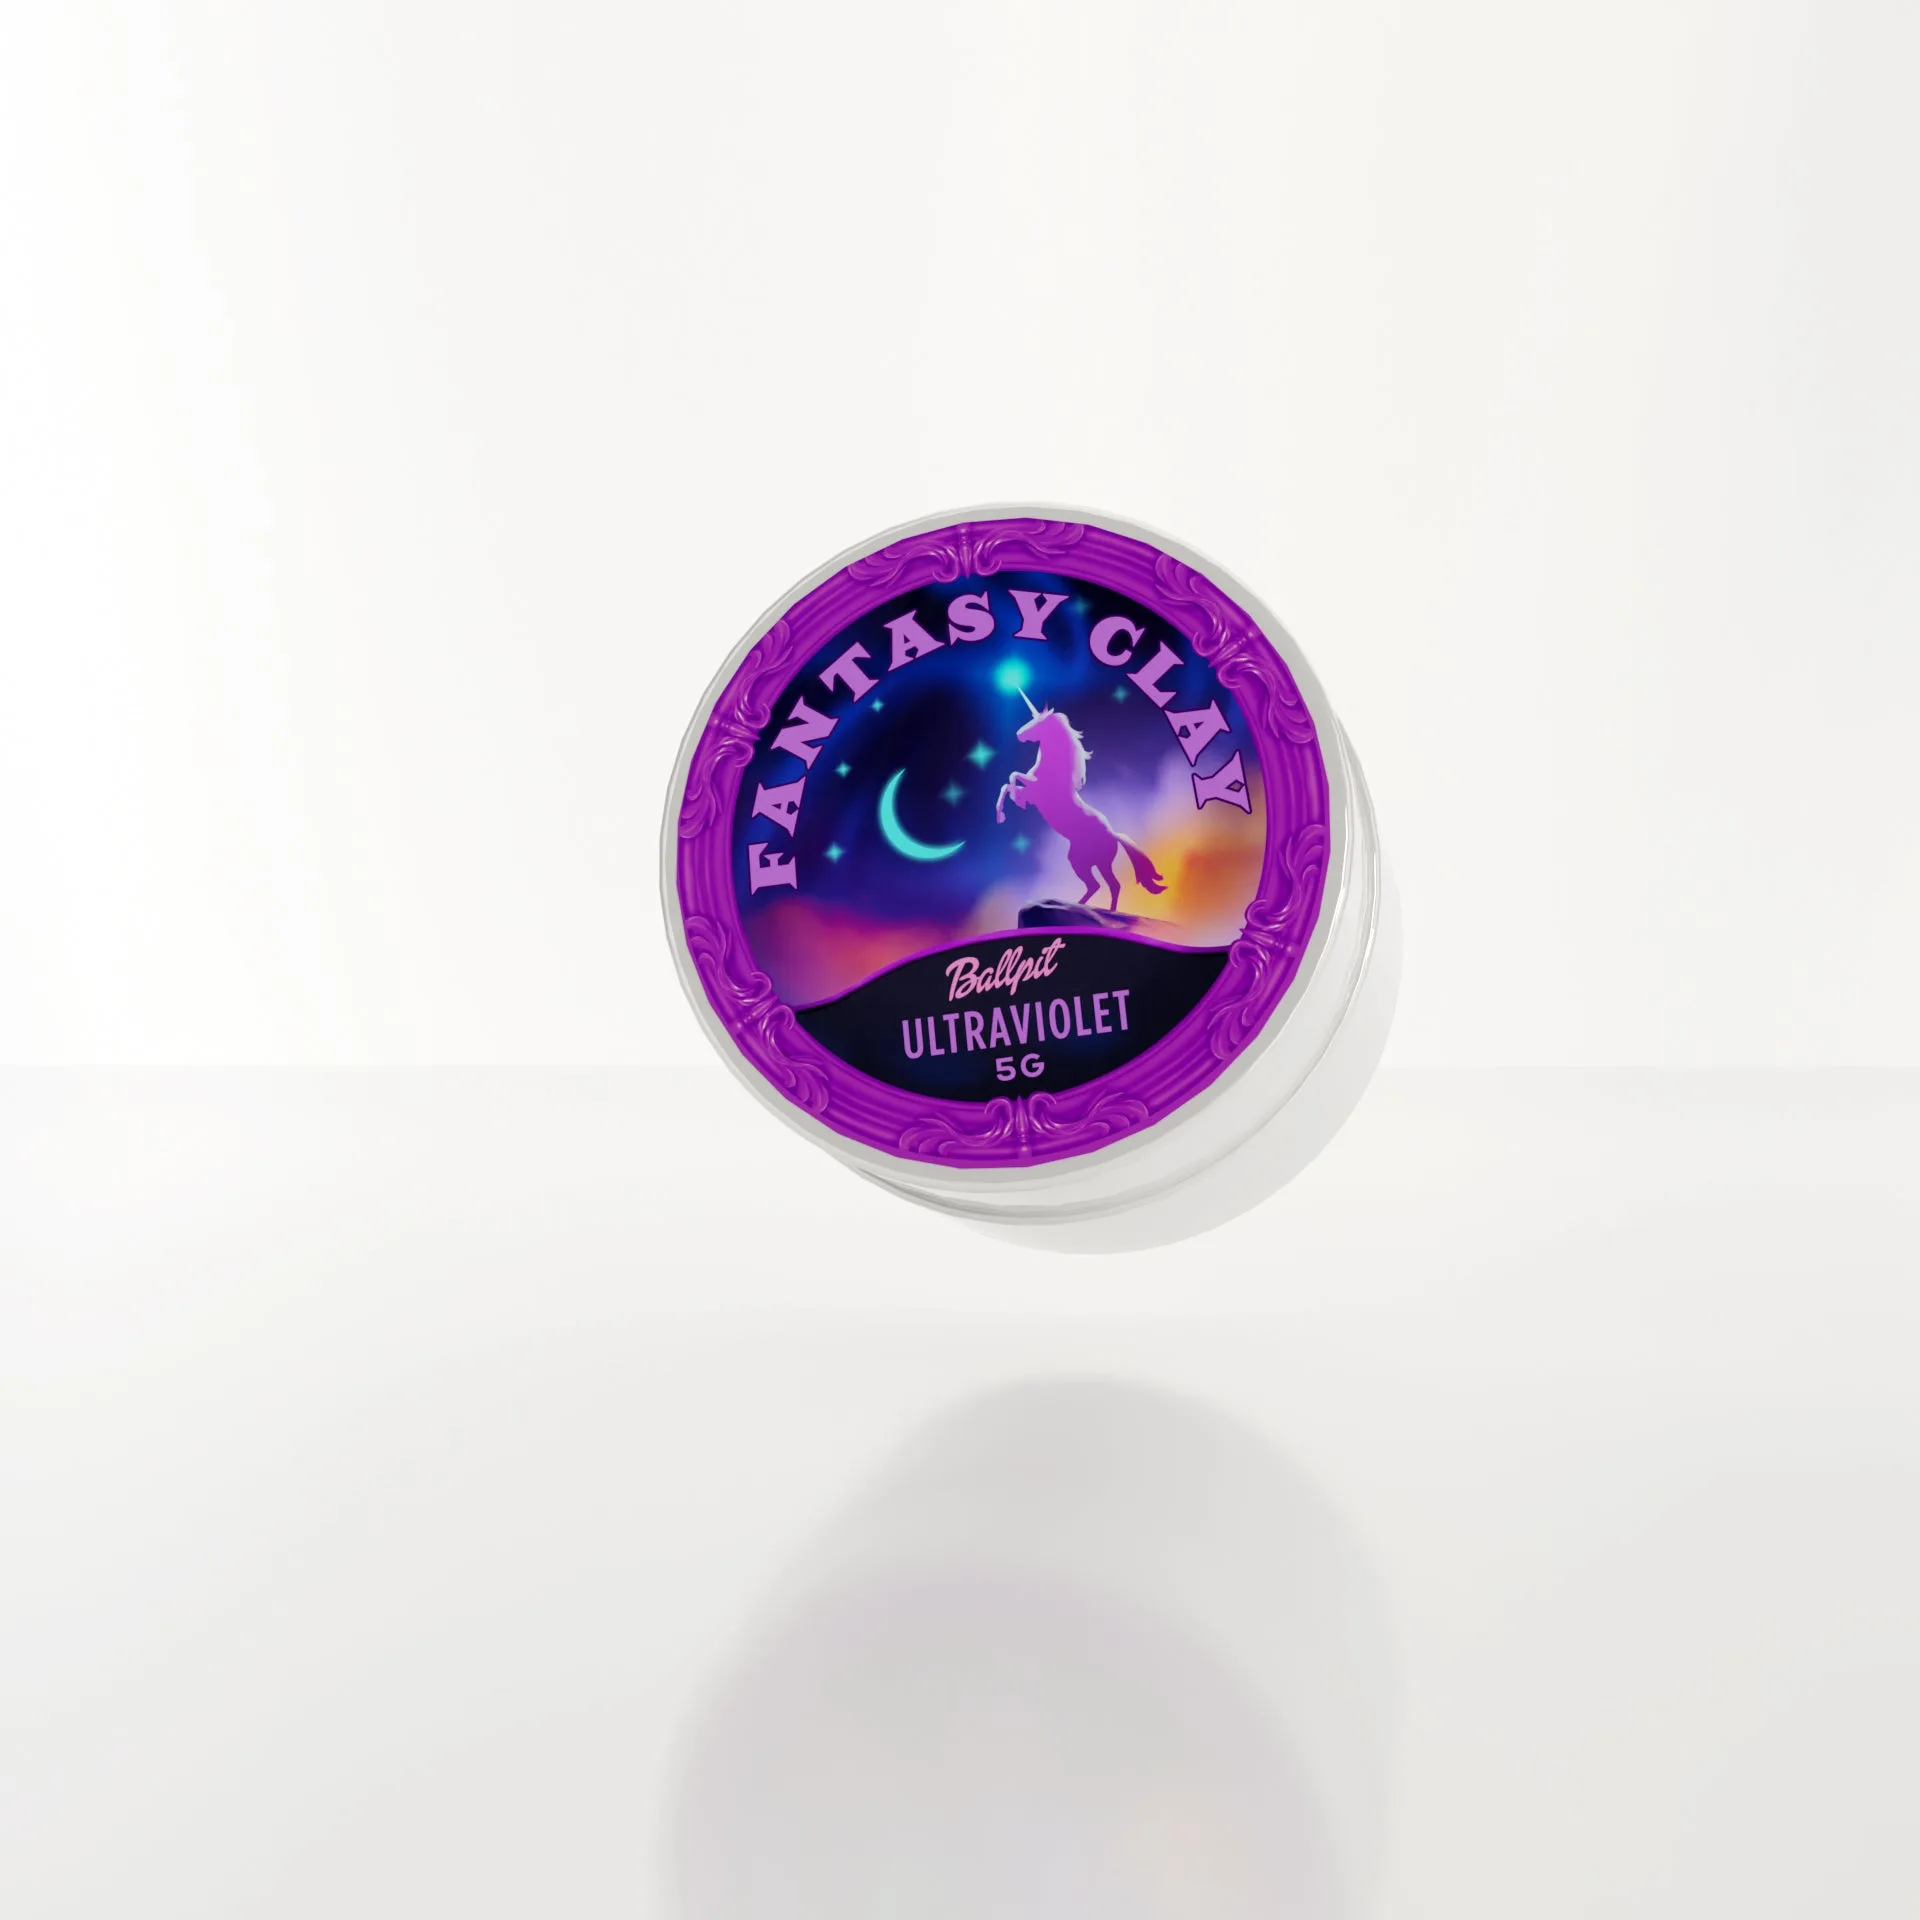
- Ultraviolet - Fantasy Clay: Fluffy, smooth clay intended for 3D nail art, used to build and shape dimensional designs. A stronger color for bold nail art technique, useful when you want the clay to be the focal point instead of an accent.
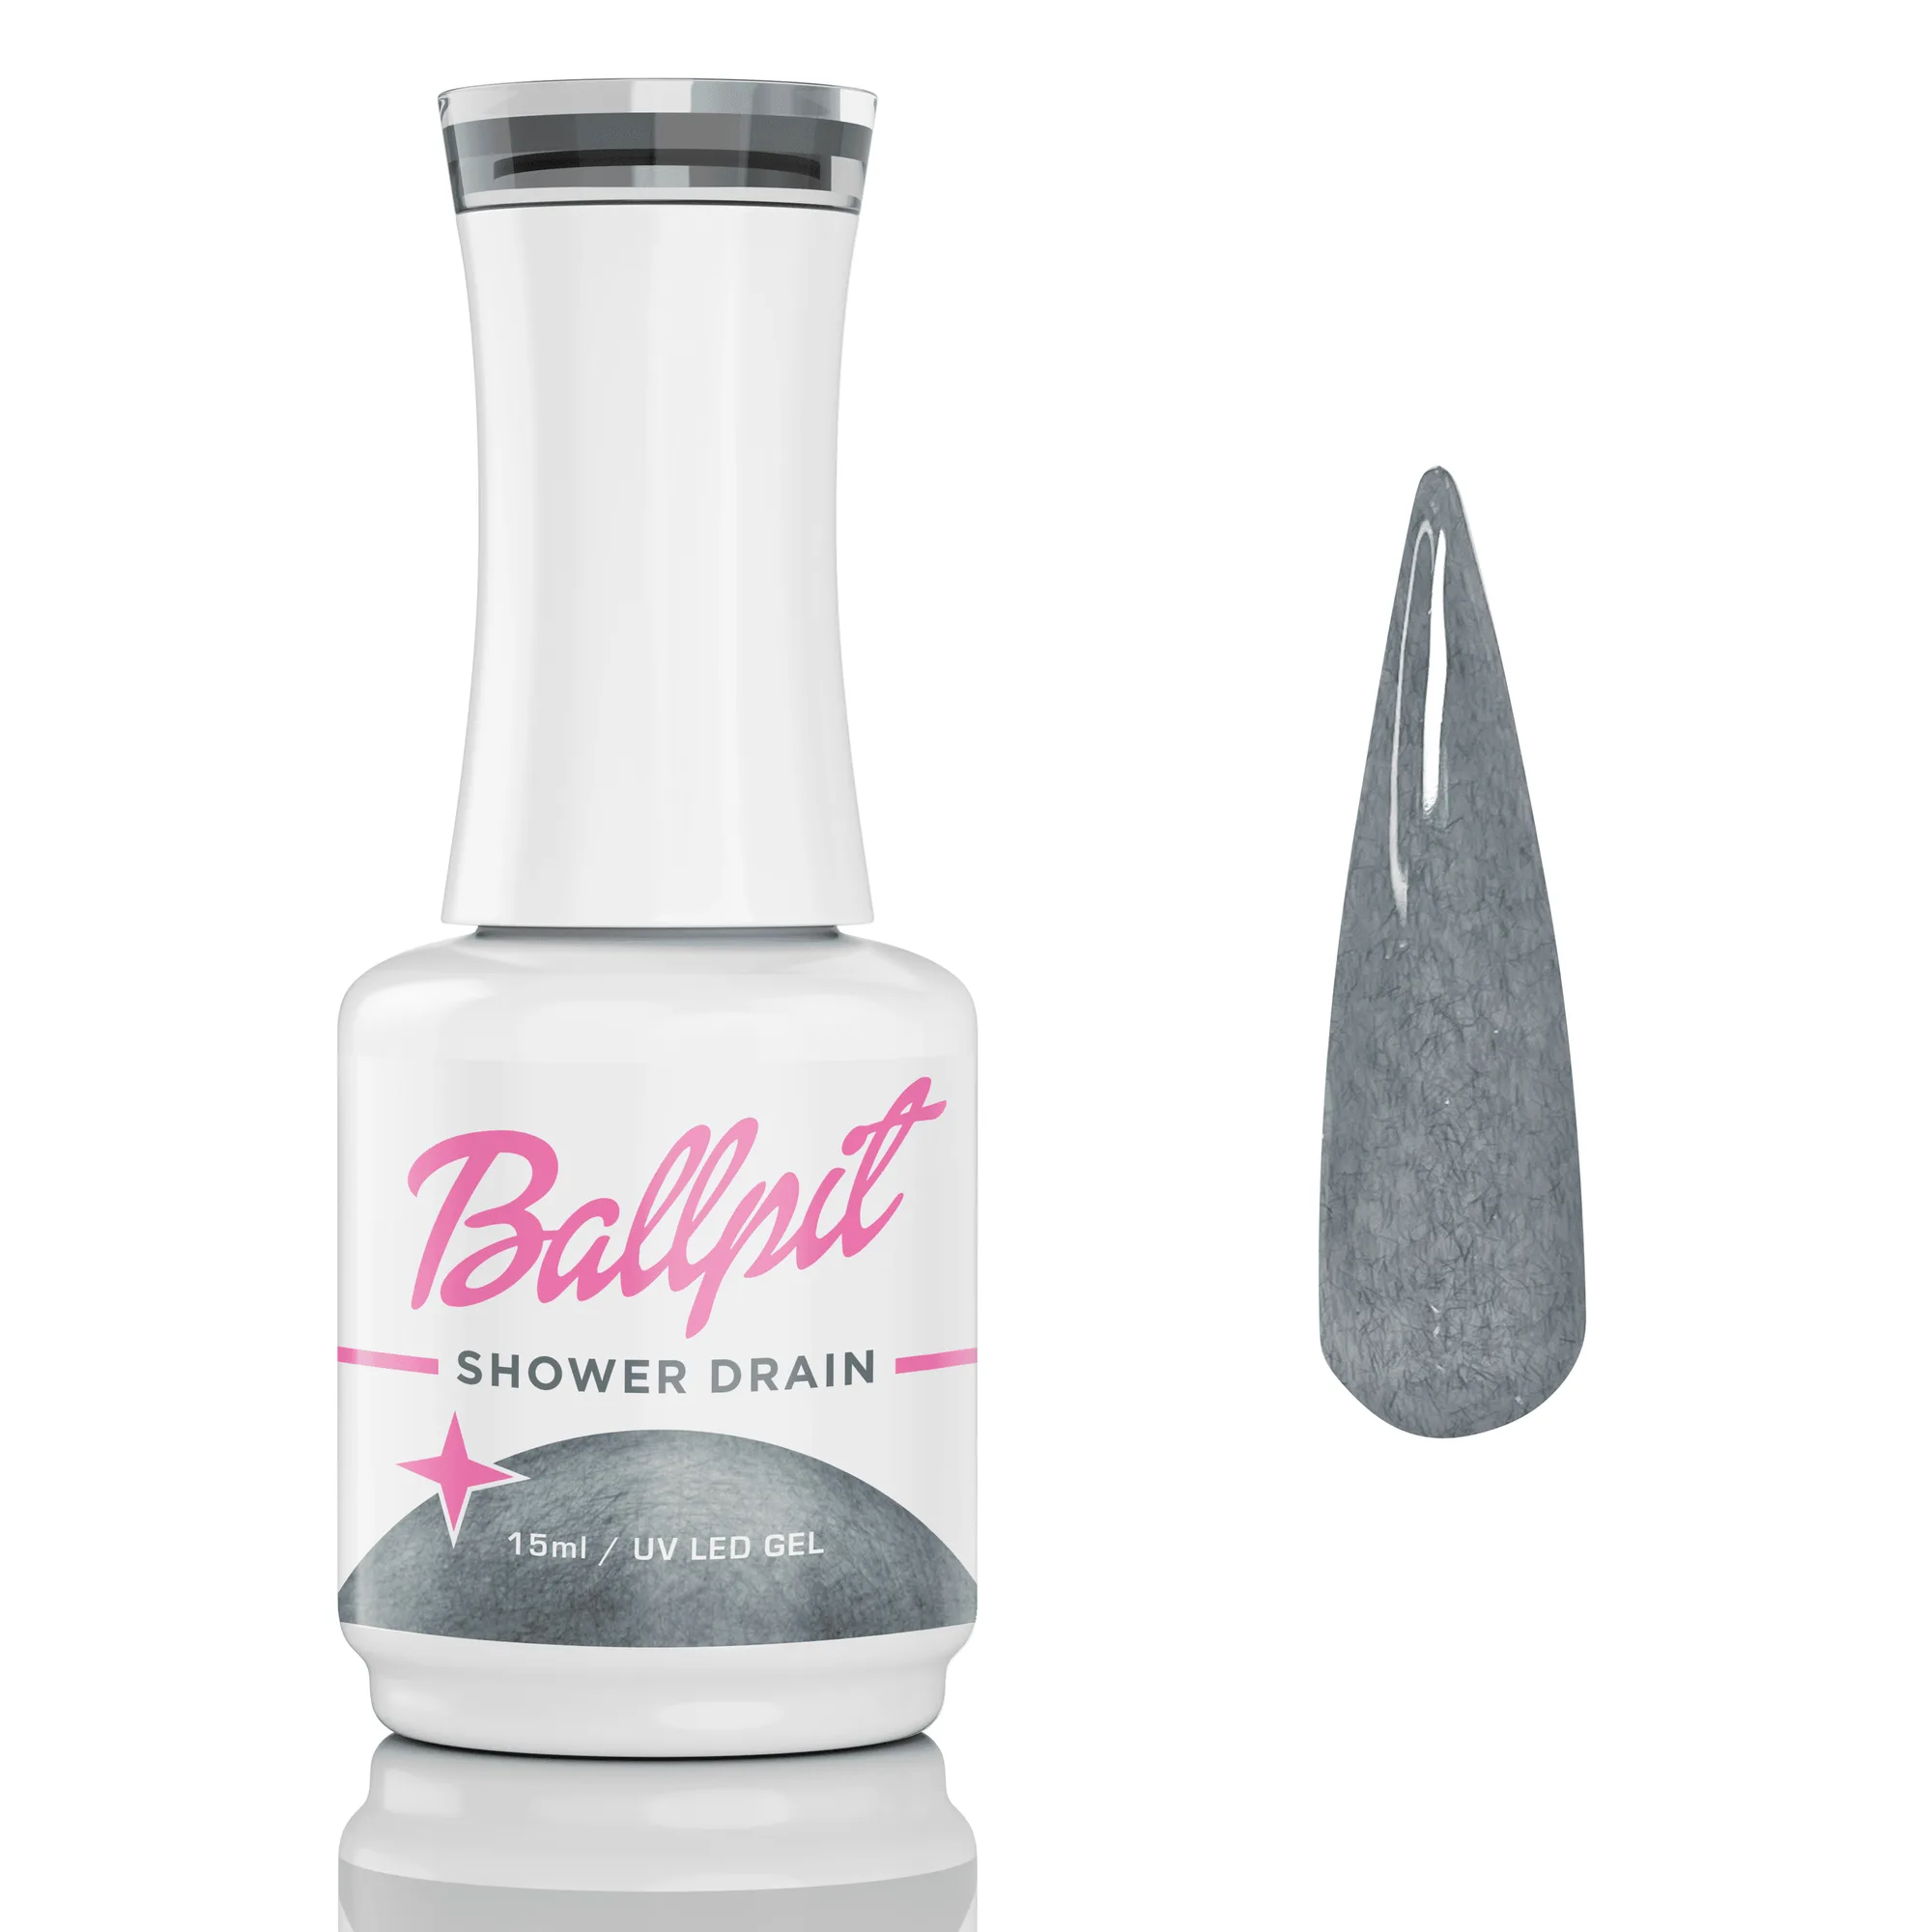
- Space Lake - Gel Polish: A 15ml UV/LED soak-off gel with a classic creamy gel formula, extreme pigment, and anti-spread properties. The anti-spread body keeps the color layer from bleeding under the clay, giving you a crisp base to press onto.
- Zero Gravity - Gel Polish: A 15ml jelly polish formulated as a UV/LED soak-off gel with a classic creamy gel formula, extreme pigment, and anti-spread properties. The jelly finish layers translucent color under the clay, which makes dimensional shapes look deeper without extra bulk.
Fantasy Clay rewards a slow, ordered process: cured gel, small conditioned pieces, careful placement, and a sealed edge. Get those steps right and your 3D designs hold their shape through daily wear. Start with one accent nail, then build a full fantasy clay manicure once your sealing routine feels reliable.