Quick answer
Use a flea comb with closely spaced teeth to detect and remove fleas and flea dirt, then switch to tick forceps with a press-and-rotate motion to safely remove ticks without leaving mouthparts in the skin.
Why separate tools matter for fleas vs. ticks
Fleas and ticks require different removal techniques because of how they attach. Fleas move through the coat and lay eggs, so a fine-toothed flea comb is ideal for catching them and their debris. Ticks burrow their mouthparts into the skin, so pulling with fingers or a comb can leave parts behind and increase infection risk. Tick forceps are designed to grip the tick close to the skin and rotate it out cleanly.
When to inspect your pet
Check your pet after walks in grassy or wooded areas, especially during warmer months. Run your hands over the coat first to feel for bumps or scabs. If you spot a dark speck that doesn't brush off, it may be a tick. Use the flea comb to part the fur and examine the skin underneath.
Step-by-step guide
- Prepare your tools and area: Gather the flea comb, tick forceps, gloves, rubbing alcohol, and a container with a lid. Work in a well-lit area so you can see small pests clearly. Have treats ready to keep your pet calm. Common mistake: using bare hands. Gloves protect you from flea bites and tick-borne diseases.
- Comb through the coat with the flea comb: Start at the head and work backward, pressing the comb flat against the skin to catch fleas and eggs. After each stroke, wipe the comb on a paper towel to check for flea dirt (dark specks that turn reddish when wet). Focus on the neck, tail base, and belly where fleas hide most. Common checkpoint: if you see black specks but no fleas, those are flea droppings — treat the environment too.
- Remove fleas you find: Dip the comb in soapy water or alcohol to kill any fleas caught in the teeth. Do not crush fleas between your fingers — they can carry tapeworm eggs. Continue combing until no more fleas or dirt appear. Common mistake: stopping too early. A single female flea can lay 50 eggs a day, so thorough combing is essential.
- Identify and expose the tick: If you find a raised bump, part the fur to see if a tick is attached. Ticks look like small dark beans with legs close to the skin. Do not apply petroleum jelly, heat, or alcohol to the tick — these can make it regurgitate into the wound. Common checkpoint: a tick that's been attached less than 24 hours is much less likely to transmit disease.
- Remove the tick with forceps: Open the tick forceps and grasp the tick as close to the skin as possible. Do not squeeze the body. Rotate the tool gently in one direction (usually clockwise) until the tick releases. Pull straight out without twisting the tool itself — the rotation happens inside the forceps mechanism. Common mistake: jerking or twisting the forceps. A steady rotation avoids leaving mouthparts behind.
- Dispose of the tick and clean the area: Place the tick in a container with rubbing alcohol to kill it. Do not flush it down the toilet — ticks can survive. Clean your pet's skin with mild soap and water, then wash your hands and the tools with hot soapy water. Common checkpoint: save the tick in a sealed bag with the date in case your pet shows symptoms later — your vet may want to identify it.
Tools that help
-
BUSTER Flea Comb: The BUSTER Flea Comb has closely spaced stainless-steel teeth for effective flea removal and an ergonomic handle for a comfortable, non-slip grip. The tight teeth catch fleas and flea dirt that wider combs miss, and the comfortable handle makes it easier to groom squirmy pets thoroughly.
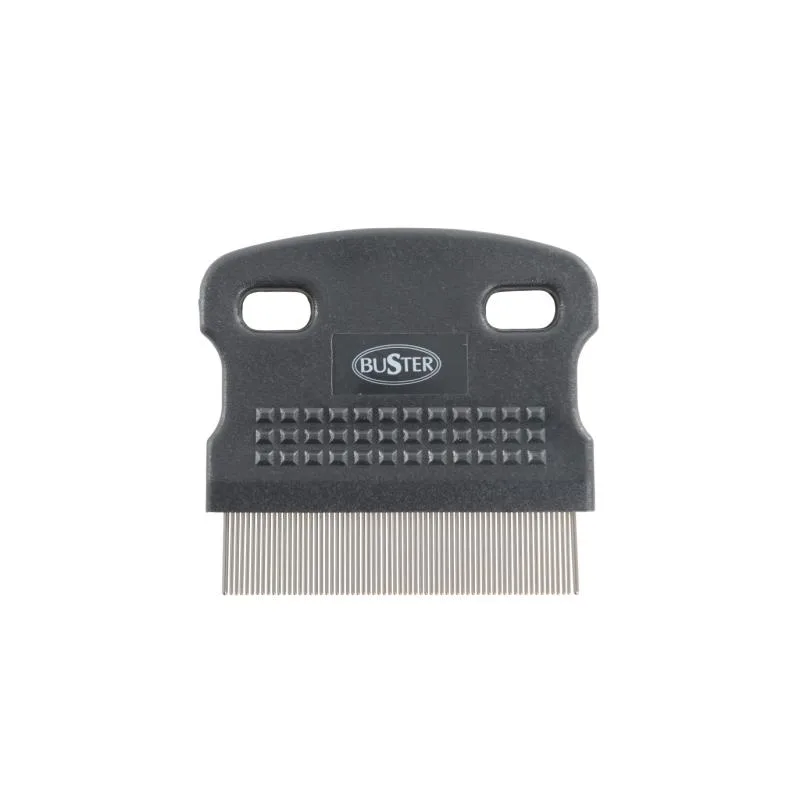
BUSTER Flea Comb
-
BUSTER Tick Forceps: The BUSTER Tick Forceps are made from durable plastic and use a simple press-and-rotate mechanism for safe and precise tick removal. The rotating action helps detach the tick's mouthparts without squeezing the body, reducing the chance of infection or leaving parts embedded.
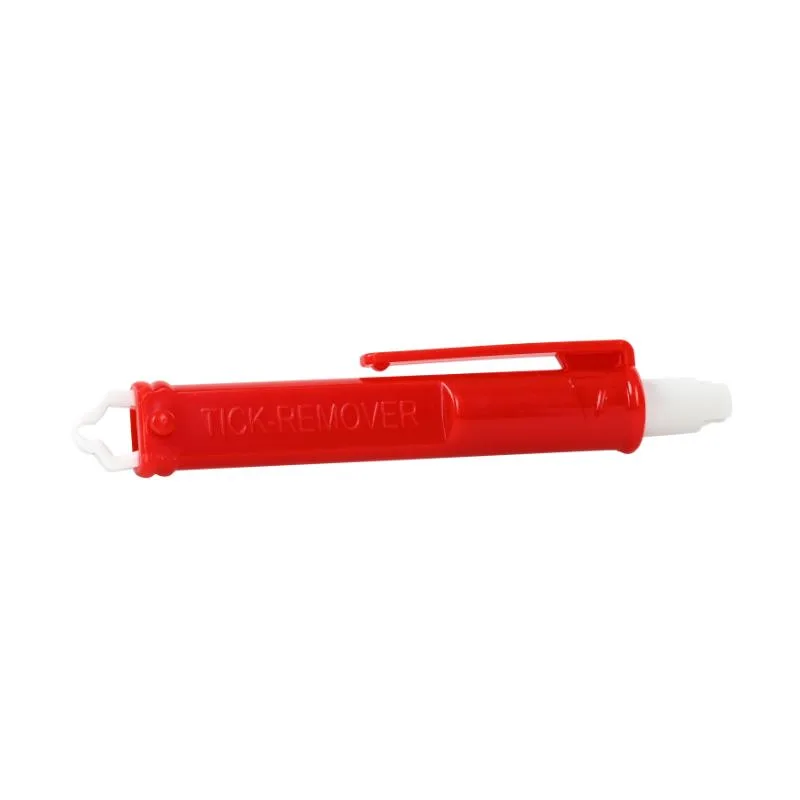
BUSTER Tick Forceps