Quick answer
Trace your appliqué shape onto the matte side of freezer paper, iron the shiny side to the wrong side of your fabric, cut the shape with a scant 1/4-inch seam allowance, then peel and reuse the template. Press the seam allowance over the freezer paper edge and appliqué by hand or machine. This method gives you crisp, consistent shapes without marking your fabric.
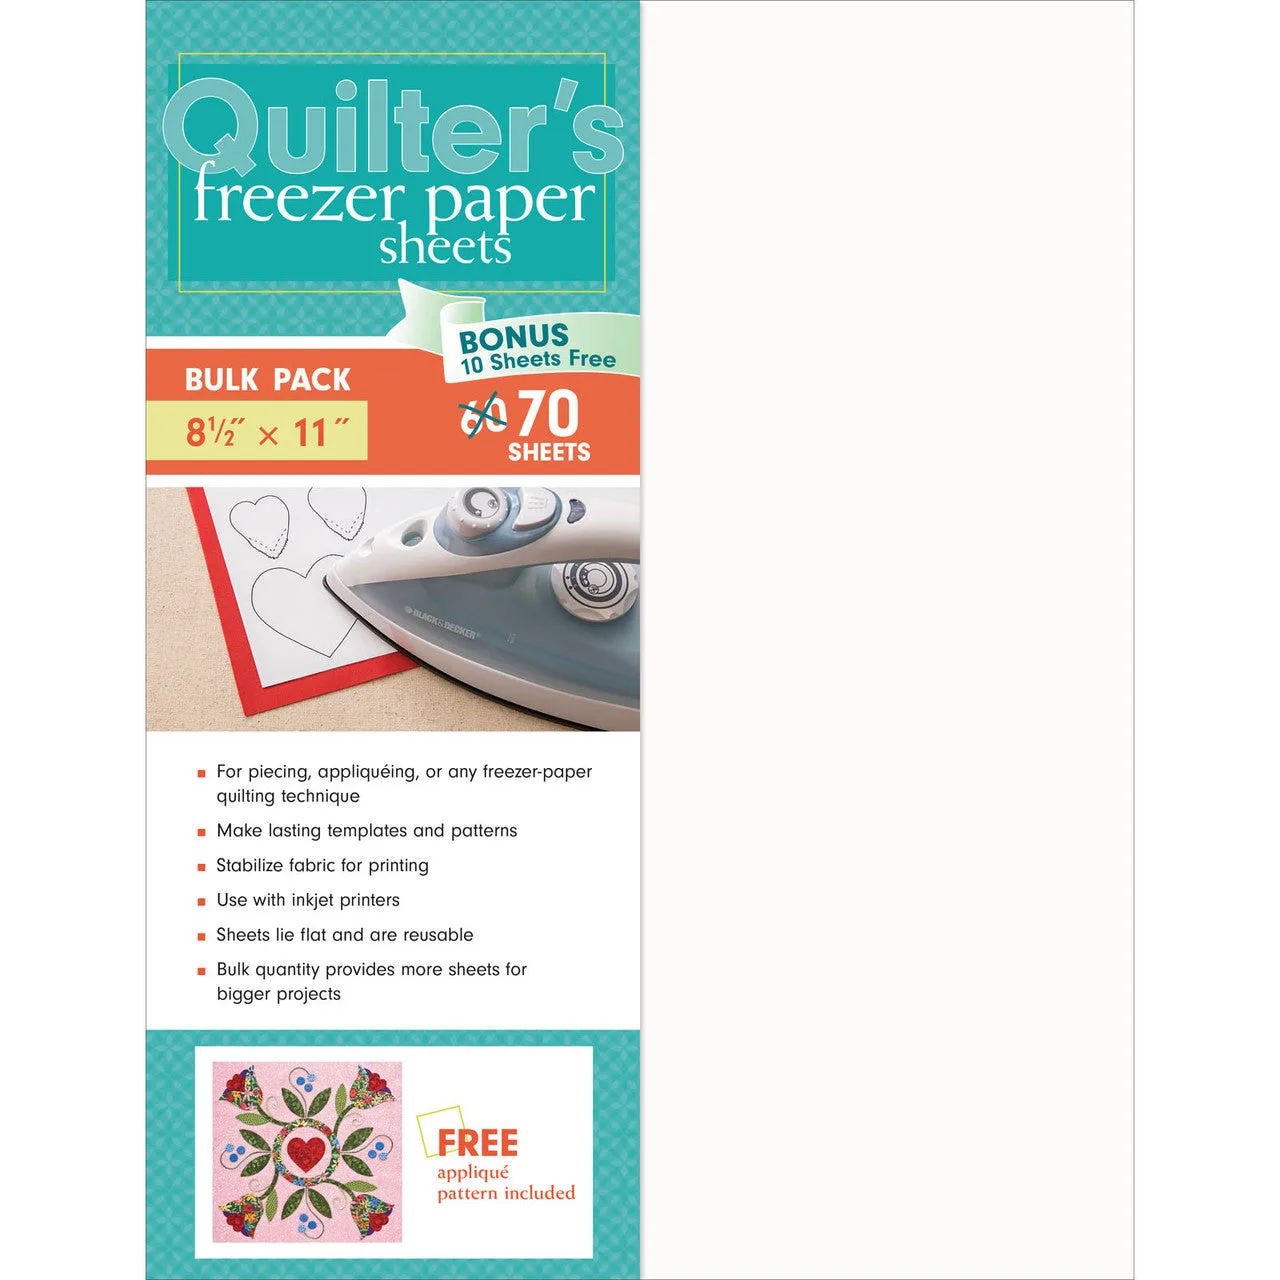
freezer paper
Why freezer paper works for appliqué
Freezer paper has a plastic coating on one side that temporarily sticks to fabric when pressed with a warm iron. That light bond holds the template in place while you cut, and it peels away cleanly without leaving residue. Unlike cardboard or plastic templates, freezer paper can be reused several times before the coating loses its grip, making it a practical choice for repeated shapes like leaves, circles, or petals.
The matte side is for tracing; the shiny side faces the fabric. If you iron the matte side down, it will not stick. Always test on a scrap of your project fabric first, especially with delicate fabrics or dark colors where any shine could show.
What you need before you start
Gather freezer paper (sold in rolls or sheets), a pencil or fine permanent marker, paper scissors, fabric scissors, an iron, and a pressing surface. For the appliqué itself, you will need your background fabric, appliqué fabric, thread, and a needle appropriate for your method. If you plan to machine appliqué, a universal needle such as NM 70–80 works for most cotton fabrics; for hand appliqué, a sharp or milliner's needle in size 10–12 is typical.
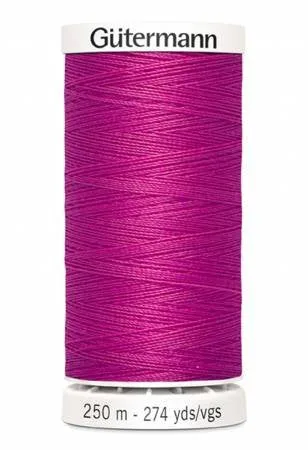
For thread, a 100% polyester all-purpose thread like Gütermann Sew-all is strong, colorfast, and works for both machine and hand sewing. It comes in a wide range of colors, so you can match your appliqué fabric or use a neutral that blends. Cotton thread is another option if you prefer a matte finish, but polyester tends to be more durable for projects that will be washed often.
Step-by-step: freezer paper template tutorial
Follow these steps in order. Each one includes a checkpoint so you can catch problems before they become permanent.
1. Trace the shape onto the matte side of the freezer paper. Use a pencil or fine marker and draw the exact finished shape, without seam allowance. If the shape is asymmetrical, mark which side is the top or add a small arrow. Checkpoint: hold the paper up to a window or light box to confirm the traced line is smooth and closed.
2. Cut out the template on the traced line. Use paper scissors, not your fabric scissors, to keep your fabric blades sharp. Checkpoint: the template should match your intended finished size. If you are making multiple identical shapes, cut one master template and trace around it rather than drawing each one freehand.
3. Press the shiny side of the template onto the wrong side of your appliqué fabric. Set your iron to a low-to-medium temperature with no steam. Hold for a few seconds until the paper adheres. Checkpoint: the paper should stay put when you lift the fabric. If it falls off, your iron may be too cool or the shiny side may be facing the wrong way.
4. Cut the fabric around the template, leaving a scant 1/4-inch seam allowance. Use small, sharp fabric scissors and turn the fabric, not the scissors, for smooth curves. Checkpoint: the seam allowance should be even all the way around. If it is too wide, your finished shape will be bulky; if too narrow, the fabric may fray out of the seam.
5. Clip inner curves and notch outer curves if needed. For inside curves, make small snips up to, but not through, the traced line. For outside curves, cut small V-shaped notches. Checkpoint: never clip through the freezer paper template. If you accidentally cut the template, replace it before continuing.
6. Press the seam allowance over the edge of the freezer paper. Use a small iron or a stiletto to fold the fabric over the paper edge, working around the shape a few inches at a time. For sharp points, fold the tip first, then the sides. Checkpoint: the folded edge should be smooth and the template should not shift. If it does, re-press with a slightly warmer iron.
7. Appliqué the shape to your background. For hand appliqué, use a blind or slip stitch with thread that matches the appliqué fabric. For machine appliqué, use a narrow zigzag or blanket stitch. Checkpoint: stitch close to the folded edge, but do not sew through the freezer paper. If you do, you will not be able to remove it cleanly.
8. Remove the freezer paper. Once the shape is stitched, peel the paper away from the wrong side. If it resists, gently warm it with the iron for a few seconds and try again. Checkpoint: if any paper tears, use tweezers to remove small bits. Leftover paper can make the appliqué stiff or cause bumps.
9. Reuse the template if desired. If the paper is still intact and the coating is tacky, you can press it onto another piece of fabric and repeat. Most templates can be reused several times before they stop sticking. Checkpoint: when the template no longer holds, trace a new one from your master pattern.
Common mistakes and how to avoid them
One frequent error is ironing the matte side to the fabric. The paper will not stick, and you may scorch the paper. Always check that the shiny side is down. Another mistake is cutting the seam allowance too wide. A scant 1/4 inch is usually enough for cotton; wider allowances create bulk that is hard to press flat. If you are working with thick fabric, trim the allowance to 1/8 inch after pressing.
A third mistake is leaving the freezer paper in place after stitching. It must be removed, or the appliqué will feel stiff and may pucker when washed. Finally, do not use steam when adhering the template. Steam can warp the paper and weaken the bond. Keep your iron dry for this step.
Choosing fabric and thread for appliqué
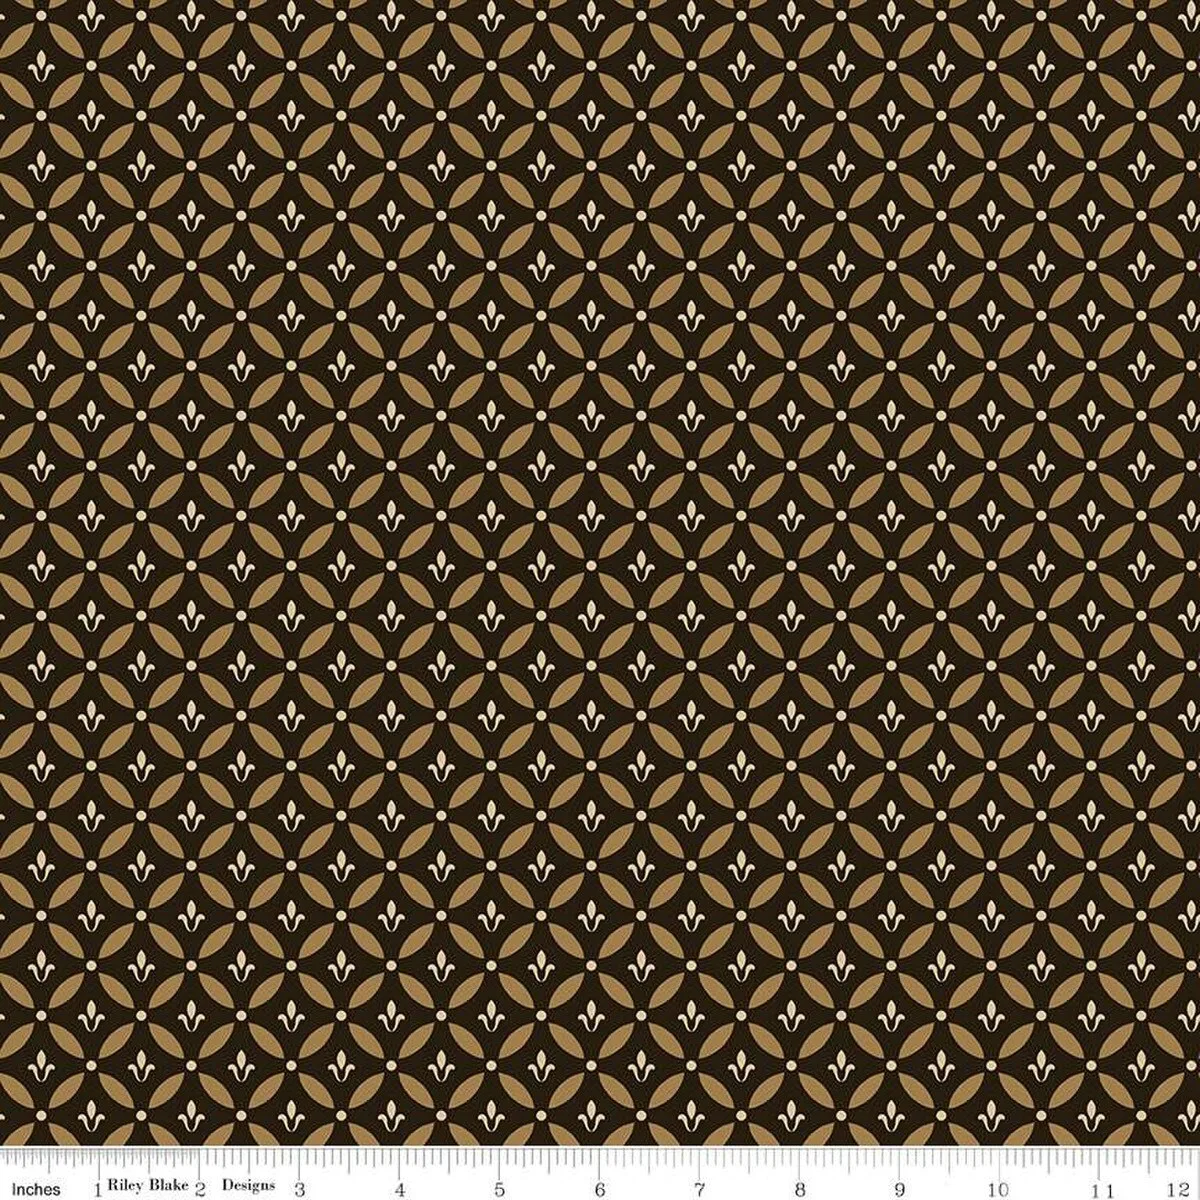
For appliqué shapes, 100% cotton fabric is a reliable choice because it presses crisply and holds a fold. Quilting-weight cotton, such as Morning Latte by Sandy Gervais for Riley Blake Designs, works well for both the appliqué and the background. That particular fabric is 43–44 inches wide and machine washable cold, tumble dry low, so it fits everyday quilts and home décor projects. Prewash if you want to avoid shrinkage later, and press with starch to give the fabric a bit of body before cutting.
For thread, match the fiber to your project. Polyester all-purpose thread is strong and colorfast, and it works for both machine and hand appliqué. If you are appliquéing on a dark background, a slightly darker thread can disappear into the seam. For a contrasting look, choose a thread that matches the appliqué shape. Always test your thread tension on a scrap before starting on the real project.
Appliqué with freezer paper: step-by-step checkpoints
- Trace and cut the template: Draw the finished shape on the matte side of freezer paper and cut it out with paper scissors. Mistake to avoid: drawing with seam allowance included, which makes the finished shape too large. Checkpoint: the template should be the exact finished size.
- Adhere to fabric: Press the shiny side of the template to the wrong side of the appliqué fabric with a dry iron. Mistake to avoid: using steam, which can warp the paper and weaken the bond. Checkpoint: the paper should stay put when you lift the fabric.
- Cut with seam allowance: Cut around the template leaving a scant 1/4-inch seam allowance, turning the fabric for smooth curves. Mistake to avoid: cutting the allowance too wide, which creates bulk. Checkpoint: the allowance should be even all the way around.
- Clip and notch curves: Snip inside curves and notch outside curves as needed to help the fabric fold smoothly. Mistake to avoid: clipping through the freezer paper template. Checkpoint: if you cut the template, replace it before continuing.
- Press the edges over the paper: Fold the seam allowance over the freezer paper edge, working a few inches at a time. Mistake to avoid: letting the template shift while pressing. Checkpoint: the folded edge should be smooth and the template should stay in place.
- Appliqué the shape: Hand or machine stitch close to the folded edge, using thread that matches the appliqué fabric. Mistake to avoid: stitching through the freezer paper. Checkpoint: if you sew through the paper, you will not be able to remove it cleanly.
- Remove and reuse: Peel the freezer paper away from the wrong side. If it resists, warm it slightly with the iron. Mistake to avoid: leaving bits of paper behind. Checkpoint: the template can be reused if the coating is still tacky; otherwise, trace a new one.
Tools that make this easier
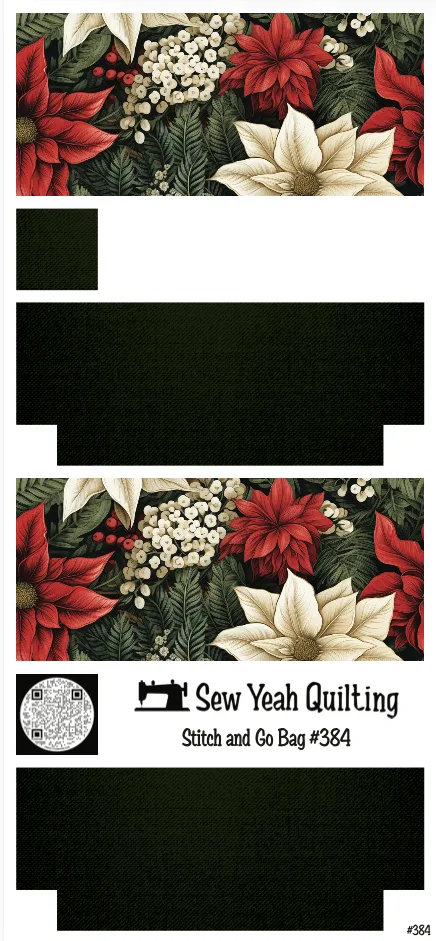
- Stitch & Go Bag #384 - Christmas Poinsettias Red & Cream, White Hydrangea & Ferns on Dark Green: The Stitch & Go Bag is made from durable waterproof canvas and is designed and printed in-house in the USA. It is intended for sewing supplies, travel essentials, and crafting on the go. A sturdy bag keeps your freezer paper, templates, and small appliqué projects organized and protected, whether you sew at home or take your work with you.
- Gutermann - Polyester All Purpose Thread - 250 m/274 yds - #320 - Dusty Rose: Gütermann Polyester All Purpose Thread is a 100% polyester thread with Micro Core Technology, suitable for machine and hand sewing and compatible with all stitch types. It is available in a range of colors. This thread handles both machine and hand appliqué, so you can use one spool for the entire project and match your fabric without switching brands.
- Morning Latte - Tile - Espresso - Yardage: Morning Latte by Sandy Gervais for Riley Blake Designs is a 100% cotton fabric, 43–44 inches wide, machine wash cold and tumble dry low. It features delicate sprigs of leaves and flowers. The cotton presses crisply for clean appliqué folds, and the print adds a subtle design element that works for quilting, clothing, and home décor.