Quick answer
To create a smudge-proof cat eye with gel liner, prep your lid with a clean base, use short strokes to map the wing, and let the formula set before opening your eyes fully.
Why gel liner works for a cat eye
Gel liner offers a creamy consistency that glides on smoothly and dries to a water- and transfer-resistant finish. This makes it ideal for achieving sharp lines that stay put all day without flaking or smudging.
Unlike liquid liners that can be unforgiving, gel liner gives you a few extra seconds to adjust the shape before it sets. The key is working in thin layers and letting each one dry before adding more.
What you need before starting
You will need a gel liner like Jones Road Beauty Gel Liner, a fine-tipped angled brush, and a clean, dry eyelid. Avoid applying cream shadows or heavy moisturizer on the lash line beforehand, as oils can break down the gel formula.
If you have hooded or oily lids, a light dusting of translucent powder on the outer corner helps the liner grip better. Keep a cotton swab with micellar water nearby for quick corrections.
Step-by-step gel liner cat eye tutorial
- Prep your eyelid: Ensure your eyelid is clean and dry. If you use eyeshadow, apply it before the liner. Avoid oily primers on the lash line. A greasy base is the top reason gel liner smudges.
- Load the brush sparingly: Dip a fine-angled brush into the gel liner and wipe off excess on the rim of the pot. You want a thin, even coat on the bristles. Too much product on the brush leads to thick, uneven lines that take longer to dry.
- Map the wing angle: Starting from the outer corner of your eye, draw a thin line angling upward toward the end of your eyebrow. Keep your eye open and relaxed to see the natural crease. Common mistake: angling the wing too high or too low. Use your lower lash line as a guide.
- Connect the wing to the lash line: From the tip of the wing, draw a line back toward the center of your upper lash line, filling in the triangle shape. Use short, feathery strokes rather than one continuous line. Short strokes give you more control and prevent the liner from pulling or skipping.
- Line the rest of the upper lash line: Starting from the inner corner, draw thin dots along the lash line and connect them. Keep the line thinner toward the inner eye and thicker at the outer third. A common mistake is making the line too thick at the inner corner, which can make eyes look smaller.
- Let it set before blinking fully: Keep your eyes gently closed or look downward for 30–60 seconds to let the gel liner dry. Avoid pressing your lashes against the brow bone. Blinking too soon can transfer the liner to your upper crease, ruining the shape.
Product used in this tutorial
-
Gel Liner: Gel Liner is a richly pigmented eyeliner that glides on effortlessly and stays in place with a creamy gel formula that is water and transfer-resistant. This means you can build a precise cat eye shape without worrying about smudging or fading during the day, even in humid conditions.
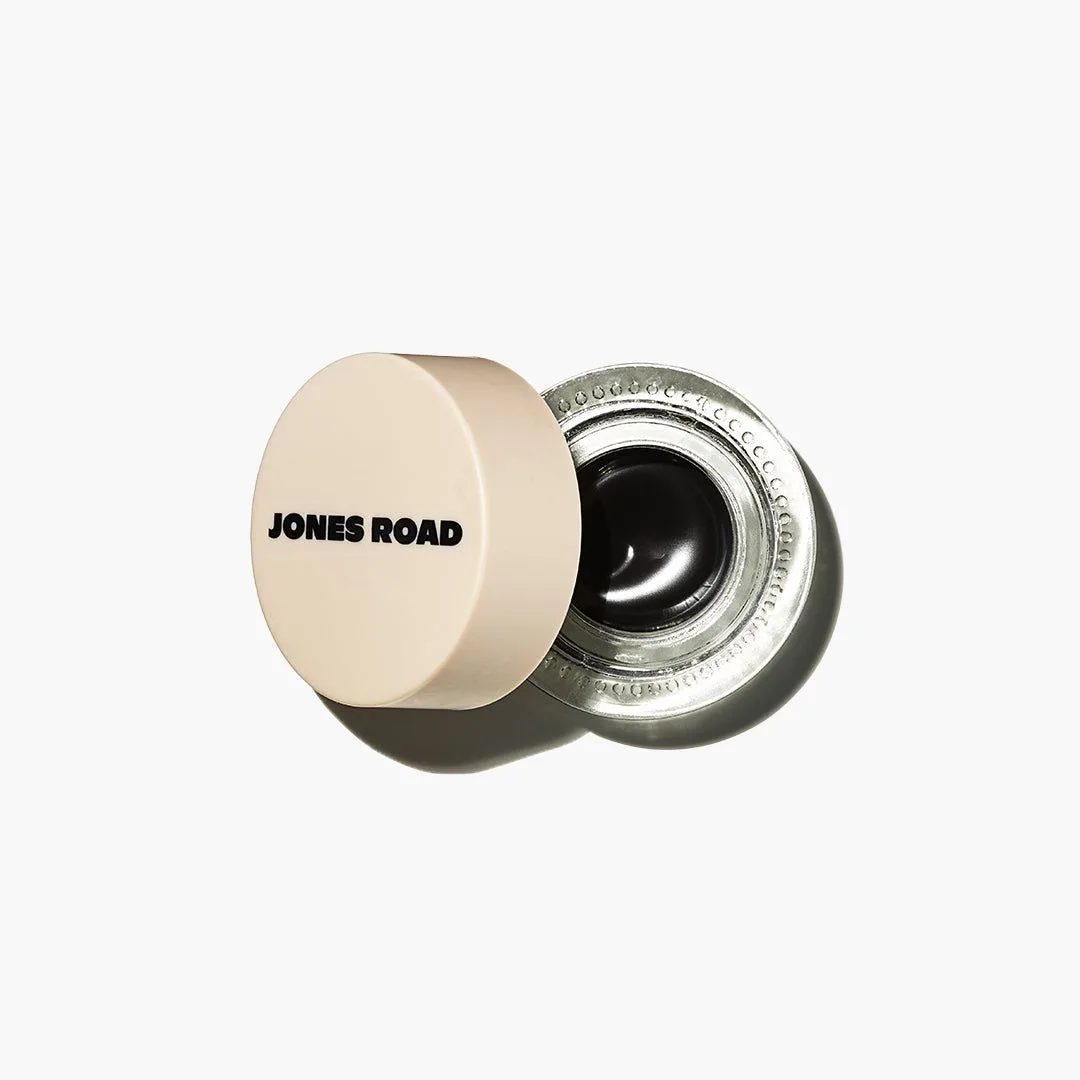
Gel Liner