Quick Answer
To use gilding flakes without the mess, work over a shallow tray, use an anti-static tool or dryer sheet to reduce static cling, and apply flakes with a soft brush or your fingertip. Seal the finished surface with a clear fixative to prevent flaking. This approach keeps your workspace clean and gives you smooth, even coverage on cards and papercraft.
Why Gilding Flakes Get Everywhere
Gilding flakes are ultra-thin metallic sheets that break into tiny pieces when handled. Their lightweight nature means they float on air currents and cling to any static-charged surface, which is why they end up on your sleeves, the floor, and your tools. The mess isn't a sign of poor technique—it's a physical property of the material.
Understanding this helps you choose the right tools and setup. Instead of fighting the flakes with your bare hands, you can control them with simple adjustments to your workspace and application method.
Set Up a Controlled Workspace
Before you open the flake container, prepare a clean, flat surface. Place a shallow tray or a sheet of paper underneath your project to catch stray flakes. This not only keeps your desk clean but also makes it easy to gather and reuse the excess.
Reduce static in the air by working in a room with normal humidity—too dry increases static. You can also lightly mist the air with water (away from your project) or rub a dryer sheet over your work surface and tools to neutralize static charge.
- Use a shallow tray or paper to catch flakes.
- Rub a dryer sheet over your work area and tools.
- Work in a room with moderate humidity.
Apply Flakes with Precision
When your adhesive is tacky but not wet, pick up a small amount of flake with a soft, dry brush or your fingertip. Gently press it onto the adhesive, then use a clean brush to sweep away the excess. This gives you more control than pouring flakes directly from the container.
For intricate areas, use a pointed tool or a stencil to keep flakes within the design. Work in small sections so the adhesive doesn't dry before you apply the flake.
- Use a soft brush or fingertip for controlled application.
- Work in small sections to avoid adhesive drying.
- Use a stencil or pointed tool for detailed designs.
Seal and Clean Up
Once your design is covered, gently press the flakes down with a clean finger or a brayer to ensure good adhesion. Then, apply a clear fixative or a spray sealer to lock the flakes in place. This prevents them from rubbing off later and keeps your finished piece looking neat.
To clean up, gather the loose flakes from your tray and return them to the container. Use a lint roller or a piece of tape to pick up any stray flakes from your clothing or work surface. Avoid using water, as it can ruin the metallic finish.
- Press flakes down firmly for good adhesion.
- Seal with a clear fixative to prevent flaking.
- Collect excess flakes with a tray and reuse them.
Diagnosing Your Gilding Flake Mess
- Symptom: Flakes are sticking to your fingers, tools, and everything else in the room. This is static cling, not a technique failure.
- Likely Cause: Dry air and synthetic materials create static, while loose flakes are easily disturbed by movement. Humidify the air and use anti-static measures.
- Corrective Action: Work over a tray, use a dryer sheet on your tools, apply flakes with a brush, and seal with fixative. You'll get cleaner results and less waste.
- Stop or Choose Another Option: If you're still struggling after trying these steps, consider using double-sided tape or a glue pen for a more controlled adhesive base, or switch to pre-cut foil sheets for a different look. There's no shame in choosing a less messy alternative.
Tools That Help
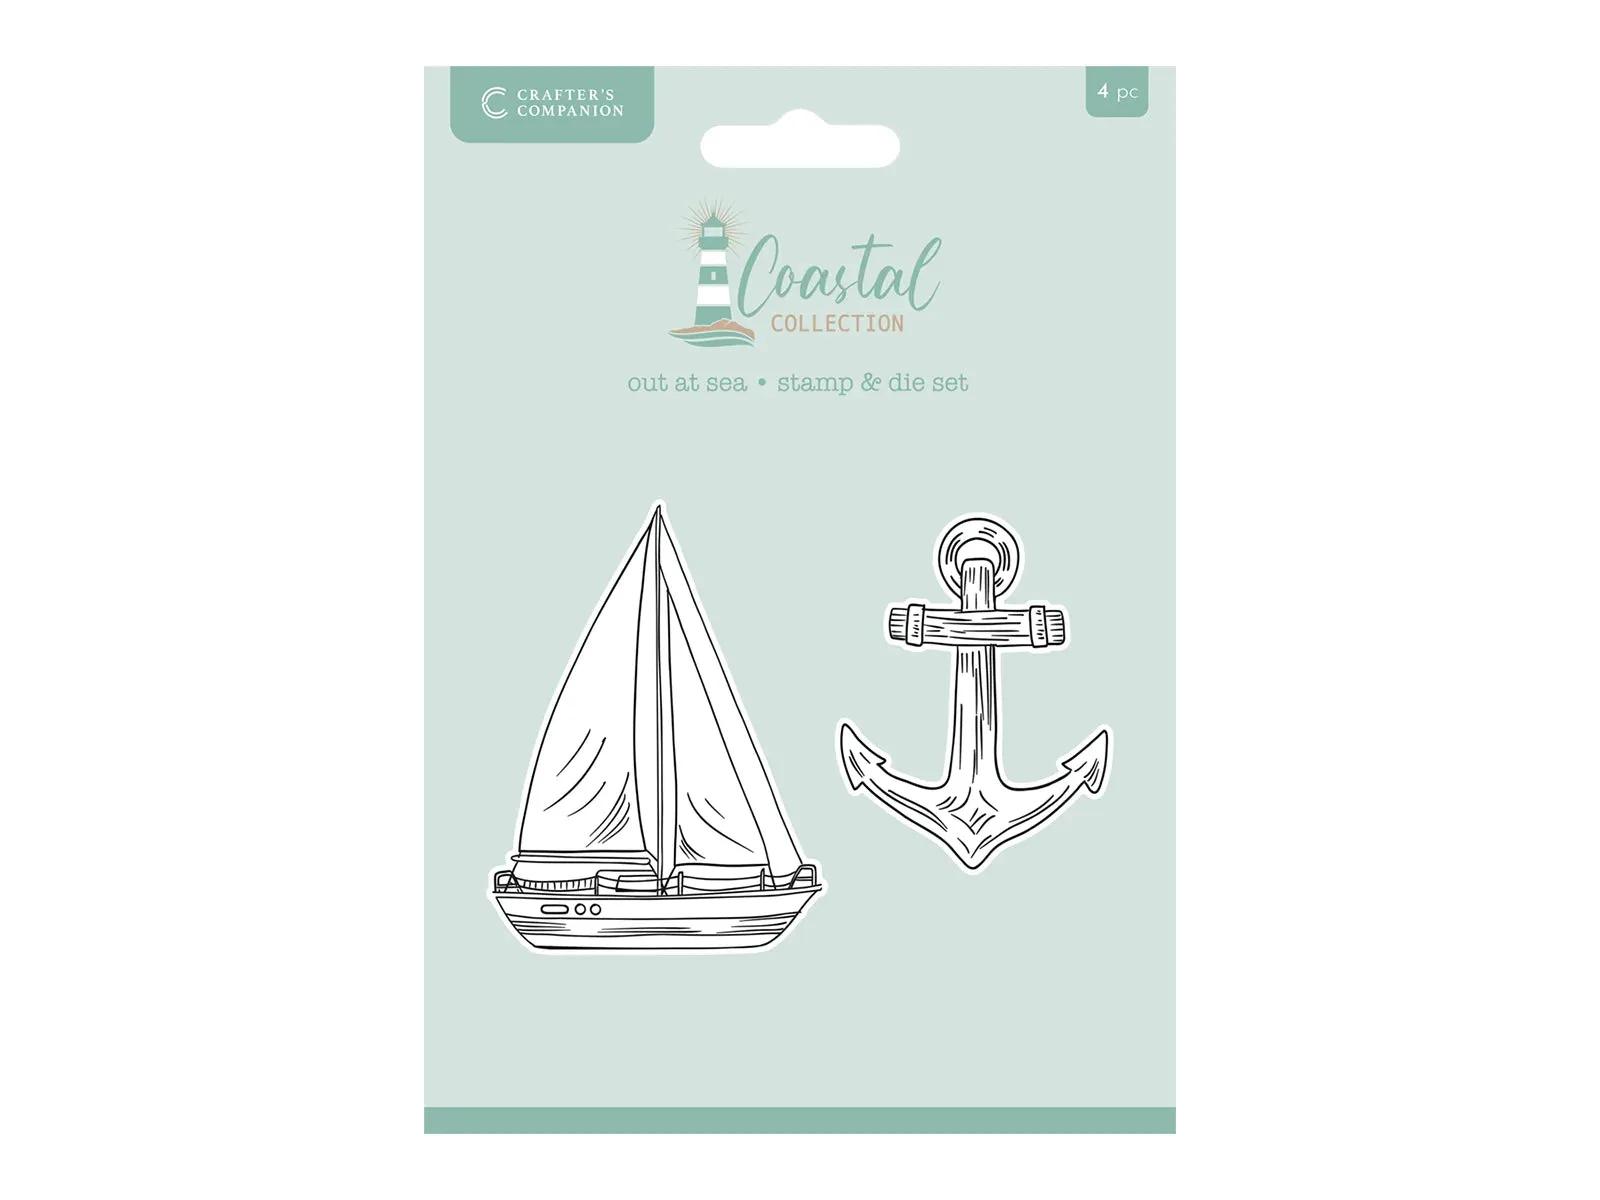
- Crafter's Companion Coastal Collection Stamp & Die - Out at Sea: The Out at Sea Stamp & Die set from the Crafter’s Companion Coastal Collection includes a sailing ship and anchor design, and the dies cut with precision that scissors or a craft knife can't match. When you use gilding flakes on die-cut shapes, the clean edges help the flakes adhere neatly and reduce the need for trimming, which minimizes mess.
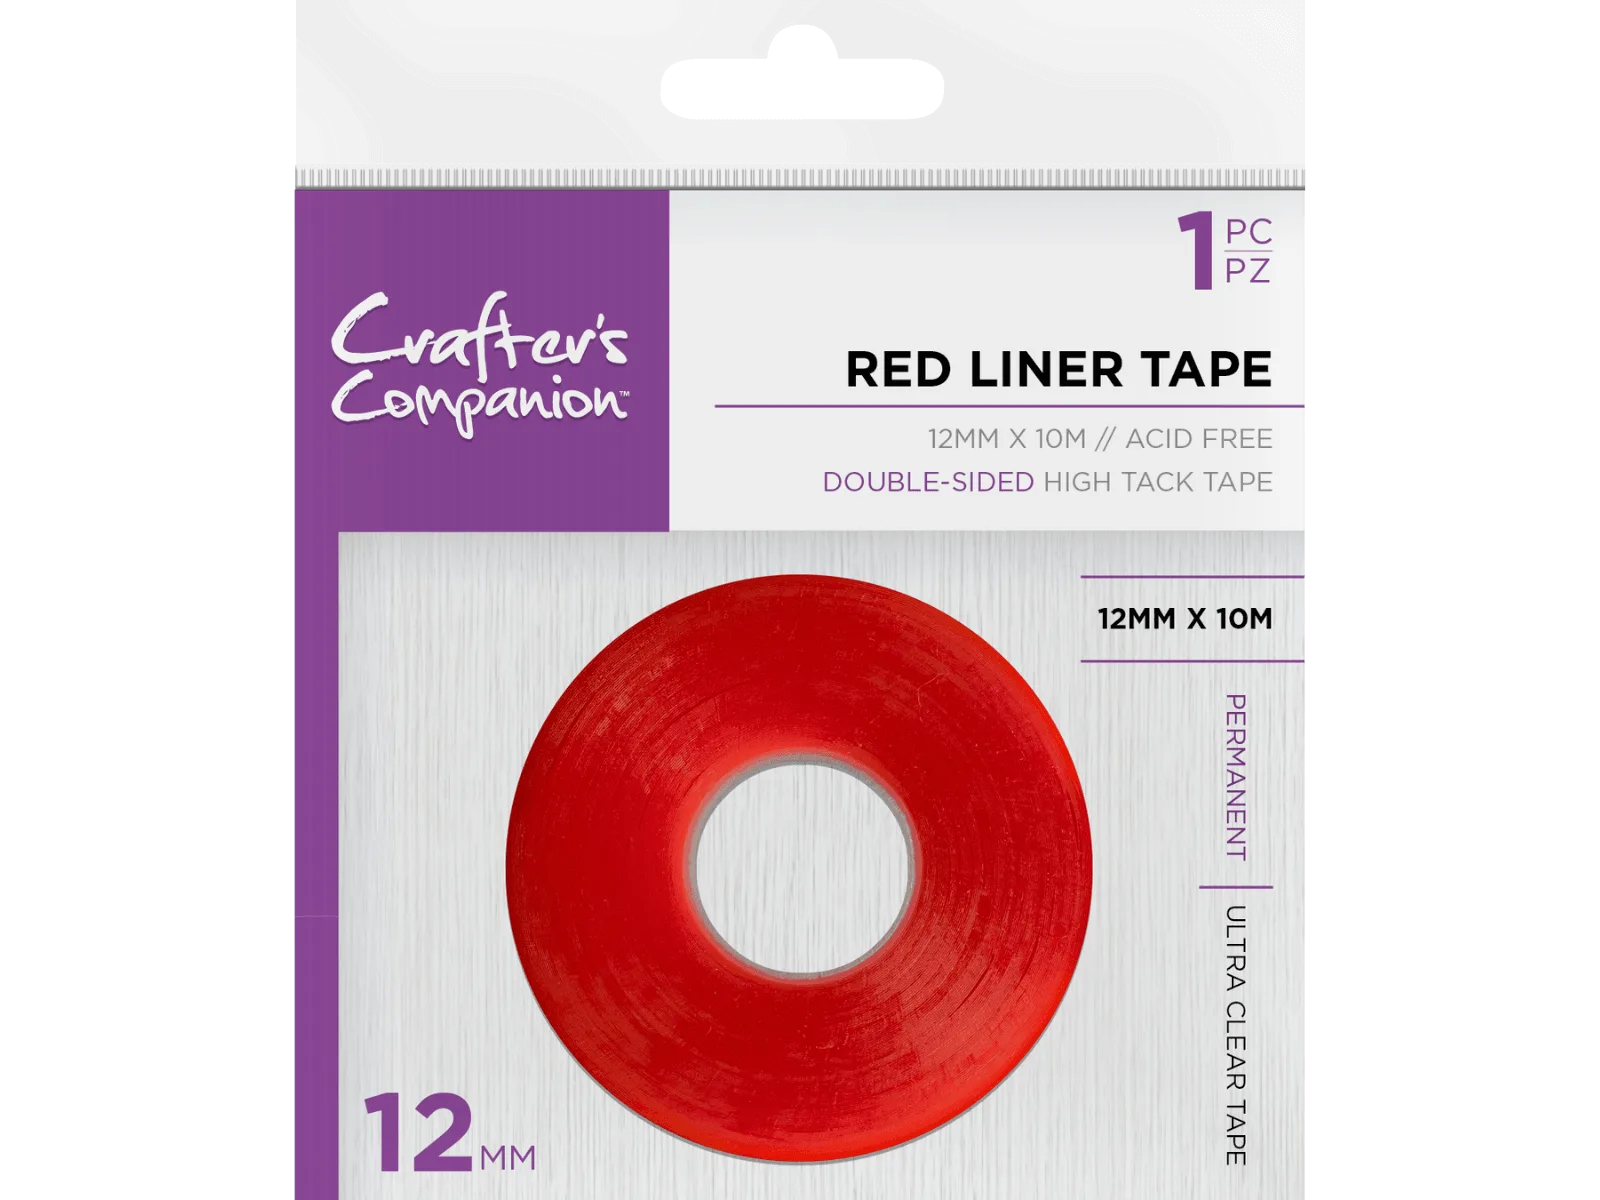
- Crafter's Companion Red Liner Double Sided Tape (12mm): Crafter's Companion Red Liner Double Sided Tape (12mm) is ultra clear, strong, and heat-resistant, designed for card and envelope making. Instead of wet adhesive, you can use this tape as a dry adhesive base for gilding flakes. It gives you a precise, tacky surface that holds flakes firmly without the mess of liquid glue.
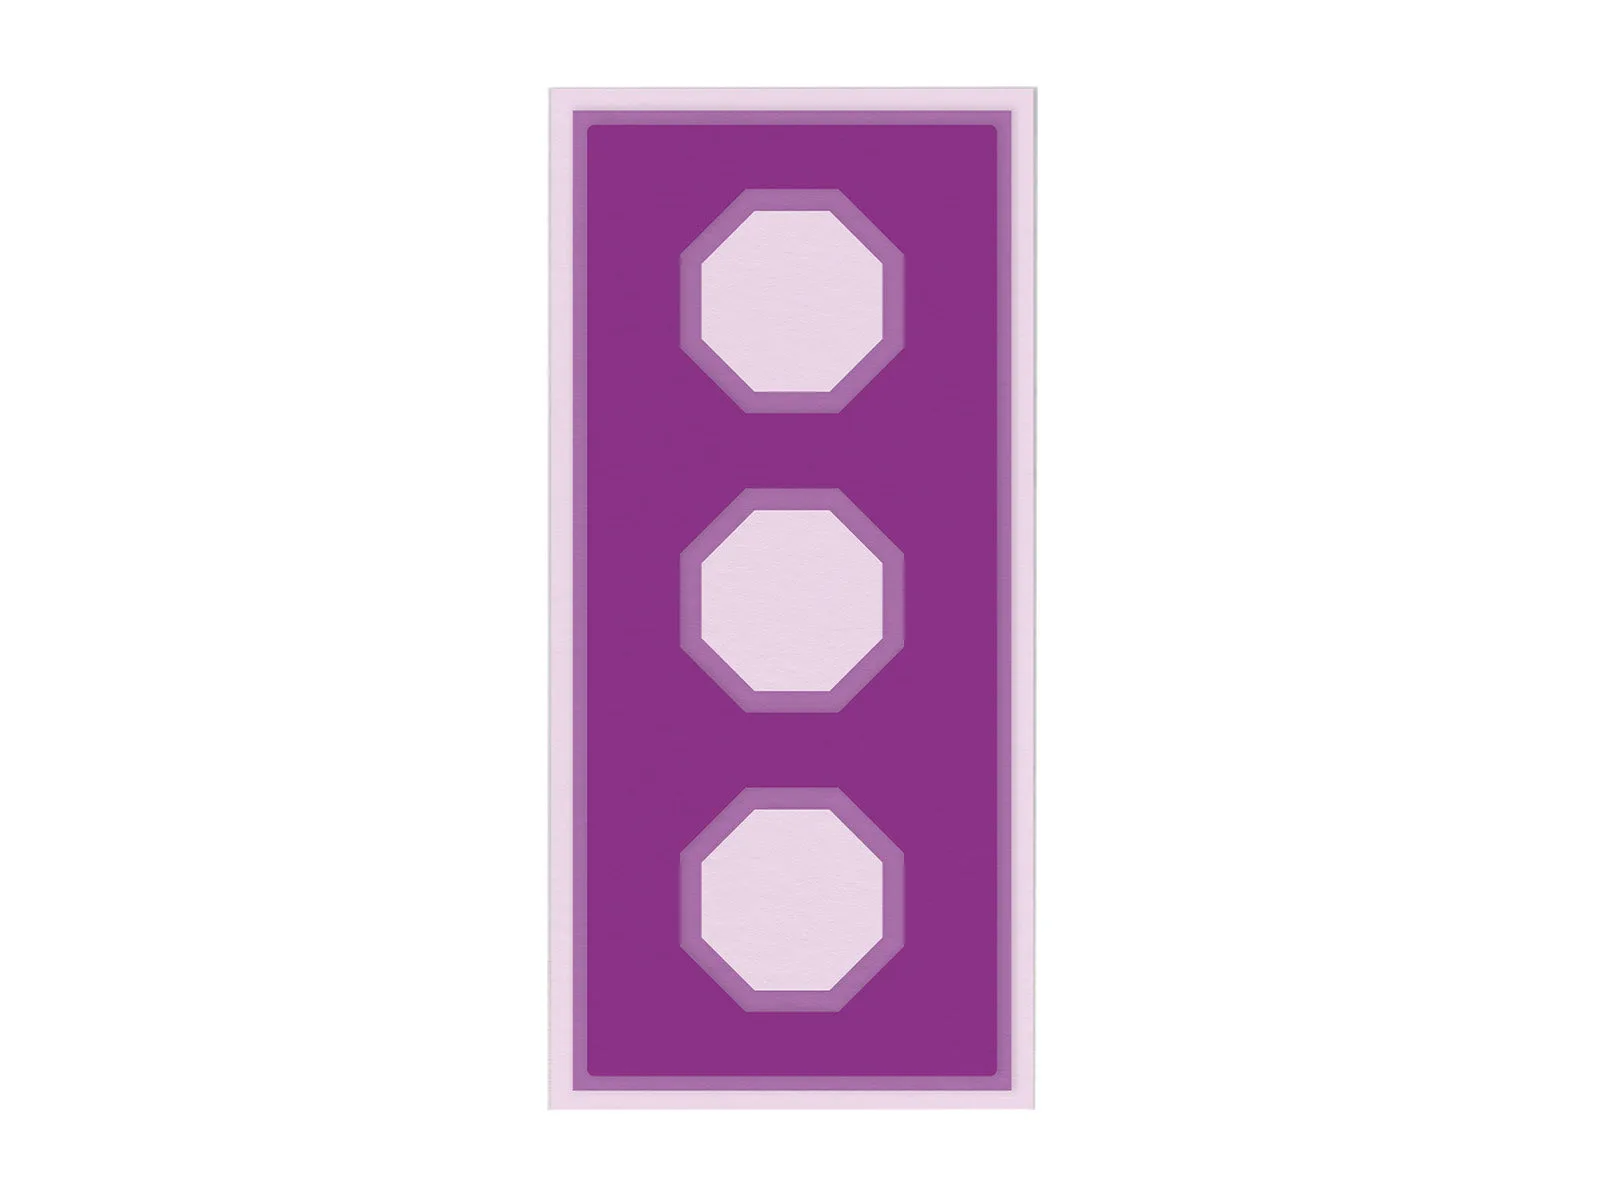
- DL Octagon Aperture Metal Die: The DL Octagon Aperture Metal Die set includes 5 dies to create a slimline card front with three octagon-shaped windows, sized to standard DL measurements. Create card fronts with built-in windows, then fill them with gilding flakes for a framed, controlled effect that keeps the flakes contained within the design.