Quick answer
A grid panel stabilizer helps you piece perfectly square blocks without measuring or marking. Use it as a foundation for patchwork or as a stabilizer for tricky fabrics.
Why use a grid panel instead of marking each seam?
A grid panel stabilizer saves time and reduces errors. Instead of drawing individual seam lines on every piece, you lay fabric over the printed grid and stitch along the lines. The grid also adds stability, making it easier to sew bias cuts, lightweight fabrics, or intricate shapes without stretching.
Tensisters grid panels come in two finished sizes: 1 inch and 1.5 inch. Choose the larger grid for bigger blocks or when you want fewer seams per project. The smaller grid works well for miniature quilts or detailed designs where precision matters more.
How to use a grid panel stabilizer
- Prepare the grid panel: Cut a piece of grid panel slightly larger than your desired finished block area. Keep the printed grid visible; do not flip it over. Don't trim the panel to the exact finished size yet — leave at least ½ inch extra on all sides for seam allowance.
- Place fabric right side up on the grid: Lay your first fabric piece right side up on the printed side of the grid. Align one raw edge with a grid line. Pin or use a dab of fabric glue to hold it in place. Check that the fabric covers the grid line you plan to stitch — gaps cause misaligned seams.
- Add the next fabric piece: Place the second fabric piece right side down on top of the first, matching raw edges. The seam line on the grid is your stitching guide, not the fabric edge. Do not sew on the raw edge; sew exactly on the printed grid line that represents your seam.
- Stitch along the grid line: Using a regular stitch length (2.0–2.5 mm), sew directly on the printed grid line. Backstitch at the start and end of each seam to secure. If the grid panel shifts, use a walking foot to feed all layers evenly.
- Press and repeat: Press the seam open or to one side, then add the next piece in the same manner. Continue until all grid squares are filled. Press gently — high heat can distort the stabilizer. Test on a scrap first.
- Trim and finish: Once all seams are sewn, trim away the excess grid panel outside the outermost grid lines. Your block is now perfectly squared with no measuring needed. Leave the grid panel in the quilt as a stabilizer; it is designed to stay inside the layers.
Grid panel options at SewYeahQuilting
-
Tensisters 1 inch Finished Grid Panel: Tensisters 1 inch Finished Grid Panel is 24"x17" with 14 blocks across and 94 blocks down, unfinished at 1.5 inches square. The 1" finished grid gives you many small, precise squares for detailed patchwork or mini quilts.
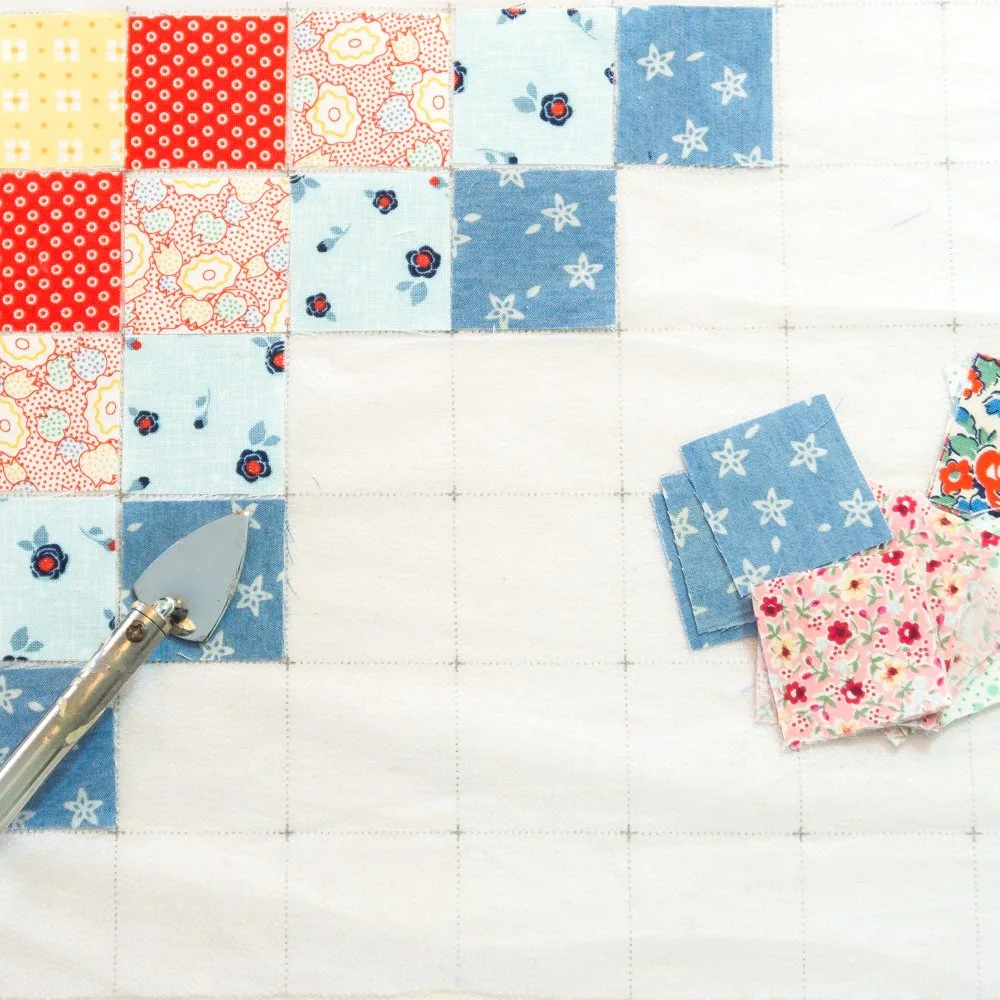
Tensisters 1 inch Finished Grid Panel
-
Tensisters 1.5 inch Finished Grid Panel: Tensisters 1.5 inch Finished Grid Panel is 20"x32" with 9 blocks across and 14 blocks down, unfinished at 2 inches square. The 1.5" finished grid offers larger blocks, so you finish a quilt top faster with fewer seams per panel.
Tensisters 1.5 inch Finished Grid Panel