Candle making is a rewarding craft that fills your home with warmth and fragrance. Using Kilner® jars as candle containers adds a touch of rustic charm and practicality. These iconic glass jars are not only beautiful but also heat-resistant, making them perfect for candle projects. Whether you're a beginner or an experienced crafter, this guide will walk you through the process of creating stunning candles in Kilner® jars.
From choosing the right wax to wick placement and safety tips, we'll cover everything you need to know. You'll also discover creative ways to repurpose your finished candles and make thoughtful gifts. Let's dive into the world of Kilner jar candle making.
Why Choose Kilner® Jars for Candle Making?
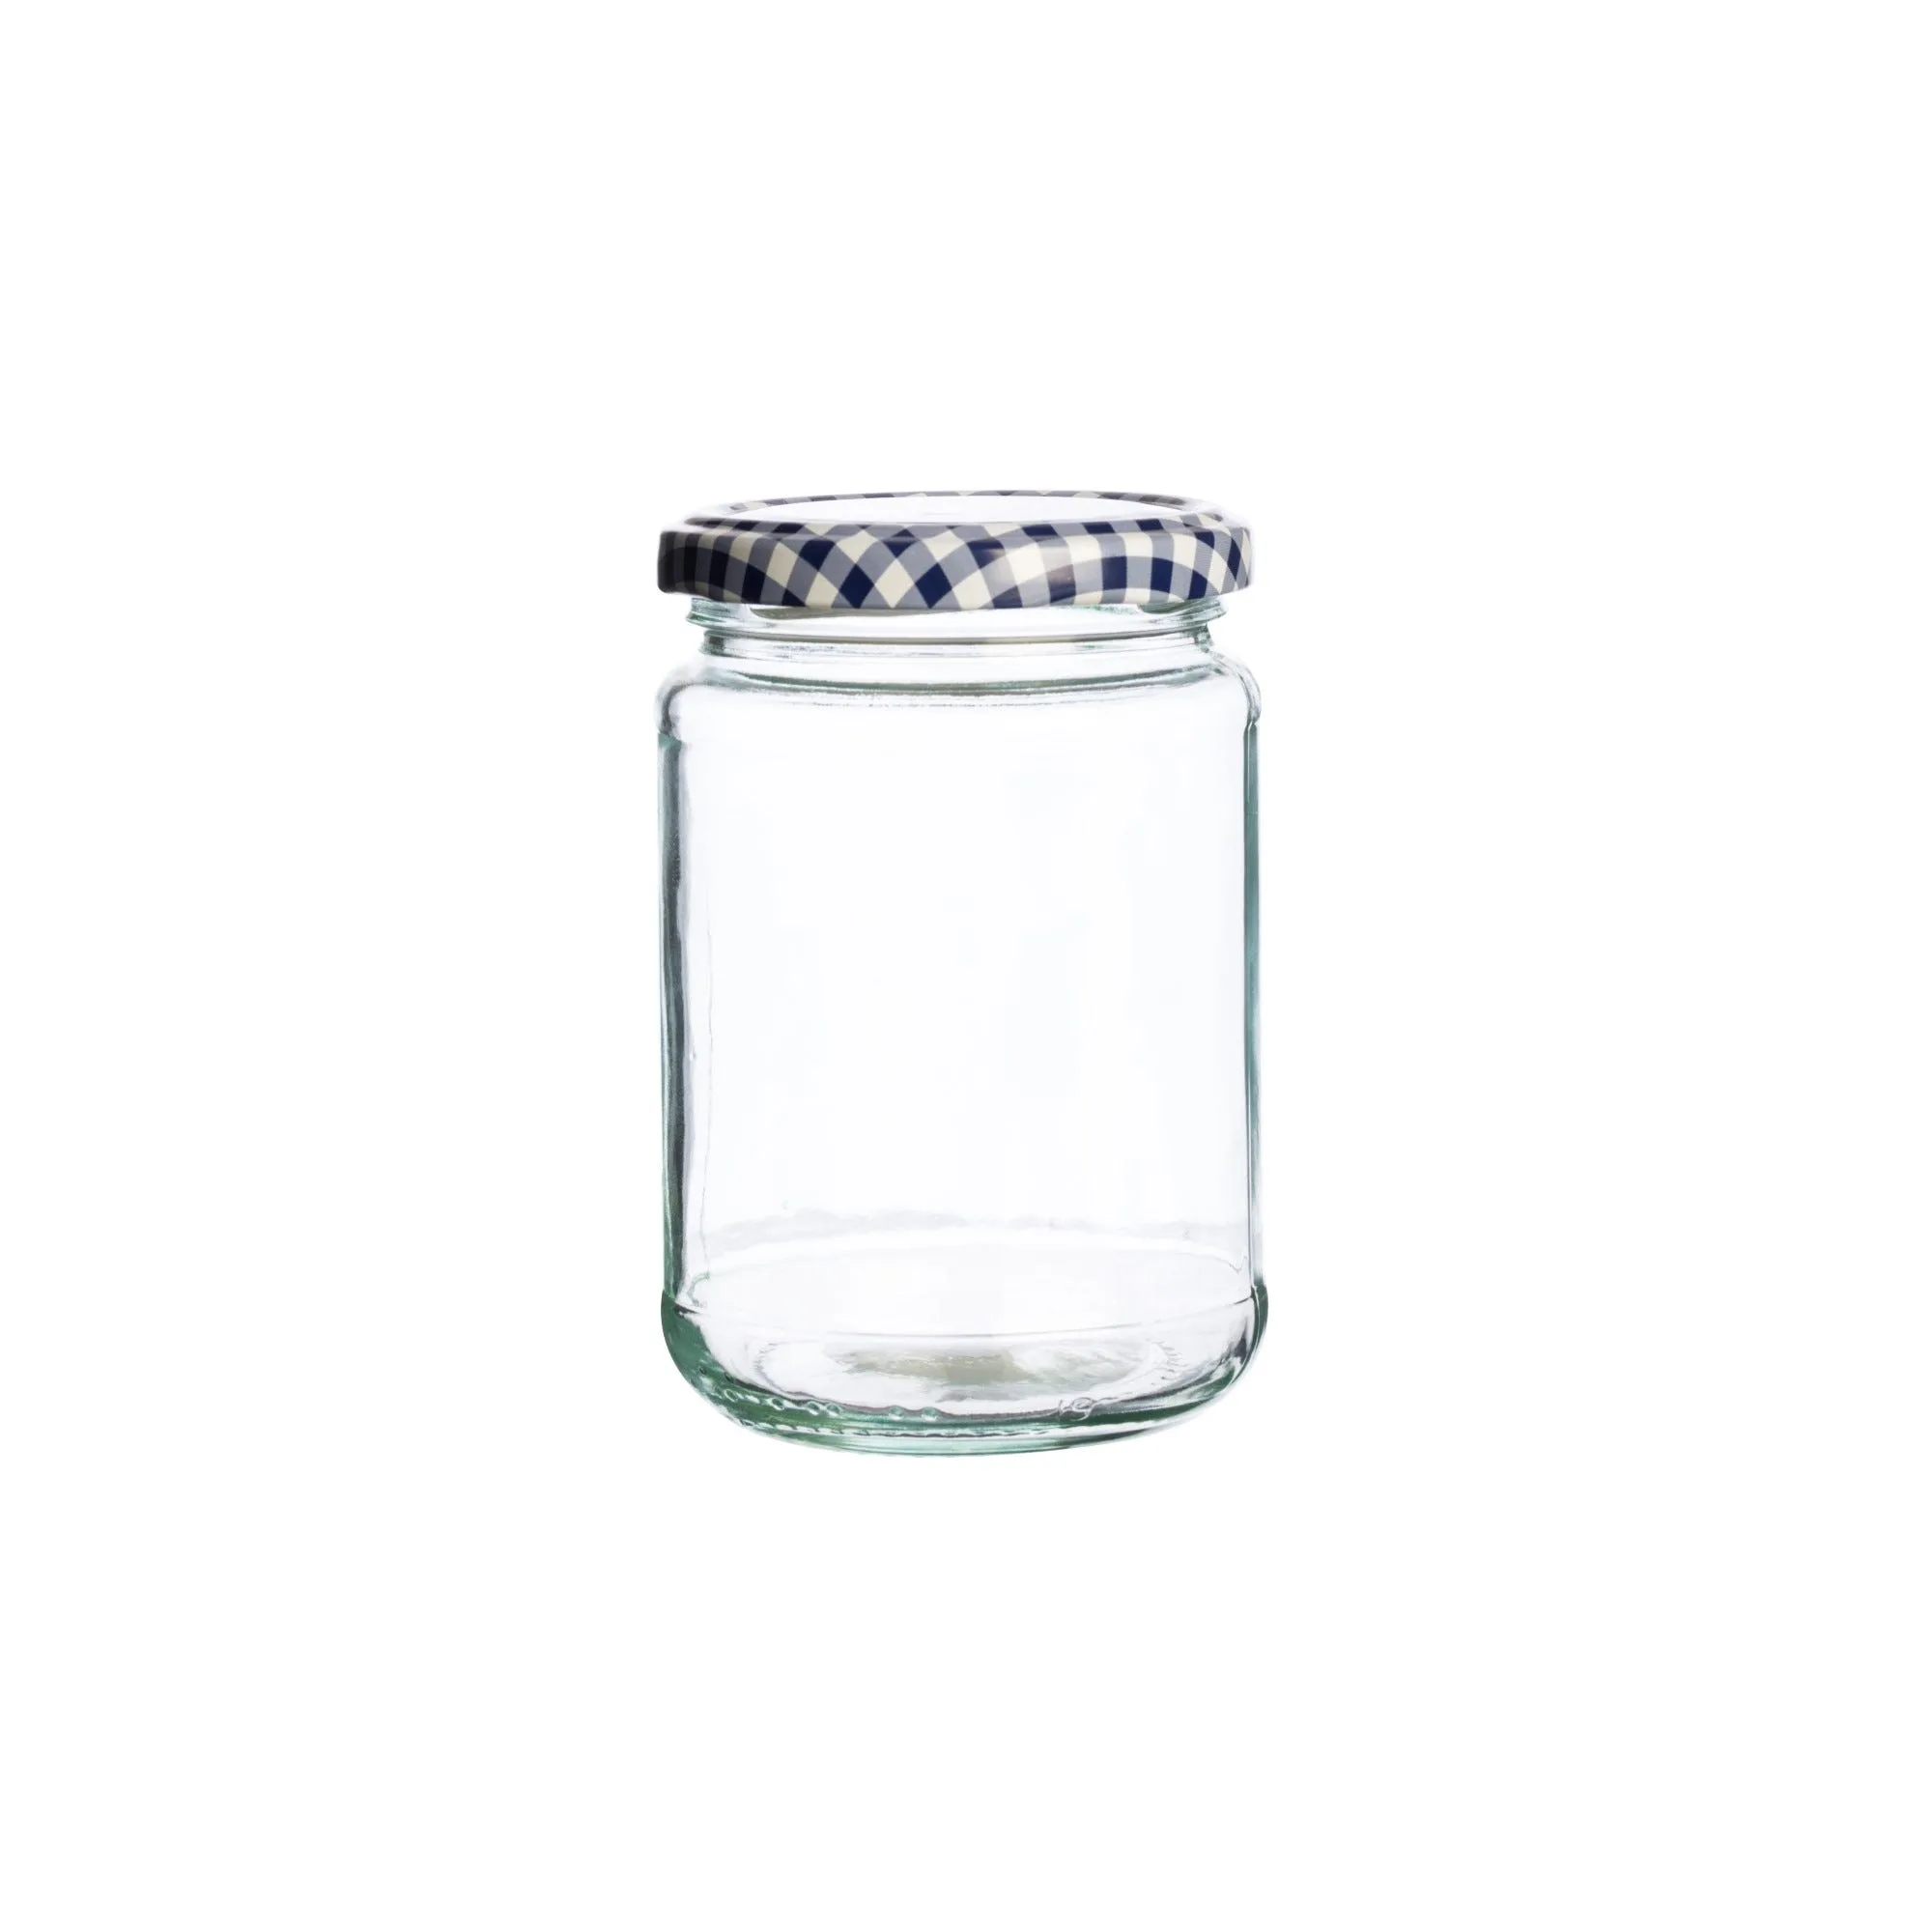
Kilner® jars are a favorite among DIY enthusiasts for good reason. Their thick, durable glass can withstand the heat of a burning candle, and their airtight seals keep your candles fresh when not in use. The classic designs, like the Kilner® 228ml Round Twist Top Jar, are perfect for small votive candles, while larger options like the Square Glass Clip Top Jar - 0.5 Litre offer ample space for bigger creations.
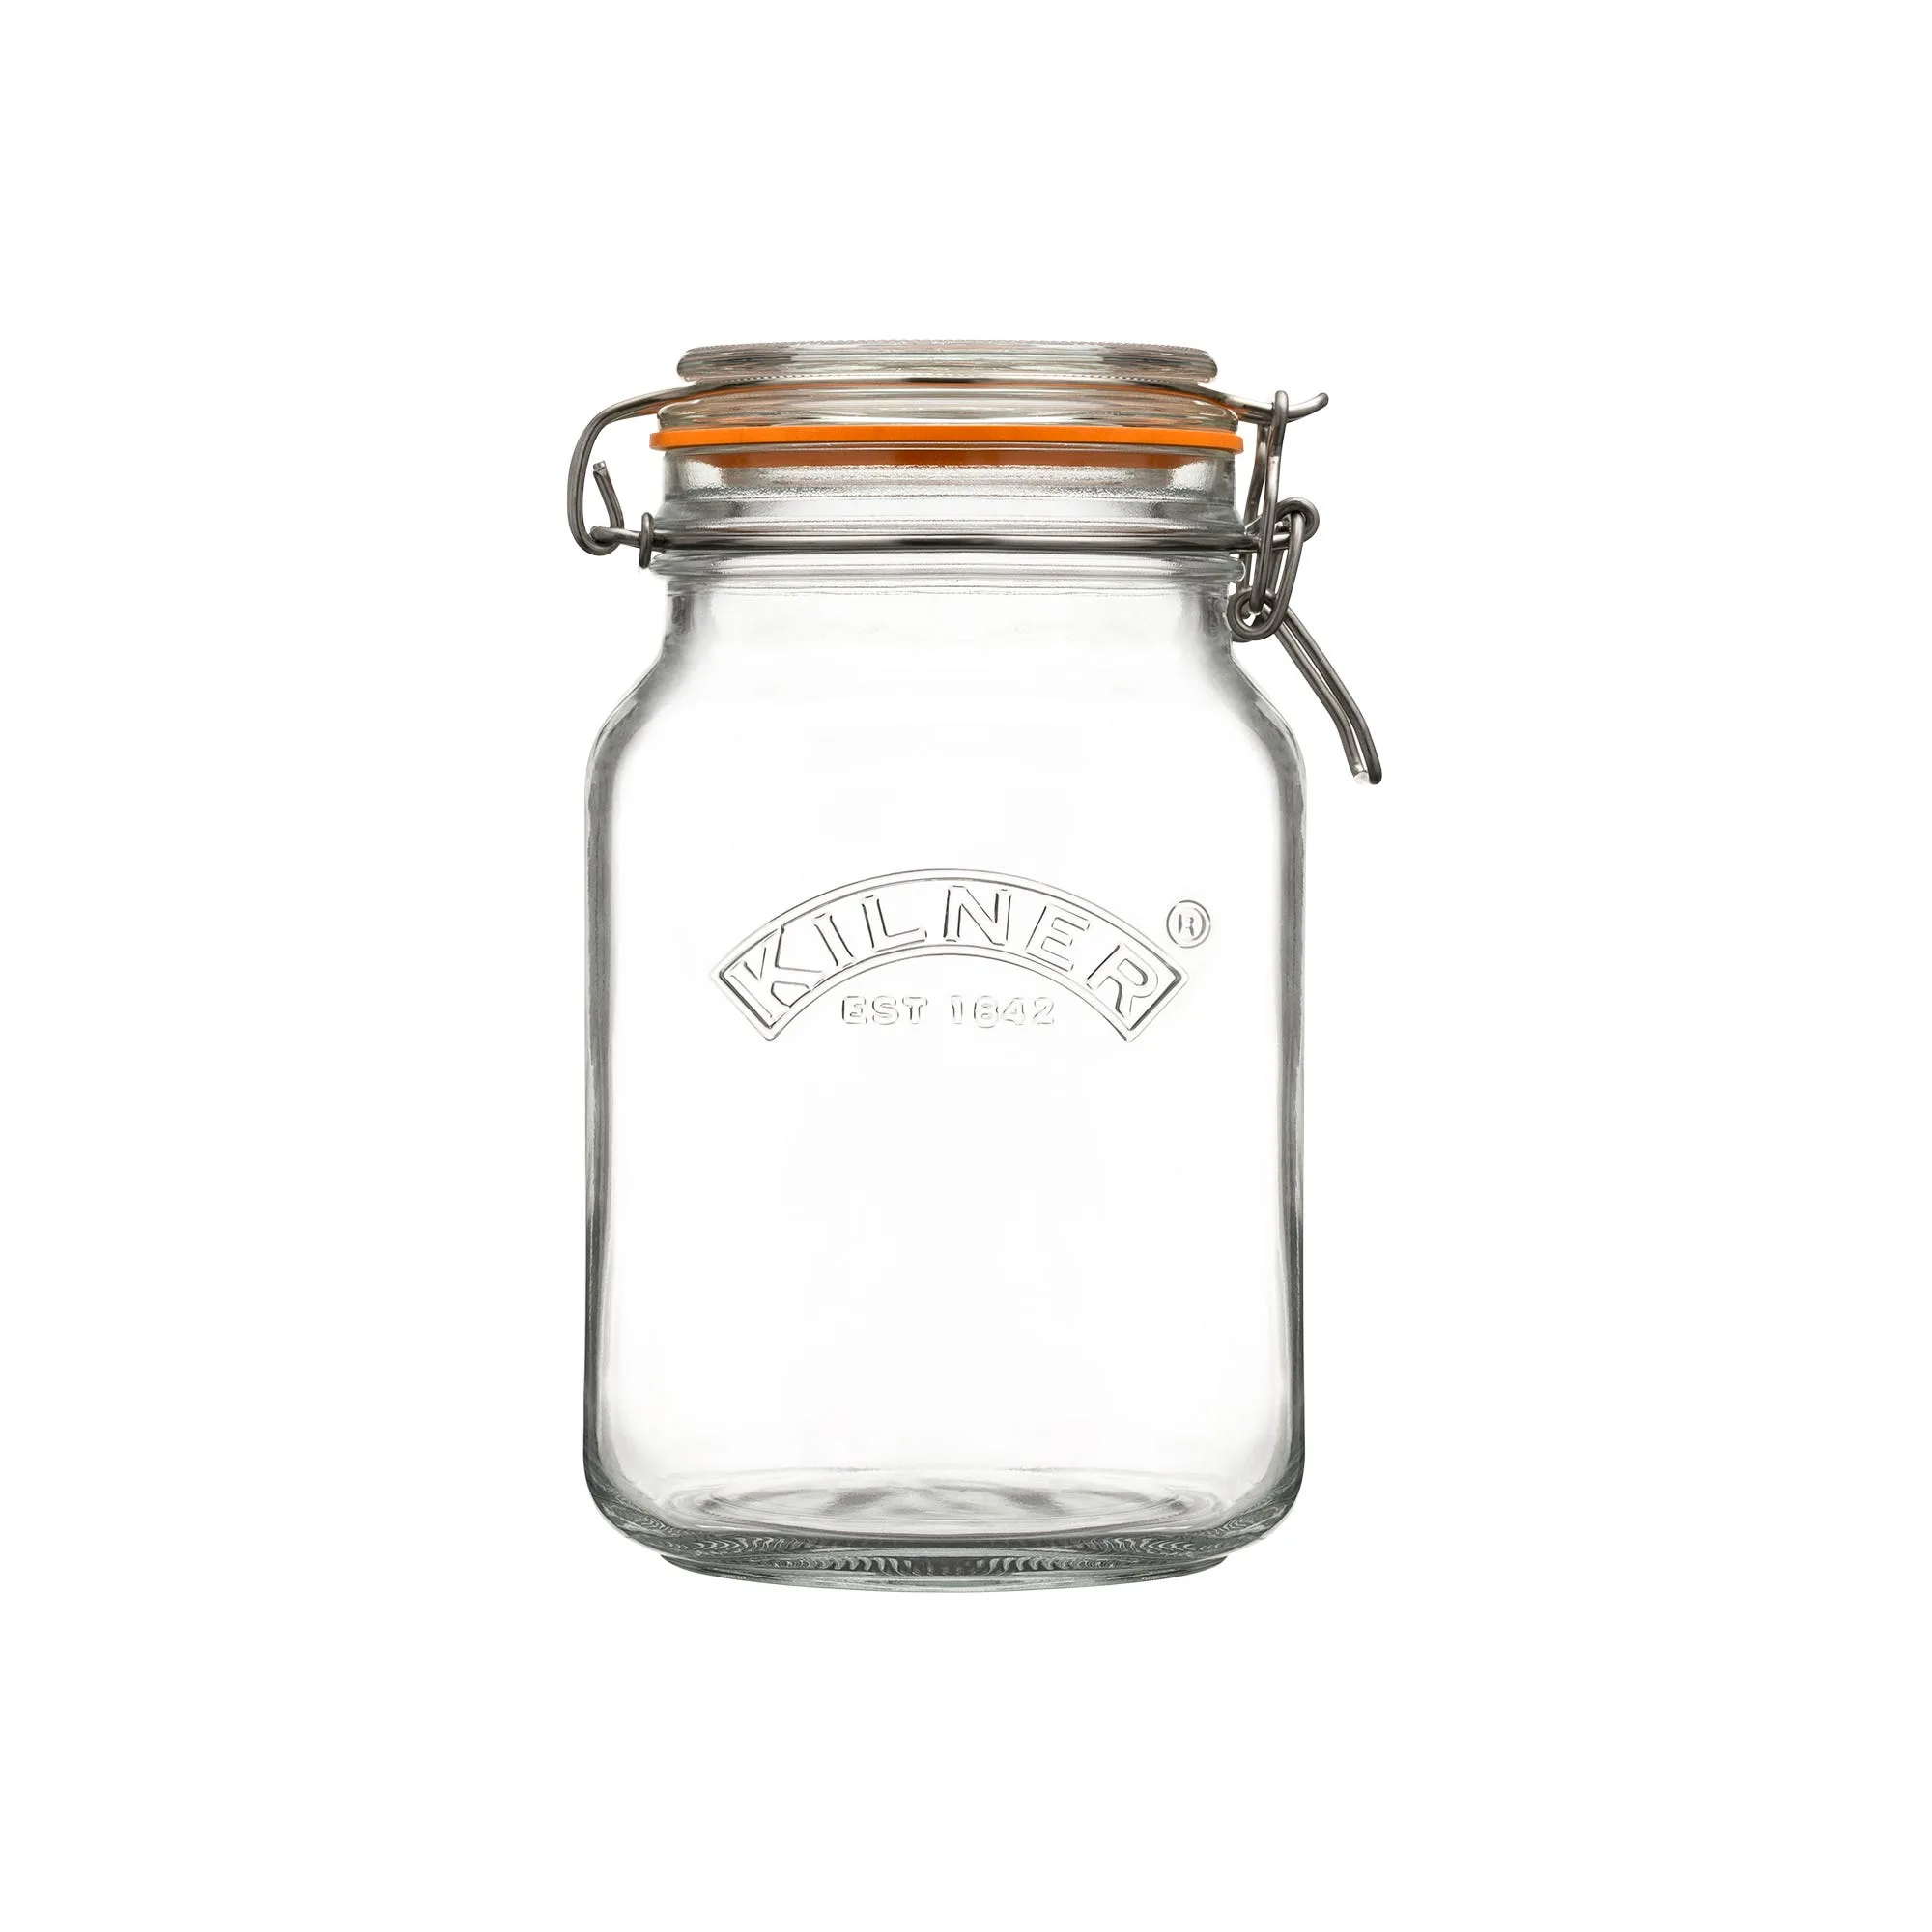
Square Glass Clip Top Jar - 0.5 Litre
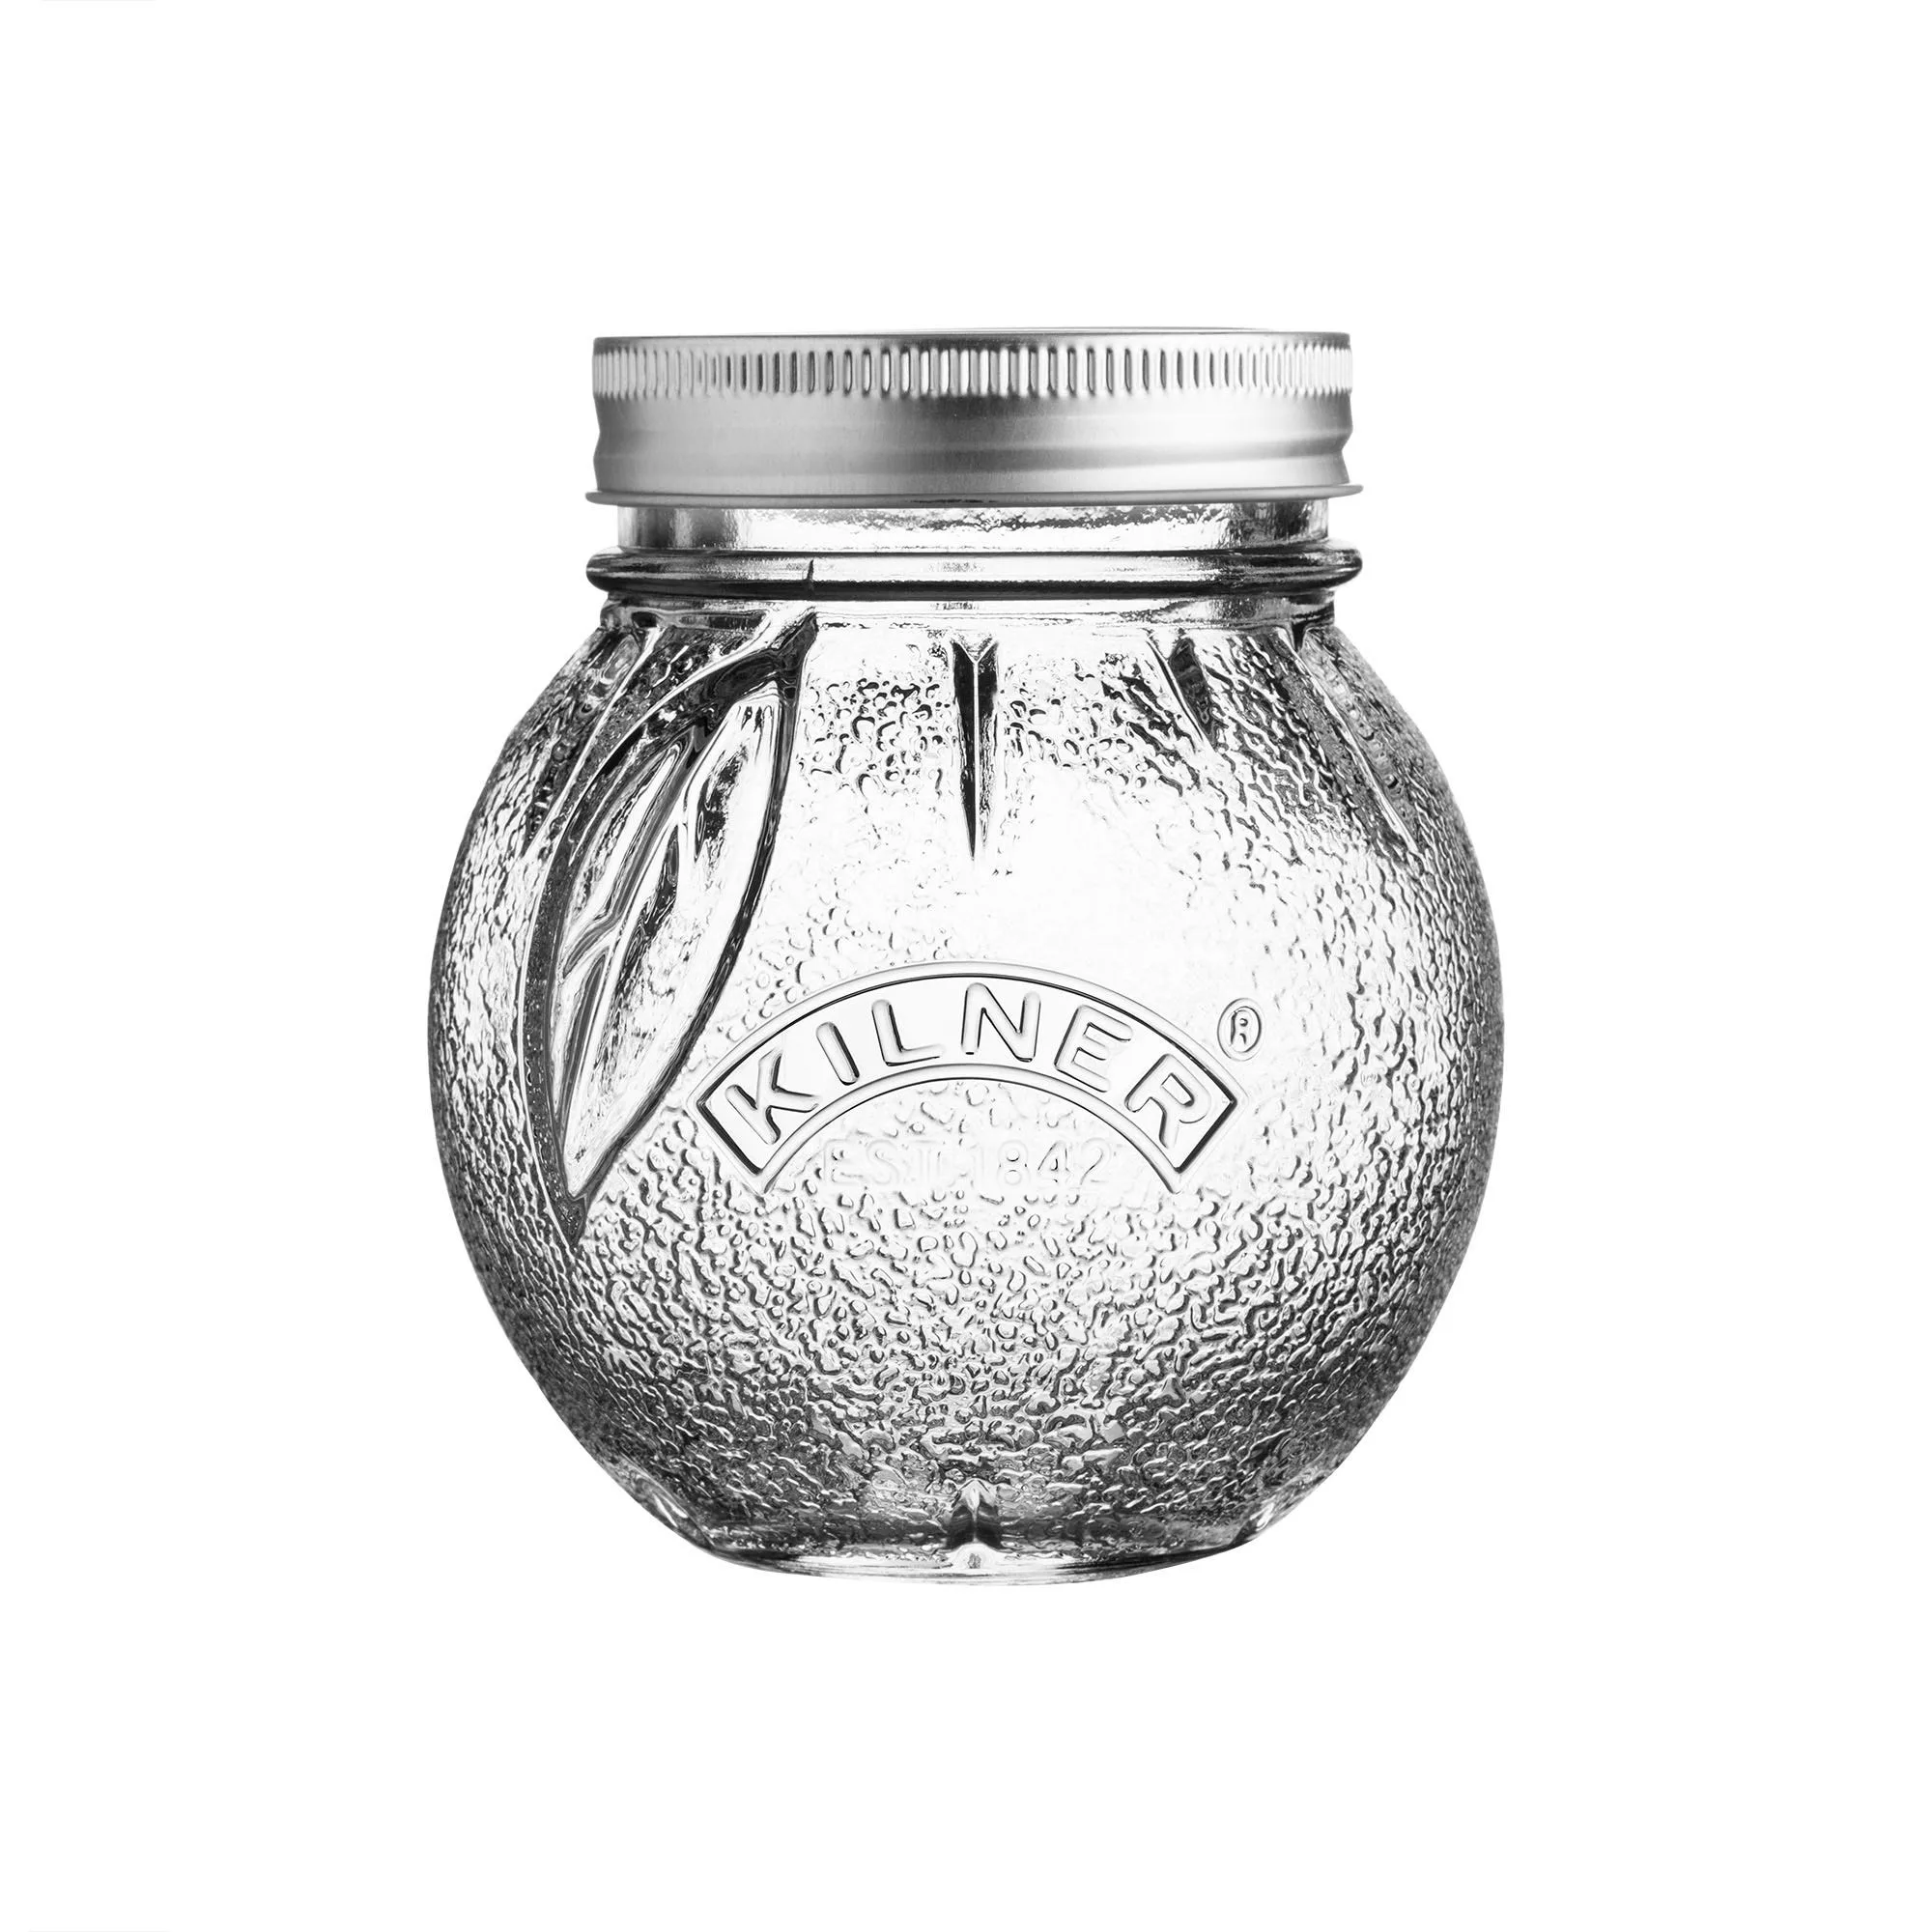
Another advantage is the variety of shapes and sizes available. From the elegant Kilner® Strawberry Fruit Preserve Jar to the practical Kilner® Food on the Go Jar 1 Litre, you can match the jar to your candle's purpose. Plus, the glass is reusable, so you can melt down old candles and make new ones without buying new containers.
- Heat-resistant glass ensures safety during burning.
- Airtight seals protect candles from dust and moisture.
- Reusable and eco-friendly – reduce waste with every candle.
Essential Supplies for Kilner® Jar Candles
Before you start, gather your materials. You'll need wax (soy, beeswax, or paraffin), candle wicks with metal tabs, a double boiler or melting pitcher, a thermometer, and fragrance oils if desired. For a secure fit, choose wicks that are appropriately sized for the diameter of your jar. The Kilner® 228ml Round Twist Top Jar works well with standard wicks, while larger jars like the Square Glass Clip Top Jar - 0.5 Litre may require thicker wicks.
Don't forget to clean and dry your jars thoroughly before use. Any residue can affect the candle's appearance and burn quality. You might also want to use a wick centering device to keep the wick straight while the wax sets.
Step-by-Step Candle Making Process
Start by melting your wax in a double boiler until it reaches the recommended temperature (usually around 185°F for soy wax). While the wax melts, prepare your Kilner® jar by placing a wick in the center and securing it with a wick holder or a simple pencil laid across the top.
Once the wax is fully melted, allow it to cool slightly to about 135°F before adding fragrance oils. Stir gently to combine. Pour the wax carefully into the jar, leaving about half an inch of space at the top. Let the candle cool and set for 24 hours before trimming the wick to about 1/4 inch.
For a more decorative touch, you can add dried flowers, herbs, or even coffee beans to the jar before pouring the wax. Just ensure they are placed away from the wick to avoid fire hazards.
- Always use a thermometer to monitor wax temperature – overheating can cause cracking.
- Keep the wick centered to ensure an even burn.
- Allow the candle to cure completely before lighting for the best scent throw.
Creative Kilner® Jar Candle Ideas
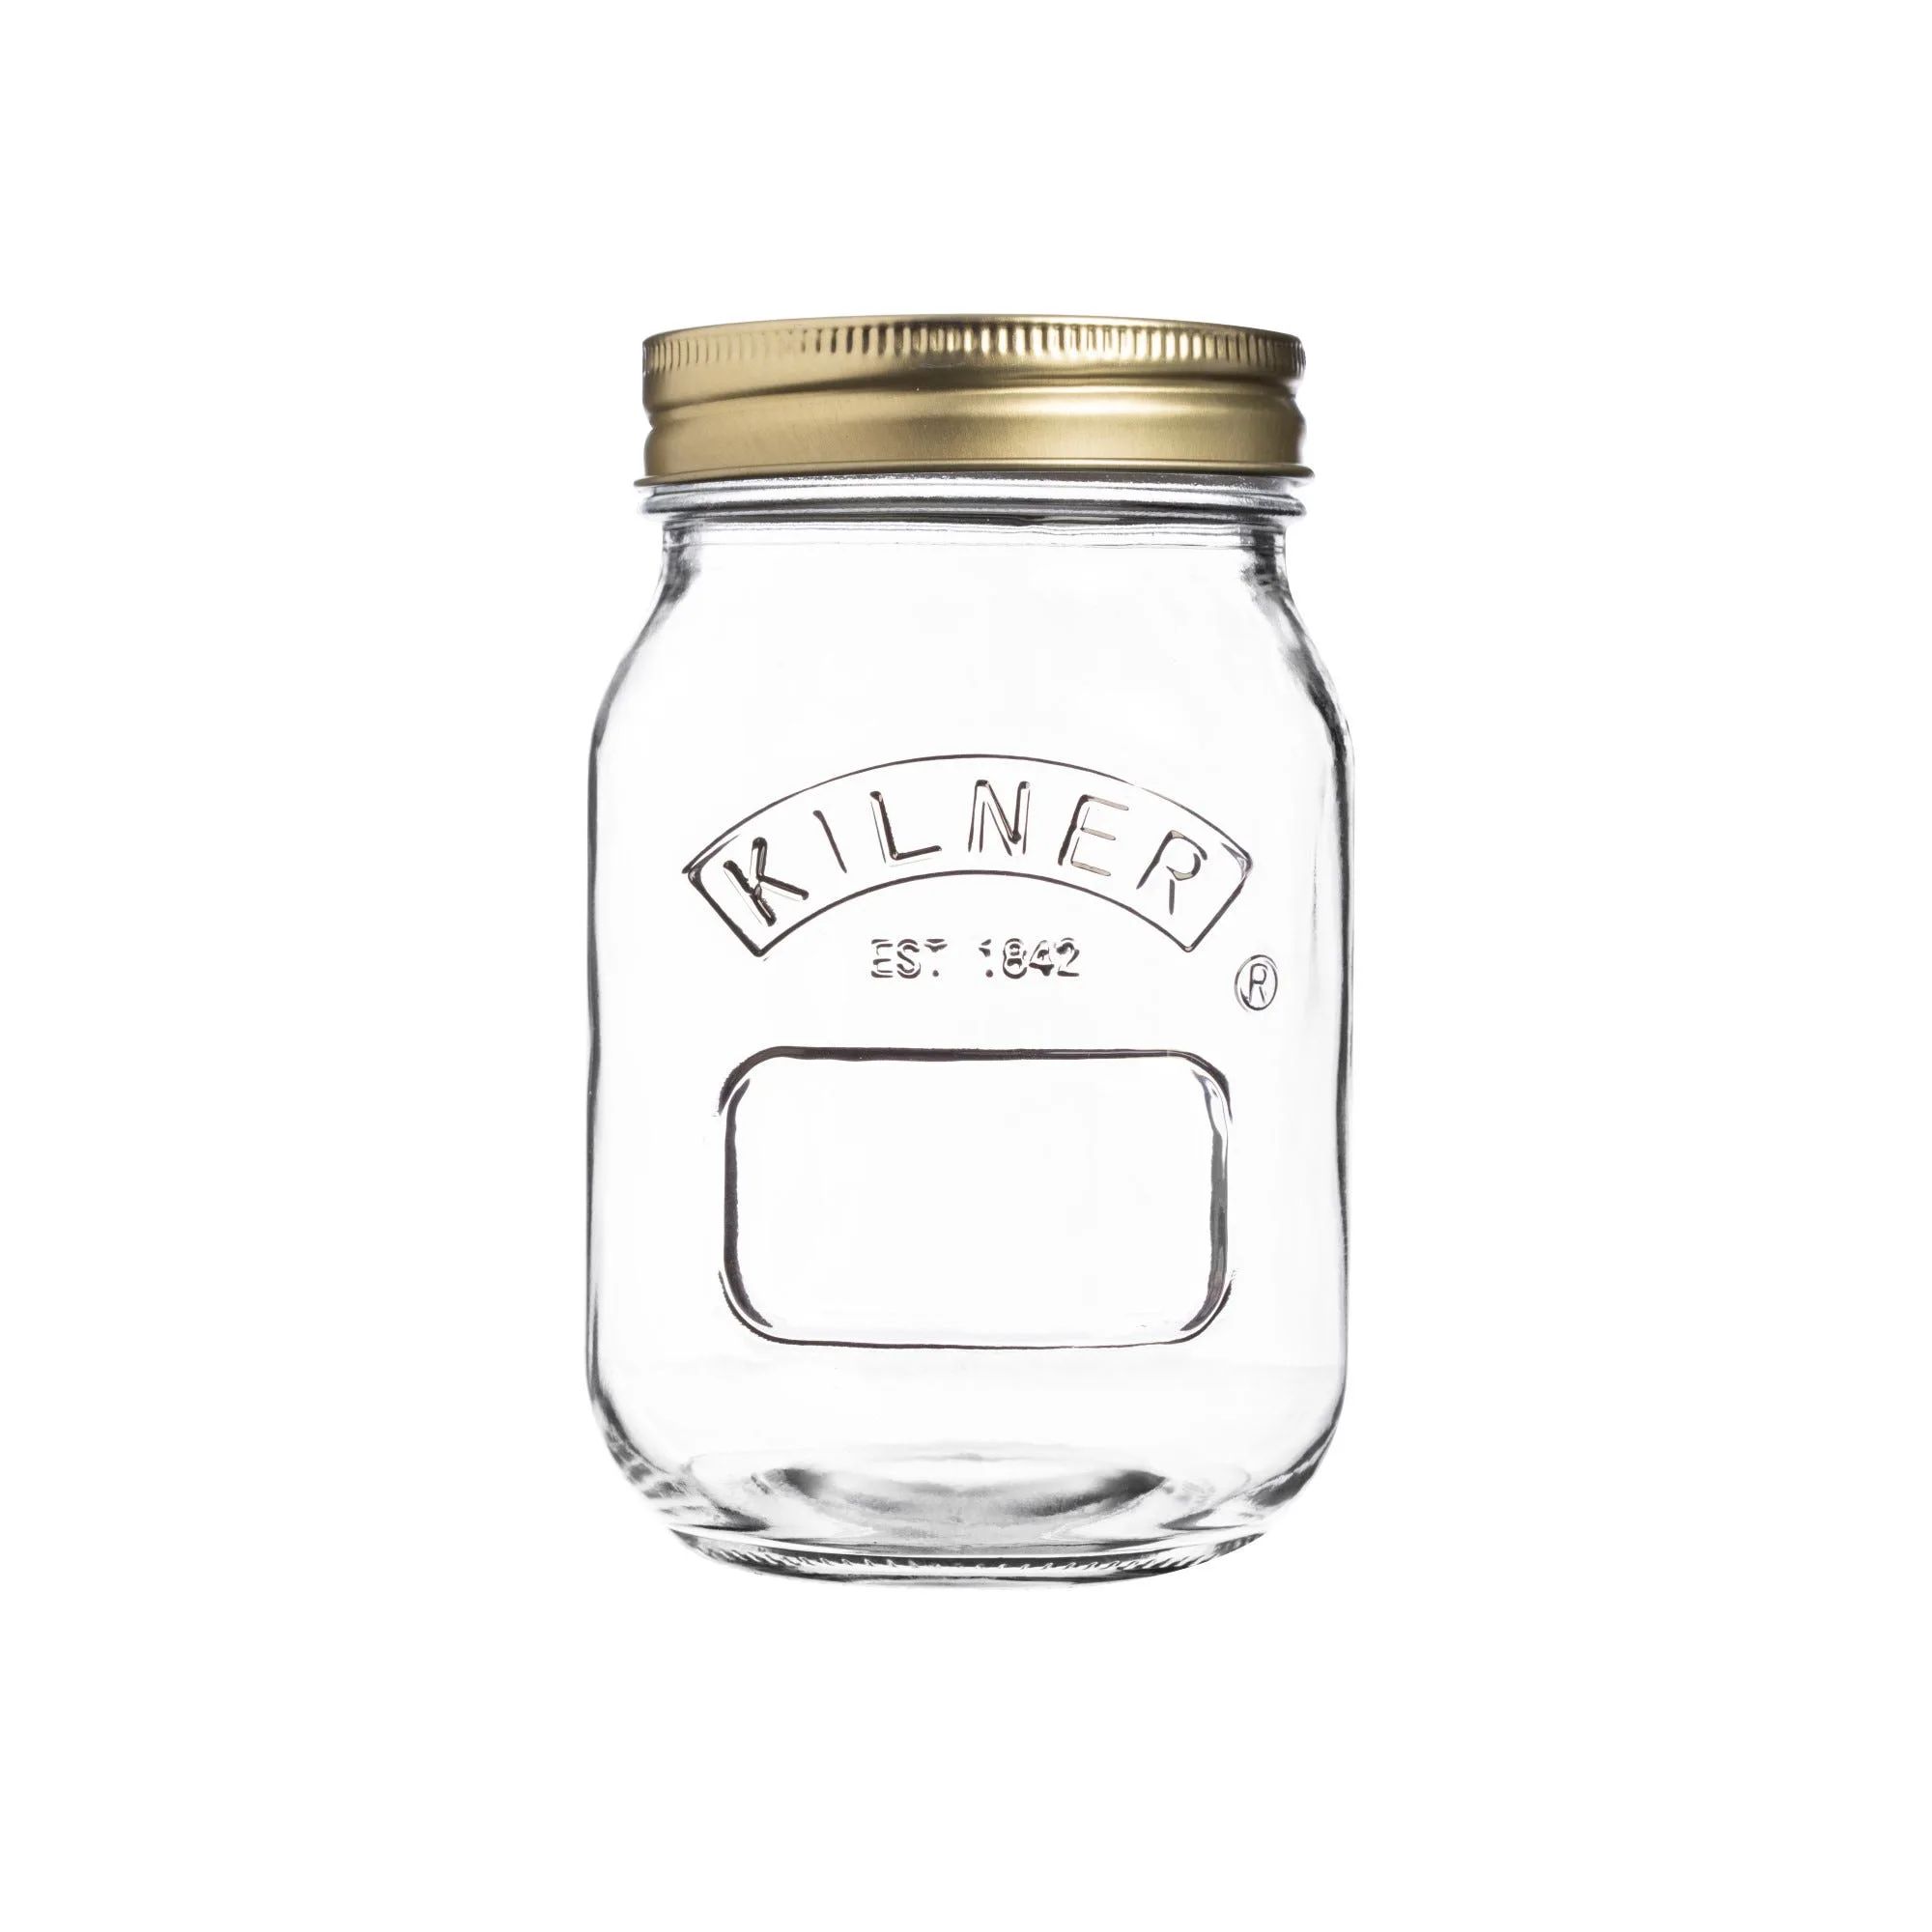
Kilner® jars offer endless possibilities for creative candle projects. For a rustic look, use the Kilner® Strawberry Fruit Preserve Jar and add a layer of dried lavender at the bottom. For a gift, fill a Kilner® Set of 3 0.5 Litre Preserve Jars with different scented candles and tie them with a ribbon.
You can also make layered candles by pouring different colored waxes in stages, allowing each layer to set before adding the next. The Kilner® New 1 Litre Clip Top Bottle is ideal for tall, statement candles that make beautiful centerpieces.
Safety Tips for Burning Kilner® Jar Candles
While Kilner® jars are heat-resistant, it's crucial to follow safety guidelines. Always place the candle on a stable, heat-resistant surface away from drafts. Never leave a burning candle unattended, and keep it out of reach of children and pets.
Trim the wick to 1/4 inch before each burn to prevent excessive smoke and soot. Stop burning the candle when there is about half an inch of wax left to avoid overheating the glass. If you notice any cracks or damage to the jar, discontinue use immediately.
Cleaning and Reusing Kilner® Jars After the Candle Is Gone
Once your candle has burned down, you can easily clean the jar and repurpose it. Simply place the jar in a warm oven (around 200°F) for a few minutes to melt the remaining wax, then pour it out. Wash the jar with warm soapy water to remove any residue.
Your clean Kilner® jar can then be used for storage, as a vase, or for your next candle project. This sustainability makes Kilner® jars a smart investment for crafters.
Making candles in Kilner® jars is a fun and fulfilling project that results in beautiful, functional decor. With the right supplies and a little patience, you can create personalized candles for your home or as gifts. Explore the range of Kilner® jars to find the perfect sizes for your next candle-making adventure.