Quick Answer
To joint a chicken safely with kitchen shears, work with a chilled bird, cut through the skin and joints rather than bone, and always angle the blades away from your body.
Why Shears Beat a Knife for Poultry
A chef's knife can handle chicken, but kitchen shears give you more control when you need to cut around joints and through cartilage. The short blades and two-hand grip let you feel where the joint is, which reduces the risk of slipping. This is especially helpful if you are new to breaking down a whole bird.
One honest tradeoff: shears are not ideal for chopping through thick bones like the thigh bone. For those spots, use a heavy knife or a cleaver. Stick to cutting through skin, cartilage, and the soft spots between joints with your shears.
Choosing the Right Shears for the Job
Not all kitchen shears are the same. A smaller pair gives you more precision for detailed work like trimming fat or cutting around the backbone. A larger set can handle bigger tasks like spatchcocking a whole chicken, where you need to cut through the ribcage. Pick the size that matches the task you do most often.
If you plan to spatchcock regularly, look for shears with sturdy blades and a comfortable grip. If your main job is snipping herbs and trimming small pieces, a compact pair will feel less clumsy in your hand.
Step-by-Step Guide to Jointing Chicken with Shears
- Chill the chicken: Place the chicken in the refrigerator for 20–30 minutes before cutting. A firmer bird is easier to handle and the joints are more defined. Common mistake: cutting a warm chicken, which makes the skin slippery and the joints harder to locate. A chilled bird is safer and easier to work with.
- Cut the skin between leg and body: Lay the chicken on a stable cutting board. Pull one leg away from the body and snip through the skin that connects them. Common mistake: cutting straight through the meat, which can shatter the bone and leave sharp fragments. Cut skin first, then find the joint.
- Bend the leg to expose the joint: Gently bend the leg back until the ball-and-socket joint pops out of the hip socket. Insert the shears into that gap and cut through the cartilage. Common mistake: forcing the blades through bone, which dulls the shears and can cause slipping. Use the natural gap, not force.
- Separate the drumstick from the thigh: Lay the leg on the board. Find the knee joint by bending it slightly. Cut through the skin and cartilage at that point. Common mistake: cutting at an angle, which leaves uneven pieces and makes cooking times inconsistent. A straight cut gives even portions.
- Repeat on the other side: Turn the chicken and repeat the same process for the other leg. Common mistake: rushing and cutting the skin unevenly, which can make the breast dry out during cooking. Consistency matters for even cooking.
- Remove the backbone (for spatchcocking): To spatchcock, place the chicken breast-side down. Use the shears to cut along both sides of the backbone from tail to neck. Remove the backbone and flip the bird over, pressing down to flatten it. Common mistake: cutting too close to the center, which removes too much meat. Keep the cuts close to the spine to preserve meat.
Shears We Recommend
-
Kitchen Shears - Small: The Misen Kitchen Shears - Small are a compact multitasker for herbs, chicken, pizza, and parchment. The small size gives you precise control for jointing and trimming, so you can work close to the bone without feeling bulky.
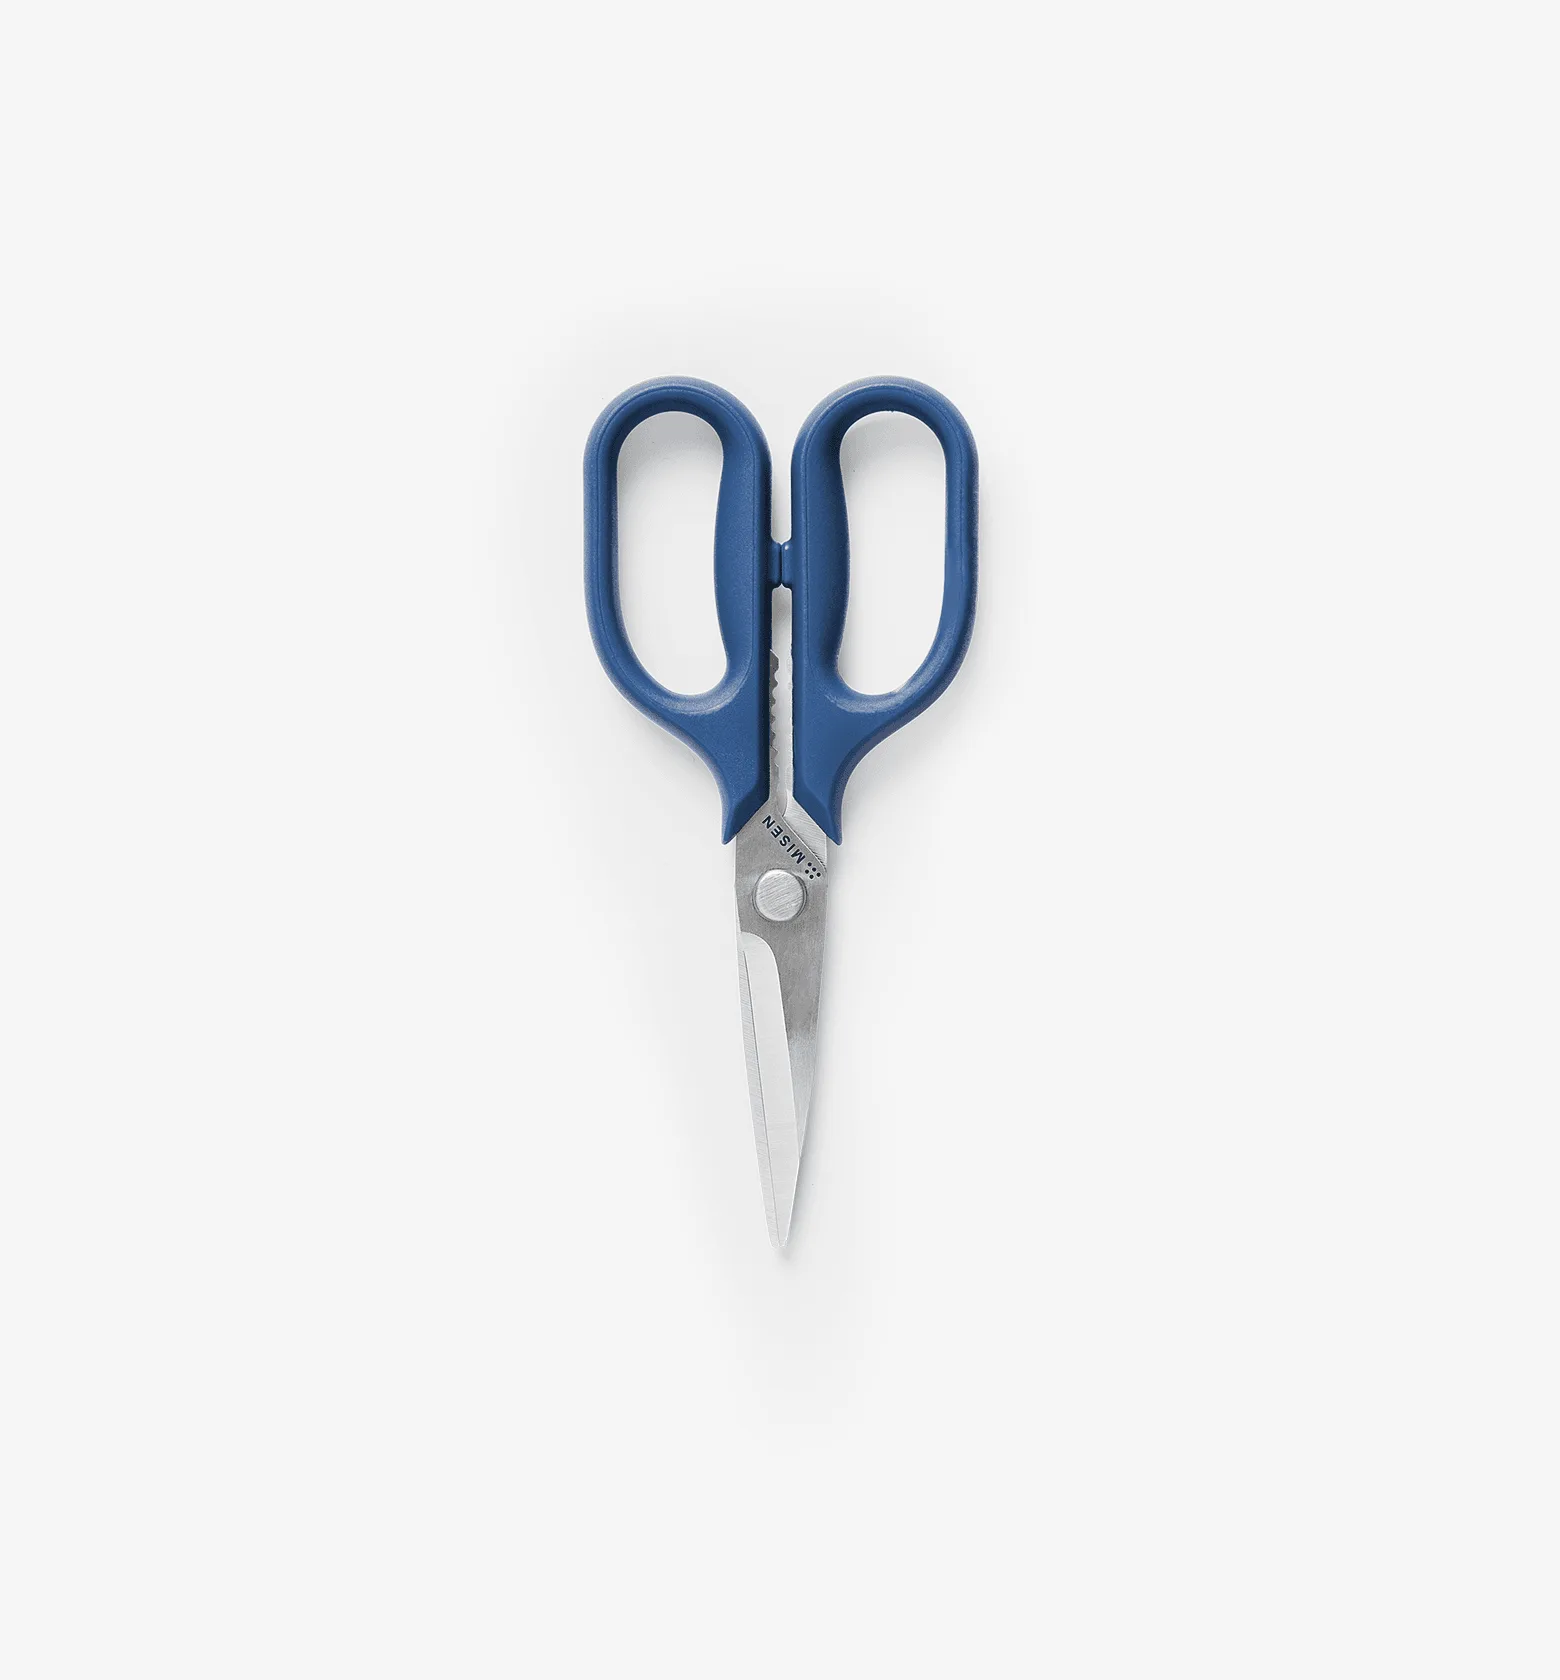
Kitchen Shears - Small
-
Kitchen Shears Set - Blue: The Misen Kitchen Shears Set in Blue includes the shears you need for routine prep, from herbs to chicken. Having a set means you can keep one pair for poultry and another for herbs, avoiding cross-contamination during meal prep.
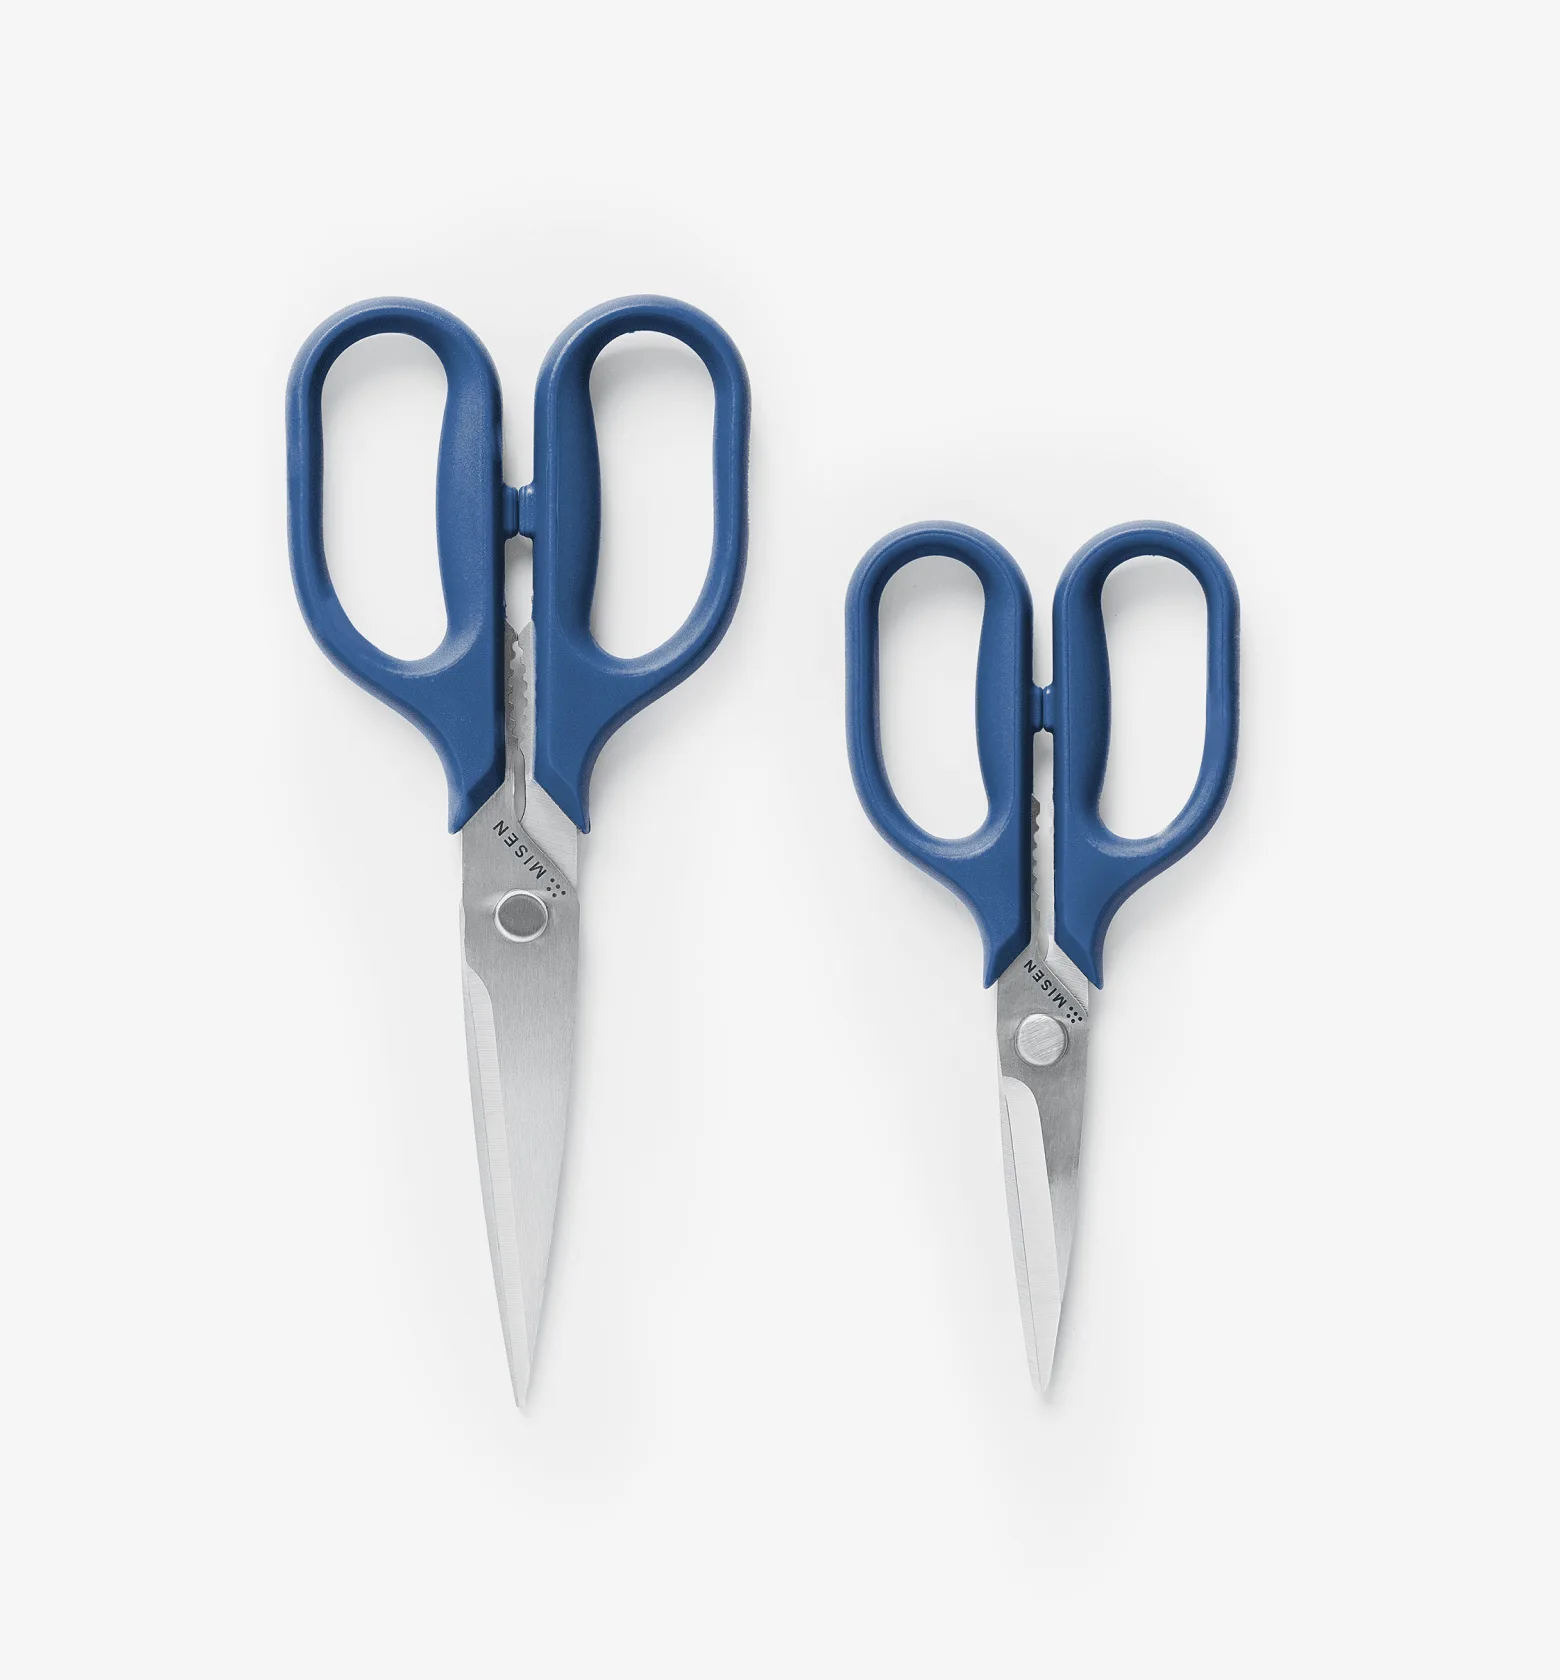
Kitchen Shears Set - Blue