Quick Answer
To teach kids anatomy with a magnetic human body play set, start by letting your child freely explore the pieces, then introduce the major body parts one at a time. Use the magnetic board to build the body together, and extend the learning with simple questions and related activities like drawing or books.
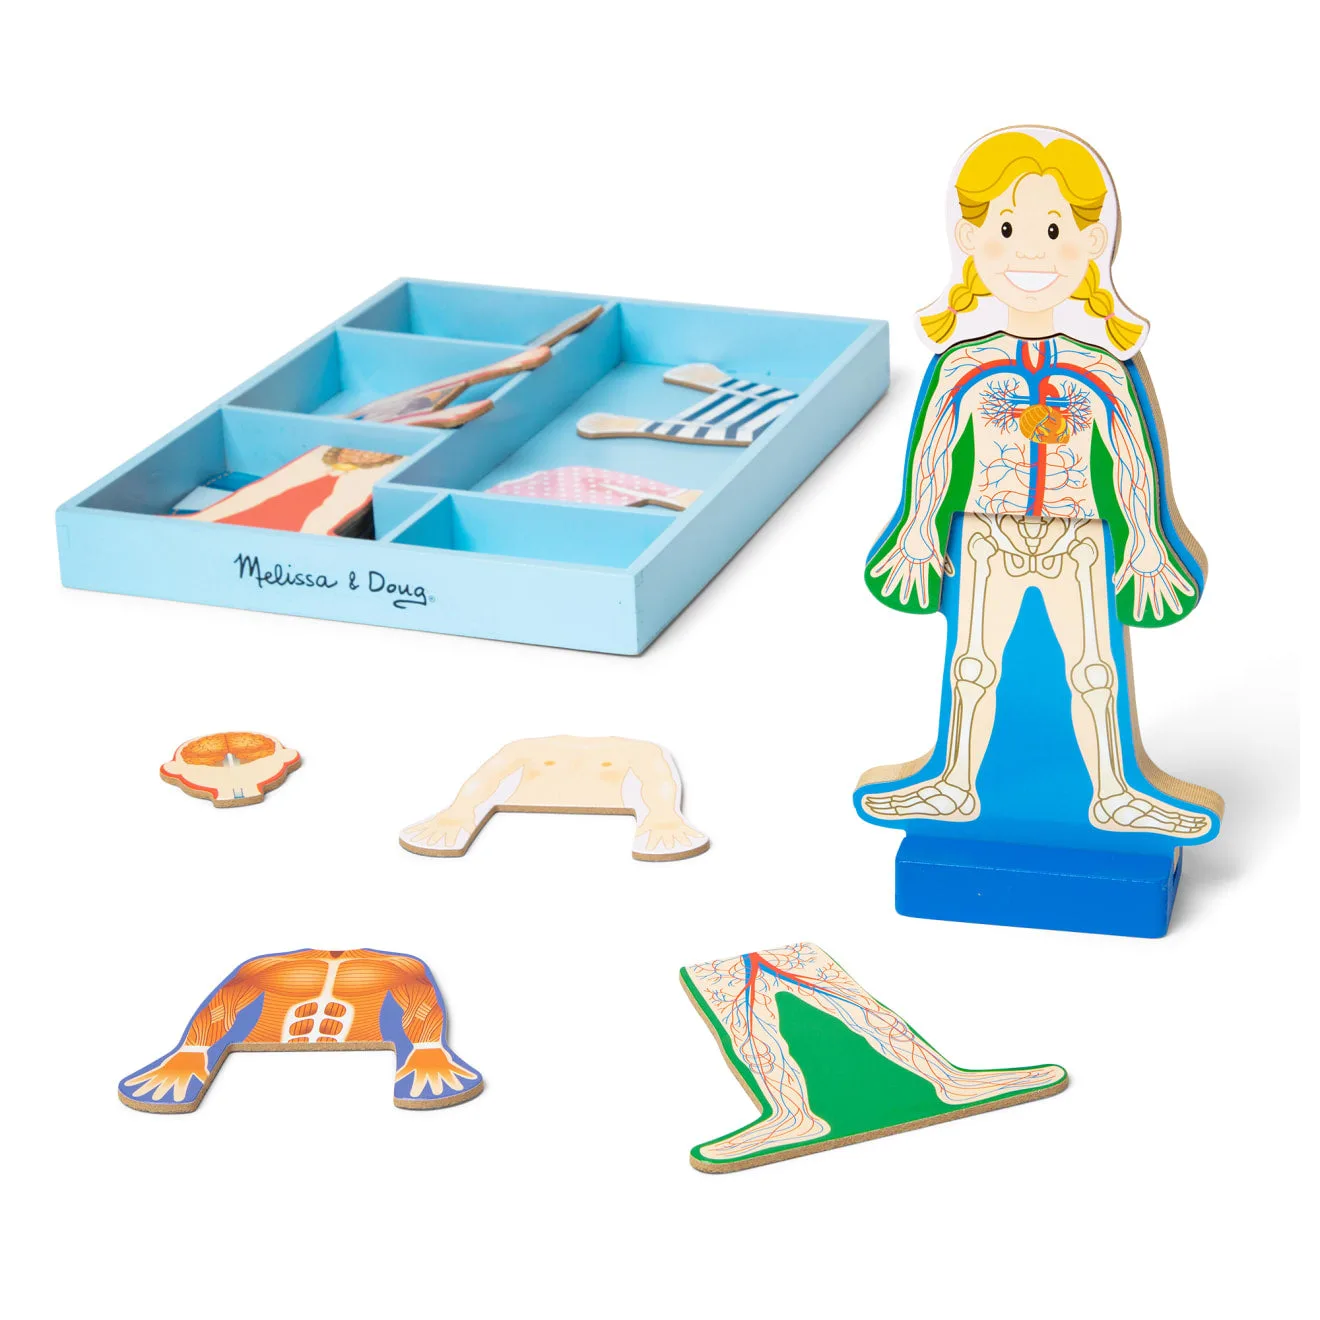
magnetic human body play set
Magnetic human body play sets are a fantastic way to introduce young children to the wonders of the human body. Unlike flashcards or videos, these hands-on toys let kids physically place organs, bones, and muscles, making abstract concepts concrete and memorable. Whether you're a parent or a teacher, you can turn this toy into a powerful learning tool.
In this guide, we'll walk you through a step-by-step approach to using a magnetic human body play set to teach kids anatomy. You'll learn how to structure the activity, what to say, and how to avoid common pitfalls. We'll also highlight related products that can complement your teaching.
Why Use a Magnetic Human Body Play Set?
Magnetic play sets are uniquely suited for teaching anatomy because they combine visual, tactile, and kinesthetic learning. Children can see the shape of an organ, feel its magnetic backing, and place it in the correct spot. This multisensory approach helps solidify understanding and makes learning feel like play.
Unlike a static poster, a magnetic set allows for endless rearrangement and correction. Kids can take the body apart and put it back together, which reinforces spatial relationships and the location of each part. This active engagement is far more effective than passive listening.
- Encourage free exploration first to build curiosity.
- Use the magnetic board as a canvas for storytelling.
Step-by-Step Teaching Approach
Start with the whole body. Before diving into organs, let your child assemble the basic body outline—head, torso, arms, legs. This gives them a familiar reference point. Then, introduce one organ at a time, such as the heart or brain, and explain its function in simple terms.
Use the 'build it together' method. Place the magnetic board on a table and ask your child to hand you a specific piece. As you place it, name it and say what it does. Then, let your child place the next piece. This back-and-forth keeps them engaged and builds vocabulary.
After the body is complete, ask questions like 'Where does the food go after we eat?' or 'Which part helps us breathe?' This encourages recall and application. You can also turn it into a game by removing a piece and asking what's missing.
- Keep sessions short (10-15 minutes) for young children.
- Follow your child's lead—if they're fascinated by the brain, spend more time there.
Common Mistakes to Avoid
One common mistake is overwhelming children with too many parts at once. Instead, introduce a few pieces per session and gradually add more. Another mistake is using overly complex language. Stick to simple terms like 'heart pumps blood' rather than 'cardiac muscle contracts.'
Avoid making the activity a test. The goal is exploration and curiosity, not memorization. If your child places the heart in the wrong spot, gently correct them and explain why it goes there. Also, don't force the activity if your child loses interest—take a break and come back later.
- Praise effort, not just correct answers.
- Use the set as a springboard for other activities like drawing or books.
5 Steps to Teach Anatomy with a Magnetic Human Body Play Set
- Step 1: Free Exploration: Let your child handle all the pieces without any instructions. Allow them to place magnets on the board randomly and get comfortable with the pieces. Checkpoint: Does your child show curiosity? If not, try naming a piece and asking them to find it.
- Step 2: Build the Body Outline: Help your child assemble the basic body shape first—head, torso, arms, legs. Use the board as a guide and talk about each part as you place it. Checkpoint: Ensure your child can identify the major body parts before moving to organs.
- Step 3: Introduce One Organ at a Time: Choose a single organ, like the heart or brain. Place it together and explain its function in simple words. Repeat the name several times. Checkpoint: Ask your child to point to the organ on their own body.
- Step 4: Play 'What's Missing?': After building the whole body, remove one piece and ask your child to figure out what's missing. This reinforces memory and attention to detail. Checkpoint: If your child struggles, give hints like 'It pumps blood' instead of revealing the answer.
- Step 5: Connect to Real Life: Relate the organs to everyday experiences. For example, after running, ask 'What do you think your heart is doing right now?' Checkpoint: Encourage your child to ask questions and explore further with books or videos.
Related Products That Complement Anatomy Learning
- Combo Fruit & Veggies Set: The Melissa & Doug Combo Fruit & Veggies Set features pretend produce that looks like it's fresh off the farm! The Playtime Produce combo includes a set of veggies and a set of fruits, each packed in a sturdy wooden crate. The pretend food is realistically sized, colored, and designed to look like the real thing. Use this set to teach kids about healthy eating and where food goes in the body, reinforcing anatomy lessons in a fun, relatable way.
- Chomp & Clack Alligator Push Toy: Three alligators will charm toddlers as they take turns chomping with every step! This multisensory wooden push toy encourages walking and discovery. Graphic details feature cattails on the handle supports, fish on the wheels and spinning butterfly and ladybug beads. This toy encourages gross motor skills and coordination, which are part of physical development—a natural tie-in when discussing how the body moves.
Using a magnetic human body play set is a rewarding way to introduce anatomy to young children. By following these steps, you'll turn playtime into a rich learning experience. Remember to keep it fun, follow your child's pace, and celebrate every step of discovery.