Quick answer
Wash and fully dry the area, then press the Mighty Patch Body patch flat over the breakout and leave it on overnight or for several hours. The XXL size is built for chest, back, and shoulder breakouts, so you do not need to layer smaller patches. The main thing that decides whether it stays put is dry, product-free skin before you stick it on.
What makes body breakouts different from face breakouts
Back and chest skin is thicker, oilier, and constantly moving under clothing, which is why a standard facial patch often peels up within an hour. Body acne also tends to show up in clusters rather than one isolated whitehead, so coverage matters as much as adhesion. That is the gap the Mighty Patch Body patch is designed to close: one large hydrocolloid patch that covers a cluster instead of a single spot.
Because body breakouts sit under straps, waistbands, and sports bras, friction is the real enemy. A patch that lifts at the edge stops absorbing and starts collecting lint. Placement and prep matter more here than on the face.
Prep the area before you patch
Shower first if you can. Cleansing removes sweat, sunscreen, and body lotion, all of which sit between the adhesive and your skin. If you cannot shower, wipe the area with a gentle cleanser and water, then rinse and dry completely.
Skip anything that leaves a residue: body oil, thick moisturizer, and acne treatments applied right before patching. A film of product is the most common reason a hydrocolloid body patch slides off overnight. If you use a leave-on acne treatment, apply it at a different time of day rather than under the patch.
Choose the right patch for the spot
The Mighty Patch Body patch is the XXL option, sized for chest, back, and shoulder breakouts where several blemishes sit close together. For a single pimple on the face or jawline, a smaller patch fits better and wastes less material. For a nose cluster or whiteheads around the nose, a shaped patch follows the curve instead of bunching.
If you are treating both face and body at once, it helps to think in terms of coverage area rather than patch count. One body patch over a cluster usually outperforms three small patches that overlap and lift at the edges.
Apply, wear, and remove without irritation
Press the patch down from the center outward, then hold it for a few seconds so the adhesive warms and grips. Wear it overnight or for several hours; hydrocolloid patches work by drawing fluid from the blemish while they sit, so a short wear time limits results. When you remove it, peel slowly and parallel to the skin rather than pulling straight up, especially if the area is hairy or recently shaved.
If the patch turns white and swollen over the blemish, that is the patch doing its job. If it is still flat and clear after a full night, the spot may not have been a whitehead, or the patch never fully adhered.
Step-by-step body patch routine
- Step 1: Cleanse and rinse the area: Shower or wash the back, chest, or shoulders with a gentle cleanser and lukewarm water, then rinse thoroughly. Mistake to avoid: patting dry with a towel that leaves lint. Lint under the patch breaks the seal before you even start.
- Step 2: Dry completely and skip lotions: Let the skin air-dry for a minute, and do not apply body lotion, oil, or a leave-on acne treatment to the spot right before patching. Checkpoint: the skin should feel dry and slightly tacky, not slick. If it feels slippery, wash again.
- Step 3: Pick the patch size for the breakout: Use the XXL Mighty Patch Body patch for chest, back, and shoulder clusters, and a smaller patch for a single facial pimple. Mistake to avoid: overlapping several small patches. Overlap creates ridges that catch on clothing and lift.
- Step 4: Press from the center outward: Center the patch over the breakout, smooth it outward with your fingers, and hold for a few seconds so the adhesive warms and grips. Checkpoint: no lifted edges. If an edge will not lie flat, the area was not fully dry.
- Step 5: Wear it overnight or for several hours: Leave the patch undisturbed while you sleep or go about your day, and avoid tight straps directly over the patch when possible. A patch that turns white and puffy over the blemish is working as intended.
- Step 6: Remove slowly and reassess: Peel the patch back parallel to the skin rather than pulling straight up, then cleanse the area gently. Mistake to avoid: ripping the patch off. Slow removal is easier on skin, especially on shaved or hairy areas.
Product facts
- Mighty Patch™ Body patch: The Mighty Patch Body patch is an XXL hydrocolloid patch sized to absorb gunk from chestne, bacne, and other body breakouts. One patch can cover a cluster on the chest, back, or shoulders instead of several small patches that overlap and peel.
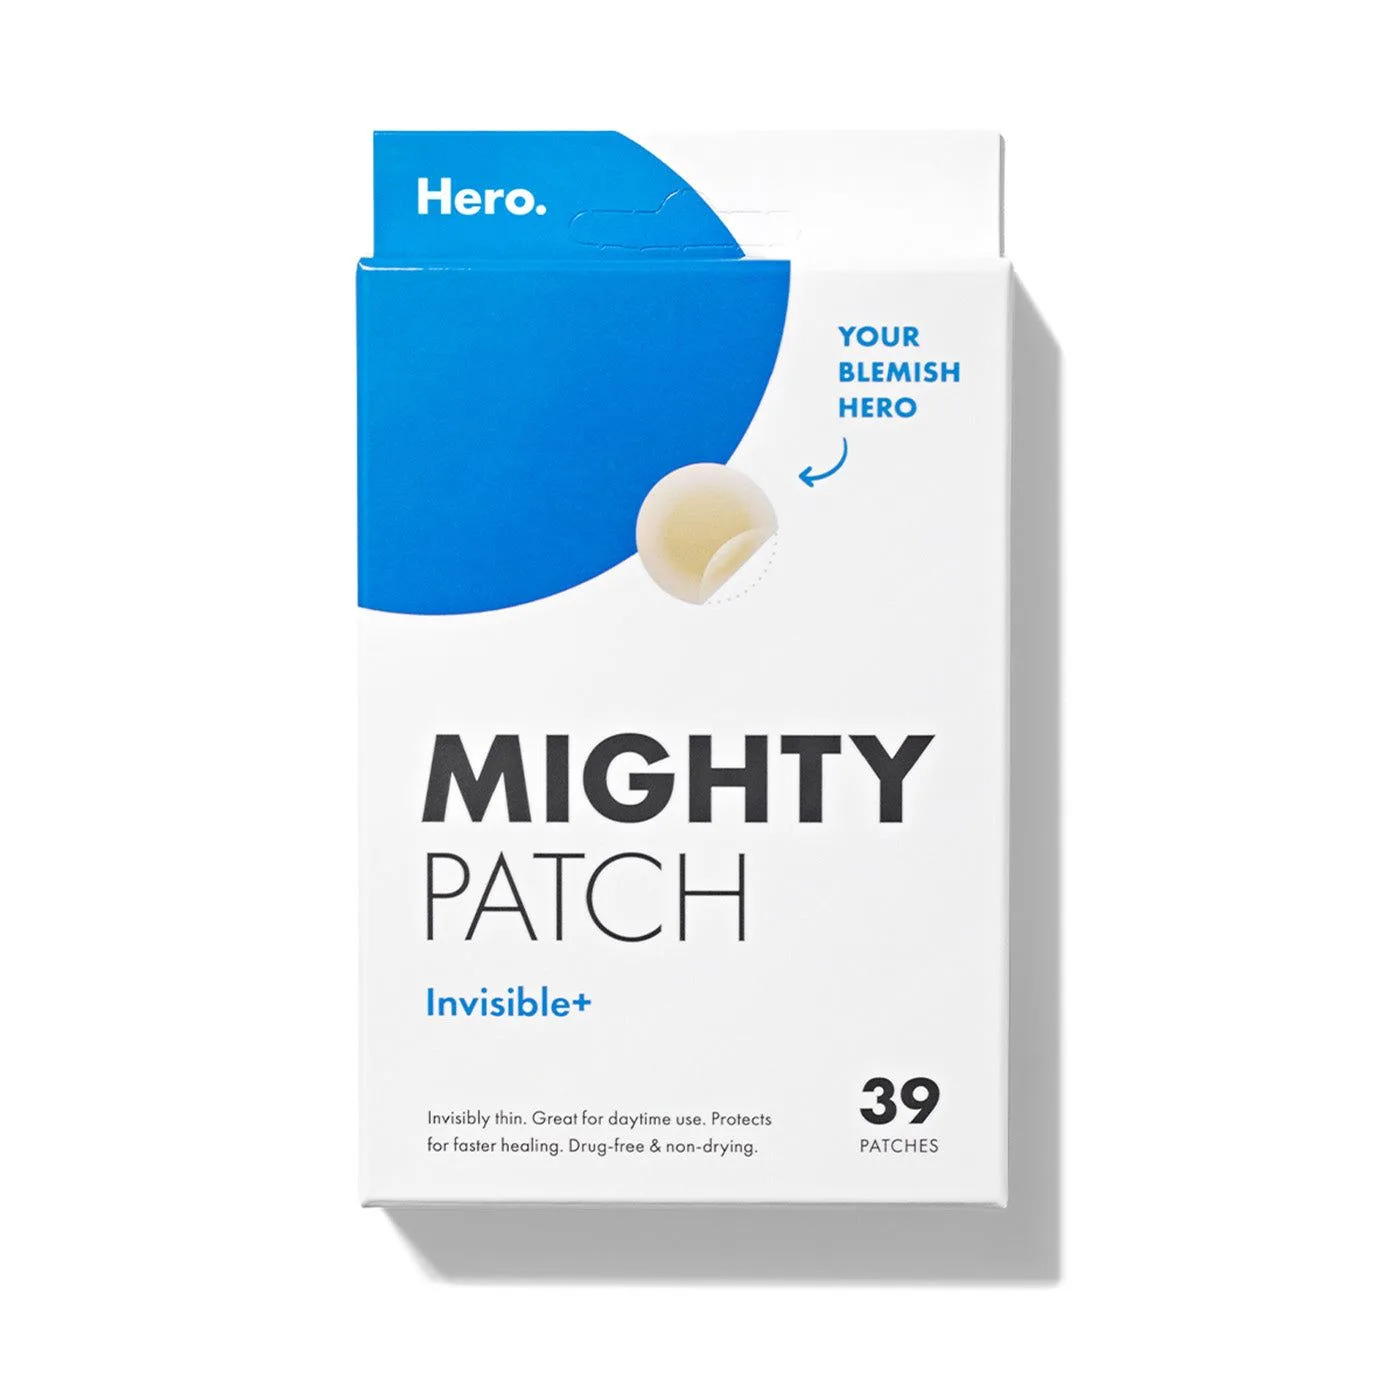
- Mighty Patch™ Invisible+ patch: Mighty Patch Invisible+ is clear, super-thin, and comfortable enough to forget it is there. A better fit for a single facial pimple during the day, when a large body patch would be unnecessary.
- Mighty Patch™ Nose patch: The Mighty Patch Nose patch is designed for targeted pimple care and helps address acne clusters and whiteheads, and it is formulated for all skin types including sensitive skin. Use it for nose-area clusters and whiteheads; the curved shape follows the nose better than a flat body patch.