Quick Answer
To use a nail art brush for detailed designs, start with a clean, dry base coat, then dip the brush into polish or paint, wipe off excess, and apply with light, controlled strokes. Practice on a flat surface first, and keep the brush clean to avoid clumping.
Nail art brushes open up a world of creative possibilities, from delicate florals to geometric patterns. If you're new to detailed nail designs, the key is to start with the right tools and a steady hand. This guide walks you through the basics of using a nail art brush, so you can create salon-worthy looks at home.
Whether you're adding a celestial charm or a subtle stripe, mastering the brush technique takes a little practice. We'll cover everything from choosing your brush to cleaning it properly, plus common mistakes to avoid along the way.
Choosing the Right Nail Art Brush
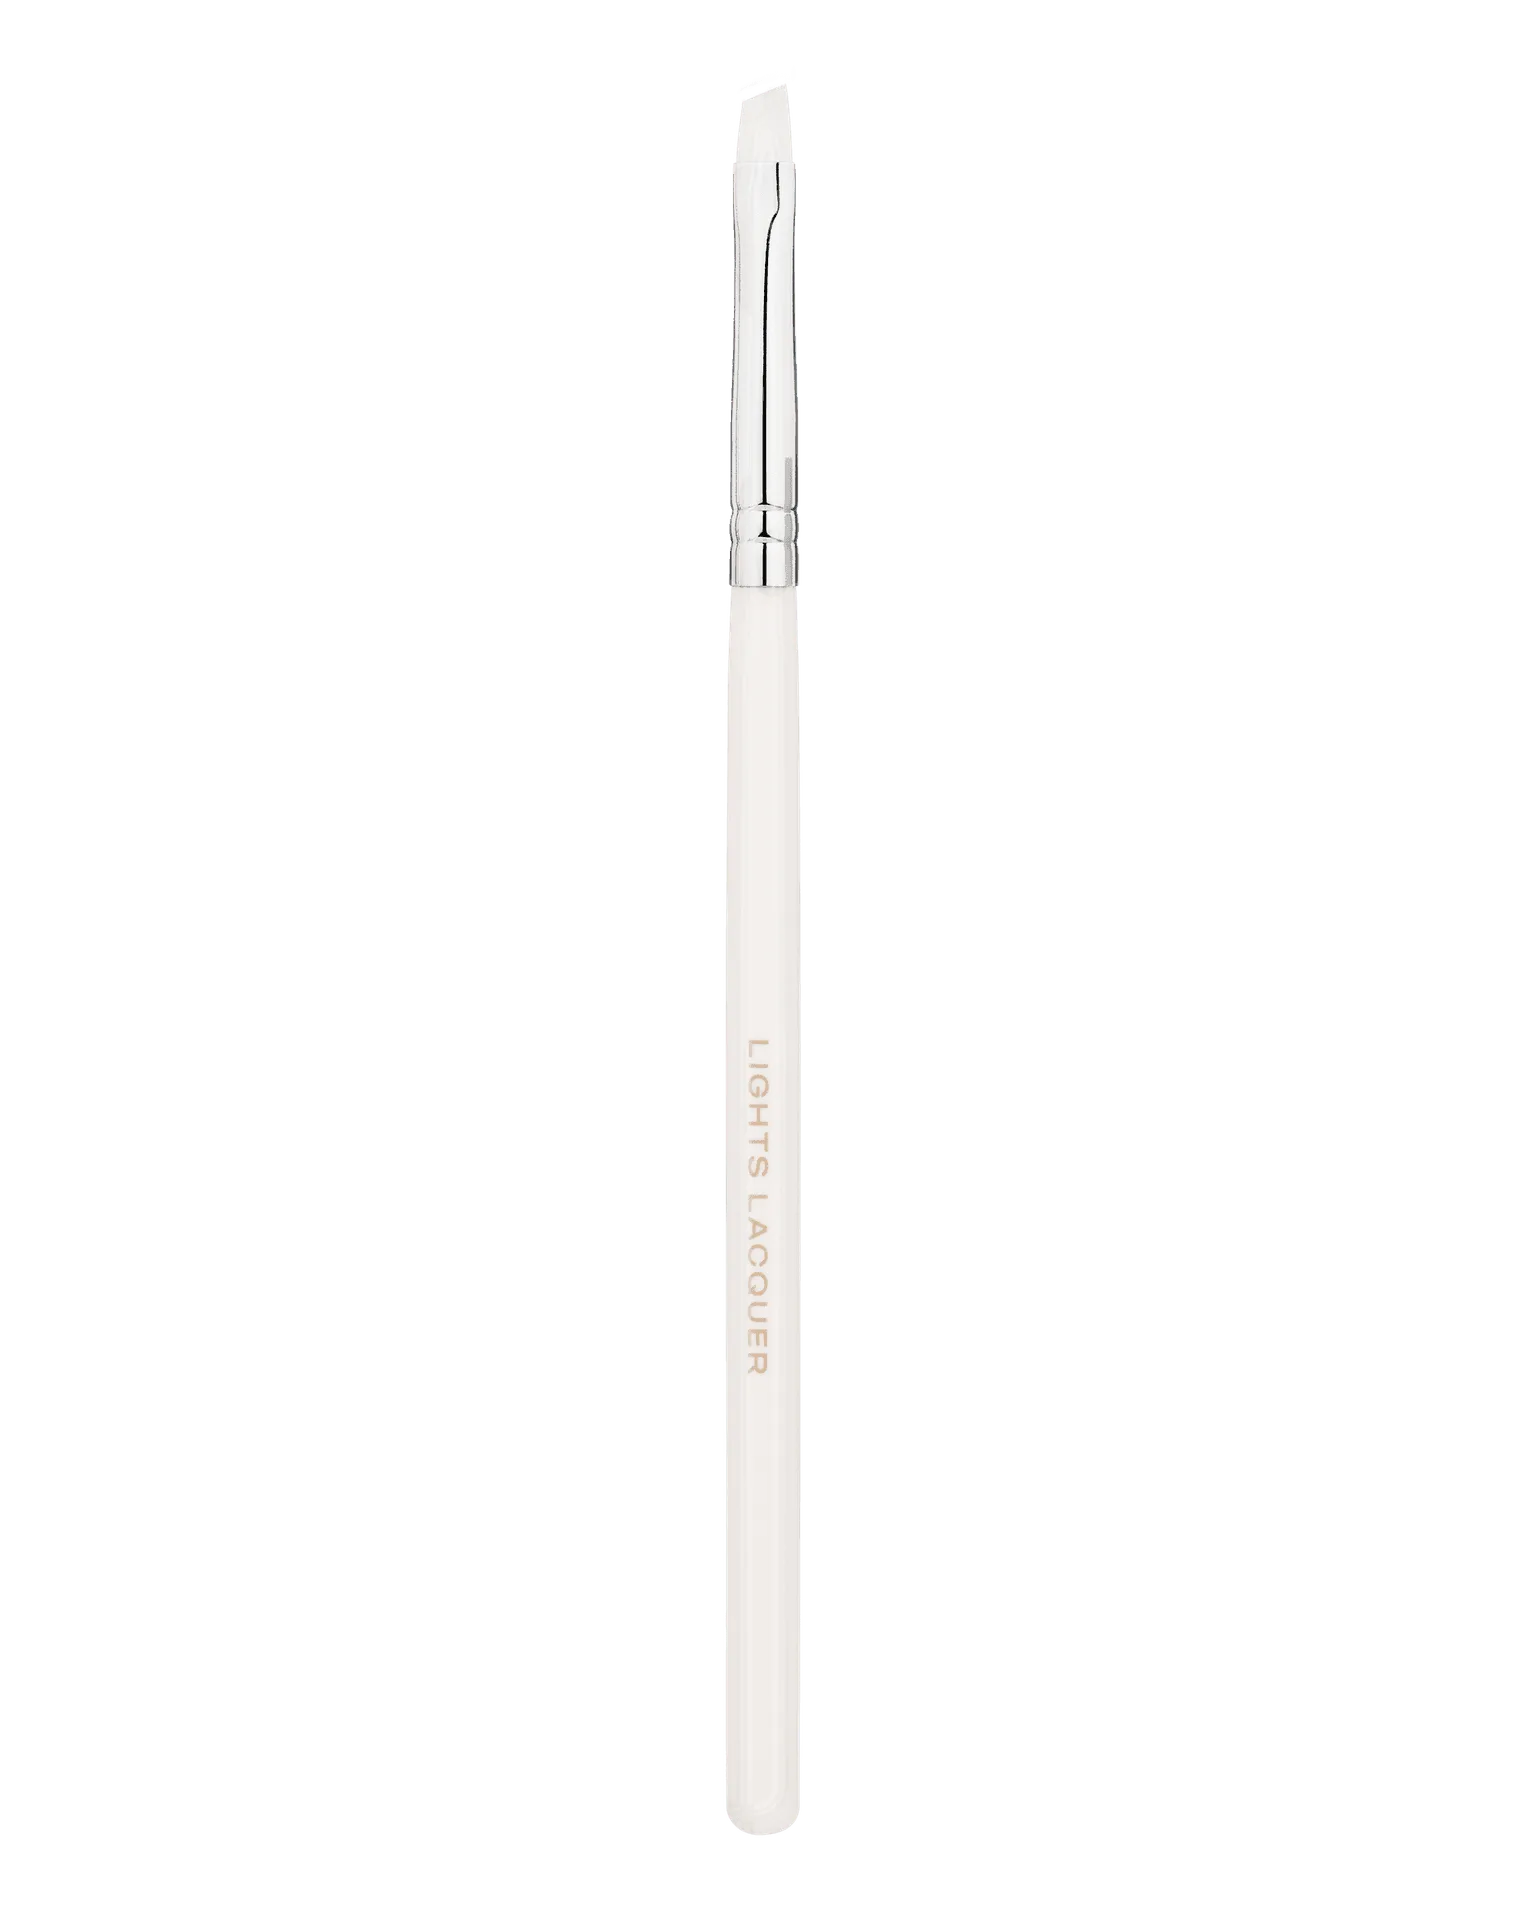
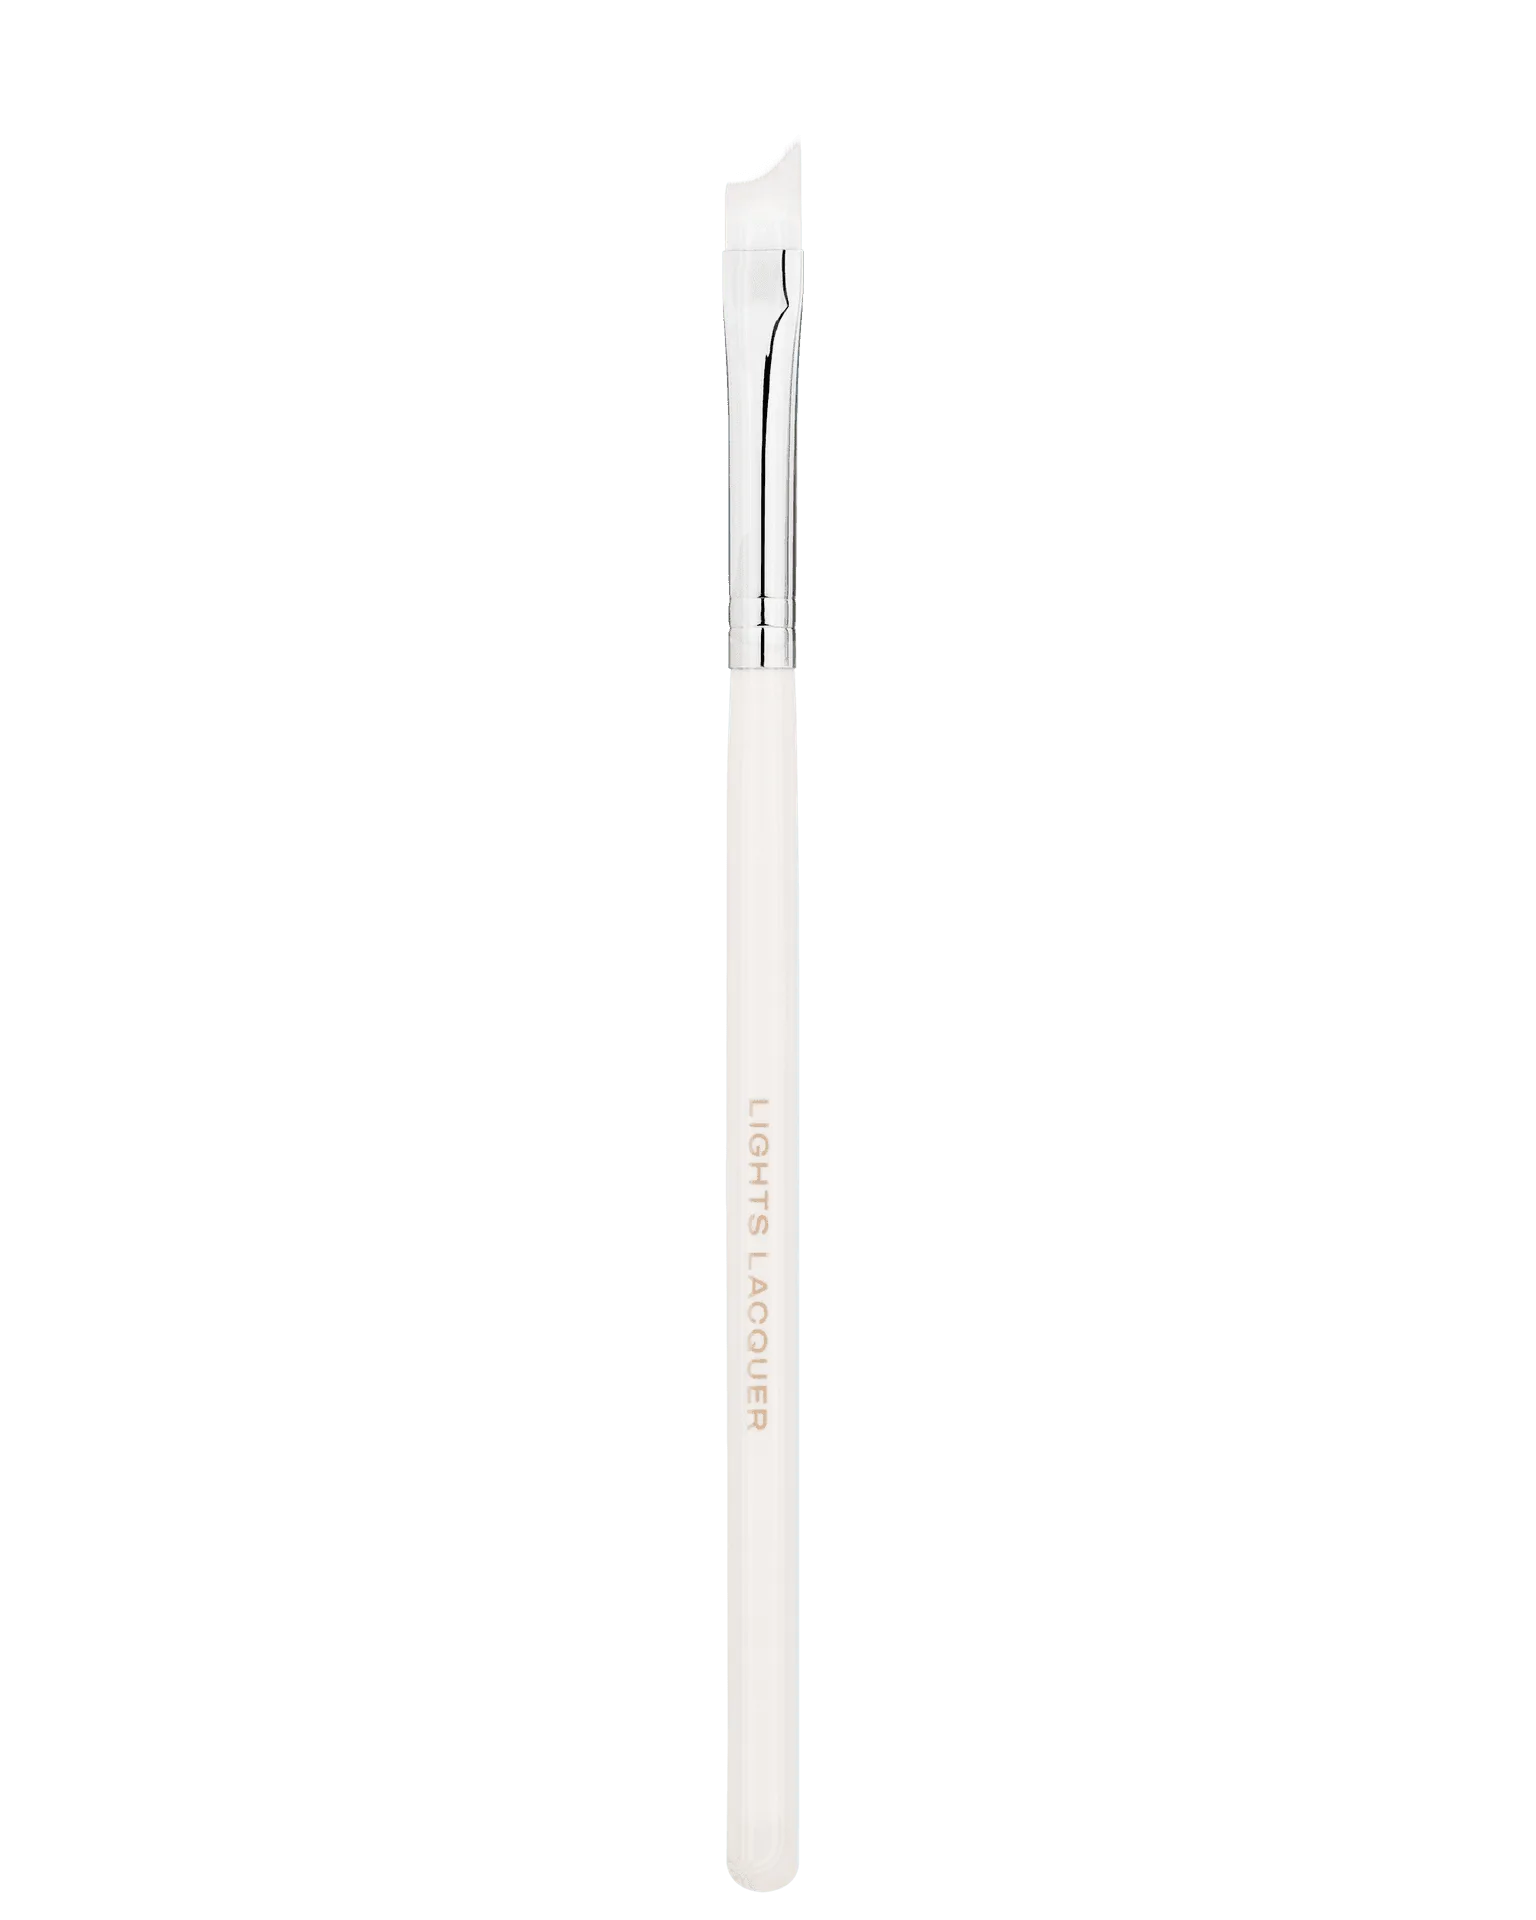
Not all nail art brushes are the same. A fine liner brush works best for thin lines and small details, while a slightly wider brush is great for filling in shapes. If you're just starting, look for a brush with a comfortable grip and synthetic bristles that hold their shape. The right tool makes a huge difference in control.
Consider the type of design you want to create. For intricate patterns, a long, thin brush gives you precision. For broader strokes, a short, flat brush can help. Remember, your brush should feel like an extension of your hand—if it's too long or too short, it can throw off your technique.
- Test the brush on a piece of paper before applying to your nails.
- Invest in a good quality brush—it will last longer and perform better.
Preparing Your Nails and Polish
Before you start, ensure your nails are clean, dry, and have a base coat applied. This gives the brush a smooth surface to work on. Also, make sure your polish is the right consistency. If it's too thick, it can clump; if it's too thin, it can bleed. If needed, add a drop of polish thinner to achieve a smooth, fluid consistency.
When you dip your brush into the polish or paint, wipe off any excess on the rim of the bottle. Too much product on the brush will cause blobs and smudges. A good rule of thumb is to have just enough to make a clean, continuous line without reloading.
- Use a palette or a piece of foil to test the polish consistency.
- Keep a small cup of water nearby to rinse your brush between colors.
Mastering Basic Strokes
Start with simple strokes like dots, lines, and curves. Hold the brush like a pencil, but with a lighter grip. Rest your hand on a flat surface to steady it. For a straight line, pull the brush towards you in one smooth motion, rather than pushing. For dots, gently touch the brush to the nail and lift straight up.
Practice on a piece of paper or a practice nail until you feel confident. The more you practice, the more control you'll gain. Remember, nail art is all about patience and precision. Don't rush—take your time to build the design layer by layer.
- Try drawing a line from the base to the tip of the nail in one stroke.
- Use a light touch—pressing too hard can cause the brush to splay.
Adding Details and Embellishments
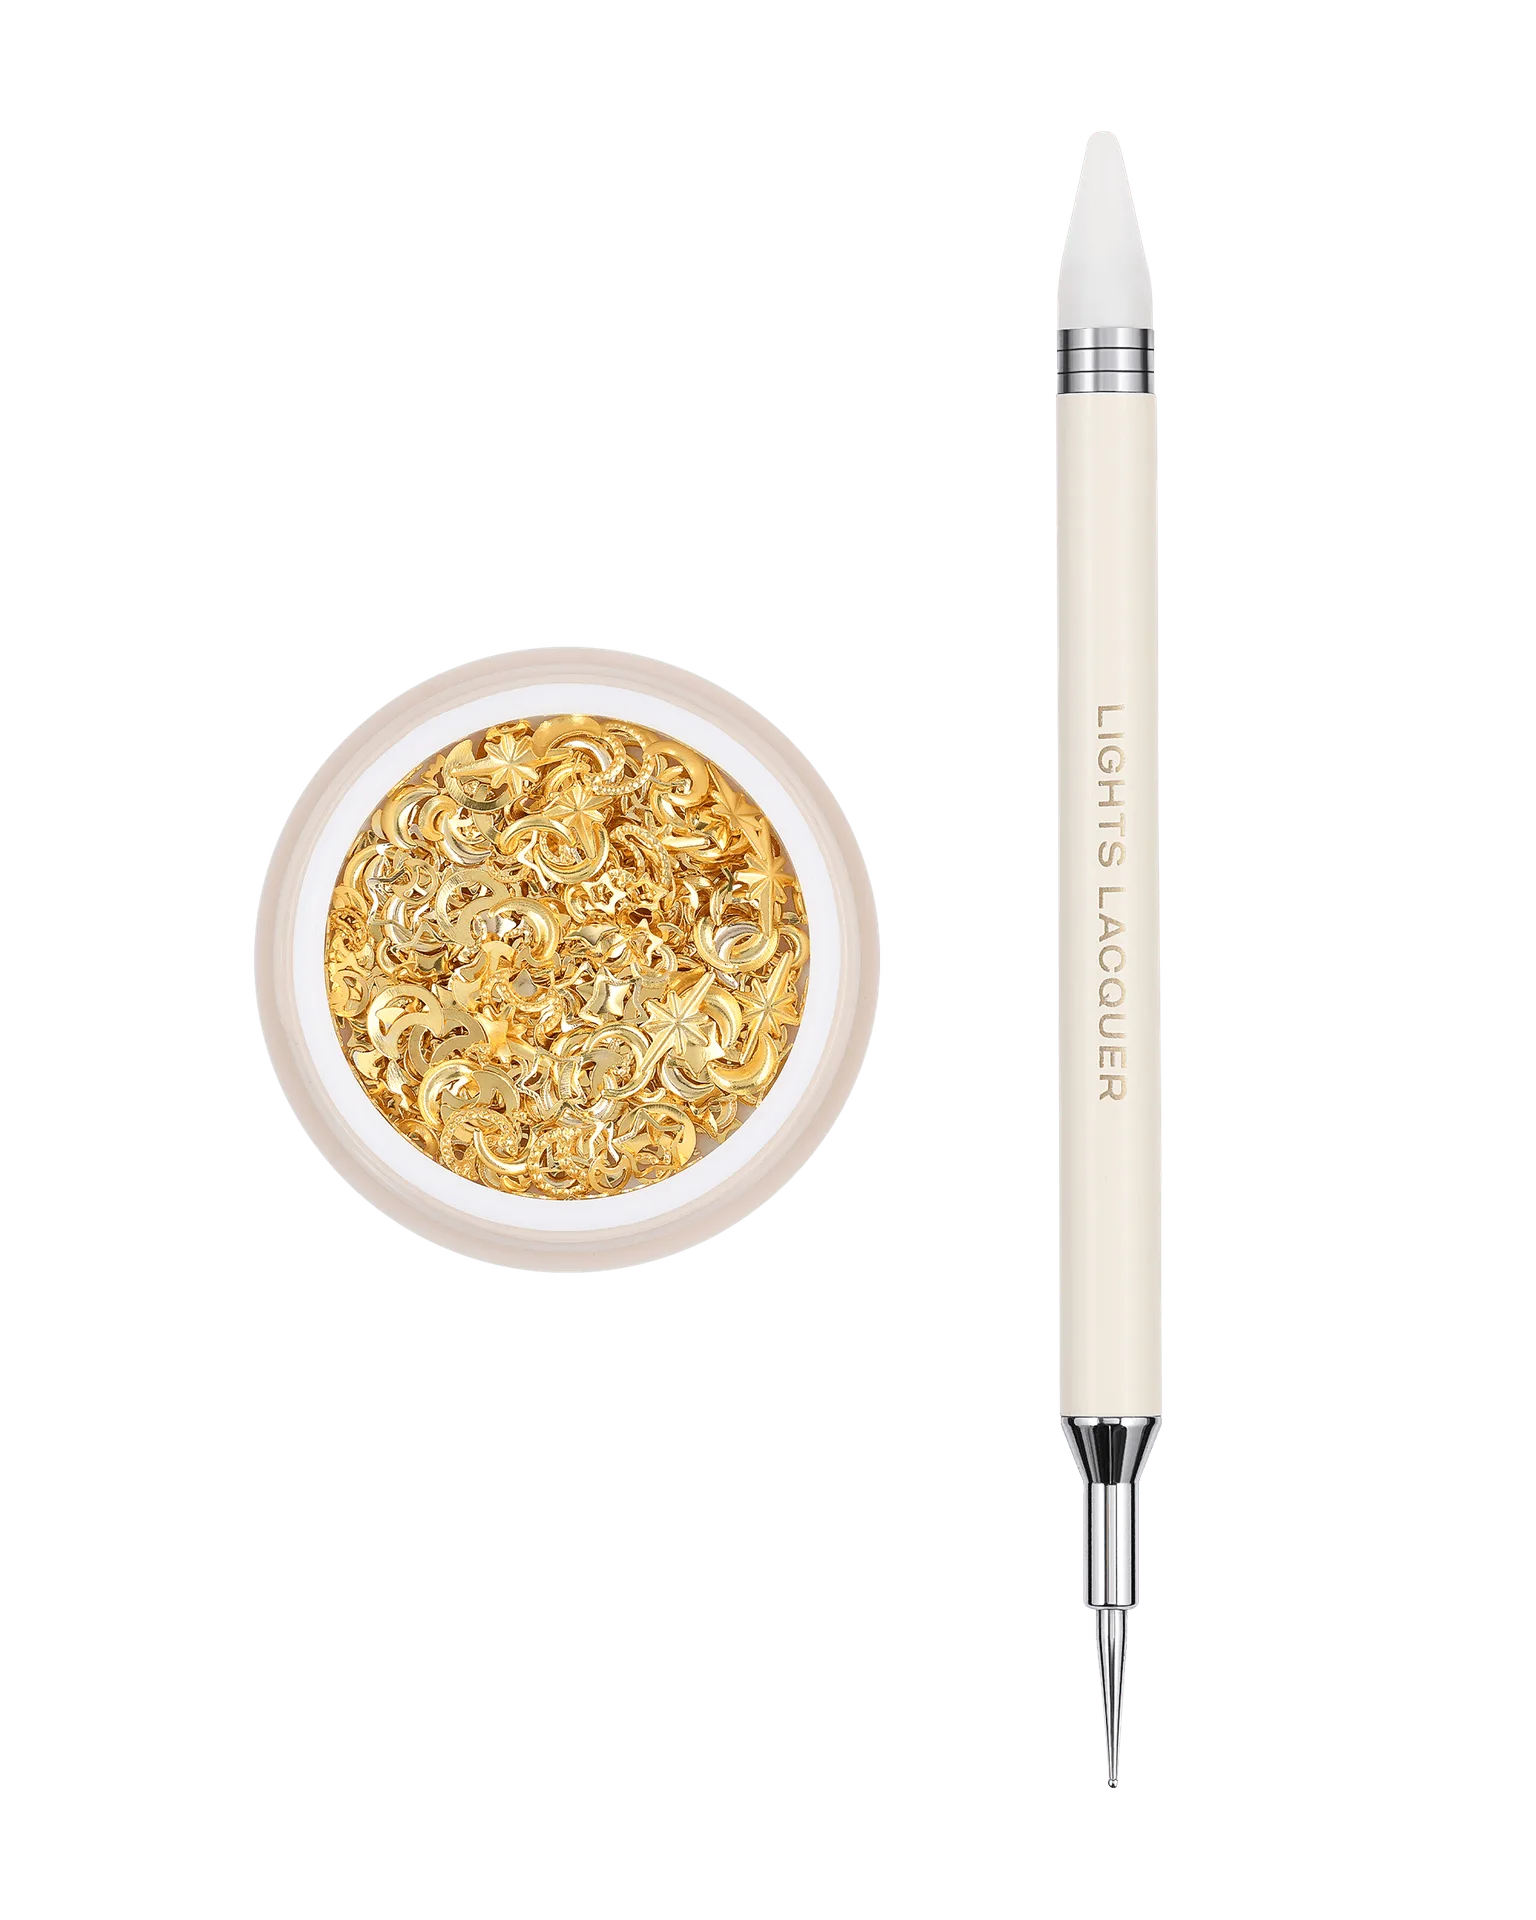
Once you're comfortable with basic strokes, you can start adding details like dots, stripes, and even small charms. For example, the https://lightslacqueros.com/products/silver-celestial-charms-wax-pen-duo-355106Silver Celestial Charms + Wax Pen Duo from Lights Lacquer includes silver-toned celestial charms and a wax pen for precise placement. The wax pen lets you pick up and place tiny charms without disturbing your design.
When adding charms, apply a small dot of top coat or nail glue to the nail, then use the wax pen to place the charm. Press gently and seal with a top coat. This adds a dimensional, professional touch to your nail art.
- Use a toothpick or wax pen to pick up small charms instead of your fingers.
- Always seal charms with a top coat to ensure they stay in place.
Cleaning and Maintaining Your Brushes
After each use, clean your nail art brush thoroughly. Wipe off excess polish on a paper towel, then rinse with nail polish remover or a brush cleaner. Gently reshape the bristles and lay the brush flat to dry. Proper care extends the life of your brush and keeps it performing well.
Avoid leaving your brush soaking in remover, as it can damage the bristles. Store it in a protective case or upright in a cup to prevent bending. A well-maintained brush will give you consistent results every time.
- Clean your brush immediately after use to prevent polish from drying on the bristles.
- If bristles become splayed, rinse with warm water and reshape with your fingers.
Step-by-Step: Using a Nail Art Brush
- Prepare your nails: Start with clean, dry nails and apply a base coat. Shape your nails with a file like the Hot Rod Half Moon Nail File Trio to create a smooth edge. Check that your nails are fully dry before starting—any moisture can cause polish to slide.
- Choose your brush and polish: Select a fine liner brush for detailed lines. Dip the brush into your polish, then wipe off excess on the rim to avoid blobs. If the polish is too thick, add a drop of thinner; if too thin, let it sit for a minute.
- Practice basic strokes: On a piece of paper, practice drawing lines, dots, and curves. Hold the brush lightly and use a steady hand. Your lines should be smooth and even—if they're wobbly, try slowing down.
- Apply the design to your nail: Start with simple patterns like stripes or dots. Work from the base to the tip, and allow each layer to dry before adding more. If you make a mistake, don't panic—use a clean-up brush dipped in remover to fix it.
- Add embellishments and seal: For charms, use a wax pen to place them precisely. Apply a dot of top coat, press the charm, and seal with a final top coat. Ensure charms are fully sealed to prevent them from catching on clothing.
Tools to Elevate Your Nail Art
- Silver Celestial Charms + Wax Pen Duo: Includes silver-toned charms with a celestial theme, plus a wax pen for easy application. The wax pen allows precise placement of tiny charms, making detailed designs easier for beginners.
- Hot Rod Half Moon Nail File Trio: Each dual-grit file features 180 grit to shape and refine nail length and 240 grit to gently smooth and perfect edges. A well-shaped nail is the foundation for any nail art, so a good file ensures a smooth canvas.
Mastering the nail art brush takes practice, but with the right techniques and tools, you can create beautiful, detailed designs at home. Start simple, keep your brushes clean, and soon you'll be adding charms and intricate patterns with confidence. For more inspiration, explore our range of nail art tools and polishes to expand your creative toolkit.