Quick answer
Use nail glue gel in a thin, even layer on the natural nail only, keep it off your skin, and cure it fully with a UV lamp before applying the press-on. Patch test on one nail first, work in a ventilated space, and never peel a cured set off dry. Safe nail glue application comes down to three habits: minimal product, no skin contact, and full curing.
Nail glue gel is stronger and longer-lasting than traditional brush-on glue, but that strength comes with a tradeoff: it needs to be applied with more care. Most problems people run into, like stinging, redness, or a set that pops off in two days, trace back to the same handful of technique mistakes.
This guide walks through the full process in order, from prep to removal, with the checkpoint to watch at each stage. It applies whether you are using a glue gel on its own or a kit that pairs gel with a UV lamp.
Why nail glue gel needs a different approach
Traditional nail glue is a cyanoacrylate that grabs almost instantly and bonds on contact with moisture. Nail glue gel is a thicker, UV-cured adhesive: it stays workable until you expose it to light, which gives you time to position the nail and clean up edges. That working time is the main reason people prefer it for press-on sets, because you can adjust the fit before the bond sets.
The flip side is that uncured gel is sticky and can spread. If it touches your skin and then gets cured, it hardens where it shouldn't, which is a common source of irritation and a painful removal. Treating gel as a precision product rather than a squeeze-and-press adhesive solves most of that.
- Gel stays repositionable until cured, so you get a second chance at placement
- Uncured gel on skin is the main risk to manage, not the cured bond itself
- A UV lamp is part of the process for gel, not an optional extra
Prep your nails and workspace before you open the gel
Start with clean, dry, oil-free natural nails. Push back cuticles gently and buff the surface lightly with a soft file to remove shine, then wipe each nail with alcohol or a prep pad. Oils and leftover cuticle cream are the most common reason a gel bond fails early, and they also make the gel more likely to slide onto your skin during application.
Set up before you start: gel, UV lamp, a cuticle stick or orange stick, lint-free wipes, and a small dish of remover or acetone for cleanup. Work near an open window or a fan on low. Doing this first means you are not hunting for tools with wet gel on your hands.
- Buff lightly, do not file grooves into the nail plate
- Keep remover within reach before you begin, not after a spill
- Ventilation matters more with gel than with brush-on glue
Patch test before a full set
If this is your first time with a particular gel, apply a small amount to one nail only and cure it. Wait a full day before doing the rest of the set. This is the single cheapest precaution you can take, and it costs you one nail's worth of product.
If you notice itching, redness, swelling, or a burning sensation around the nail, stop using that product and remove it carefully. Do not push through the reaction to finish the set. Sensitivity can build with repeated exposure, so an early warning is worth respecting.
- One nail, one day, then decide
- Stop at the first sign of itching or redness rather than finishing the set
- Note the product name so you can avoid it if a reaction appears
Apply the gel in a thin layer, away from skin
Apply a thin line or small dot of gel to the natural nail, not to the press-on. A thin layer cures more completely and creates less bulk at the cuticle line. If you are working with a full-cover press-on, you can also place a small amount on the underside of the tip, but keep both layers minimal.
The checkpoint here is your cuticle and sidewalls. If gel has spread onto skin, wipe it off with a lint-free wipe or a wooden stick before curing. Cured gel on skin is much harder to deal with than wet gel on skin, so this is the moment that matters most.
- Thin layer on the natural nail, not a thick blob
- Wipe any skin contact before it sees the lamp
- Work one nail at a time so nothing cures before you are ready
Press on, hold, and cure fully
Position the press-on at a slight angle, starting at the cuticle edge, then press down and hold for a few seconds. This pushes air out from under the tip instead of trapping it. Air pockets are a common cause of cloudy spots and early lifting.
Cure under your UV lamp for the full time the product instructions specify, and make sure every edge of the nail is exposed to the light. If your lamp has a low setting, use the higher one for adhesive. After curing, check the edges with a gentle press; any movement means more curing time, not more gel.
- Angle from cuticle to tip to avoid trapped air
- Do not shorten the cure time to save a minute
- Rotate the hand so sidewalls and the free edge get light too
Clean up, remove, and store the gel correctly
Wipe the gel bottle nozzle before closing it, and store it upright, capped, away from direct sun and heat. Gel that thickens or gets stringy is harder to apply thinly, which pushes you toward the exact over-application you are trying to avoid.
For removal, never pry or peel the set off dry. Soak in acetone or use the removal method recommended for your gel, then gently work the nail loose with a cuticle stick. Peeling takes a layer of natural nail with it and leaves the surface thin and sensitive, which makes the next application riskier.
- Cap and store upright, away from heat and sunlight
- Soak rather than peel, every time
- Give nails a rest day between sets if they feel tender
The safe application sequence, step by step
- Step 1: Prep and dehydrate: Clean nails, push back cuticles, buff lightly, and wipe with alcohol or a prep pad. Work in a ventilated area with tools laid out. Checkpoint: nails should look matte and feel completely dry before any gel touches them.
- Step 2: Patch test one nail: Apply a small amount of gel to a single nail, cure it, and wait a day before doing the full set. Checkpoint: no itching, redness, or burning. If any appear, stop and remove carefully.
- Step 3: Apply a thin layer only on the natural nail: Use a small dot or thin line, keeping it well inside the cuticle and sidewalls. Add a minimal amount to the tip underside only if needed. Checkpoint: wipe any gel that reached skin before curing, not after.
- Step 4: Seat the tip and press out air: Angle the press-on from cuticle to tip, press down, and hold for a few seconds so no air is trapped underneath. Checkpoint: the tip should sit flush with no cloudy patches or rocking.
- Step 5: Cure fully under the UV lamp: Cure for the full specified time, rotating the hand so sidewalls and the free edge get light. Use the higher setting for adhesive if your lamp has one. Checkpoint: press each edge gently. Any movement means cure longer, not add more gel.
- Step 6: Remove by soaking, never peeling: Soak in acetone or use the recommended removal method, then ease the nail off with a cuticle stick. Cap and store the gel upright, away from heat. Checkpoint: if removal hurts or the nail resists, soak longer rather than forcing it.
Press-on sets that pair well with gel adhesive
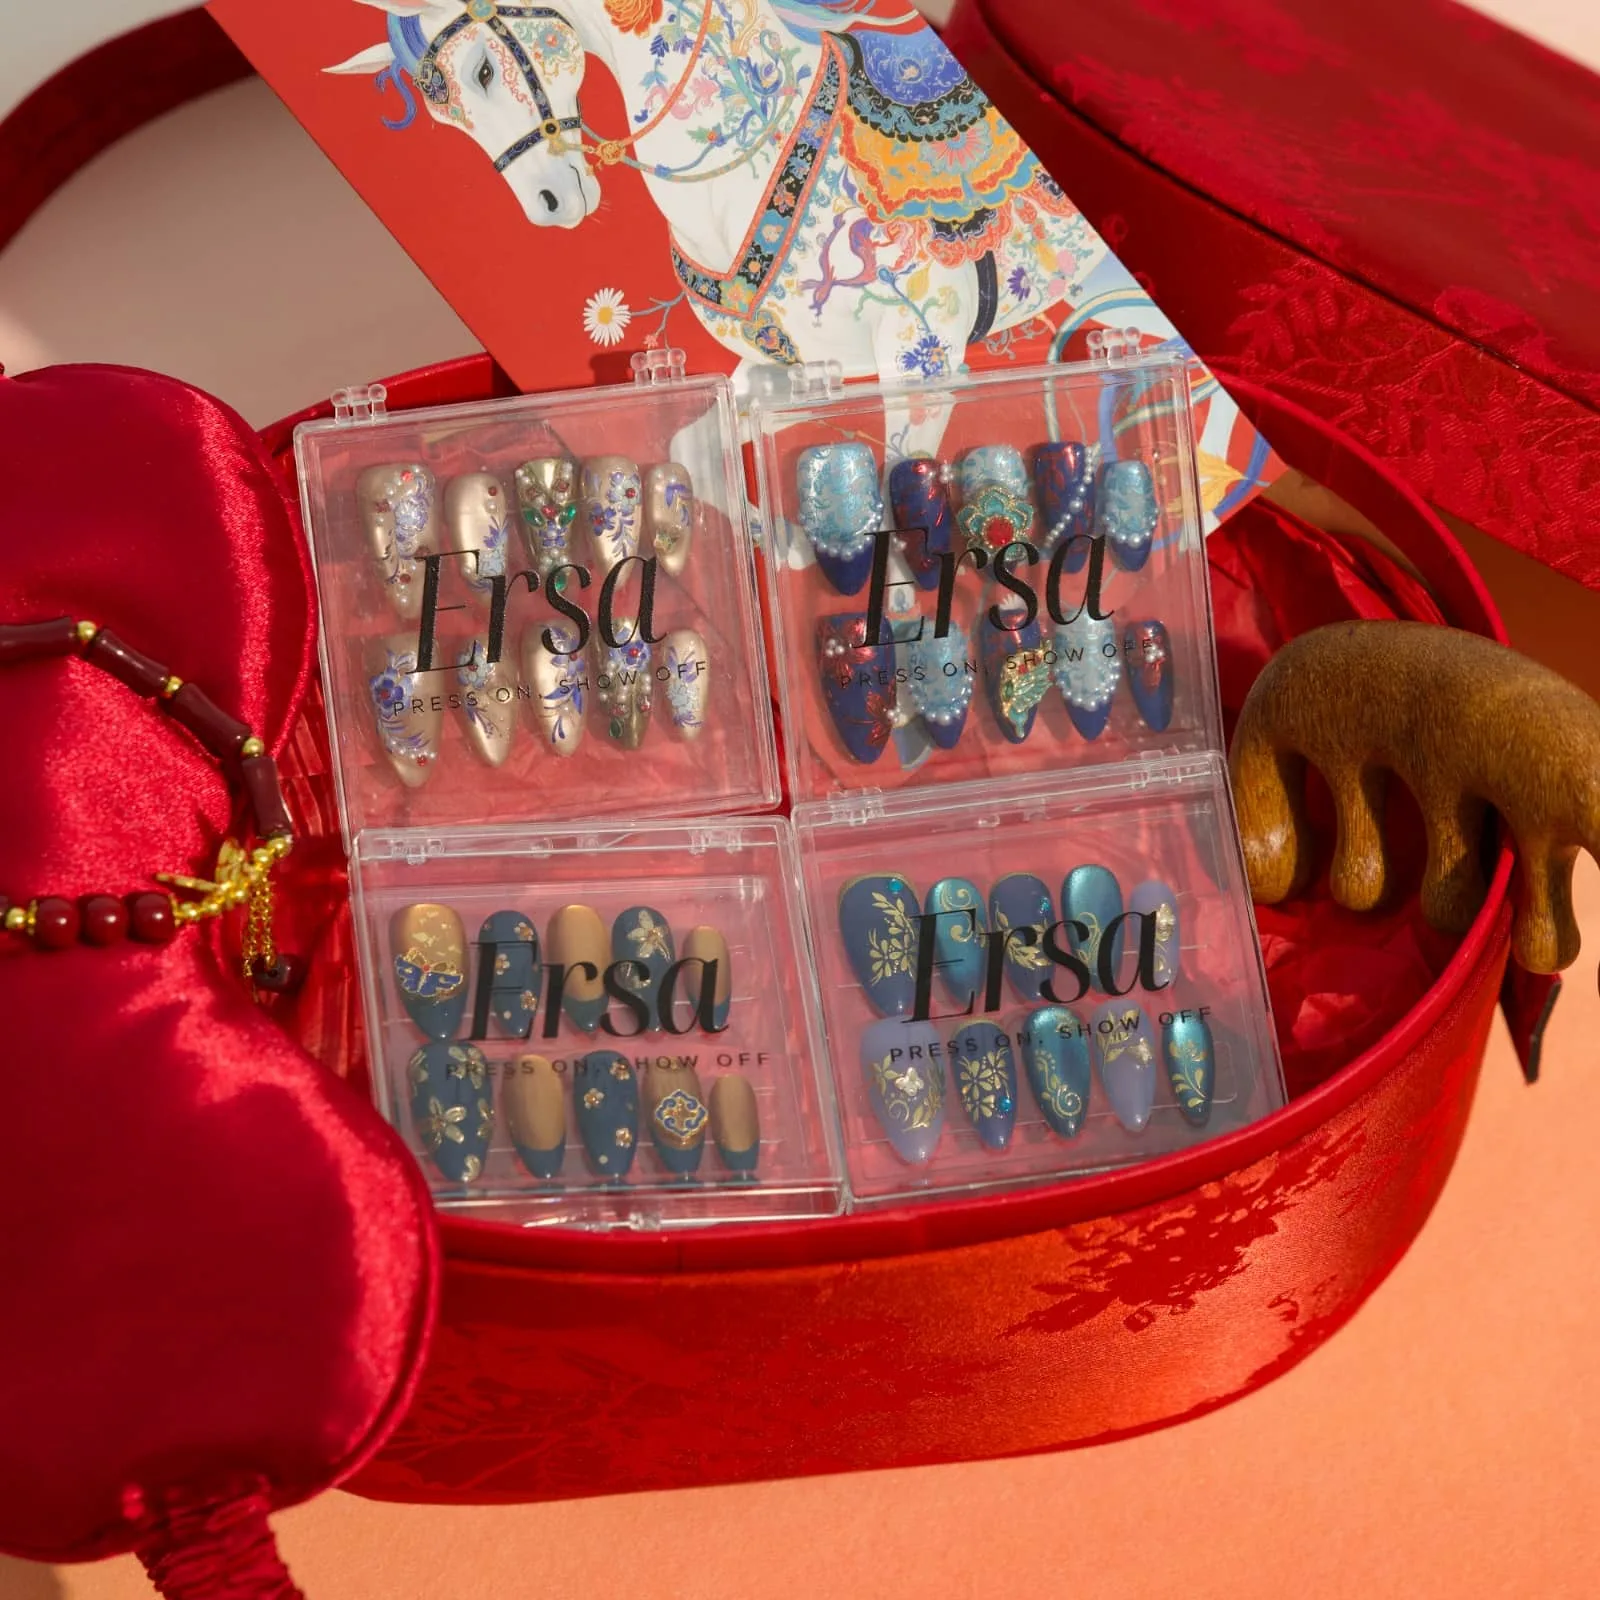
- Sundora: Sundora is a set of medium almond press-on nails with golden tones, cherry red dots, and shimmering 3D floral accents, listed at USD 8.00. Medium almond tips have a narrow contact area near the cuticle, so a thin gel layer is easier to control and less likely to spread onto skin.
cherry
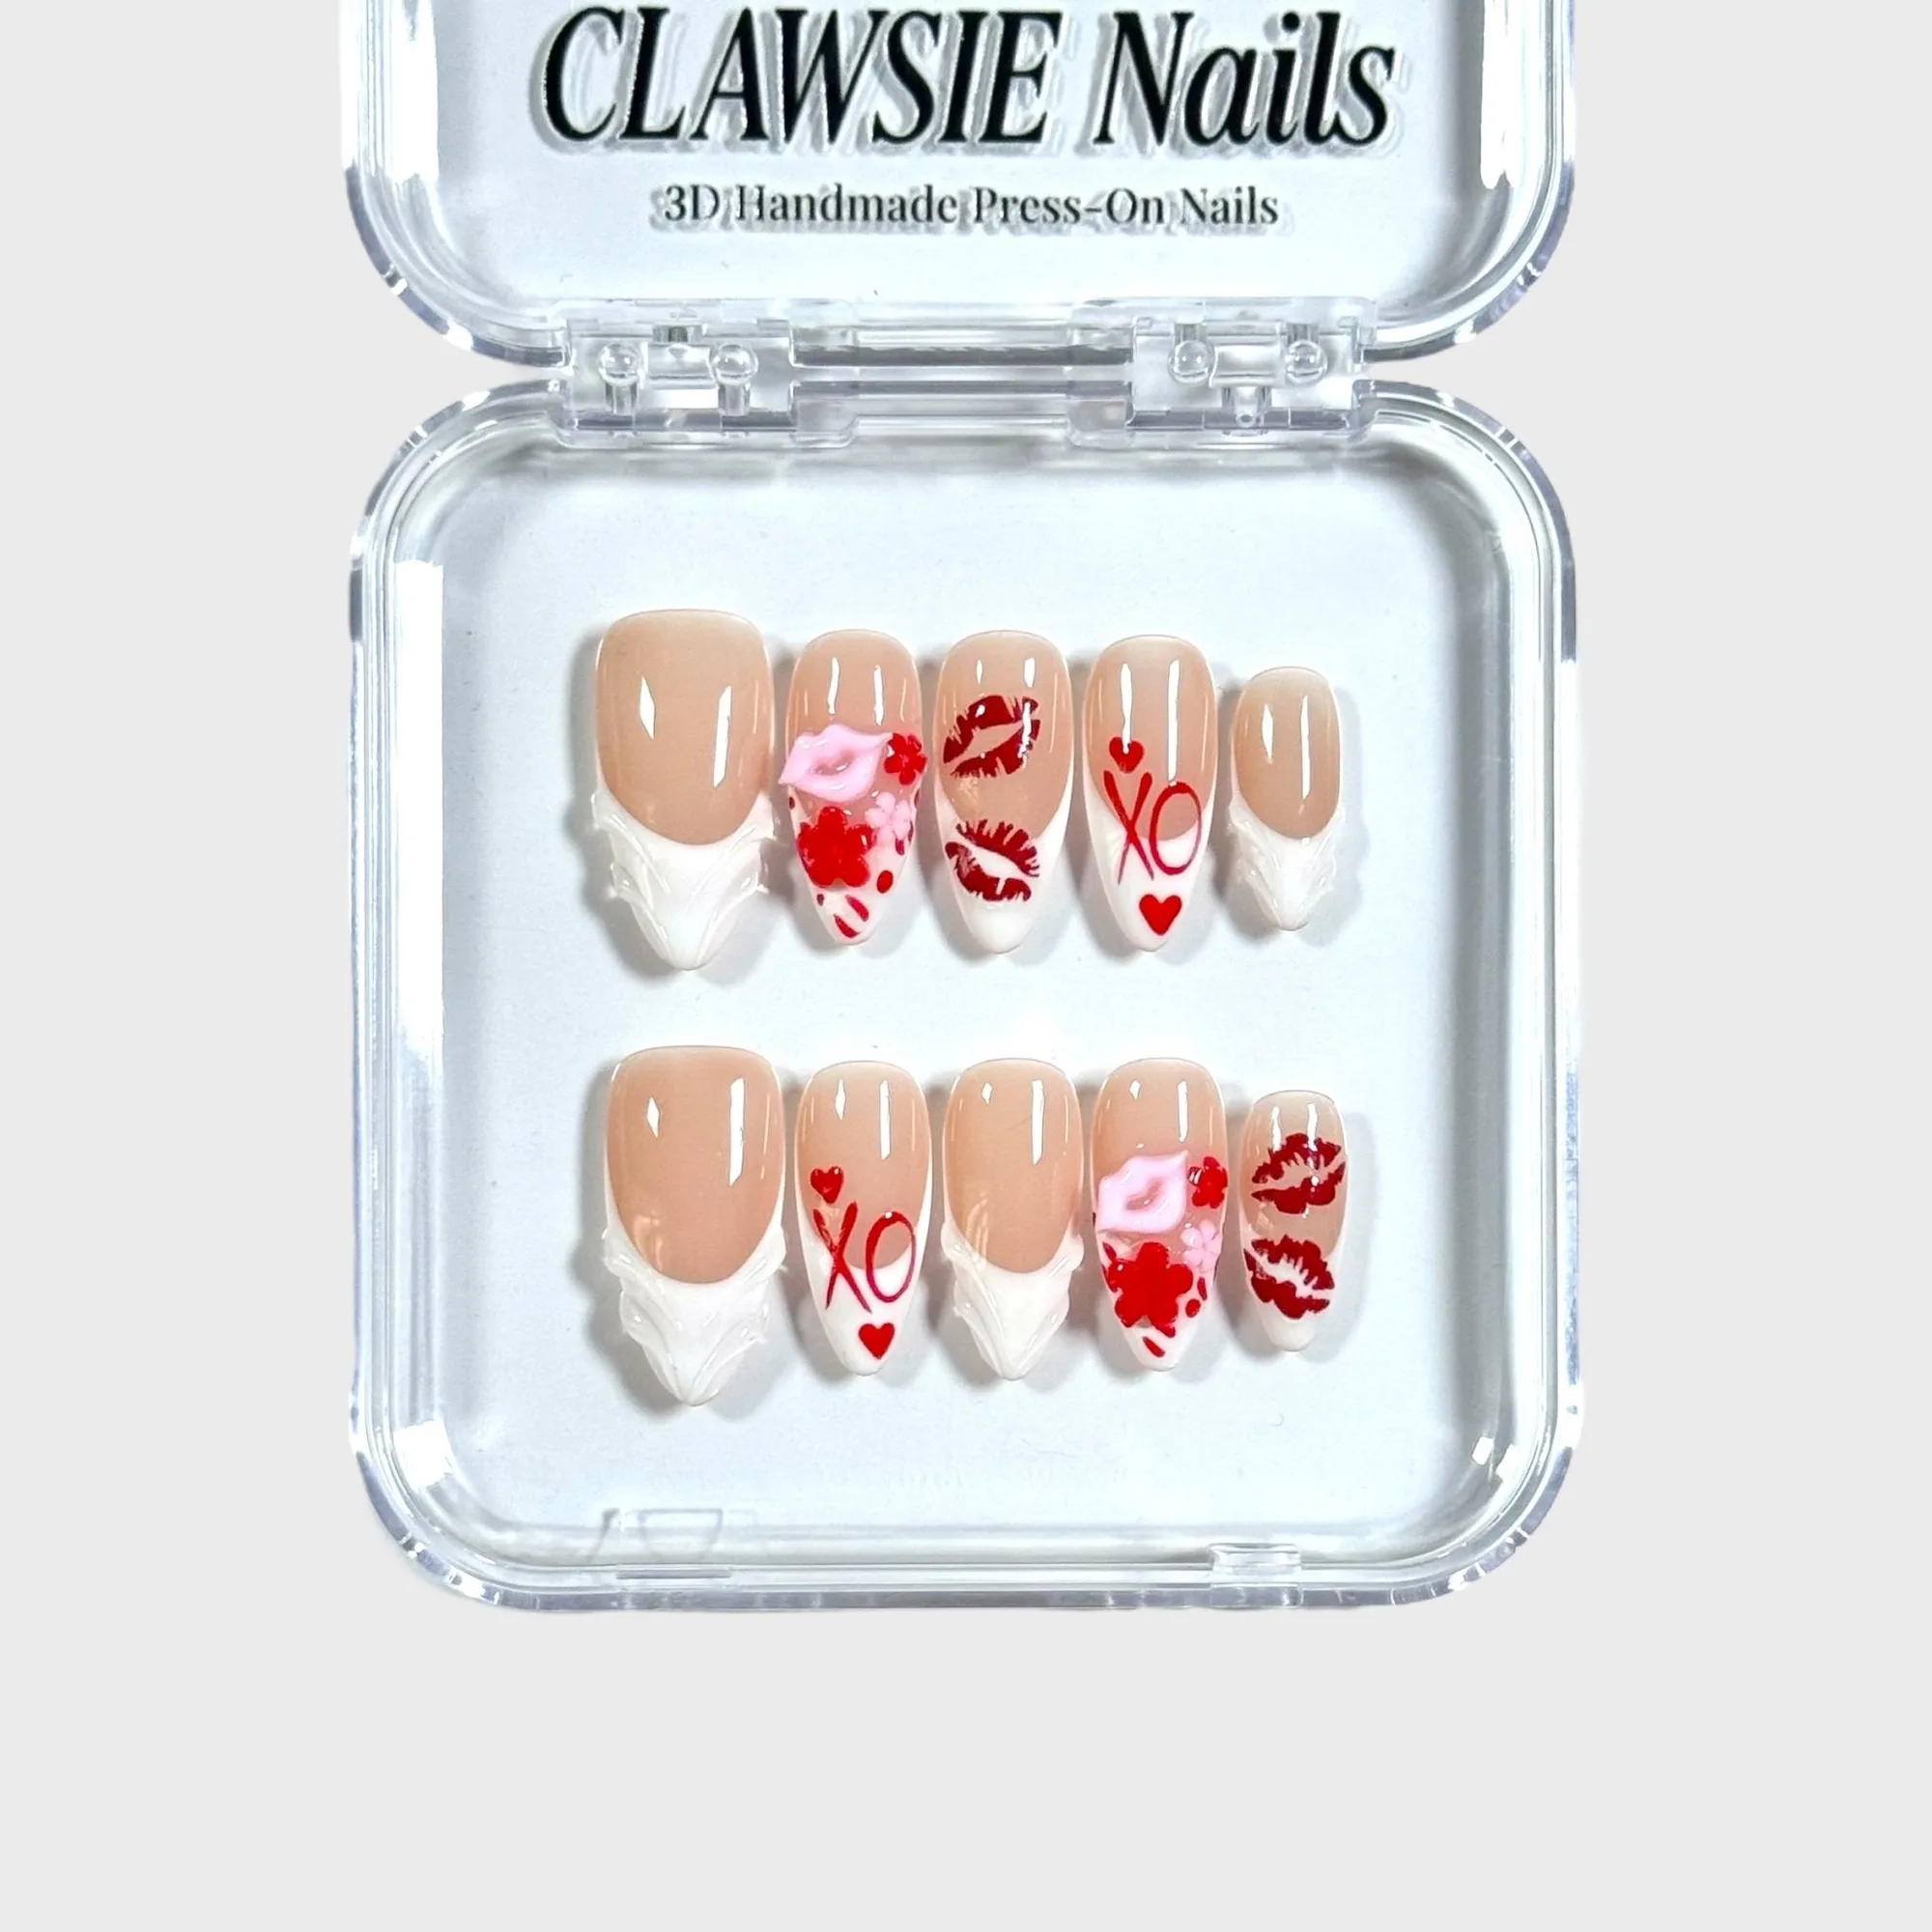
- Kiss me: Kiss me press-on nails are available in four sizes: XS, S, M, and L. More size options mean you can match each nail closely, and a well-fitted tip needs less gel to stay put, which reduces both bulk and skin contact.
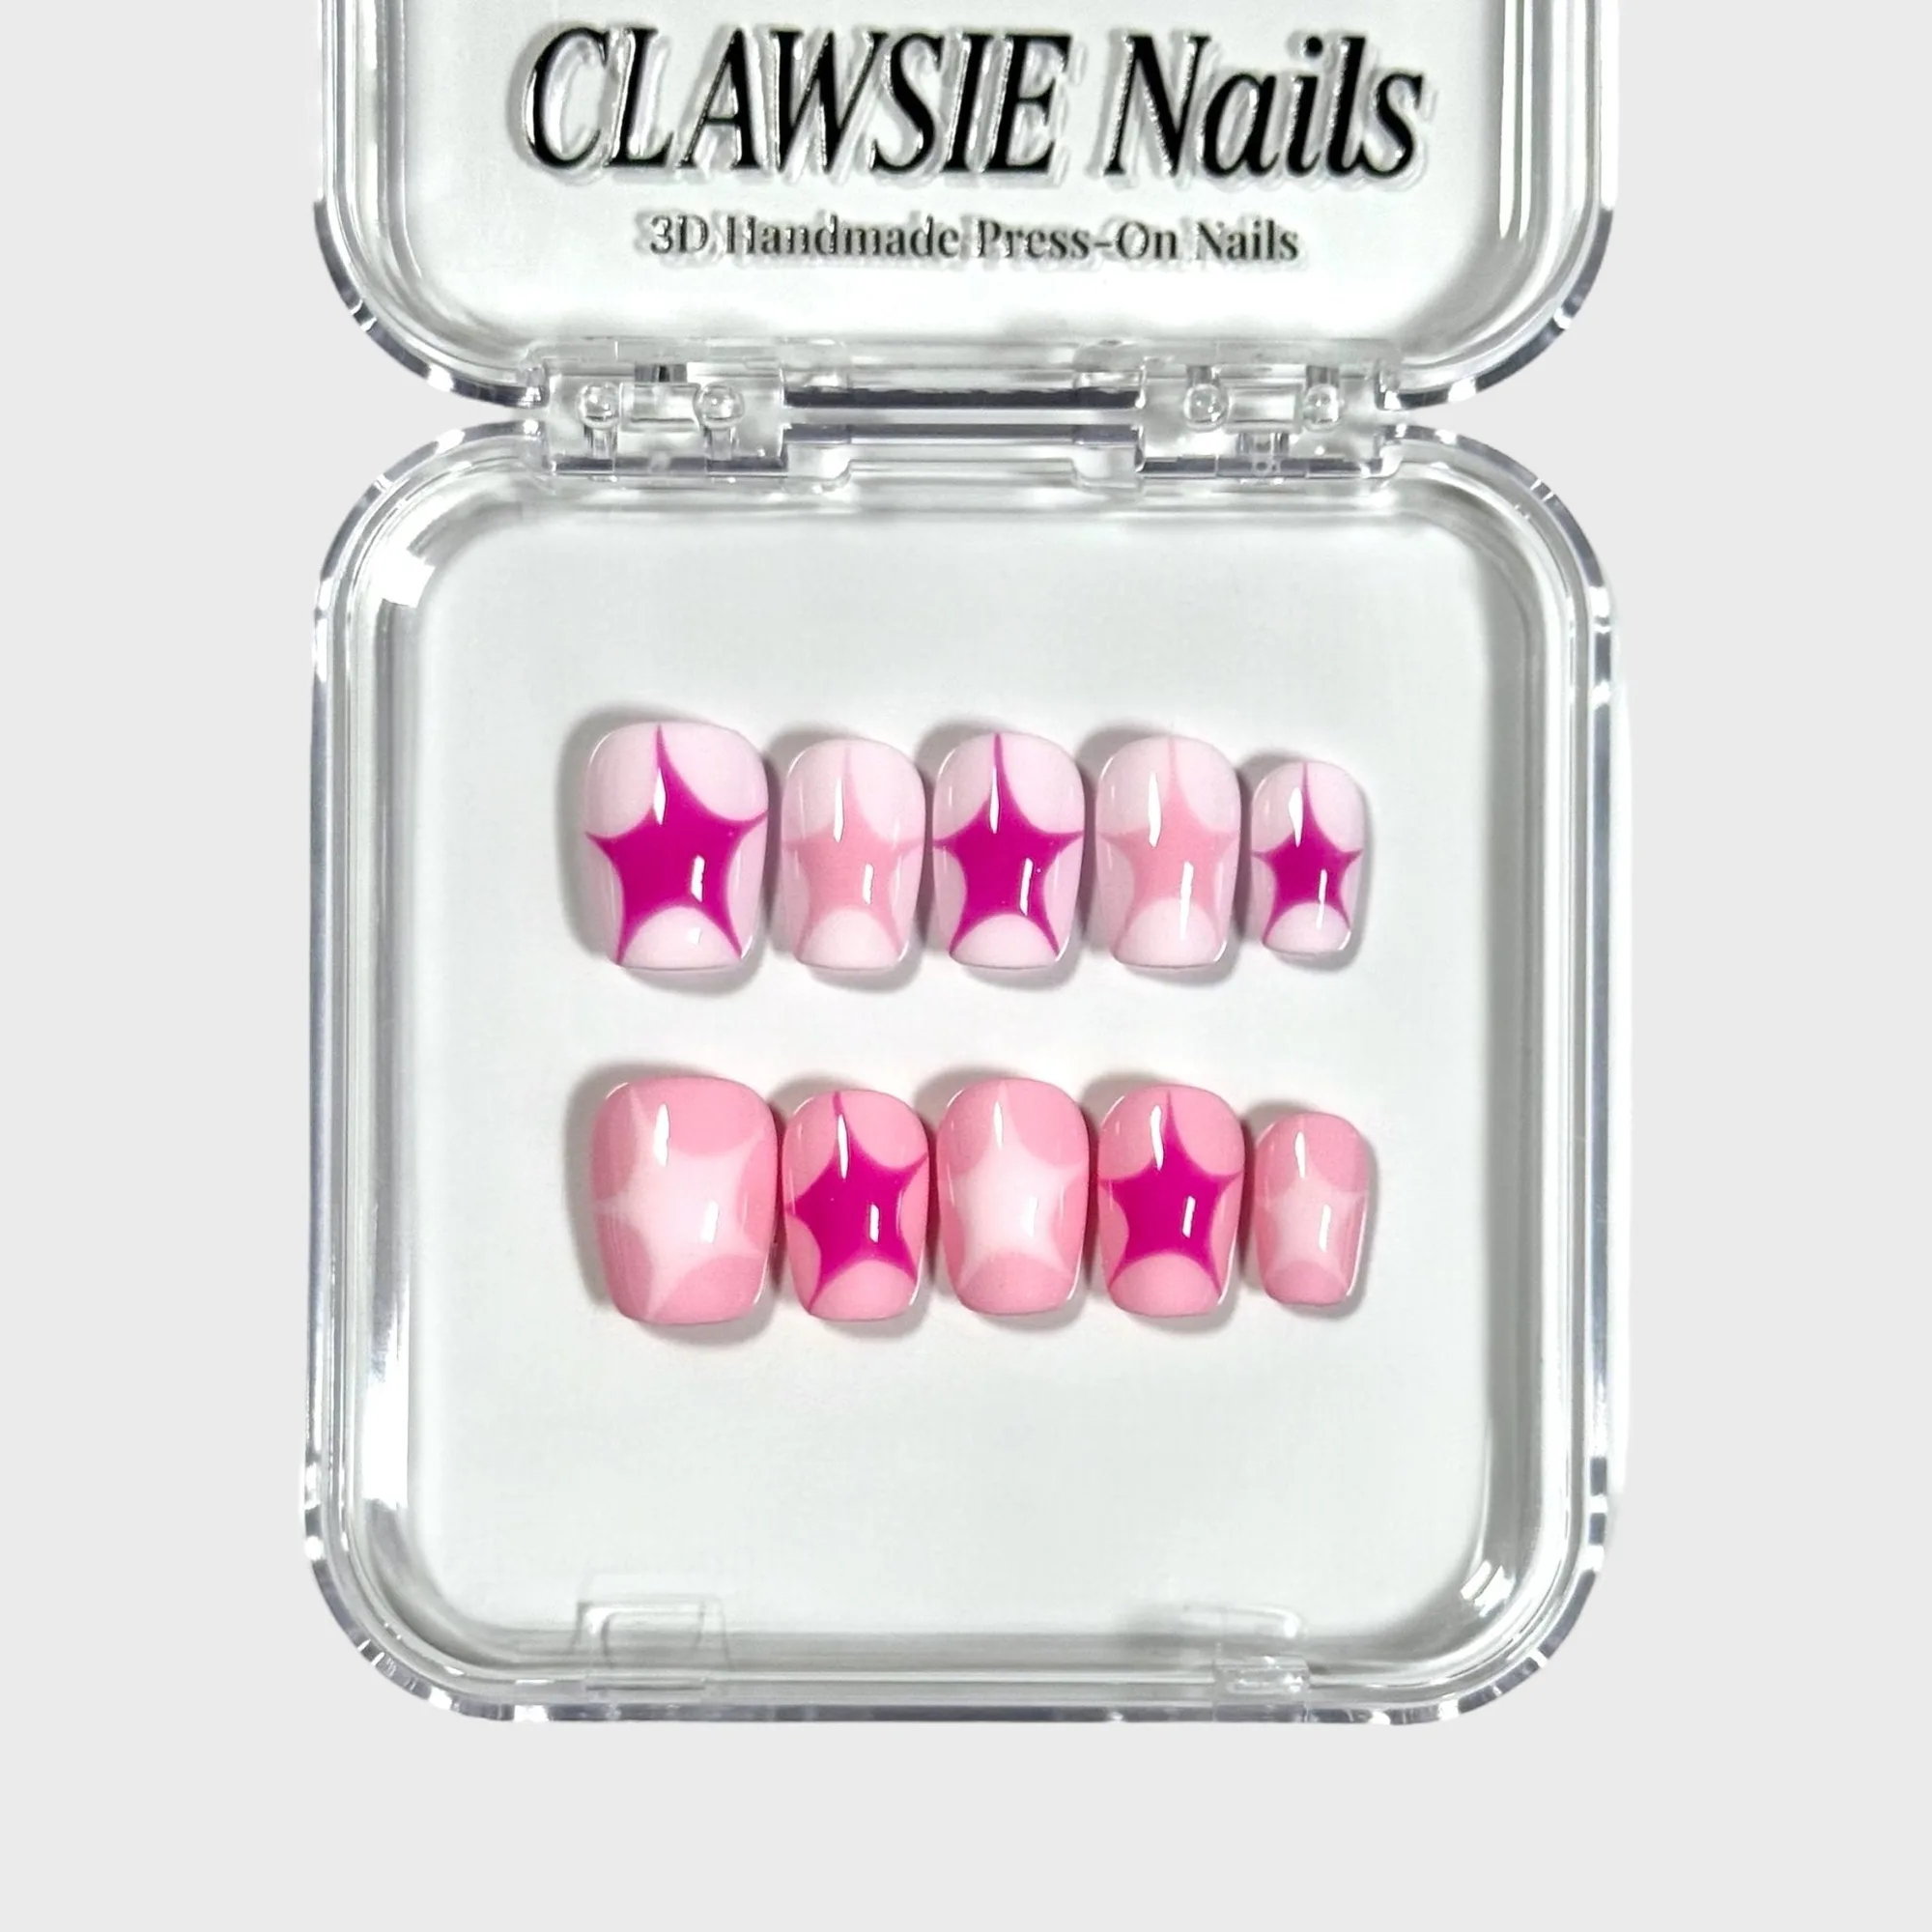
- Dopamine Barbie: Dopamine Barbie is a short square press-on nail set offered in size XS, priced at USD 9.00. Short square tips sit flat against the natural nail, so keep the gel layer especially thin to avoid a raised, uneven surface after curing.
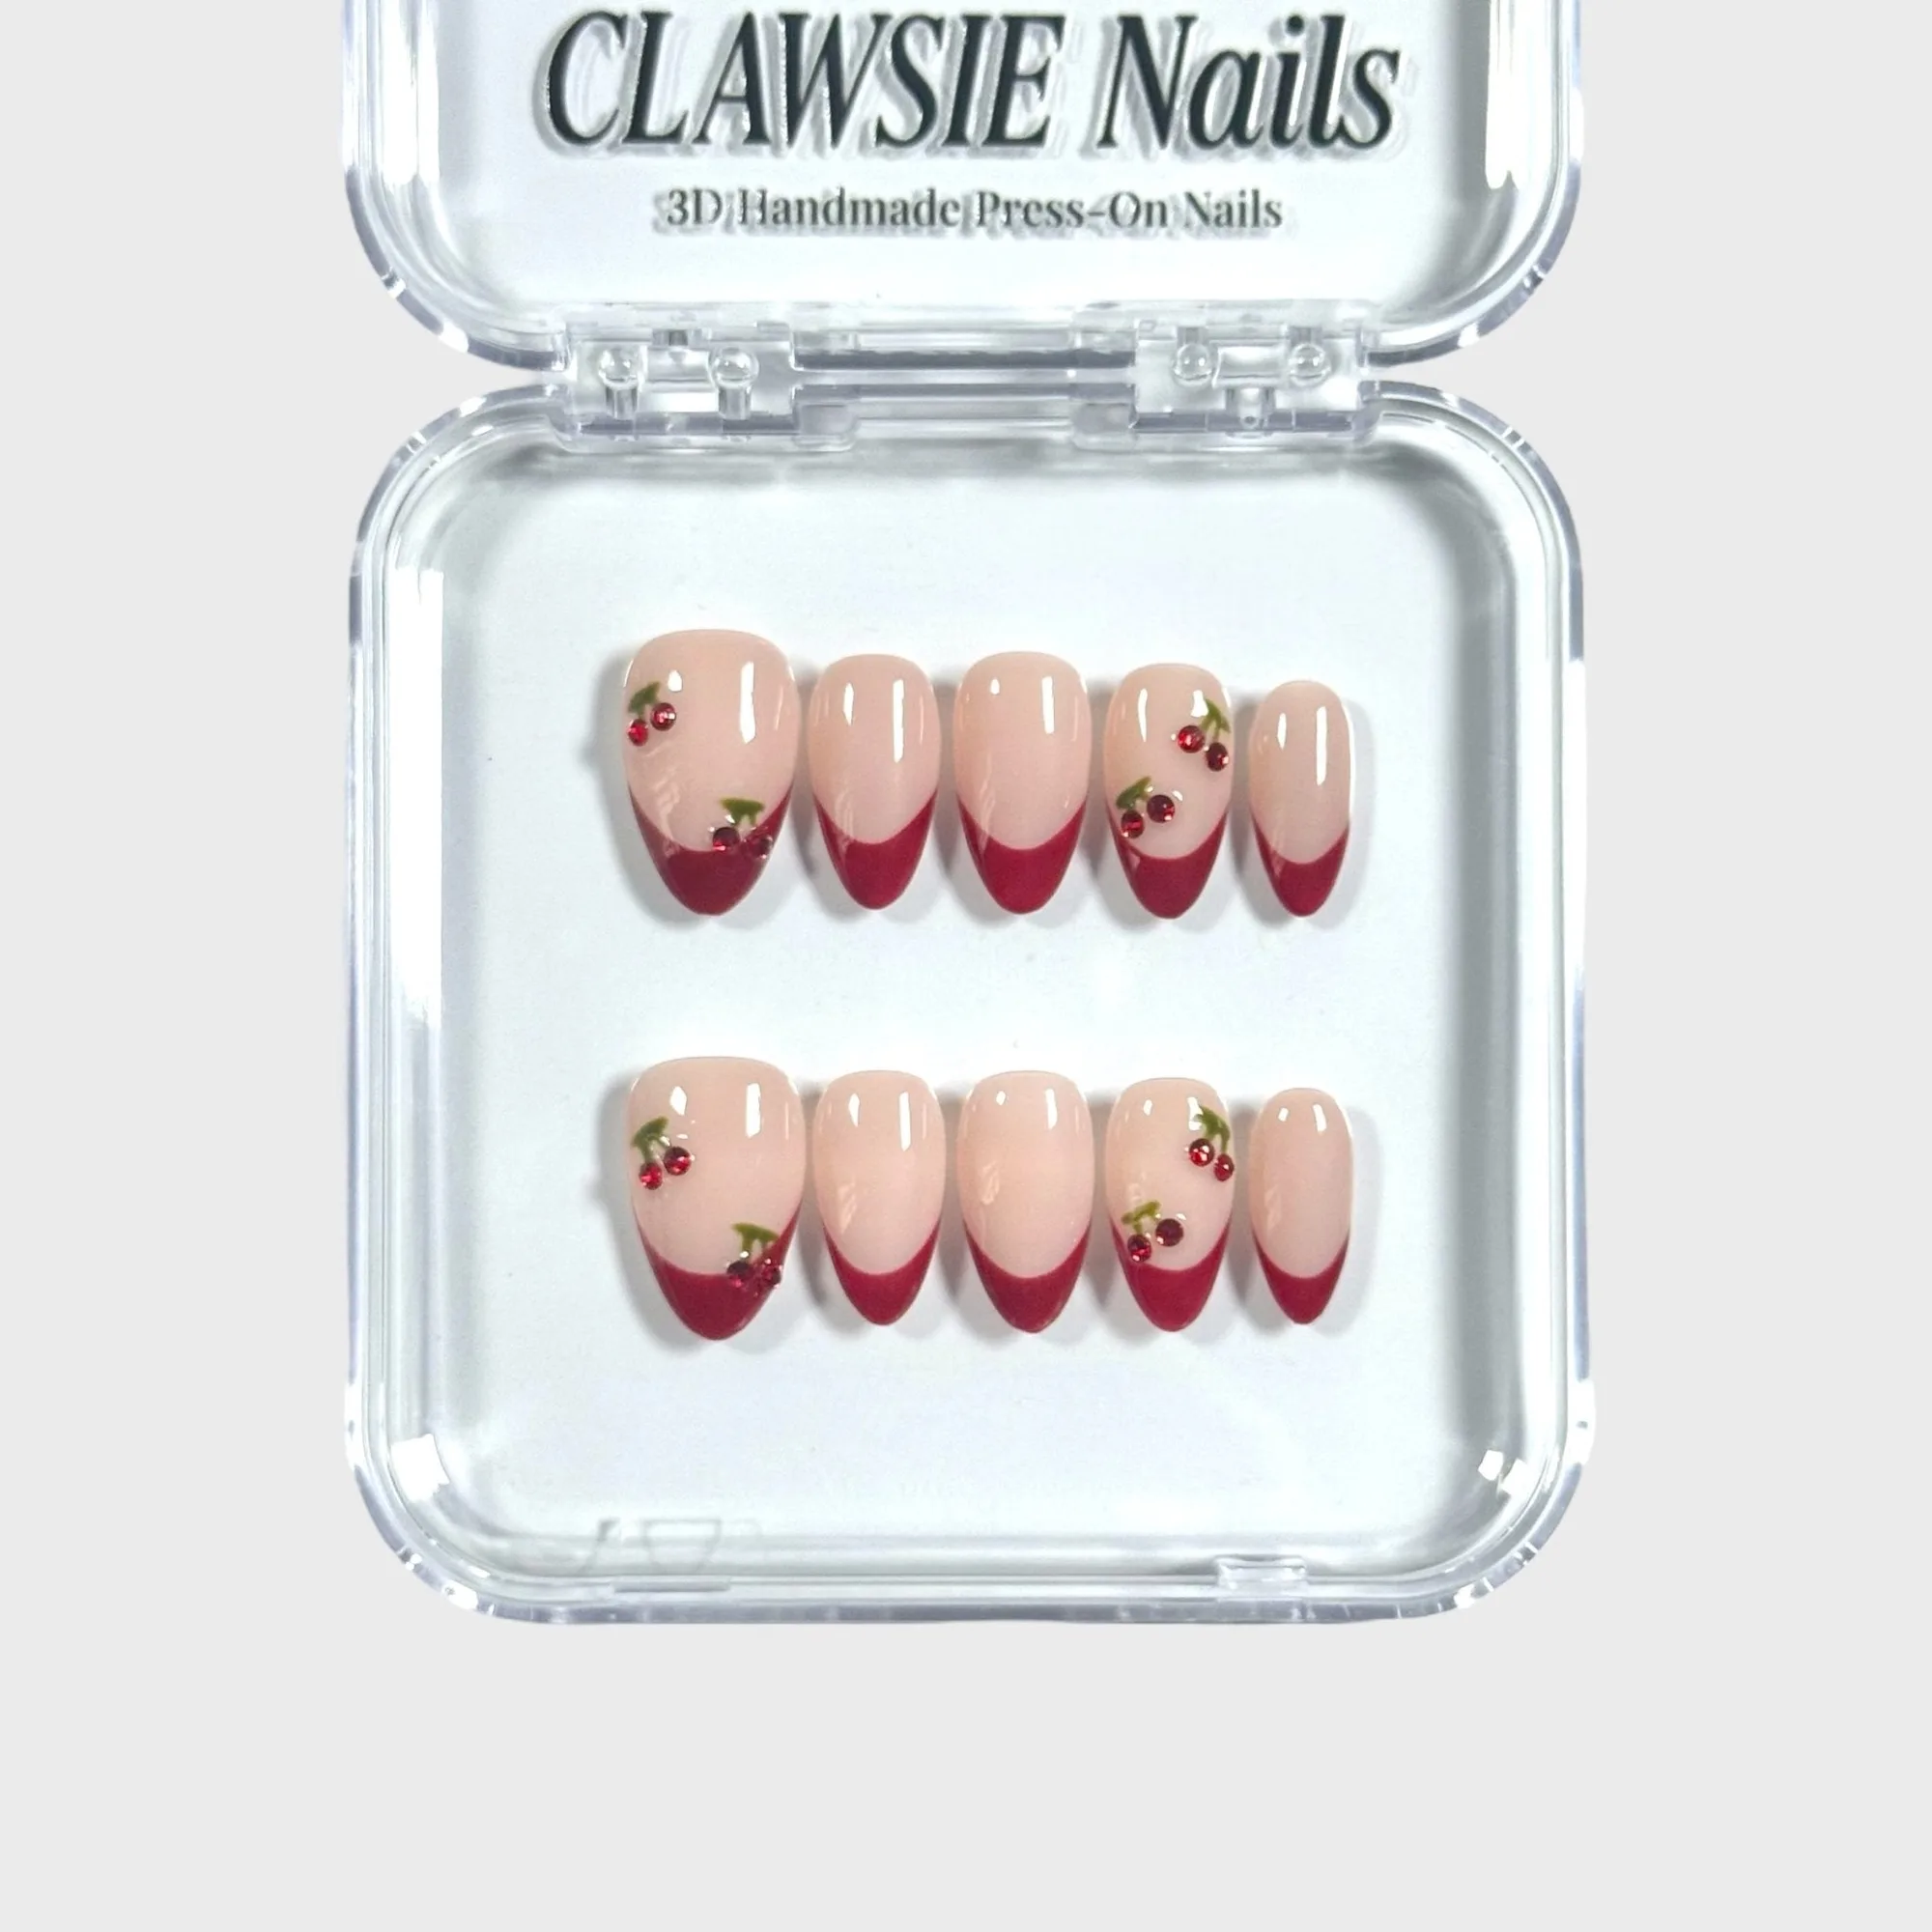
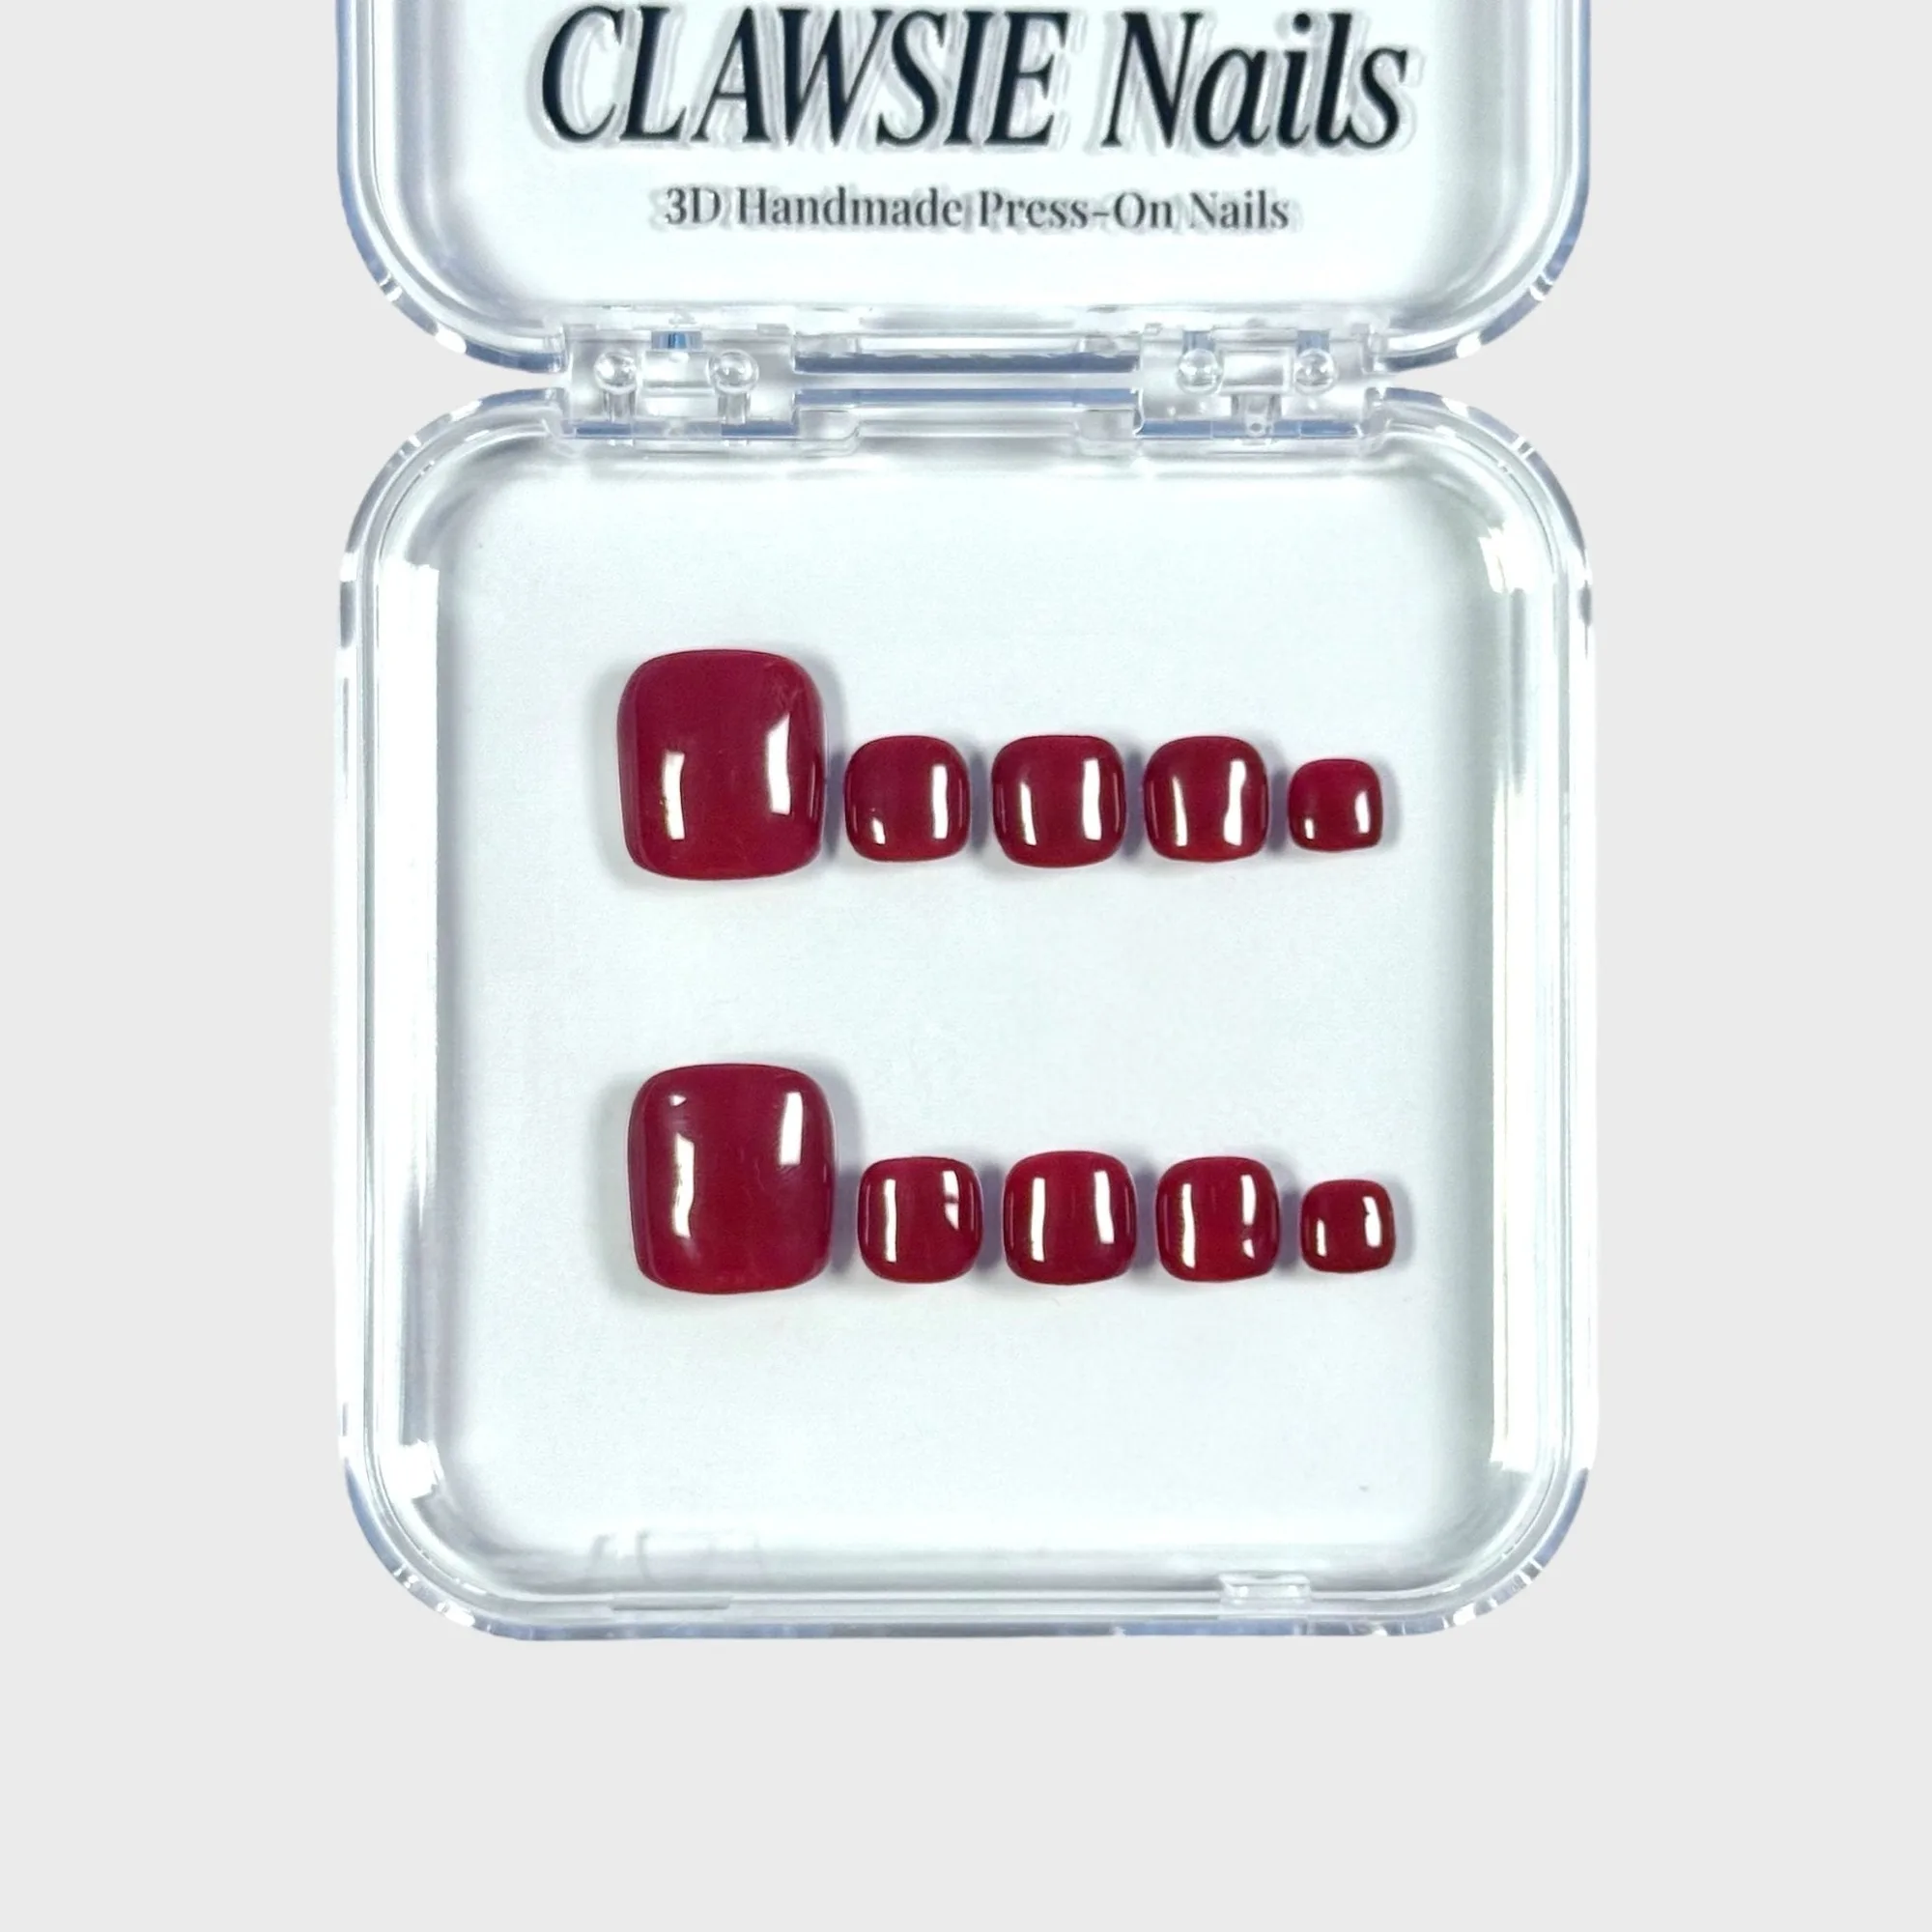
- Wine cherry: Wine cherry press on nails from CLAWSIE Nails are offered in sizes S and M. A two-size range makes fit checks quick, and a snug tip means you can use minimal adhesive and still get a secure bond.
Safe nail glue gel use is less about the product and more about the habits around it: a thin layer, clean edges, a full cure, and a patient removal. Get those four right and you get the long wear gel is known for without the irritation that gives it a bad reputation.