Quick Answer
The OutIn Nano adapters kit lets you connect your portable espresso machine to other coffee gear, like pour-over drippers or French presses, expanding your brewing options. To use it, identify the correct adapter for your gear, attach it securely, and follow the same brewing steps you would with the Nano. Avoid cross-threading and ensure a snug fit to prevent leaks.
The OutIn Nano is a lightweight, portable espresso machine that fits in your bag, but its usefulness doesn't stop at standalone shots. With the adapters kit, you can connect the Nano to other coffee gear you already own, turning it into a versatile brewing tool for camping, travel, or home. This guide walks you through the process step by step, so you can get the most out of your Nano.
Whether you want to brew directly into a travel mug, use a pour-over dripper, or experiment with a French press, the adapters kit bridges the gap. We'll cover what's in the kit, how to attach each adapter, and common mistakes to avoid. By the end, you'll be able to pair your Nano with other gear confidently.
What's in the OutIn Nano Adapters Kit?
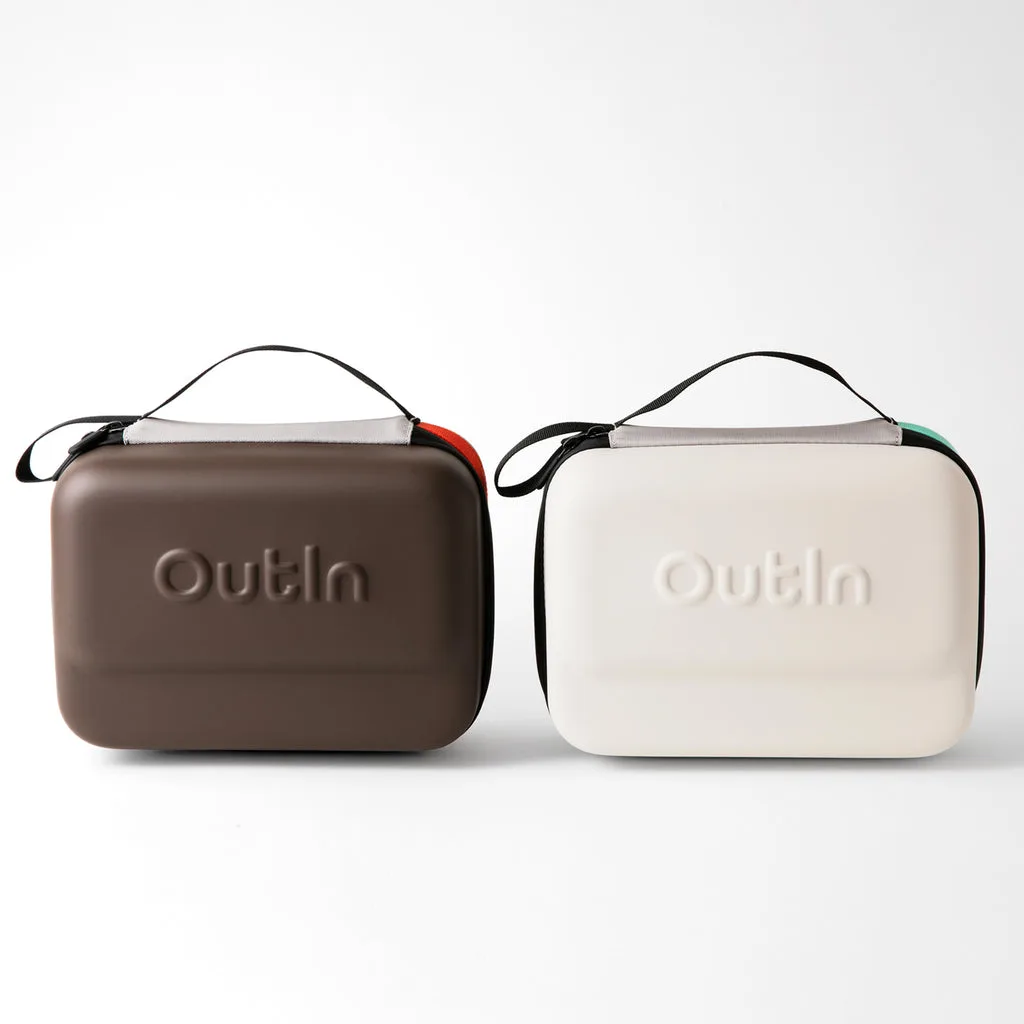
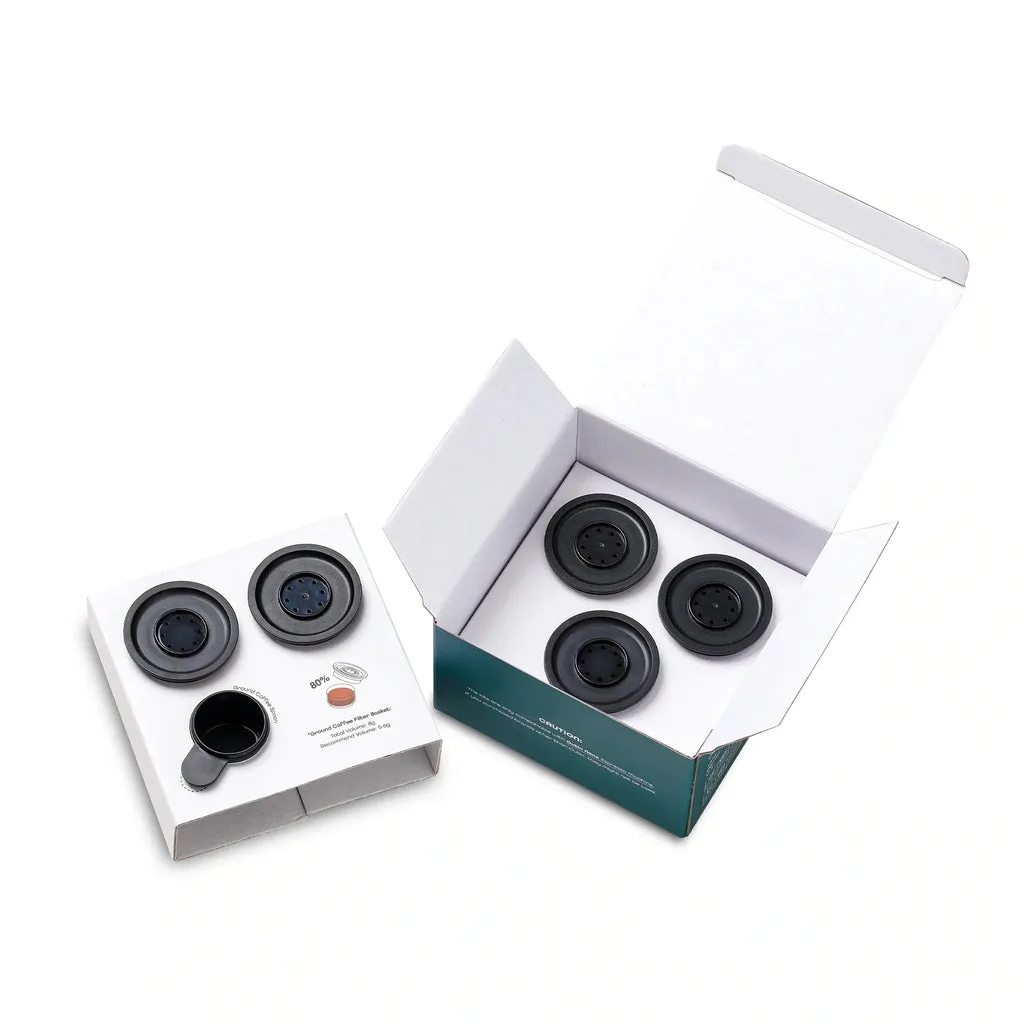
The adapters kit includes a set of connectors designed to fit the OutIn Nano's portafilter and spout. While the exact contents may vary, the kit typically includes a few different adapter rings and a small wrench for tightening. These adapters allow you to attach the Nano to gear with different thread sizes or spout openings.
Before you start, check the kit contents against the manual. Some adapters are specific to certain brewing devices, so it's important to know which one you need. If you're unsure, start with the adapter that fits your gear's opening most closely—it should slide on without excessive force.
- Keep the wrench handy for tightening, but avoid over-tightening which can strip threads.
Step-by-Step: Attaching the Adapter to Your Nano
First, ensure your Nano is turned off and cool. Remove the portafilter and any basket. Choose the adapter that matches your gear's connection. For example, if you're connecting to a pour-over dripper with a wide opening, use the larger adapter ring.
Align the adapter with the Nano's spout and screw it on clockwise. Use the wrench to snug it, but don't force it—hand-tight is usually enough. Once attached, you can connect your other gear. A common mistake is cross-threading, which happens when you start at an angle. Always start threading by hand to ensure it's straight.
- Check for a secure fit by gently tugging the adapter—if it wobbles, re-thread it.
Brewing with Your Nano and Other Gear
Once the adapter is attached, you can brew as usual. Add your ground coffee to the basket, tamp lightly, and fill the water tank. The Nano heats up in about 200 seconds, so you can prepare your gear in the meantime. Place your pour-over or travel mug under the spout, then start the brew.
A key checkpoint is to ensure your receiving vessel is stable and positioned to catch the espresso stream. If you're using a pour-over, the espresso will drip through the coffee bed, creating a hybrid drink. For a travel mug, you'll get a straight shot. Adjust your grind size if the flow seems too fast or slow—finer for slower extraction, coarser for faster.
- Experiment with different gear to find your favorite combination—pour-over for a lighter cup, French press for a fuller body.
Step-by-Step: Using the Adapters Kit
- Identify your adapter: Check the kit and find the adapter that matches your gear's opening. Hold it up to the spout to confirm the fit. Checkpoint: The adapter should sit flush without forcing.
- Attach the adapter: Screw the adapter onto the Nano's spout clockwise. Start by hand to avoid cross-threading, then use the wrench to snug it. Common mistake: Over-tightening can strip threads. Hand-tight is usually enough.
- Connect your other gear: Attach your pour-over, travel mug, or French press to the adapter. Ensure it's stable and won't tip during brewing. Checkpoint: Gently tug to test the connection—if it wobbles, re-thread.
- Brew and adjust: Add coffee, tamp, fill water, and start the brew. Watch the flow and adjust grind size if needed. Checkpoint: Aim for a steady stream—too fast means coarser grind, too slow means finer.
Compatible Gear and Accessories
- Nano Portable Espresso Machine (OutIn Teal): Lightweight Espresso Machine: Weighs Only 670g Rapid Heating Time: Heat Up in Just 200 seconds* Rich Crema: Achieves Up to 92°C/198°F at 20 Bars of Pressure for a Creamier Coffee Extended Battery Life: 3*2500 mAh rechargeable battery delivers up to 5 brews starting with room temperature water (25°C / 77°F) or over 200 brews using hot water on a single charge. Professional Standards: European Certified Materials... The Nano's lightweight and fast heating make it easy to pair with other gear on the go. You can brew directly into a travel mug or pour-over without extra equipment.
- Nano Portable Espresso Machine Filter Baskets Kit (6g-8g): The Nano Portable Espresso Machine Filter Baskets Kit is designed to cater to the needs of ground coffee lovers who prefer the convenience of preparing multiple servings at once. It includes 5 Ground Coffee Filter Baskets and 1 Ground Coffee Spoon, making it an ideal companion for those who want to enjoy ground coffee without the hassle of using espresso pots or constantly cleaning and refilling the coffee machine... Having multiple baskets lets you prepare several shots in advance, which is handy when you're using the Nano with a pour-over or French press for a larger batch.
The OutIn Nano adapters kit opens up a world of brewing possibilities, letting you use your portable espresso machine with gear you already own. By following these steps and avoiding common mistakes, you'll get consistent, delicious results every time. Experiment with different setups to find your favorite way to brew on the go.