Quick Answer
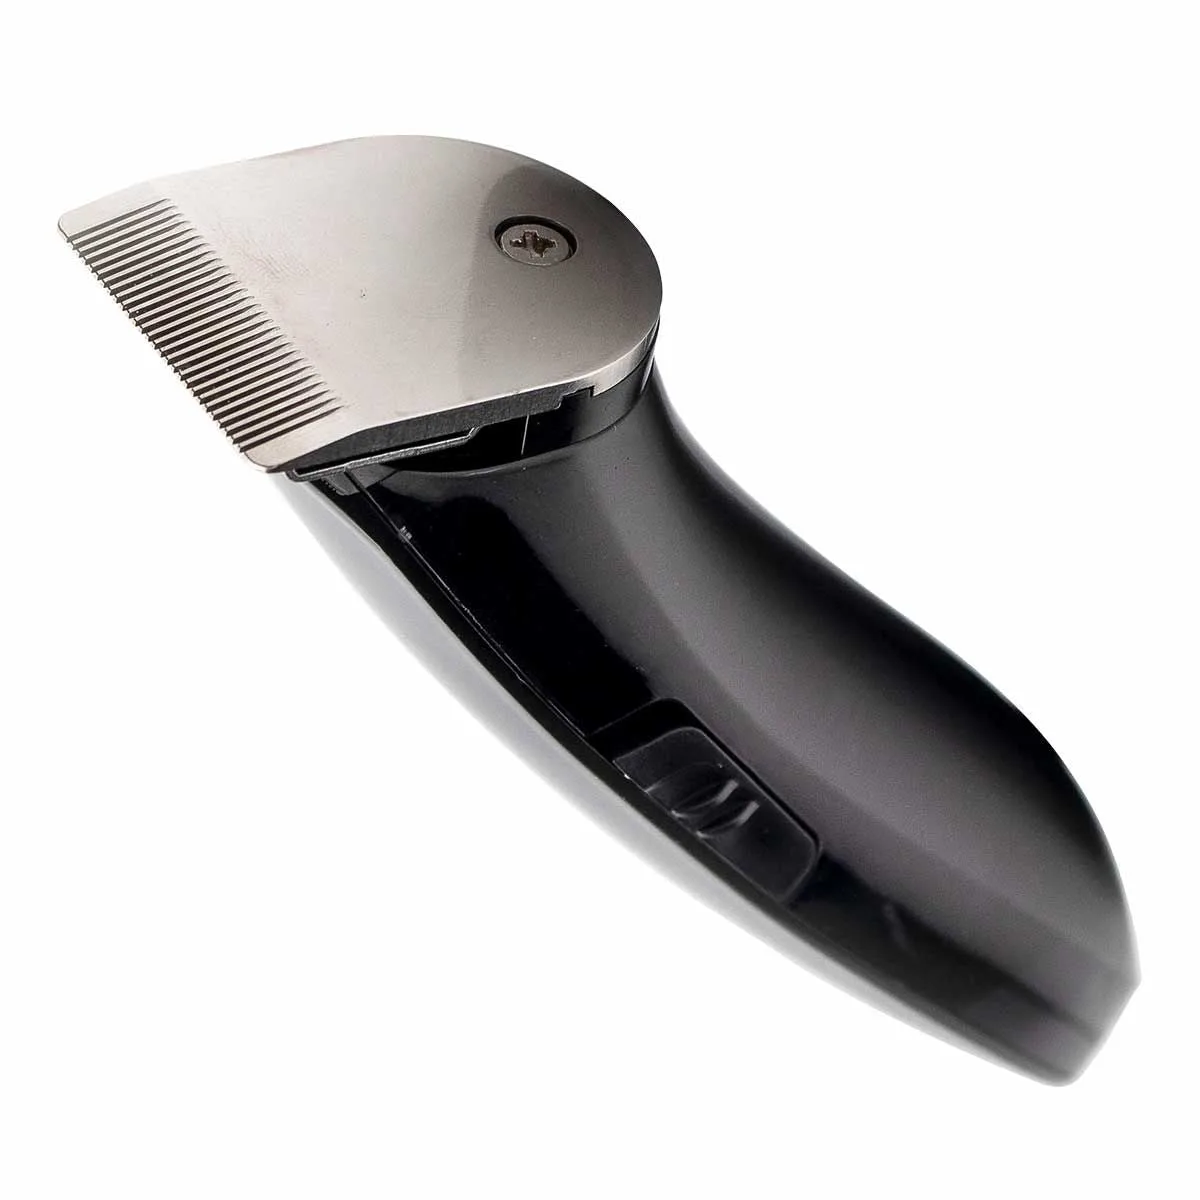
To safely trim ear and nose hair with the Pitbull Ear and Nose Trimmer Attachment, always start with clean, dry hair, use gentle circular motions, and never insert the trimmer deeper than the visible tip. This attachment is designed for precision and comfort, making it a reliable addition to your grooming routine.
Ear and nose hair can be a nuisance, but trimming it safely doesn't have to be tricky. The Pitbull Ear and Nose Trimmer Attachment is designed to help you manage these sensitive areas with confidence. Whether you're new to grooming or just want to refine your technique, this guide covers the essential steps and common pitfalls.
While the attachment is compatible with your Pitbull shaver, it's important to understand that the technique differs from shaving your head or face. You're working with delicate skin and tiny hairs, so a steady hand and the right approach matter. Let's walk through the process step by step.
Why Use a Dedicated Ear and Nose Trimmer Attachment?
Using a dedicated attachment for ear and nose hair is safer and more effective than using standard clippers or scissors. The Pitbull Ear and Nose Trimmer Attachment is engineered with rounded tips and a compact design that minimizes the risk of nicks and cuts. It's specifically made for the sensitive contours of your ears and nose, giving you control without the worry.
Additionally, a dedicated attachment keeps your main shaver hygienic. Using the same blades for your head and face as you do for your nose and ears can transfer bacteria and irritate skin. By swapping to the ear and nose trimmer attachment, you keep each grooming task separate and cleaner.
- Always clean the attachment before and after use to maintain hygiene.
- Check that the attachment is securely locked onto your shaver before starting.
Preparing Your Skin and Tools
Before you begin, make sure your skin is clean and dry. Washing your face and ears with a gentle cleanser removes oils and debris that could clog the trimmer or cause irritation. Dry the area thoroughly—trimming on wet skin can pull hairs and increase the risk of discomfort.
Inspect the attachment for any visible damage or hair buildup. A clean, well-maintained attachment glides smoothly and reduces the chance of tugging. If you notice any debris, remove the attachment and rinse it under warm water, then dry it completely before reattaching.
- Use a mirror with good lighting to see exactly what you're doing.
- If you have sensitive skin, consider applying a light moisturizer after trimming to soothe the area.
Step-by-Step Trimming Technique
Start with the nose. Gently insert the tip of the attachment just inside the nostril—no deeper than the visible metal tip. Move in slow, circular motions to trim hairs that protrude. Do not push the trimmer further in; you only want to remove visible hairs, not trim inside the nasal cavity.
For the ears, focus on the outer edge and the inner ridge where hair tends to grow. Use the same gentle circular motion, and avoid pressing hard against the skin. The attachment is designed to trim hair flush with the skin, so you don't need to apply pressure. Take your time, especially around the ear canal opening—never insert the trimmer into the ear canal itself.
- Pause and check your progress in the mirror to avoid over-trimming.
- If you feel any pulling or discomfort, stop and reposition the trimmer.
Step-by-Step Safe Trimming Checklist
- Clean and dry the area: Wash your nose and ears with a gentle cleanser and pat dry completely. Checkpoint: Ensure skin is dry to prevent pulling and irritation.
- Attach the trimmer securely: Click the ear and nose trimmer attachment onto your Pitbull shaver until it locks. Checkpoint: Give the attachment a gentle tug to confirm it's secure.
- Trim nose hair with gentle circles: Insert the tip just inside the nostril and move in slow, circular motions, staying at the visible hair line. Common mistake: Inserting too deep—keep the tip visible at all times.
- Trim ear hair along the outer ridge: Guide the trimmer along the outer edge and inner ridge of the ear, using light pressure and circular motions. Checkpoint: Avoid the ear canal—never insert the trimmer into the canal.
- Clean the attachment after use: Remove the attachment and rinse it under warm water, then dry it before storing. Checkpoint: A clean attachment prevents bacteria buildup and extends its life.
Recommended Products for Ear and Nose Trimming
- Skull Shaver Baby Beast Trimmer-3SUM: All-in-one grooming solution for beard, hairline, body hair, and below-the-belt sensitive areas, with different levels of care for each zone. If you're looking for a versatile trimmer that handles multiple grooming tasks, the 3SUM attachment set lets you switch between zones easily, including delicate areas like ears and nose, without needing separate devices.
- Baby Beast Trimmer with Precision blade | 4 Comb Attachments included: Hardened steel blades give comfortable close-to-skin trim for any hair type, with a precision blade for detailed areas and easy pop-off cleaning. The precision blade is ideal for detailed work like ear and nose hair, giving you extra control. The easy-cleaning design helps maintain hygiene, which is crucial for sensitive areas.
Trimming ear and nose hair doesn't have to be uncomfortable. With the right attachment and a careful technique, you can keep these areas neat and tidy in just a few minutes. Remember to take it slow, use gentle motions, and always prioritize hygiene. For the best results, consider pairing your Pitbull shaver with a dedicated attachment like the Skull Shaver Baby Beast Trimmer-3SUM or the Baby Beast Trimmer with Precision blade to handle all your grooming needs safely.