Quick Answer
To use precision tweezers for needlepoint, grip the cut stitch firmly with the angled tips and pull gently in the direction of the thread to avoid damaging the canvas. Always work in good lighting and check for lint or stray threads as you go.
Why precision tweezers beat scissors for stitch removal
When you need to remove a misplaced stitch, scissors can accidentally snip the canvas or nearby threads. Precision tweezers give you a controlled grip on the exact stitch you want to remove, reducing the risk of collateral damage.
Angled tweezers are especially helpful because the angled neck lets you reach stitches without blocking your view of the canvas. This is a real advantage when you're working on a detailed area or a small project.
Limitations to keep in mind
Tweezers are not a substitute for a seam ripper or a needle when you need to undo a long run of stitching. They work best for removing individual stitches or cleaning up after you've already cut the thread.
Also, if your tweezers have a very fine point, they may not grip thicker yarns or multiple strands as securely. In that case, use a pair with a broader tip or work strand by strand.
Step-by-step: Using precision tweezers for needlepoint
- Step 1: Prepare your workspace: Place your canvas on a flat surface with good lighting. Cut the stitch you want to remove with small scissors, leaving a loose end. Check that the stitch is fully cut before you pull—this prevents tugging on the canvas.
- Step 2: Grip the stitch: Hold the tweezers like a pencil and grip the cut stitch near the base, using the angled tips to keep your view clear. If the stitch slips, re-cut it rather than squeezing harder, which can crush the thread.
- Step 3: Pull gently in the direction of the thread: Pull the stitch out slowly in the same direction the thread runs through the canvas. Avoid pulling at an angle, which can distort the canvas holes. If the stitch resists, stop and check for any uncut threads—never force it.
- Step 4: Remove lint and stray threads: After removing the stitch, use the tweezers to pick up any lint or small thread fragments left on the canvas surface. This keeps your canvas clean and prevents them from tangling with adjacent stitches.
- Step 5: Re-stitch or move on: Once the area is clean, you can re-stitch with the correct thread or continue with your project. Store the tweezers in a safe place to avoid bending the tips. Always inspect the canvas holes for any damage before re-stitching.
Recommended tool for the job
-
Angled Precision Tweezers: These tweezers have an angled neck and a long handle, made from German-grade stainless steel, and are ambidextrous. The angled neck improves visibility while you work, and the long handle gives you a comfortable grip, making stitch removal easier and more precise.
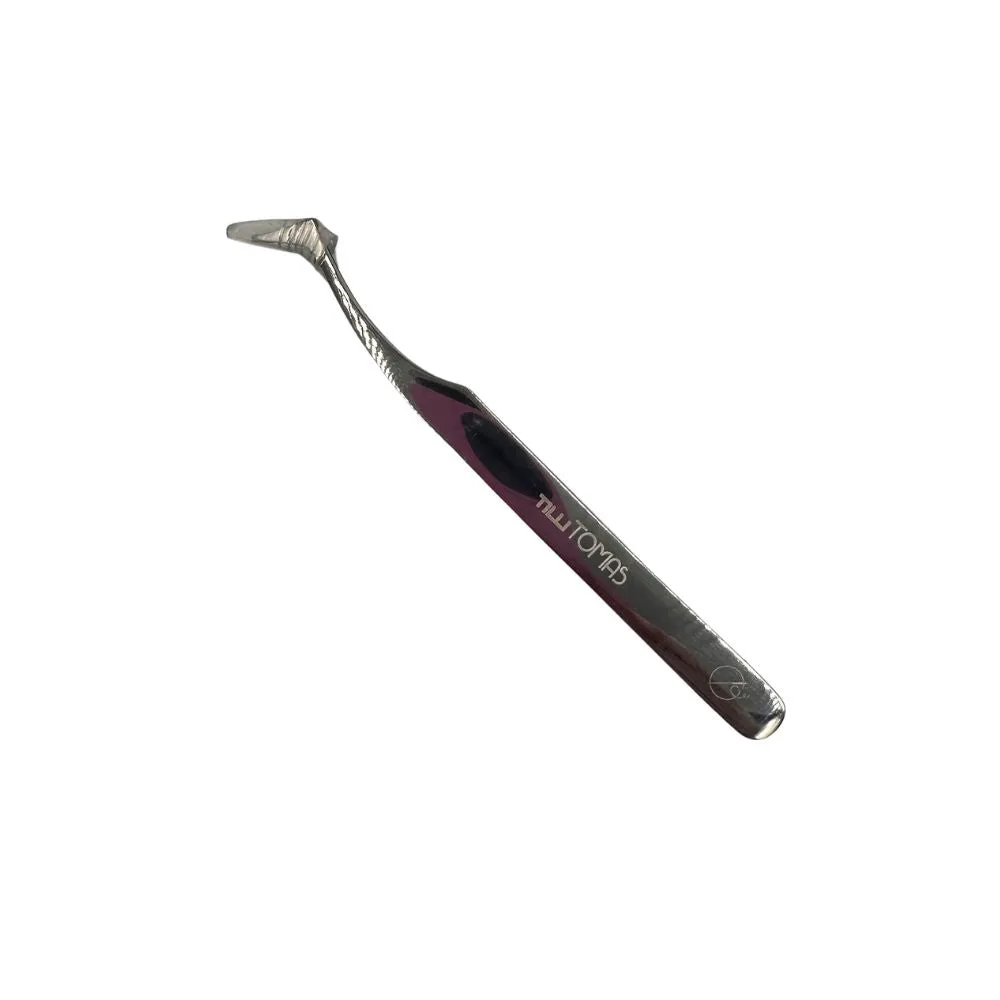
Angled Precision Tweezers