Quick answer
Roll your canvas around a rigid tube with the stitched side facing out, secure it with a soft hair tie, and pack it in a hard-sided case. Keep threads in a separate pouch and needles in a magnetic holder. This prevents creases, snags, and tangles while you travel.
You have a needlepoint project half-finished and a trip coming up. The last thing you want is to open your bag and find a snagged stitch, a tangled thread nest, or a canvas bent out of shape. With a little planning, your project can travel as neatly as it sits on your stitching chair at home.
The key is to treat the canvas, threads, and tools as three separate packing problems. Each has its own failure mode in transit, and each has a simple fix that takes only a few minutes to set up.
Why unfinished needlepoint gets damaged in transit
An unfinished needlepoint project is vulnerable because the canvas is exposed, the threads are loose, and the work is not yet blocked or finished. In a bag, the canvas can be crushed by other items, the thread can catch on zippers or keys, and needles can poke through fabric and disappear.
Most damage happens from three forces: pressure, friction, and tangling. Pressure creases the canvas and can distort stitches. Friction pulls individual threads and creates fuzz or breaks. Tangling turns a relaxing project into a frustrating detour. Knowing which force is most likely in your bag helps you choose the right protection.
- Never pack an unfinished project loose in a tote with keys, chargers, or snacks.
- Avoid folding the canvas along a stitched area, even for a short trip.
- Keep needles out of the canvas when the project is not in your hands.
How to pack an unfinished needlepoint project step by step
Start by threading your needle and parking it in the margin of the canvas, away from the design. Then roll the canvas around a rigid tube, such as a poster tube or a paper towel roll reinforced with tape. Roll with the stitched side facing out so the stitches do not press into themselves.
Secure the roll with a soft hair tie or a strip of fabric, not a rubber band that can leave residue. Place the roll in a hard-sided case or a stiff pouch. Keep threads in a separate small pouch or a divided organizer. Put needles in a magnetic needle holder or a small tin. Finally, place the whole setup in the center of your carry-on, away from the bag's edges.
- Roll, don't fold: rolling distributes pressure and prevents sharp creases.
- Use a tube that is longer than the canvas width so the edges are protected.
- If you must fold, fold along an unstitched margin and pad the fold with tissue.
Choosing the right travel storage for your project
Not all projects need the same level of protection. A small ornament-sized canvas can travel in a stiff envelope, while a larger kit needs a tube and a case. Consider the size of your canvas, the fragility of the threads, and how much jostling it will face.
For short trips, a large resealable bag with a piece of cardboard for support may be enough if you keep it at the top of your bag. For air travel or road trips with lots of movement, a hard-sided pencil case or a dedicated needlepoint travel case is worth the space. If you are packing multiple projects, keep each one in its own sleeve so threads do not mix.
- Match protection to the trip: a commute needs less than a cross-country flight.
- Label each project sleeve if you are bringing more than one.
- Keep a small pair of scissors in a checked bag or a protected sheath in carry-on.
What to do if your project gets damaged on the road
If you open your bag and find a snag, do not pull it. Use a needle or a snag tool to work the pulled thread back into the canvas from the back side. If the canvas is creased, lay it flat under a heavy book for a day or two. For tangles, separate the threads with a needle one strand at a time rather than pulling.
If a needle is lost, check the lining of your bag with a magnet before you reach in. If the canvas is severely bent or the stitches are broken, stop stitching and assess whether the project can be repaired or should be restitched. Sometimes the best fix is to set it aside until you are home with your full toolkit.
- Never pull a snag from the front; always work from the back.
- A crease that does not relax after a day under weight may need professional blocking.
- If the canvas is torn, do not stitch over it; patch from the back with a small piece of canvas and adhesive.
When to leave the project at home
Some projects are not worth the risk of travel. If your canvas is very large, the design is nearly finished, or the threads are delicate silks that snag easily, consider leaving it at home. Instead, bring a small, sturdy kit that you can finish in a weekend.
Kits with self-finishing elements, like luggage tags, are ideal travel companions because they are designed to be completed and used on the go. If you are unsure, choose a project that you can replace or repair without heartbreak. The point of travel stitching is relaxation, not anxiety.
- Leave heirloom or nearly finished projects at home.
- Choose a kit with durable threads and a small canvas for travel.
- If you would be devastated by damage, it is not a travel project.
Diagnose your travel damage risk
- Symptom: creased or bent canvas: The canvas was folded or compressed under heavy items. Corrective action: roll the canvas around a rigid tube and pack it in a hard case. If already creased, lay it flat under weight for 24-48 hours. If the crease does not relax, stop and seek professional blocking.
- Symptom: tangled or fuzzy threads: Threads were stored loose and rubbed against each other or a zipper. Corrective action: keep each thread in a separate slot or small bag, and use a thread conditioner if needed. Untangle with a needle, never by pulling. If threads are frayed beyond use, replace them rather than stitching weak fibers.
- Symptom: snagged or pulled stitches: The stitched area caught on a sharp object or was pulled by a loose thread. Corrective action: work the snag back from the back side with a needle. Prevent it by rolling the canvas stitched-side out and keeping it away from zippers. If the canvas is torn or multiple stitches are broken, stop and assess repair options.
Travel-friendly needlepoint kits from our catalog
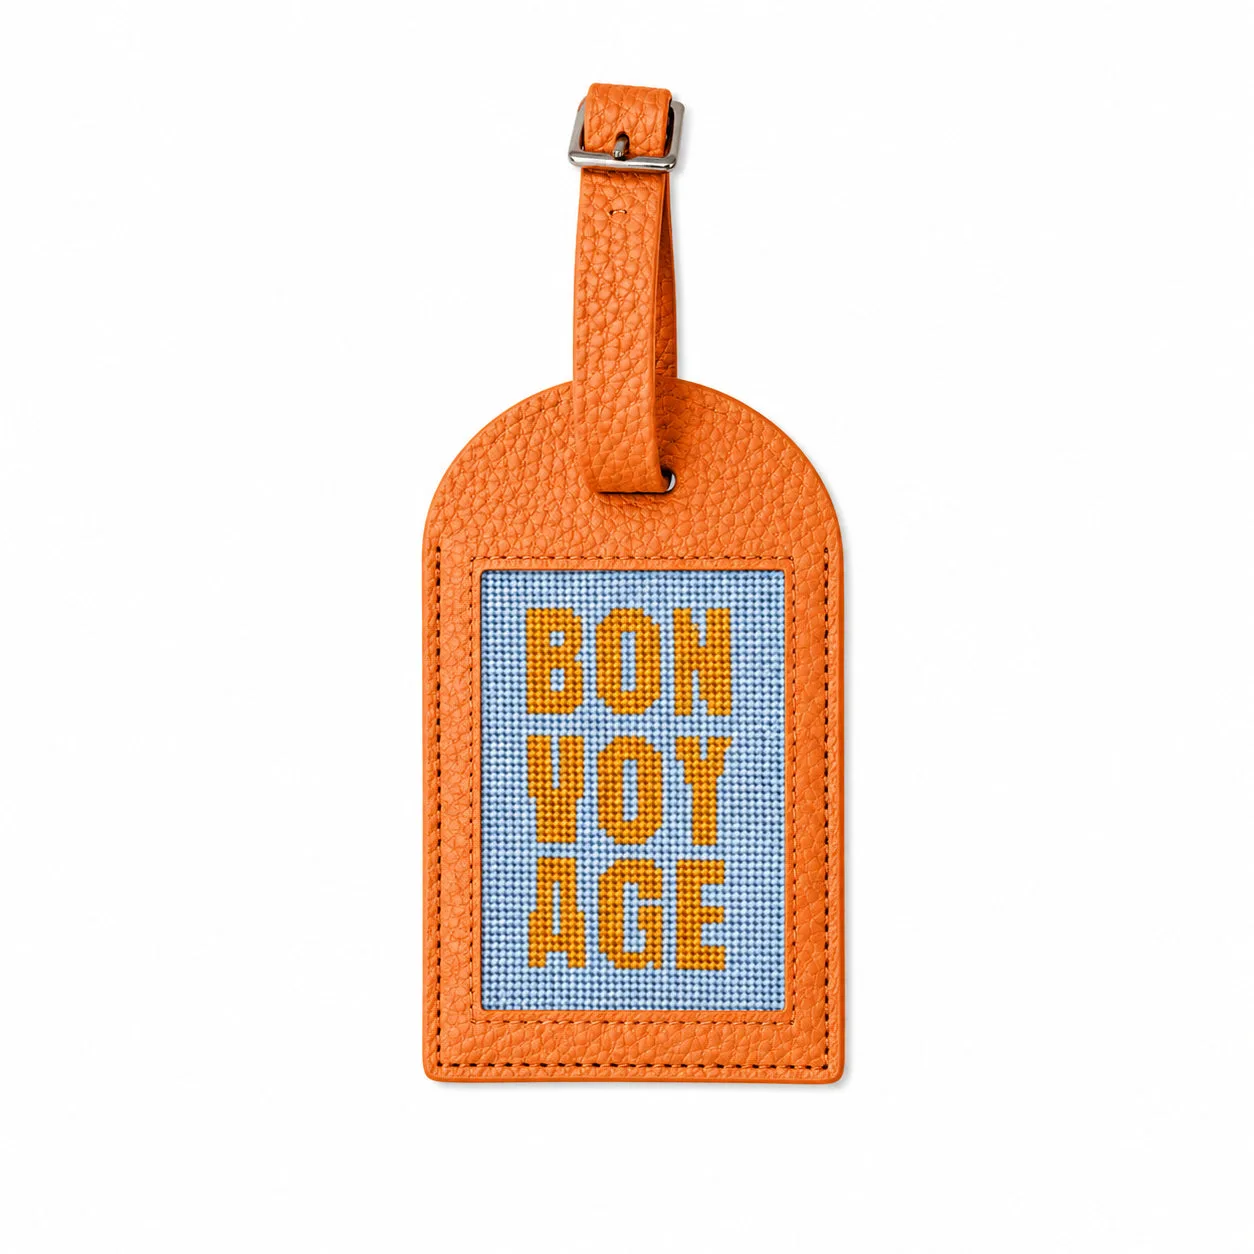
- Needlepoint Luggage Tag Kit | Bon Voyage | Orange: Includes an 18 holes-to-the-inch needlepoint canvas, Pepperpot Silk threads, and a premium luggage tag with 3M adhesive for self-finishing. The self-finishing tag means you can complete the project on your trip and immediately attach it to your bag, with no extra finishing supplies needed.
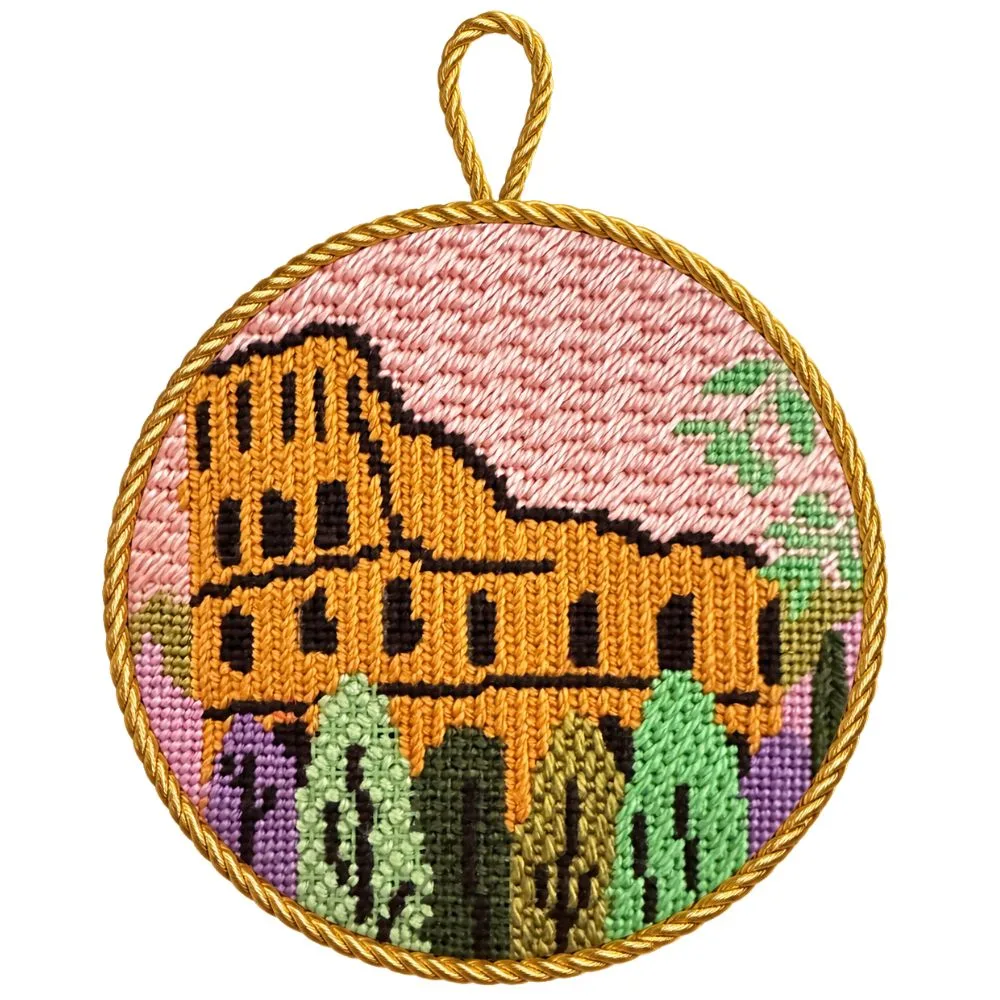
- Rome at Sunset Needlepoint Kit: Features a 4-inch diameter design on 18-mesh mono canvas, Pepperpot Silk thread, two Bohin size 22 needles, and an illustrated stitch guide. The small round canvas rolls easily around a tube, and the included needles and guide mean you can stitch anywhere without hunting for tools.
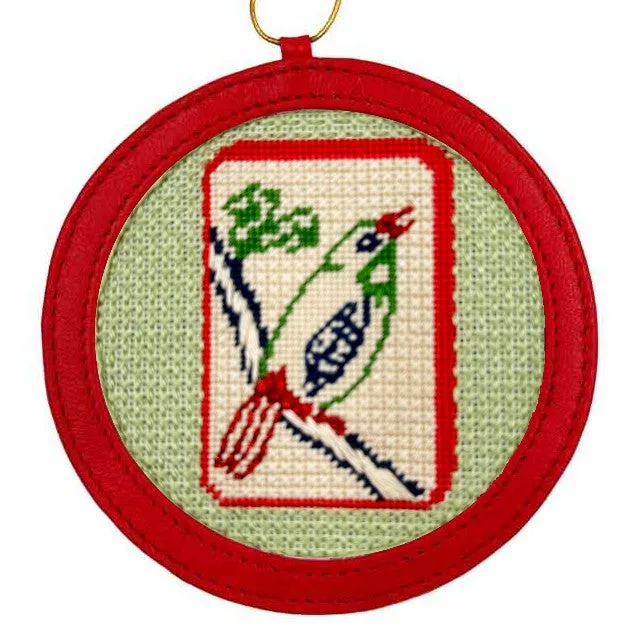
- Mahjong Tile Needlepoint Kit: Includes color-printed 18-count mono canvas, Pepperpot Silks, DMC cotton, Caron Snow threads, a full-color stitch guide, and two Bohin needles. The 4-inch round format is compact for travel, and the mix of threads gives you options if one type tangles or snags in transit.
Traveling with an unfinished needlepoint project does not have to be risky. Roll your canvas, separate your threads, and secure your needles. With the right habits, you can stitch anywhere and arrive with your project ready for the next relaxing session.