Quick answer
A Rock-a-Block is a clear acrylic stamp positioning tool that lets you see exactly where a clear stamp will land before you press down. Peel your stamp from its backing sheet, press it onto the block, ink it, then rock the block gently onto your paper and lift straight up. Because the block is clear, you can line the stamp up with your card edges, previous stamped images, or a stamped sentiment before any ink touches the paper.
Clear stamps are flexible, see-through, and easy to reposition, but they only behave that way when they are mounted on a firm, flat surface. A Rock-a-Block gives you that surface and, just as importantly, a clear view through it. That combination is what turns a wobbly first attempt into a clean, centred stamped image.
This tutorial walks through the whole process in order, from choosing the right block size to cleaning and storing the stamp afterwards. Each step includes the mistake that trips up most beginners, so you can catch it before it costs you a card front.
What a Rock-a-Block actually does
A Rock-a-Block is a clear acrylic block with a gently curved or contoured grip that lets you rock the stamping surface onto the paper rather than pressing straight down. The clear material is the point: you can see the stamp, the paper, and any existing stamped images through the block at the same time. That visibility is what makes it a stamp positioning tool rather than just a handle.
It works with clear and photopolymer stamps, which are designed to cling to acrylic. It is not a replacement for a stamping platform, which holds the stamp in a fixed position for repeated impressions. The Rock-a-Block is the simpler tool for single, well-placed impressions, and that is exactly what most beginners need first.
- Use the smallest block that fully supports the stamp; a block that is too large is harder to place accurately.
- Keep the acrylic surface clean and free of oil from your fingers, because clear stamps cling by surface tension.
Before you start: paper, ink, and a clean workspace
Set yourself up on a smooth, hard surface rather than a soft mat that lets the paper dip under pressure. A craft mat or cutting mat gives you a flat, wipeable work area and protects the table underneath. Have your card or paper cut to size first, because trimming after stamping risks cutting into the image.
Ink choice matters more than beginners expect. Dye inks dry quickly and suit fine detail, while pigment inks stay wet longer, which gives you time to blend or add embossing powder. Spectrum Noir Harmony Opaque Pigment Inkpad - Smoked Pearl is a pigment ink with a slow-drying, slightly sticky texture, so it is a good fit when you want to work the ink or emboss over it. If you are stamping a sentiment you plan to colour immediately, a fast-drying dye ink is the safer pick.
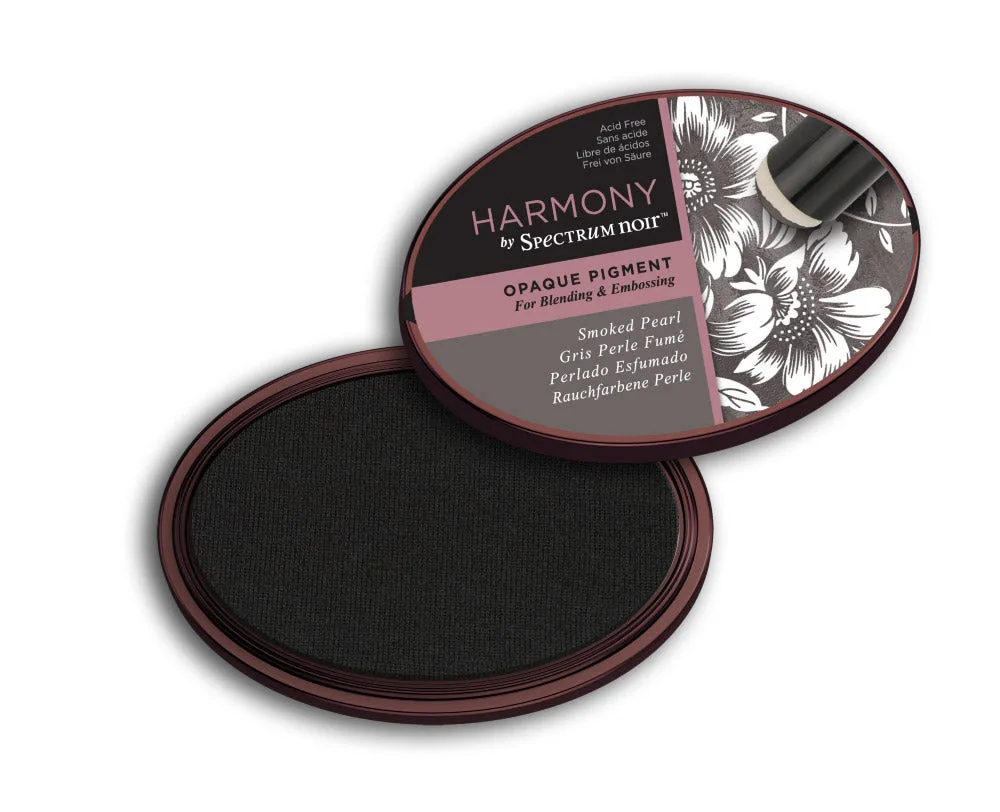
Spectrum Noir Harmony Opaque Pigment Inkpad - Smoked Pearl
- Test your stamp on scrap paper first; it tells you how much pressure your ink pad and paper need.
- Keep a damp cloth or stamp cleaner within reach so you can wipe the stamp between colour changes.
Choosing the right block for the stamp
Match the block to the stamp, not the other way around. A small sentiment stamp on a large block is awkward to aim because most of the block is empty space. A large background stamp on a small block will overhang the edges, and the unsupported areas will not press down evenly.
If you are stamping a word die project, remember that stamping and die cutting are separate steps. The Gemini Expressions Metal Die - Save The Date is a thin metal die set with a matching frame, so you can cut the words and layer them over a stamped background rather than trying to stamp and cut in one pass. Plan which element is stamped and which is cut before you commit ink to paper.
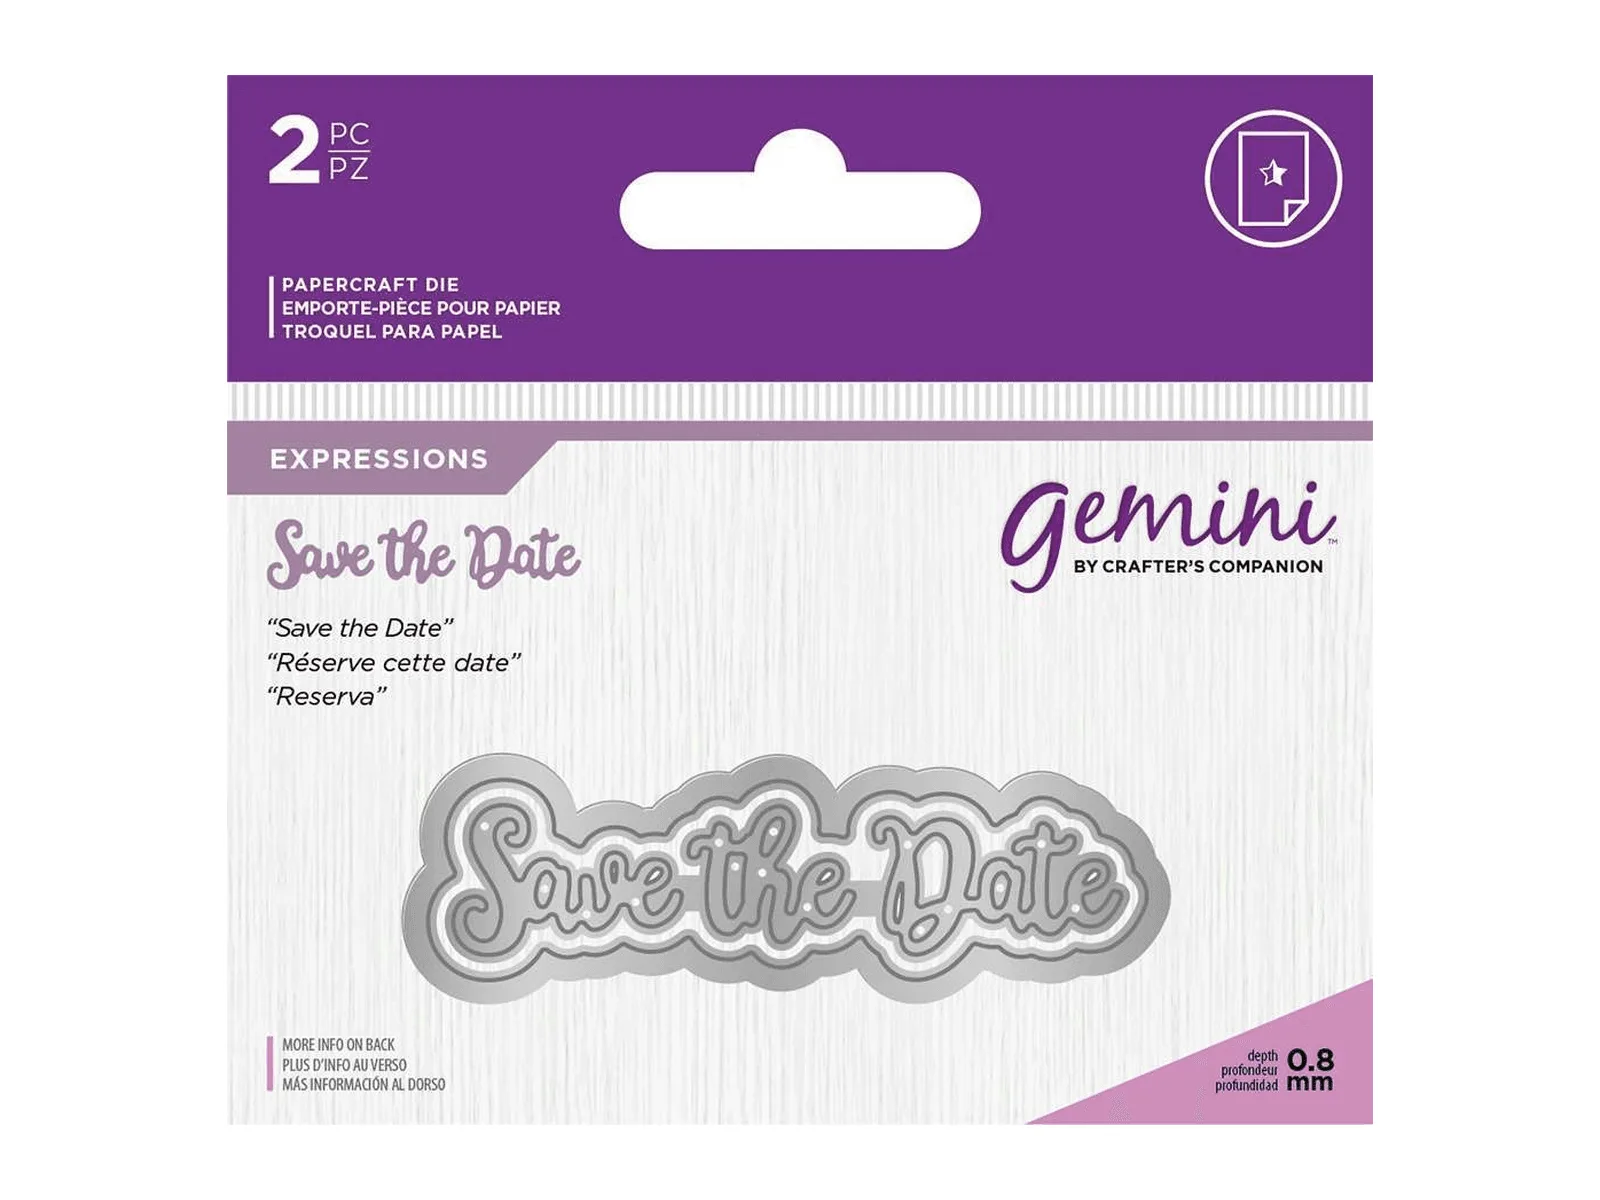
Gemini Expressions Metal Die - Save The Date
- Aim for at least a small margin of block around every edge of the stamp.
- If a stamp is larger than any block you own, stamp it in sections or use a stamping platform instead.
Rock-a-Block stamping, step by step
- Step 1: Prepare the stamp: Peel the clear stamp from its backing sheet and check for dust or lint. If it has been stored loose, wipe it with a stamp cleaner or a little water and let it dry fully. Common mistake: mounting a dusty stamp, which causes patchy, faded impressions no matter how hard you press.
- Step 2: Mount the stamp on the block: Press the stamp onto the acrylic surface with even finger pressure, working from the centre outwards. The stamp should cling flat with no lifted corners or trapped air. Checkpoint: look through the block from underneath. If any edge is not touching, press it down again before inking.
- Step 3: Ink the stamp evenly: Tap the stamp onto the ink pad rather than dragging it, covering the whole design. Tap a few times in different directions so the ink reaches the fine lines as well as the solid areas. Common mistake: pressing the stamp hard into the pad, which floods the design and fills in small details.
- Step 4: Position the image through the block: Hold the block above the paper and look through it to line the stamp up with your card edges or any previously stamped image. Because the block is clear, you can adjust before contact. This is the step that makes a Rock-a-Block worth using; skip the look-through and you lose the main advantage.
- Step 5: Rock the block down and lift straight up: Lower one edge of the block to the paper first, then roll the rest down with steady pressure. Hold for a second, then lift the block straight up without sliding it sideways. Common mistake: sliding or twisting the block on lift, which smears the image and blurs the outline.
- Step 6: Check the impression before you move on: Lift the block and inspect the stamped image in good light. If a line is faint, re-ink and stamp again in exactly the same position using the see-through block to realign. Checkpoint: faint patches usually mean uneven pressure or too little ink, not a faulty stamp.
- Step 7: Clean and store the stamp: Wipe the stamp with stamp cleaner or water while the ink is still wet, then return it to its backing sheet. Store stamps flat and away from heat so the polymer stays level. Common mistake: leaving pigment ink to dry on the stamp, which can stain it and affect future impressions.
Supplies worth knowing about
- Spectrum Noir Harmony Opaque Pigment Inkpad - Smoked Pearl: A pigment inkpad with a slow-drying, slightly sticky texture that gives you time to manipulate the shade and add a layer of clear embossing powder. The slow dry time is forgiving for beginners who need a moment to reposition or emboss, but it also means you should not stack finished pieces immediately.
- Gemini Expressions Metal Die - Save The Date: A thin metal die set that includes a matching frame, so the word die can be used alone or matted and layered with the frame. Useful when your stamped design needs a crisp die-cut sentiment layered on top rather than a stamped one, especially for save-the-date and occasion cards.
- Crafter's Companion - Kraft Card 50 sheets: A4 sized kraft cardstock with a thickness of 300gsm, supplied as a pack of 50 sheets. At 300gsm it is a sturdy base for stamped card fronts, and the neutral kraft tone shows both light and dark inks clearly, which helps you judge alignment while practising.
A Rock-a-Block rewards patience more than technique. Mount the stamp flat, ink it lightly, look through the block before you press, and lift straight up. Do those four things consistently and your stamp alignment stops being a gamble, which leaves you free to focus on the design.