Quick answer
Use a sanding stick as a rigid, controlled abrasive block: choose a grit suited to the material, support the part so it cannot flex, then sand seams and edges with light, even strokes rather than heavy pressure. Change grit only after the previous scratch pattern is gone, and clean the belt or stick often so it keeps cutting instead of polishing.
A sanding stick is one of the few hobby sanding tools that gives you both a flat face and a controlled edge, which is exactly what miniature work needs. The trick is not the tool itself but the order you use it in: grit, support, direction, then cleanup.
This guide walks through a repeatable process for plastic, resin, wood, and metal parts. It also covers the mistakes that cause rounded corners, melted plastic, and scratched paint, so you can sand confidently instead of guessing.
Match the grit to the job before you touch the model
Start coarser than you think you need for removing mold lines, then step finer for surface prep. A common mistake is beginning with a very fine grit on a heavy seam; it polishes the seam instead of removing it, and you spend far longer than necessary. Keep two or three grits on the bench so you can step up without hunting for supplies.
For miniature sanding tips, the practical rule is: coarse to shape, medium to blend, fine to finish. If the material is soft plastic, stay on the finer end and use almost no pressure, because heat builds quickly and can smear the surface.
- Label your grits so you do not mix them up mid-project.
- Replace the belt or stick when it stops cutting, not when it looks worn.
Support the part so it cannot flex
A sanding stick is rigid, but the model is not. If a thin wing, frame, or panel flexes while you sand, you will create a rounded edge or a wavy surface. Support the part from behind with a block, a pin, or your fingers, and sand only as far as the support allows.
This is the most common checkpoint people skip. Test the part with light finger pressure first; if it moves, add support before you start. The extra ten seconds saves a repair later.
- Sand toward the supported area, not away from it.
- For very thin parts, tape the piece to a flat surface and sand the exposed edge.
Use light, even strokes and let the abrasive cut
Pressure does not speed up sanding; it clogs the abrasive, heats the material, and rounds detail. Let the grit do the work with short, even strokes in one direction, then check the surface before continuing. On curved areas, rotate the stick slightly so the flat face follows the shape instead of cutting a facet into it.
If you see shiny, melted plastic or a burnished look, stop immediately. That is heat, not progress. Reduce pressure, lower your speed, and clean the abrasive before continuing.
- Sand in one direction, then switch direction only when you change grit.
- Tap or brush the belt clean every few strokes.
Blend seams and edges without losing the shape
Once the seam is flat, blend the surrounding area so the transition disappears. Work in small passes and check the silhouette against a reference photo or the box art. The goal is a continuous surface, not a perfectly flat one, so stop as soon as the line disappears.
For hard-to-reach areas, use the edge or corner of the stick rather than forcing the flat face into a tight spot. This is where sanding stick uses go beyond simple block sanding: the narrow edge reaches into panel lines and around small details without flattening them.
- Check progress under a light at a low angle; it reveals scratches you cannot see head-on.
- If you cannot reach a spot with the stick, switch to a file or blade rather than forcing it.
Clean up and finish before paint or assembly
Wipe or brush away dust before you apply primer or glue. Leftover abrasive dust can clog detail and create a weak bond. If you used a sanding belt, check that it is still seated correctly and replace it when the cutting action drops off.
Finish with a fine grit only if the surface needs it. Over-sanding a miniature removes the crisp edges that make details read, so stop when the surface is uniform and the seam is gone.
- Use a soft brush, not your fingers, to remove dust from recessed detail.
- Test-fit parts before final sanding so you sand only what needs it.
Your sanding stick workflow, step by step
- Inspect and prepare the part: Look for mold lines, flash, and seams under a low-angle light. Remove bulk material with a sharp knife before you sand. Checkpoint: if the part flexes, support it before sanding.
- Choose your starting grit: Pick a grit coarse enough to remove the seam but fine enough for the material. Keep a finer grit ready for blending. Checkpoint: do not start with a polishing grit on a heavy seam.
- Sand the seam flat: Use light, even strokes in one direction with the flat face of the stick. Let the abrasive cut rather than pressing hard. Checkpoint: stop if the surface looks shiny or melted.
- Blend the surrounding area: Switch to a finer grit and make short passes until the seam line disappears and the surface is uniform. Checkpoint: check the silhouette against a reference before continuing.
- Clean and inspect: Brush away dust, check the belt or stick for clogging, and replace it if it stops cutting. Next step: prime, paint, or assemble only after the surface is clean and dry.
Tools that make this process easier
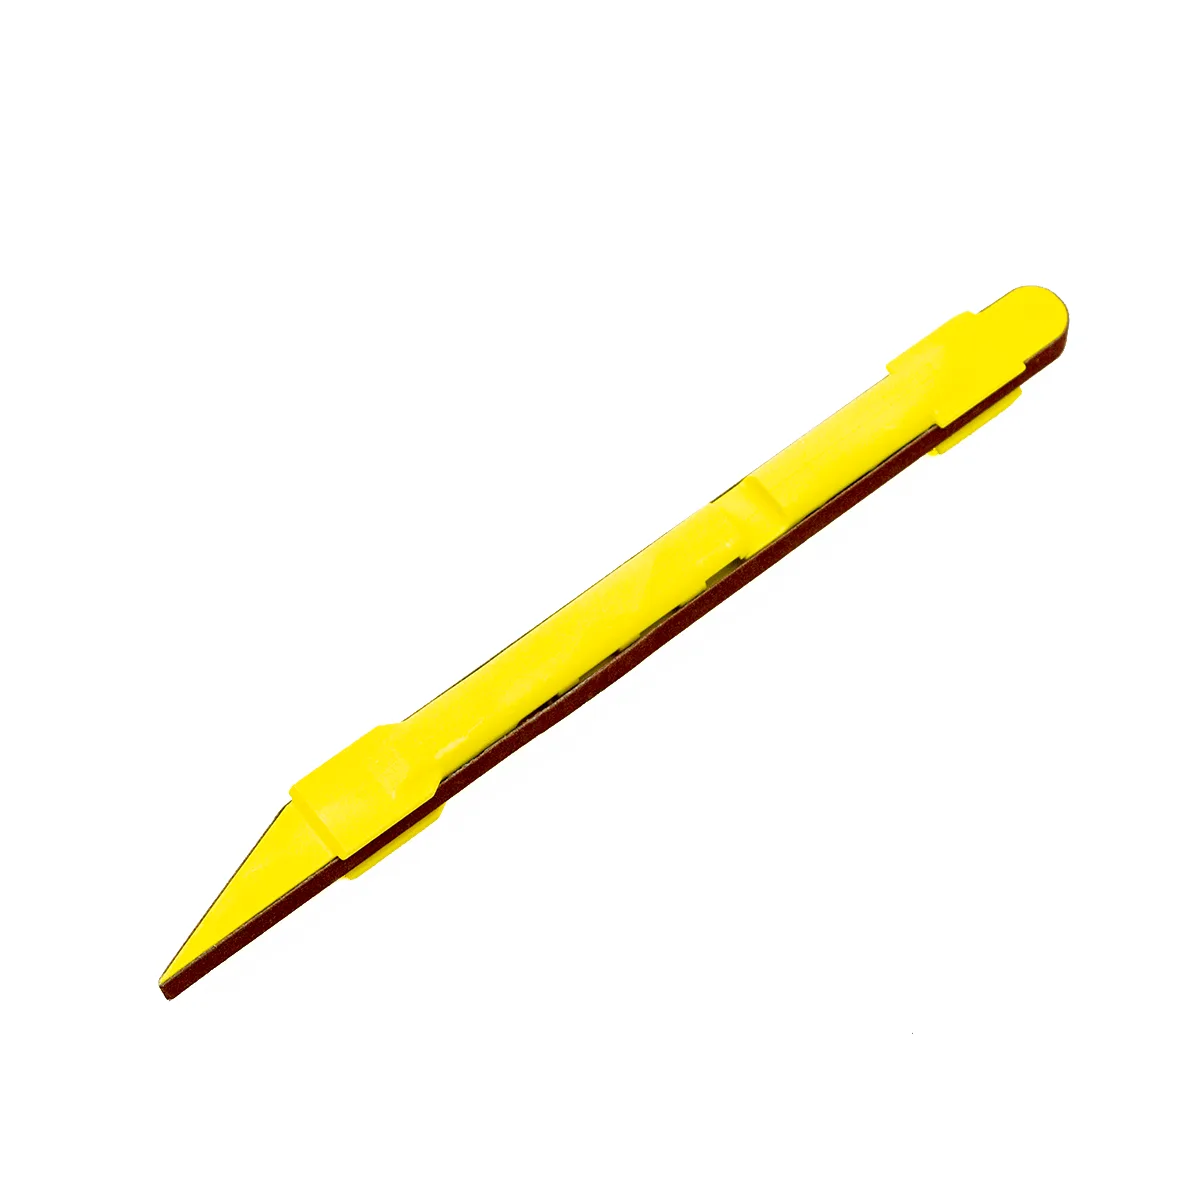
- Standing Stick With 1 Belt: Excel Blades Sanding Stick Kit with 1 Aluminum Oxide Sanding Belt is designed for wood sanding, deburring, grinding, shaping, and finishing, and it is available in different grit options. Having the right grit on hand lets you step from shaping to finishing without stopping, which is the core of a clean miniature sanding routine.
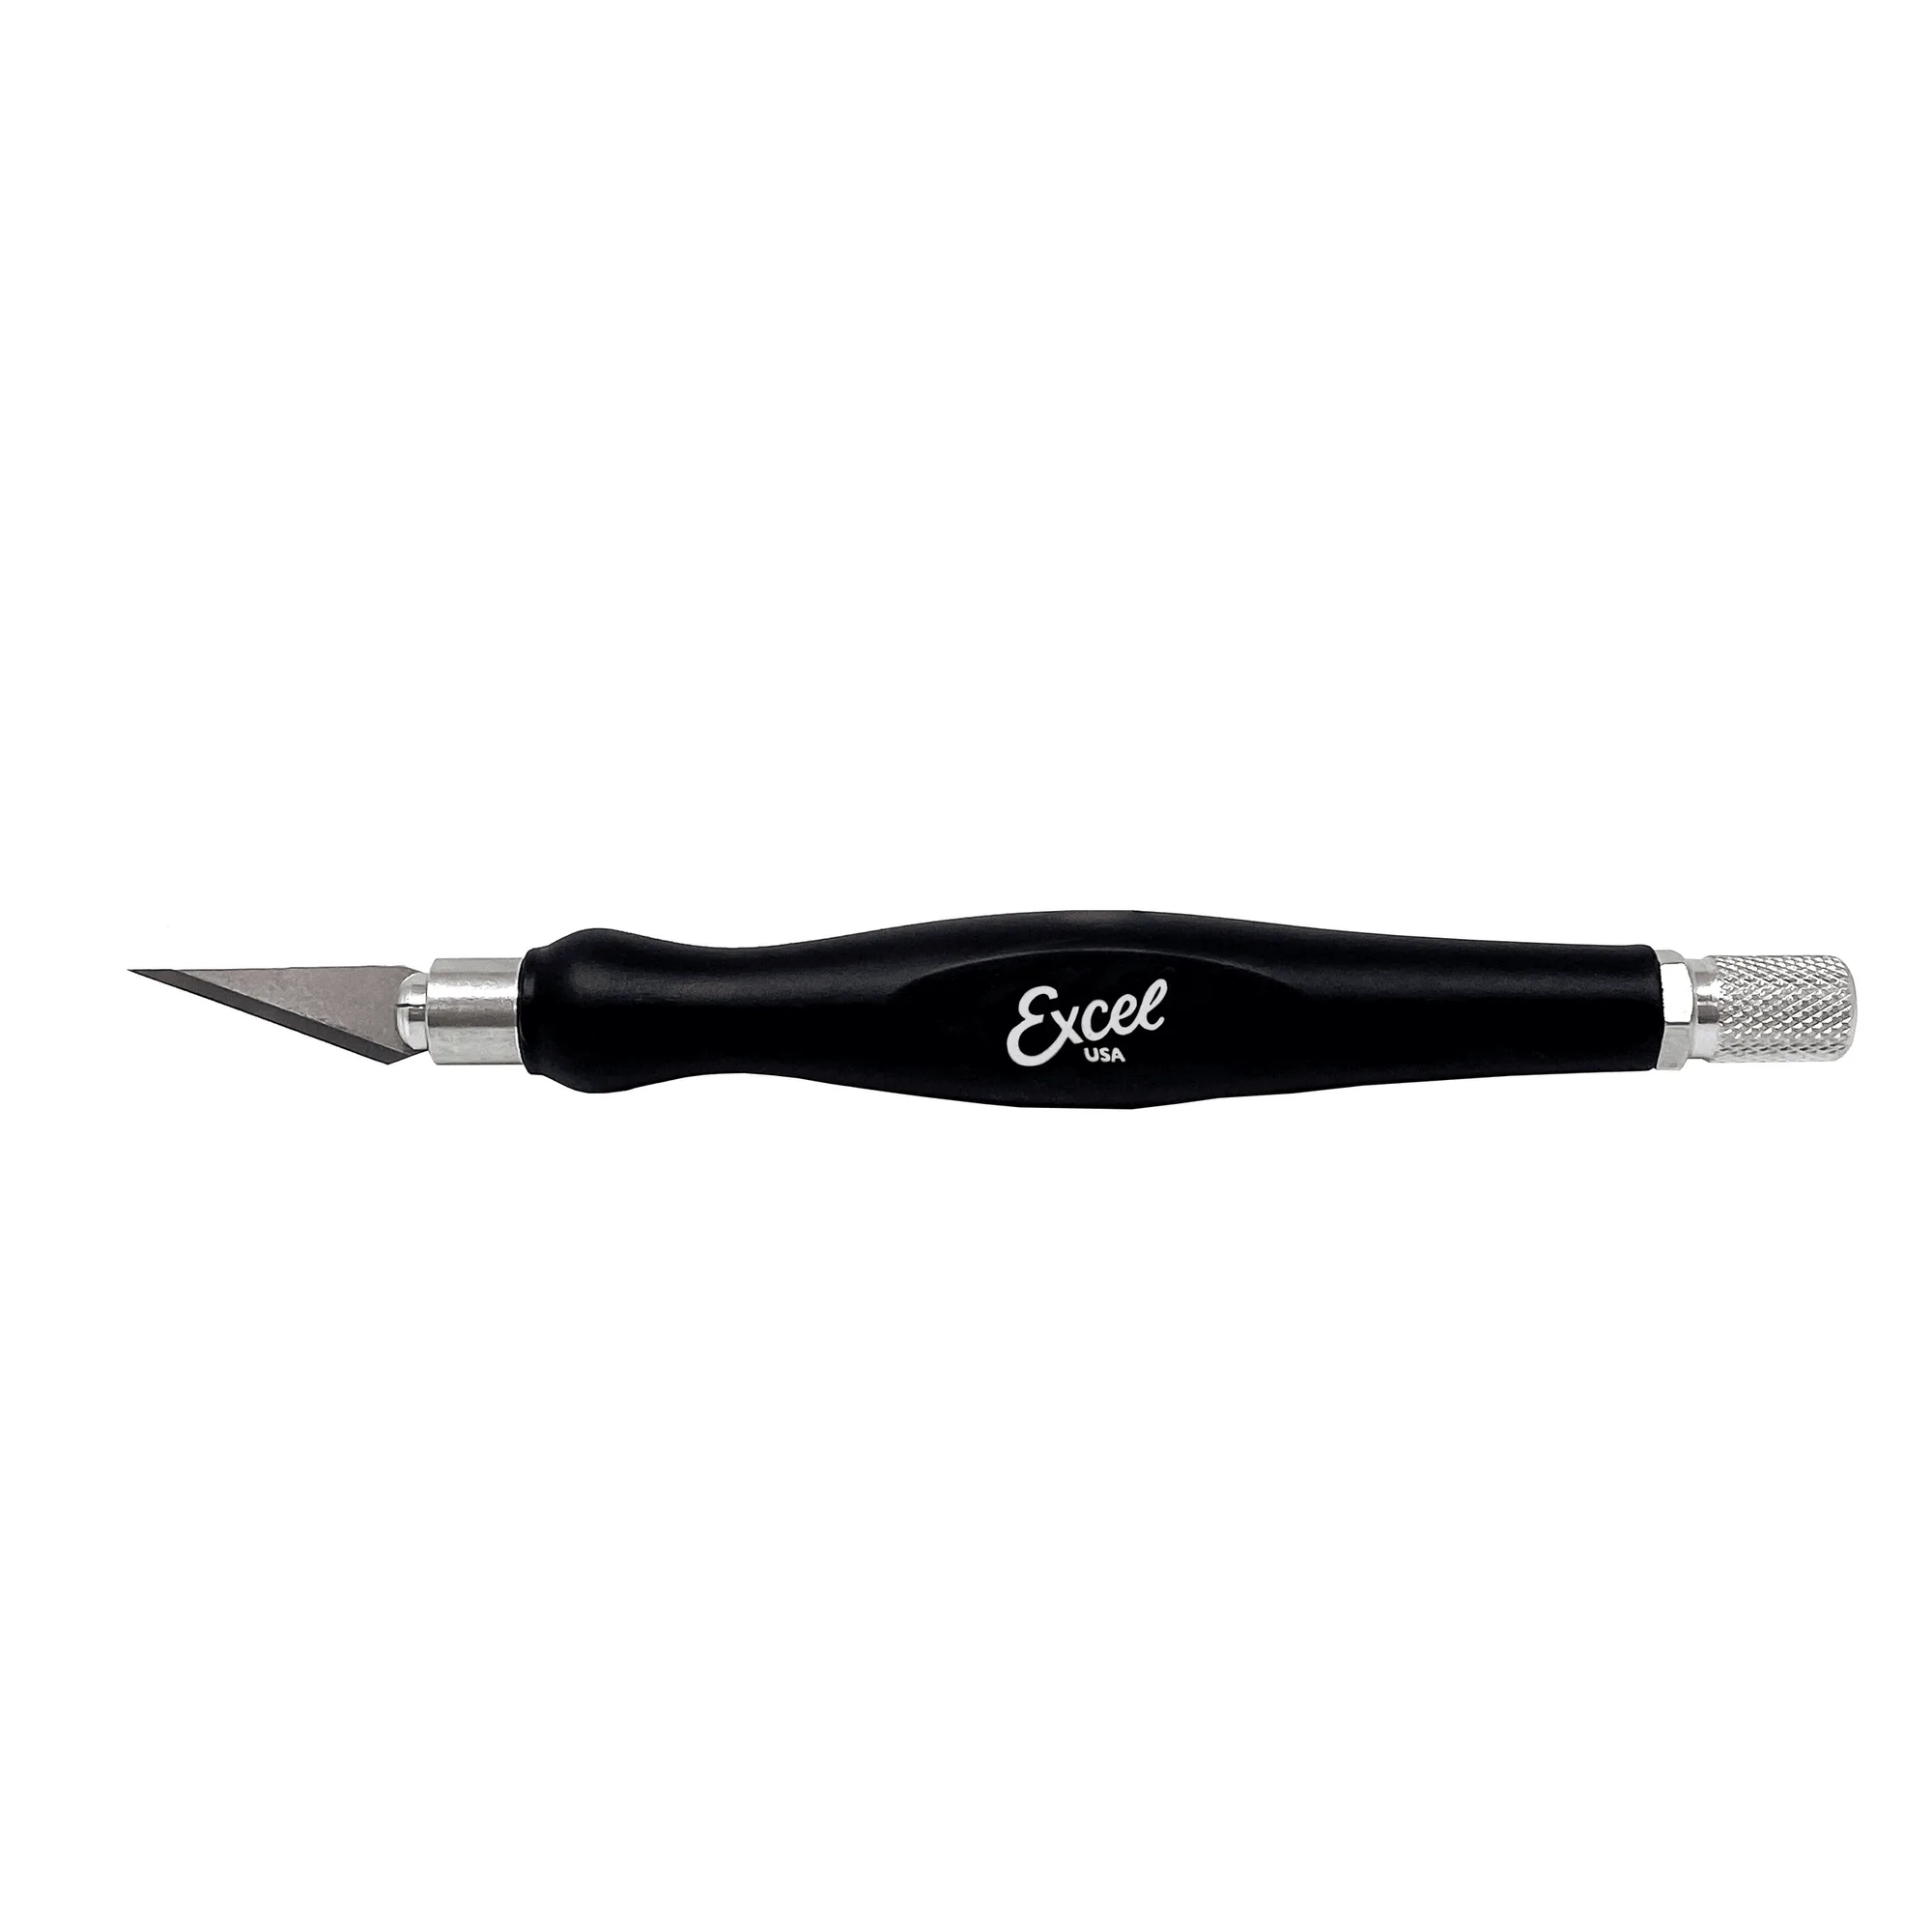
- Basic Craft Knife Set, K1 and K2 & Assorted Blades: The 12-piece set includes K1 and K2 handles with 10 assorted blades and ergonomic handles. A sharp knife removes mold lines and flash before sanding, so the stick only has to blend and finish rather than remove bulk material.
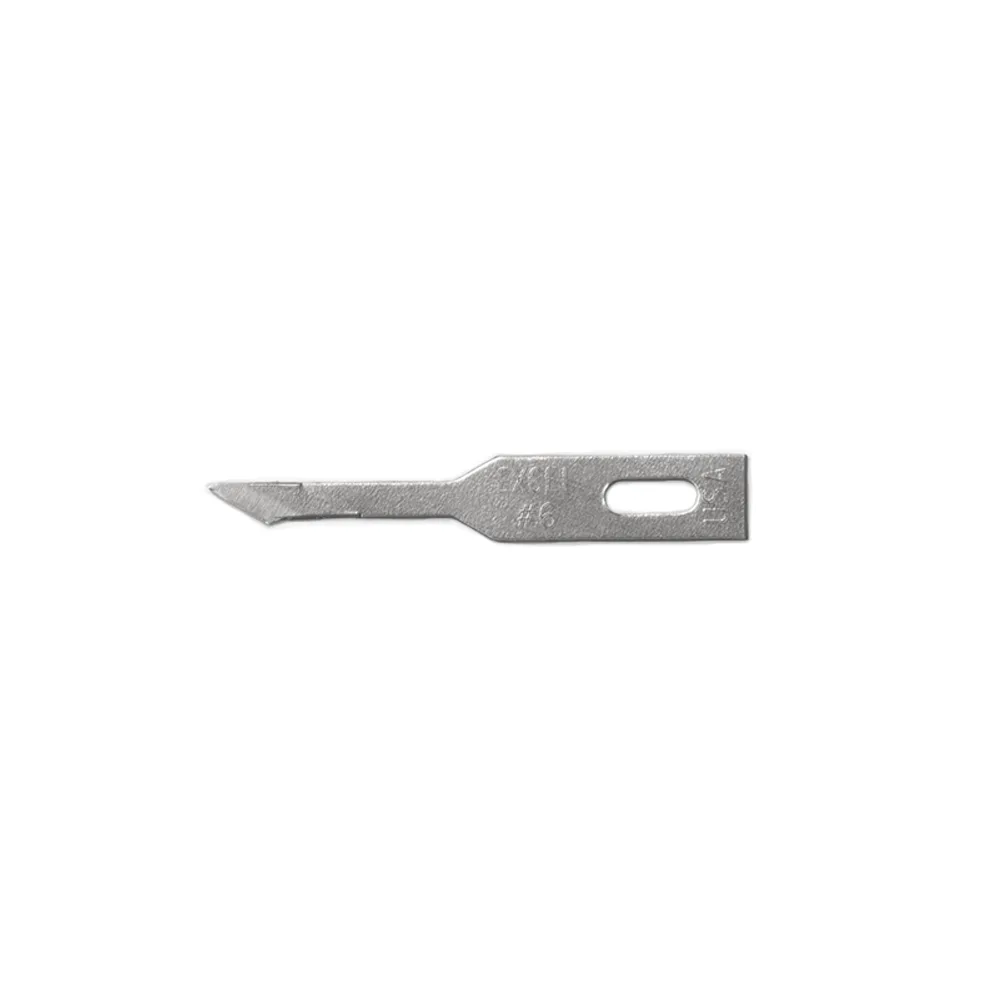
- https://excel-blades.com/products/6-micro-stencil-blade-copy-dfb2f5080ae3996c403cf00a-1634533#6 Micro Stencil Blade (100 pack): Made from carbon steel, this blade is described as perfect for scoring and trimming delicate materials and fits standard light and medium-duty handles. For fine trimming around details, a fresh micro blade gives you control before you sand, reducing the risk of rounding small features.
A sanding stick rewards patience more than pressure. Pick the right grit, support the part, work in light passes, and stop when the seam is gone. That routine keeps miniature detail crisp and makes every later step, from priming to assembly, easier.