Quick answer
Slide the sanding belt onto the stick so it sits snug with no slack, then hold the stick at a low angle and stroke in one direction along the edge instead of scrubbing back and forth. Keep the abrasive flat against the edge, use light pressure, and check the edge every few strokes so you stop before it rounds over.
A sanding stick with a fresh belt removes material exactly where you point it, which is why it works so well on edges that need to stay square. The catch is that the same stick will round an edge in seconds if you tilt it or press too hard.
This guide walks through loading, gripping, and stroking the tool, with the mistakes that cause the most rework on wood, foam, and plastic edges.
Match the belt and stick to the edge
Sanding belts come in different widths and grits, and the stick only works as well as the belt you load. For narrow edges on trim or small parts, a narrow belt keeps the abrasive on the edge instead of spilling onto the faces. For wider edges, a wider belt covers more surface per stroke and keeps the edge flatter.
Grit choice follows the same logic as sandpaper. Start with a coarser belt to true an edge that is out of square, then step to a finer belt to smooth the scratch pattern. Skipping the finer step leaves visible scratches that show up the moment you apply finish.
If your stick uses a specific belt size, check the tool or its packaging before ordering. Belts that are too loose will slip and chatter; belts that are too tight are hard to load and can tear at the seam.
- Label your belts by grit so you do not mix them up mid-project.
- Replace a belt when the abrasive glazes over or stops cutting, not when it looks worn.
Load the belt so it stays put
Slide the belt onto the stick and center it so equal amounts of abrasive sit on each side of the edge. A belt that hangs off one side will cut unevenly and can catch on the workpiece. Once the belt is on, press it flat with your thumb to seat it against the pad.
Check for slack by running a finger along the belt. Any loose section will bunch up during a stroke and leave a gouge. If the belt slides around, it is the wrong size for the stick or it is stretched out from use.
Load the belt before you pick up the workpiece, not after. Handling both at once is how most people drop the stick or nick the edge they just finished.
- Keep a spare belt loaded on a second stick so you can switch grits without stopping.
- Do not force a belt that will not slide on; it will tear at the seam.
Hold the stick and set your angle
Grip the stick near the top with your dominant hand and rest your other hand on the workpiece to steady it. The stick should feel like an extension of your hand, not a tool you are muscling. If your knuckles go white, you are gripping too hard.
For a square edge, keep the abrasive flat against the edge and the stick perpendicular to the face. For a slight chamfer, tilt the stick a few degrees and hold that angle for the whole stroke. The mistake is changing angle mid-stroke, which produces a wavy edge.
On thin or flexible material, support the back of the edge with a scrap block so the workpiece does not flex away from the belt.
- Mark the angle you want on a scrap piece and test your stroke before touching the real part.
- If the edge is critical, clamp the workpiece so both hands are free to control the stick.
Stroke in one direction and check often
Push the stick along the edge in one direction, lift it at the end, and return for the next stroke. Back-and-forth scrubbing cuts unevenly and loads the belt with debris. Long, even strokes keep the edge straight and the scratch pattern consistent.
Use light pressure and let the abrasive do the work. Pressing harder does not cut faster; it clogs the belt and heats the edge, which can burn wood or smear plastic. Two or three light passes beat one heavy pass every time.
Stop every few strokes and look at the edge under good light. Run a finger along it to feel for high spots or a rolled-over corner. Once the edge is square and smooth, stop. One extra stroke is how a crisp edge becomes a rounded one.
- Brush or tap out the belt when it loads up; a clogged belt stops cutting and starts burnishing.
- Wipe the edge between grits so loose grit does not scratch the next pass.
Finish the edge and clean up
After the final grit, wipe the edge with a dry cloth and check it against a straightedge or square. If you see light under the straightedge, the edge is not flat yet and needs another pass. If the corner is shiny and rounded, you have gone too far and need to re-square the edge.
For a finish-ready edge, make the last few strokes with the finest belt you have, then stop. Do not polish the edge with the stick; that is a job for a finer abrasive or a hand sanding block.
Store the stick with the belt still on it, or remove the belt and lay it flat so it does not crease. A creased belt will not sit flat on the pad next time.
- Write the grit on the stick with a paint pen so you grab the right one next time.
- Keep belts in a labeled bag or bin away from moisture, which breaks down the backing.
Edge sanding steps at a glance
- Load the belt: Slide the belt onto the stick and center it so equal abrasive sits on each side of the edge. Press it flat to seat it. Checkpoint: no slack, no overhang, no wobble.
- Set your grip and angle: Hold the stick near the top, steady the workpiece with your other hand, and keep the abrasive flat against the edge for a square result. Mistake to avoid: changing angle mid-stroke.
- Stroke one direction: Push along the edge, lift, and return. Use light pressure and let the abrasive cut. Mistake to avoid: scrubbing back and forth, which loads the belt and rounds the edge.
- Check and stop: Every few strokes, look at the edge and feel for high spots. Stop as soon as it is square and smooth. Checkpoint: one extra stroke is how edges get rounded.
- Finish and store: Wipe the edge, verify with a straightedge or square, and store the belt flat so it does not crease. Next step: move to a finer grit only if the scratch pattern needs it.
Tools that pair well with a sanding stick
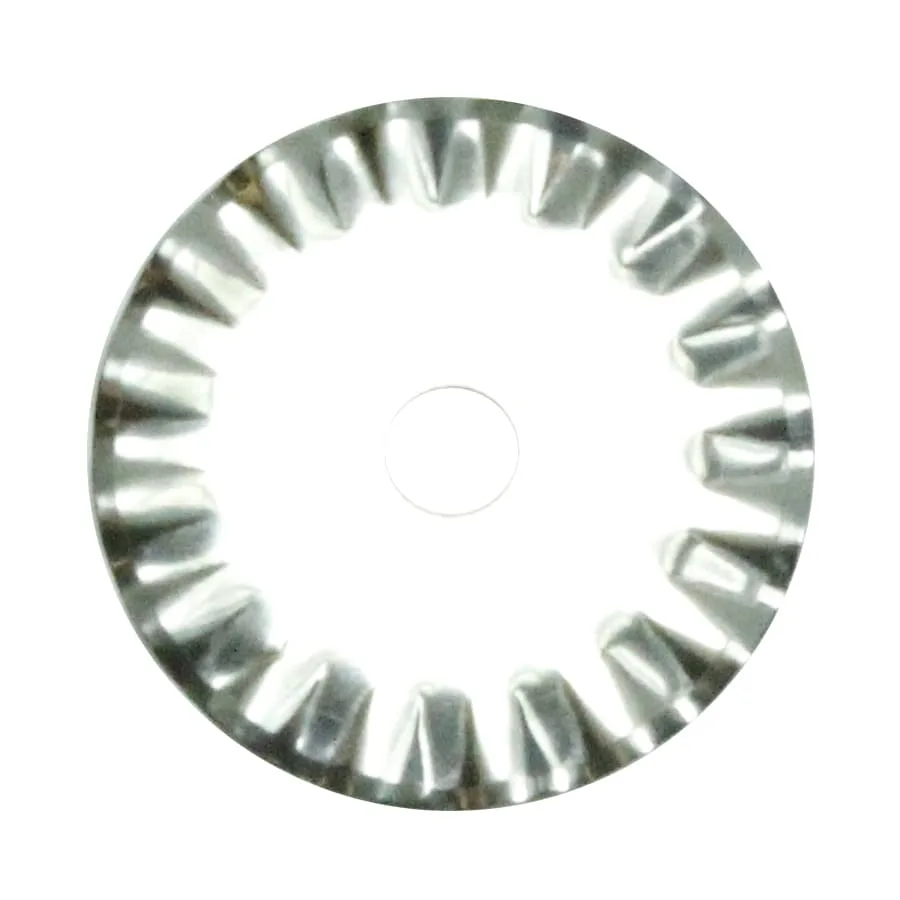
- 28mm Pinking Rotary Blades: 28mm pinking blade, comes with 2 blades, cuts through 6 layers at once, fits any Olfa-style handle, carbon steel blade, and fits medium-sized rotary blade. A pinking cut leaves a zigzag edge that resists fraying, so you can skip sanding on fabric and some foam edges entirely.
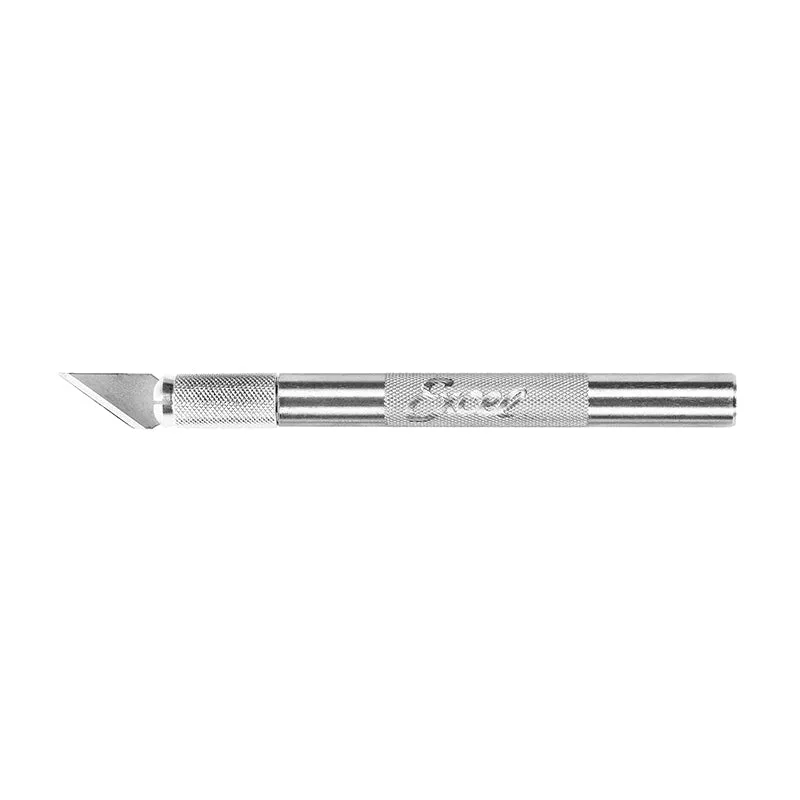
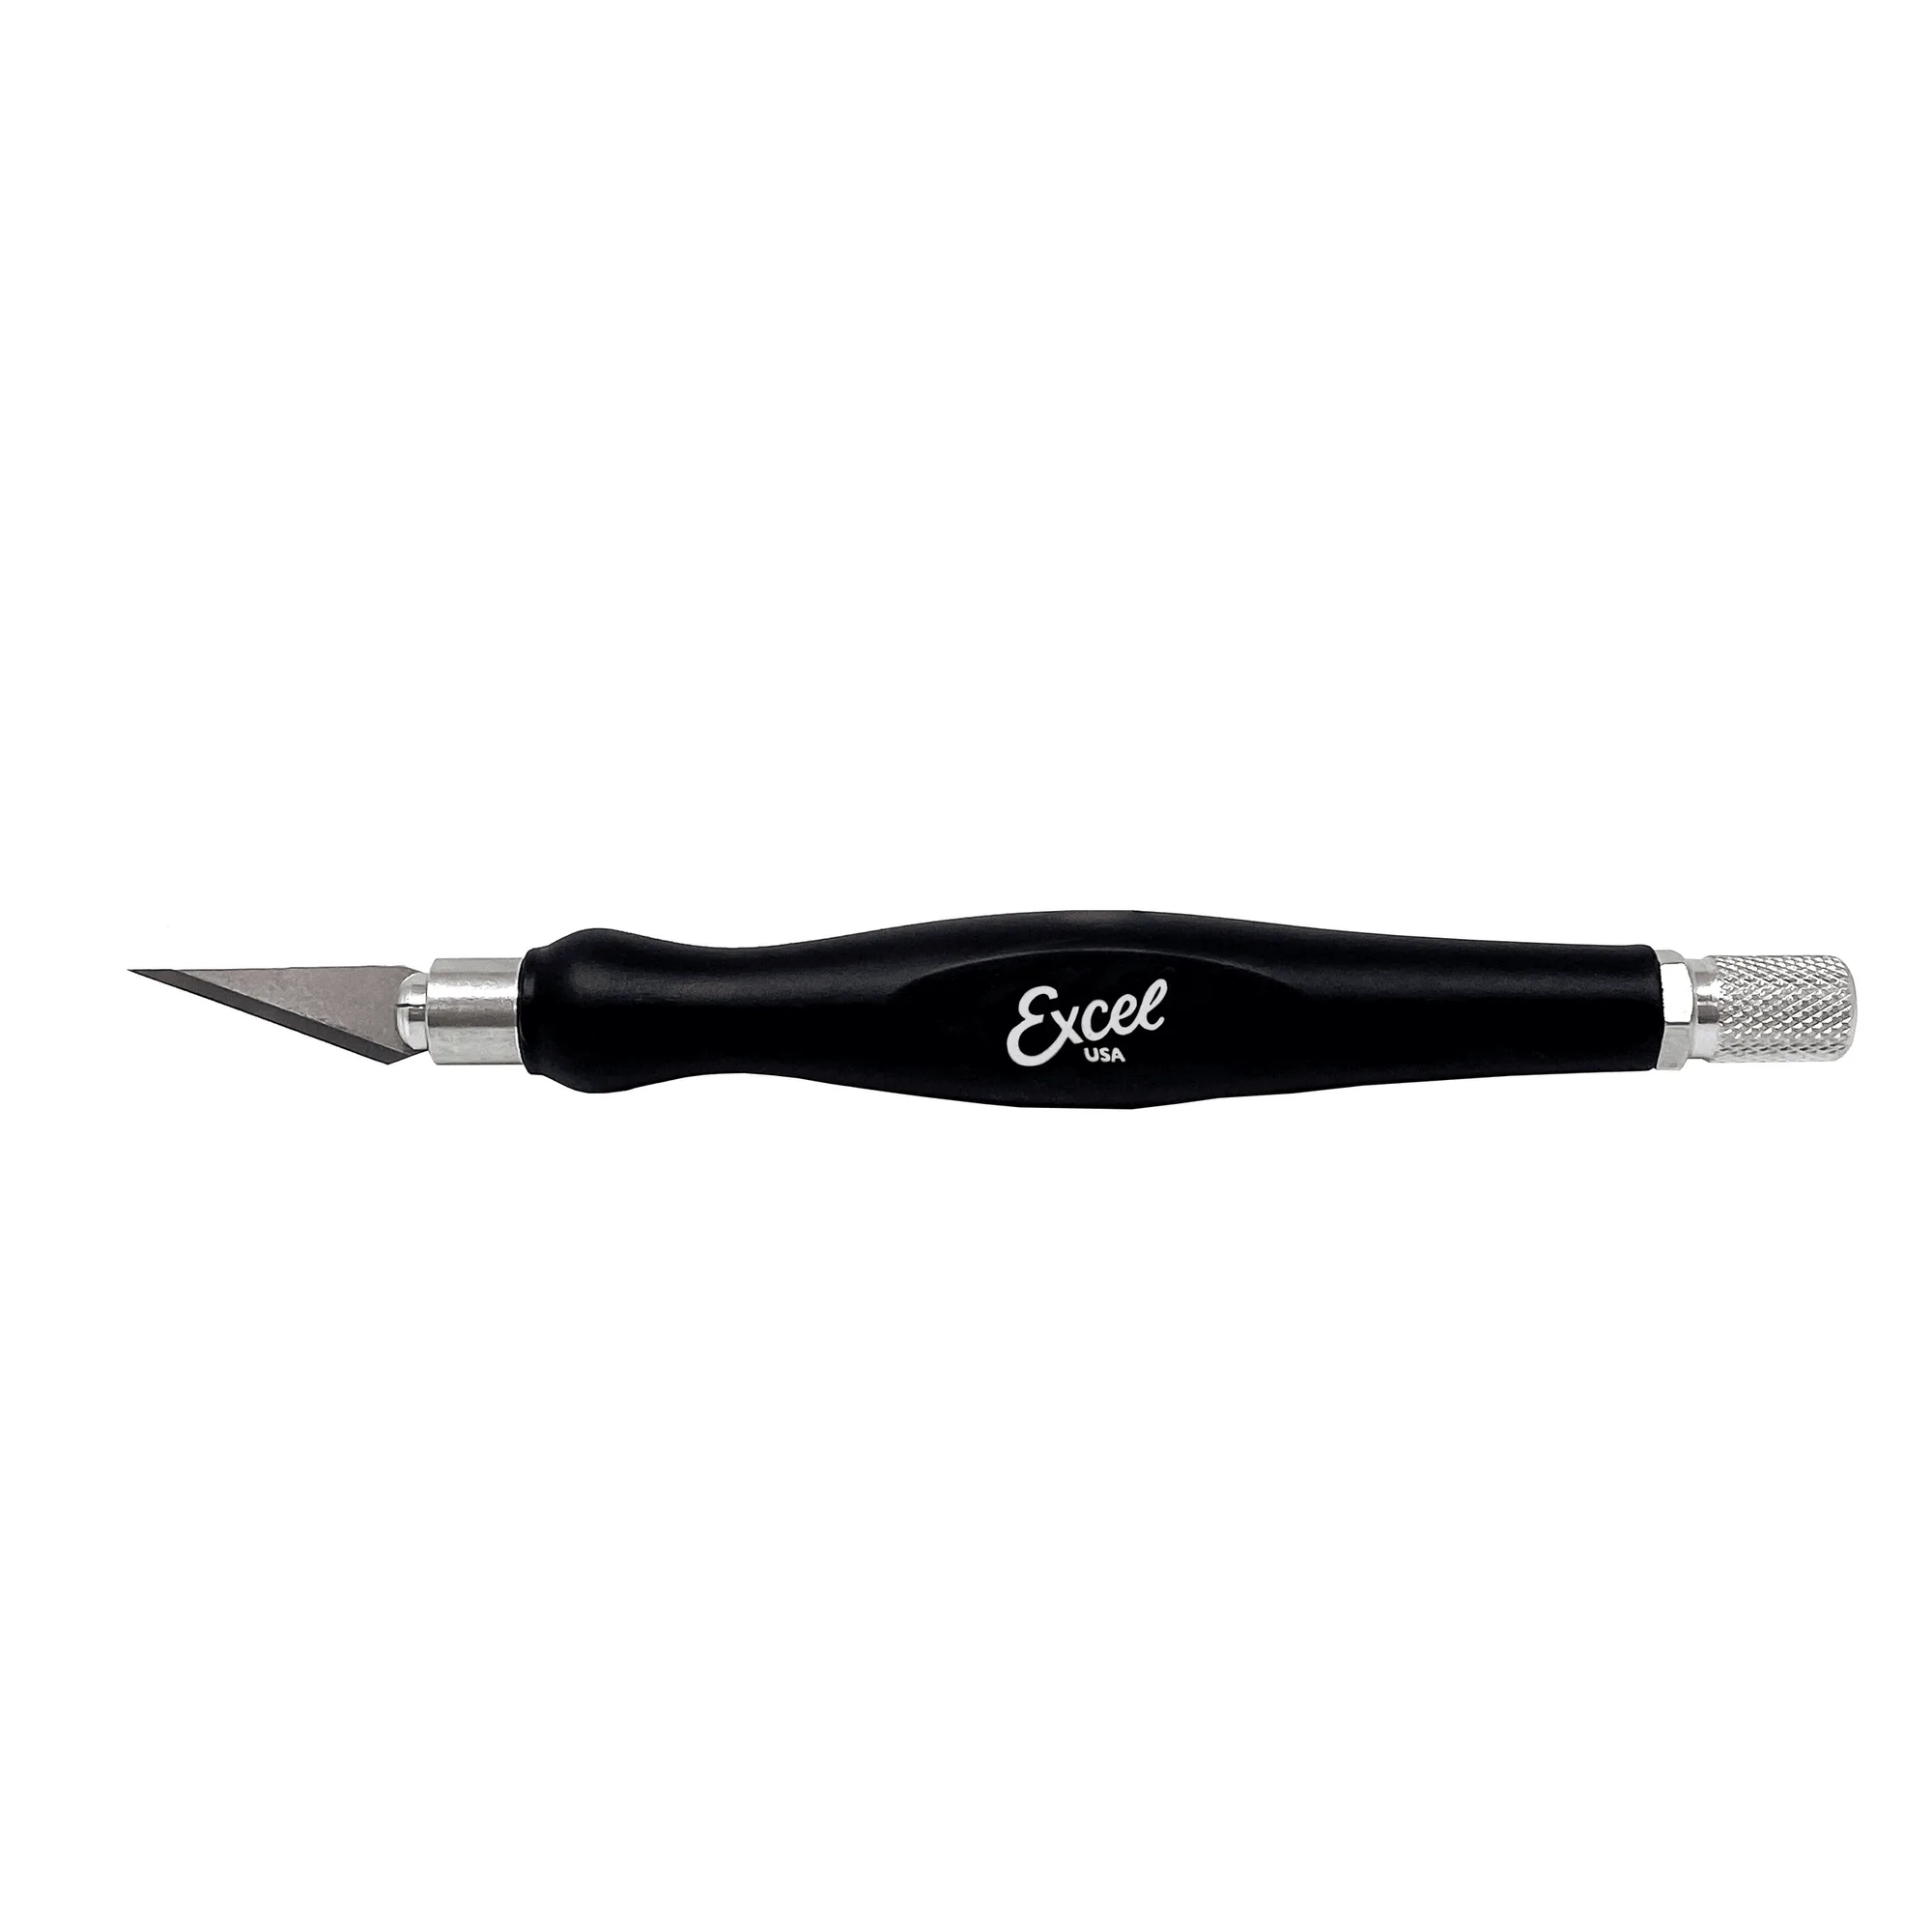
- K2 Aluminum Medium Duty Craft Knife: Equipped with a 4-jaw aluminum chuck for extra blade security and stabilization, and used on paper, cardstock, stencils, film, photographs, tape, plastic, wood, cloth, leather, cardboard, cork, vinyl, foam boards, and most other medium-weight crafting materials. Trim the edge cleanly before sanding and you will spend less time with the stick, especially on foam board and vinyl where a ragged cut is hard to sand flat.
- 10" Machinist Square: Constructed from hardened, tempered, and polished carbon steel, and features a dual measurement system. Use it to check that your edge is square before and after sanding, so you know when to stop instead of guessing.
A sanding stick with the right belt is the fastest way to clean up an edge without rounding it over. Load it snug, hold it flat, stroke one way, and check often. That routine keeps edges square on wood, foam, and plastic, and it keeps you from sanding past the point where the edge was already good.