Quick answer
To use Stitch Witchery fusible bonding web, place it between two layers of fabric, cover with a damp press cloth, and press with a hot iron for 10 seconds. Let it cool completely before moving the fabric. Always test on a scrap first to avoid scorching or stiff results.
Stitch Witchery fusible bonding web is a heat-activated adhesive that bonds fabric without sewing. It's ideal for quick hems, appliqués, and repairs when you want a clean finish without a machine.
This guide walks you through the process step by step, with checkpoints to avoid common mistakes like melting delicate fabrics or creating a stiff, visible hem. You'll also find tips on choosing the right tools and when to reinforce with a few hand stitches.
What you need before you start
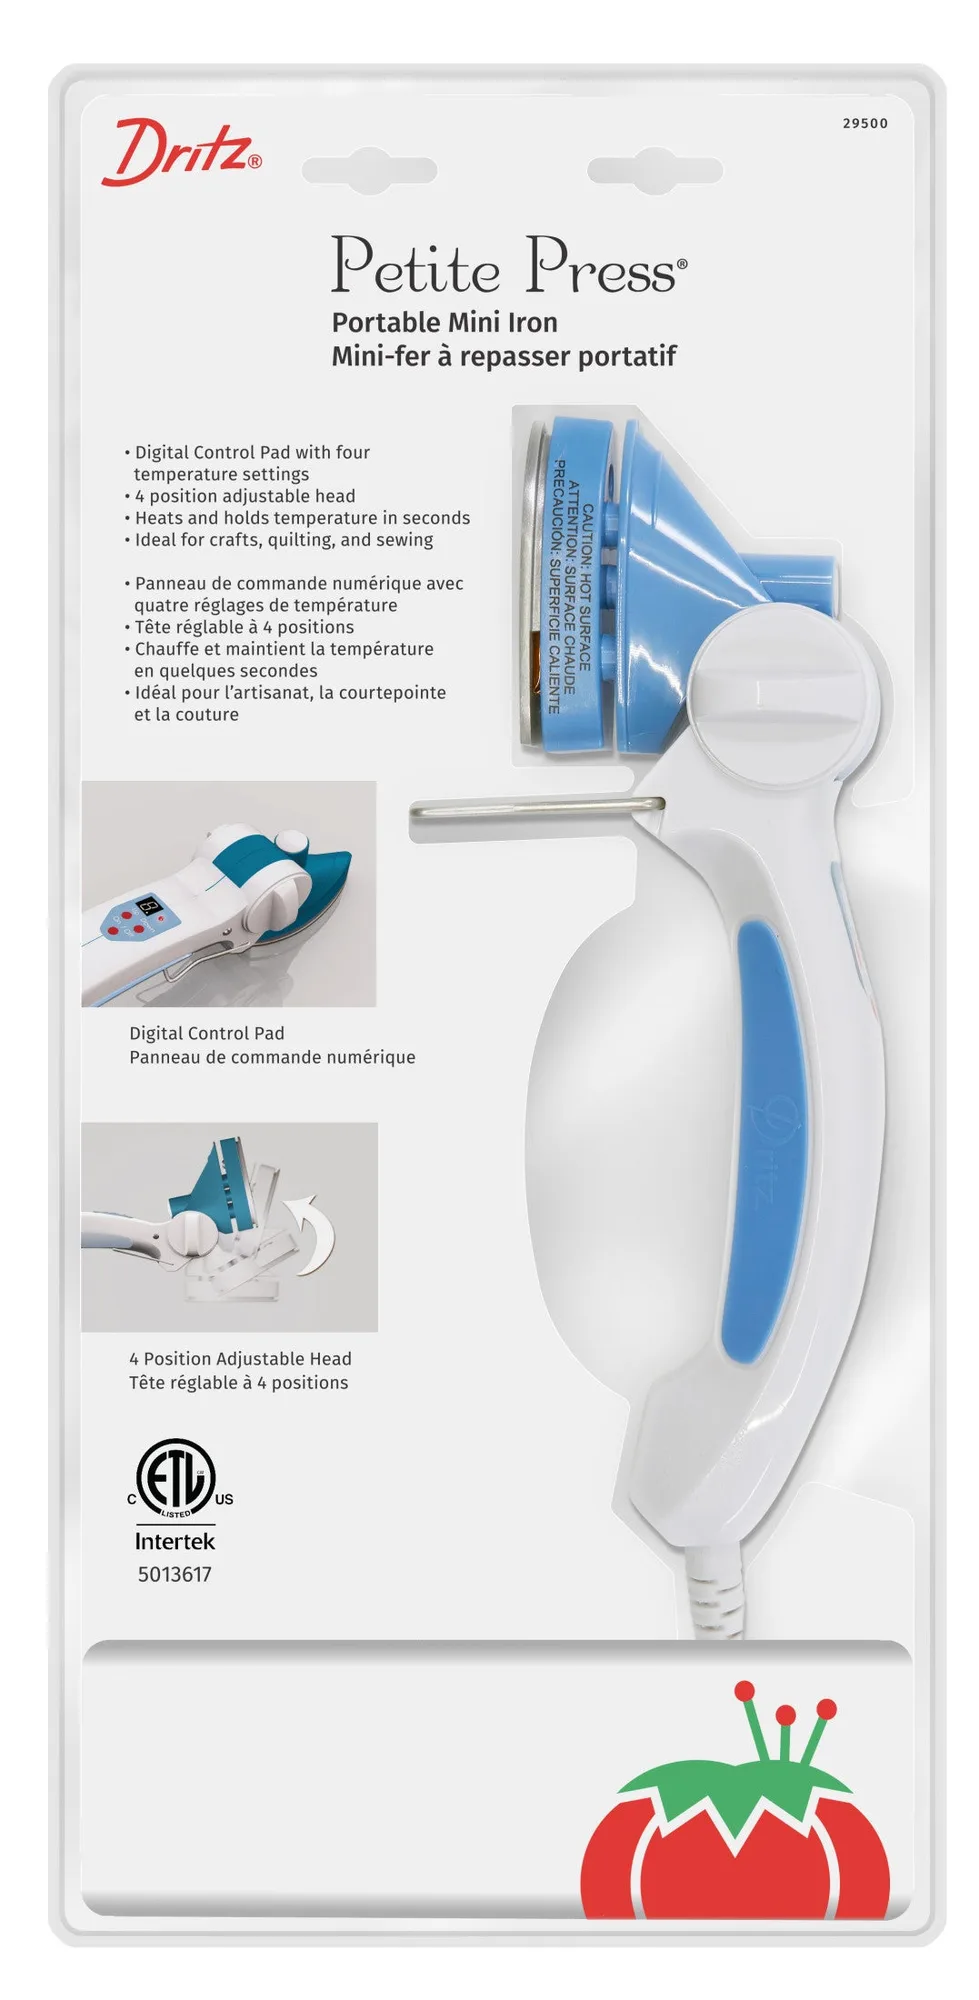
Gather your materials: Stitch Witchery fusible bonding web, a damp press cloth (or cotton handkerchief), an iron, and a clean pressing surface. You'll also want a pair of sharp scissors to cut the web to size. A mini iron like the https://prymamerica.com/products/29500-5d27b78f819eff1264460731-1316246Petite Press Mini Iron can help with small hems and tight corners, but a regular iron works too.
Check your fabric content. Stitch Witchery works best on natural fibers like cotton and linen, and on many synthetics. However, it may not adhere well to very slick or coated fabrics. Always test on a scrap first to confirm compatibility.
- Set your iron to the temperature recommended for your fabric—usually medium to high heat with steam.
- Keep a bowl of water nearby to dampen your press cloth as needed.
Step-by-step: bonding a no-sew hem
Start by folding your hem to the desired length and pressing it flat with an iron. This crease will guide you. Cut a strip of Stitch Witchery slightly narrower than your hem allowance. Place the web inside the fold, tucking it between the fabric layers. Make sure it doesn't extend beyond the fabric edges, or it will stick to your iron.
Cover the hem with a damp press cloth. Press the iron down firmly for about 10 seconds. Do not slide the iron back and forth—lift and press instead. Repeat along the hem, overlapping each press slightly. Let the fabric cool completely before checking the bond. If any edges lift, re-press with a damp cloth.
- Common mistake: using a dry cloth—steam is essential to activate the adhesive.
- Checkpoint: after cooling, gently tug the hem. If it separates, add more web and press again.
Using fusible web for repairs and appliqués
For small tears or holes, cut a patch of fusible web slightly larger than the damaged area. Sandwich it between the fabric and a matching patch, then press with a damp cloth. This creates a quick fix that holds up to gentle washing. For appliqués, place the web between the appliqué and the garment, press, and let cool.
If you're repairing a high-stress area like a waistband or sleeve, consider reinforcing with a few hand stitches after bonding. The Dritz 1" Non-Roll Elastic, White is a good choice for waistbands because it resists rolling and twisting, but the bond itself may need extra security.
- Always test the bond on a scrap of the same fabric before repairing a visible area.
- For heavy fabrics, use a higher heat setting and press for 15 seconds.
Tools that make the job easier
A mini iron like the Petite Press Mini Iron is great for small hems and tight spots. It has a digital control pad to heat and hold temperature in minutes, and its four iron head positions and ergonomic handle make it comfortable for detailed work. It's also UL approved and has a flip-down stand.
For pressing larger areas, a standard iron with a damp press cloth works well. Keep a Fold & Store Basket nearby to hold your supplies—it folds out to store projects and folds flat when you're done. This keeps your workspace organized and your fusible web clean.
- Never skip the press cloth—it protects your iron and prevents scorching.
- Clean your iron's soleplate after use to remove any adhesive residue.
No-sew hemming steps at a glance
- Prepare the hem: Fold and press the hem to create a crisp crease. Cut a strip of Stitch Witchery slightly narrower than the hem allowance. Checkpoint: make sure the web doesn't extend past the fabric edges.
- Insert the web: Tuck the fusible web between the folded fabric layers, keeping it centered and flat. Common mistake: letting the web bunch up—smooth it out before pressing.
- Press with steam: Cover with a damp press cloth. Press the iron down for 10 seconds; lift and repeat along the hem. Do not slide the iron. Checkpoint: steam is essential—dry heat won't activate the adhesive.
- Cool and check: Let the fabric cool completely, then gently tug the hem to test the bond. Re-press if any edges lift. If the bond fails, add more web and press again for 15 seconds.
- Reinforce if needed: For high-stress areas, add a few hand stitches after bonding to secure the hem. This is optional but recommended for waistbands and sleeves.
Products mentioned in this guide
- Petite Press Mini Iron: The Dritz Petite Press is a portable mini iron for sewing, crafting, and quilting. It has a digital control pad to heat and hold temperature in minutes, four iron head positions, and an ergonomic handle. Its small size and precise heat control make it ideal for pressing narrow hems and small fusible web patches without disturbing the rest of the garment.
- 1" Non-Roll Elastic, White: Dritz Non-Roll Woven Elastic resists rolling and twisting. It is ideal for waistbands, sleeves, and leg bands in light to medium-weight fabrics. If you're using fusible web to repair or create a waistband, this elastic provides a stable, non-roll base that holds up to washing and wear.
- Fold & Store Basket: A basket with natural design that folds out to store knitting or crochet projects, patchwork fabrics, magazines, and more. Reinforced sides and base make it stable, and it folds flat for storage. Keeps your fusible web, press cloth, and tools organized and within reach while you work, and collapses when not in use.
Stitch Witchery fusible bonding web is a fast, reliable way to create no-sew hems and repairs. With a damp press cloth, the right temperature, and a little practice, you'll get clean results every time. Keep a mini iron and a few supplies on hand, and you can tackle hemming projects in minutes.