Quick answer
Iron a tear-away stabilizer onto the back of your t-shirt before hooping, then stitch and tear it away gently. This simple step keeps stretchy knit fabric from shifting and prevents puckering around your design.
Why stretchy fabric needs a stabilizer
T-shirt jersey stretches in every direction. Without a stabilizer, the fabric moves with the needle, causing puckers, skipped stitches, and distorted designs. A cut-away or tear-away backing adds temporary structure so the embroidery stays crisp.
The T-Shirt Stabilizer (Pack of 5) from SUBLIME STITCHING is an 18" x 20" tear-away sheet designed for knits. It also works as a workaround for black or very dark fabrics. Apply it to the front of dark fabric to create a light stitching surface that helps your design show up clearly.
Choosing the right backing for your project
Tear-away stabilizer suits most t-shirt embroidery because it leaves a soft hand and is quick to remove. For very stretchy or heavily stitched designs, a cut-away backing may offer more support, but it adds permanent bulk. The T-Shirt Stabilizer is tear-away, so it is best for light to medium stitch counts on cotton or poly-cotton knits.
If you are embroidering on onesies or thin baby knits, use the same stabilizer but handle the tear-away step gently to avoid stretching the fabric. Always test on a scrap of the same fabric first.
Step-by-step: using t-shirt stabilizer
- Cut a piece of stabilizer larger than your hoop: Cut an 18" x 20" sheet down to a size that extends at least 1 inch beyond your hoop on all sides. Mistake to avoid: cutting it exactly hoop-sized, which lets the fabric slip at the edges. Always oversize the stabilizer by at least 1 inch on every side.
- Iron the stabilizer to the back of the fabric: Place the shiny side of the stabilizer against the wrong side of the t-shirt. Press with a medium-hot iron (no steam) for about 10 seconds until it adheres. For dark fabrics, you can iron it to the front instead, but test first. Mistake to avoid: using steam, which prevents proper bonding. No steam, medium-hot iron, 10 seconds.
- Hoop the fabric and stabilizer together: Place the stabilized area in your hoop, keeping the fabric taut but not stretched out of shape. Tighten the hoop screw firmly. Mistake to avoid: hooping only the fabric and then trying to add stabilizer, which causes shifting. Hoop both layers together, not separately.
- Stitch your design: Embroider as usual. The stabilizer holds the knit steady. Check after the first few hundred stitches that the fabric is not puckering; if it is, stop and re-hoop more tightly. Mistake to avoid: ignoring early puckers, which worsen as stitching continues. Stop and re-hoop if you see puckering in the first few hundred stitches.
- Tear away the stabilizer: Once stitching is complete, gently tear the stabilizer away from the back (or front) of the design. Pull slowly and support the fabric near the stitches to avoid distorting them. Mistake to avoid: ripping quickly, which can loosen stitches or stretch the knit. Tear slowly and support the fabric around the design.
Product facts
-
T-Shirt Stabilizer (Pack of 5): 18" x 20" tear-away sheet; iron on to prevent stretching; use for black or very dark fabrics by applying to the front. The large sheet covers most t-shirt hoop areas, and the front-application method solves the problem of dark fabric swallowing your stitch colors.
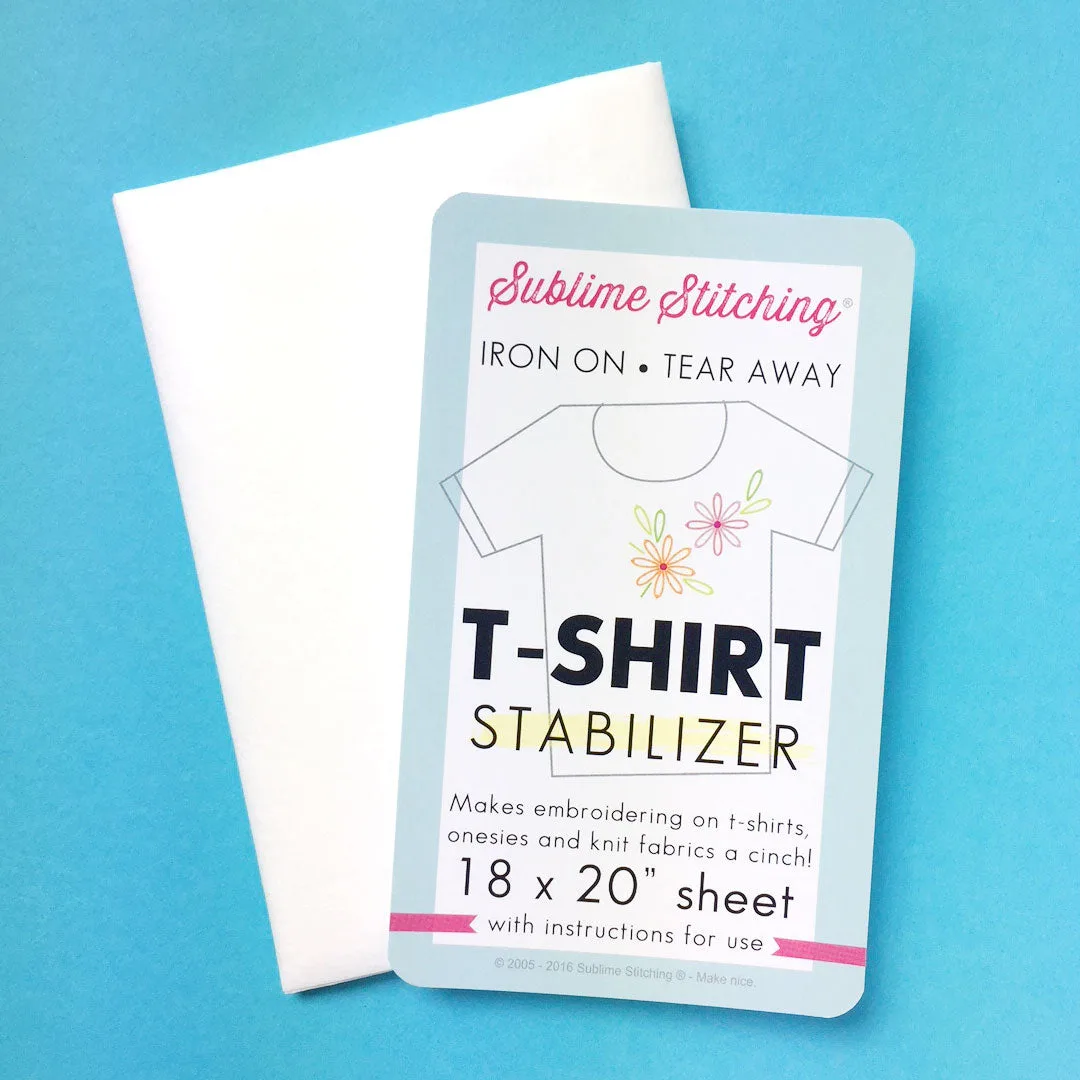
T-Shirt Stabilizer (Pack of 5)