Quick answer
Use trekking poles by setting them so your elbows sit near 90 degrees on flat ground, then shorten them 5-10 cm for steep climbs and lengthen them 5-10 cm for steep descents. Grip with a relaxed hand through the strap, plant each pole slightly ahead of your stride, and let your arms carry part of the load. Adjust length before the slope changes, not after you start slipping.
Steep terrain is where trekking poles earn their place on a hunt. On a loaded climb or a loose descent, they add two more points of contact, take weight off your knees, and help you stay balanced when the ground is anything but flat. The catch is that most people use them the same way on every slope, which is exactly when they stop helping.
This guide walks through an ordered process for using trekking poles on steep terrain, from setting the strap and grip to timing your plant and controlling descents. Each step includes a common mistake to avoid and a checkpoint so you can tell whether the adjustment is working before you commit to the next pitch.
Why pole setup matters more on steep ground
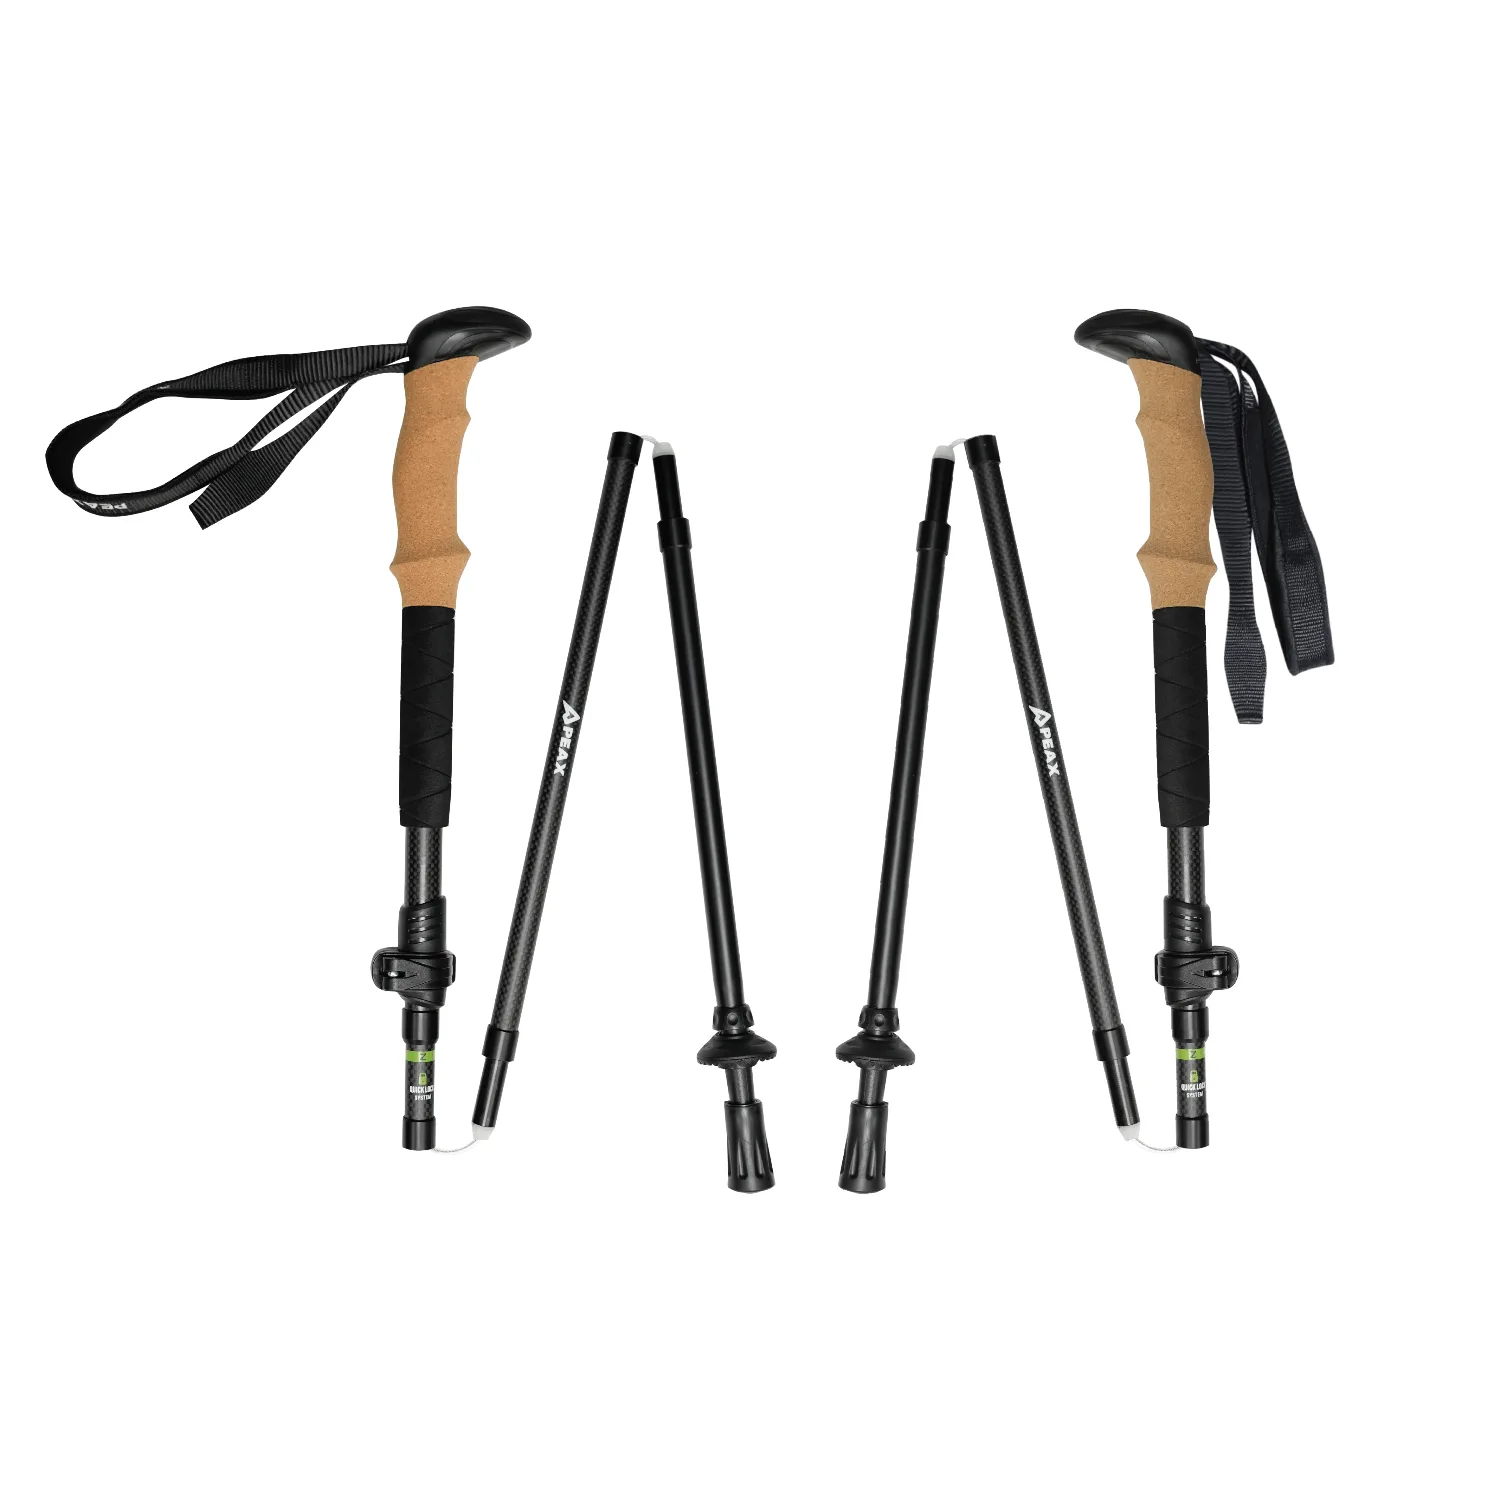
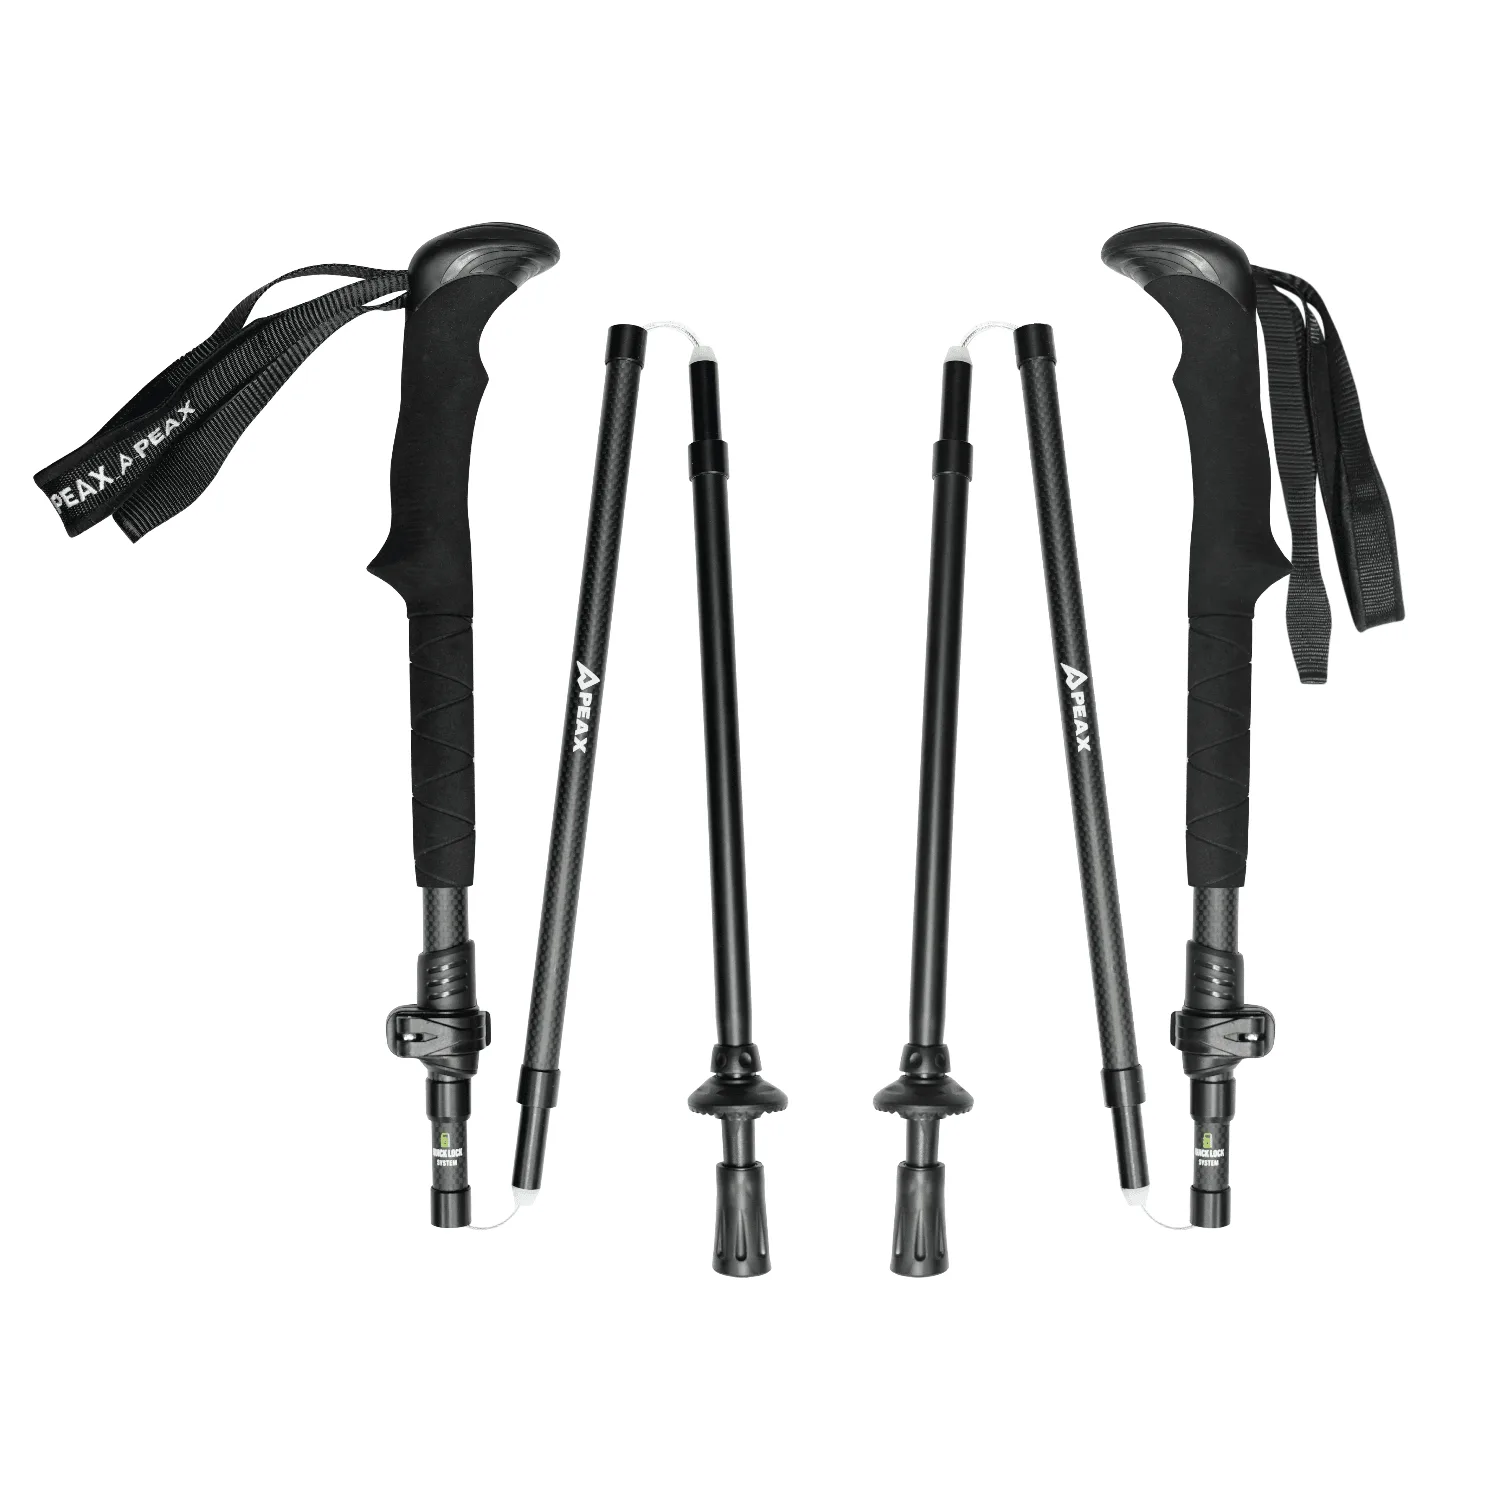
On gentle trails, a fixed pole length is usually fine. On steep terrain, the same length that feels right on the flats can push you off balance on a climb or leave you reaching on a descent. The fix is not a different pole; it is a different length for the slope in front of you. Adjustable poles let you make that change in seconds, and folding collapsible poles like the PEAX Backcountry Z are built to pack small when the terrain eases and you want your hands free.
The other variable is how you hold the pole. A death grip tires your forearms and limits your reach, while a relaxed hand through the strap lets the pole hang and swing naturally. Get the grip and length right first, and the rest of the technique becomes much easier to apply.
- Checkpoint: if your shoulders feel tense after a few minutes, your grip or length is probably off.
- Adjust length before the slope changes, not while you are already committed to it.
Strap and grip: the foundation of hiking poles technique
Slide your hand up through the strap from below so the strap crosses the back of your hand and sits against your palm. Then grip the handle lightly, as if you were holding a small bird. On a steep climb, you can push down through the strap with an open hand, which saves grip strength for the rifle or binoculars later.
A common mistake is wearing the strap loose enough that it slides, or so tight it cuts circulation. Either way, you lose the weight transfer that makes poles worth carrying. Adjust the strap once at the trailhead and recheck it after your hands warm up.
- Checkpoint: you should be able to push down on the pole with an almost open hand and feel the strap take the load.
Set length for the slope you are on
Start on flat ground and set the poles so your elbows sit near a 90-degree bend. For a steep climb, shorten each pole by roughly 5-10 cm so you can plant it without reaching uphill. For a steep descent, lengthen them by roughly 5-10 cm so you can plant ahead of your feet and stay upright instead of leaning back.
The mistake here is setting length once and leaving it. Steep terrain changes constantly, and a pole that is too long on a climb forces your shoulder up; too short on a descent and you cannot reach the ground where you need it. If your poles have marked sections, note the settings you use most so you can return to them quickly.
- Checkpoint: on a climb, the pole tip should land near your front foot without lifting your shoulder.
Time your plant with your stride
Plant the opposite pole as your foot lands: right foot with left pole, left foot with right pole. This counter-rotation is what keeps you balanced and spreads the work across your upper body. On steep climbs, shorten your steps and plant the pole slightly ahead so you can push up and over rather than pull yourself forward.
A common mistake is planting both poles at the same time, which turns them into crutches and throws off your rhythm. If you catch yourself doing this, slow down and count your steps until the alternating pattern feels natural again.
- Checkpoint: if your arms and legs are moving in the same rhythm, you are planting both poles together.
Use the poles to control steep descents
On a descent, lengthen the poles and plant them ahead of your feet to act as a brake. Keep your weight back over your heels and let the poles take some of the impact before your knees do. On loose scree or wet grass, a light, quick plant is better than a hard stab that can slip.
The mistake is leaning forward and letting the poles drag behind you. That puts all the load back on your knees and quads, which is exactly what you are trying to avoid. If the slope is steep enough that you are reaching, add length rather than speeding up.
- Checkpoint: your poles should touch down before your foot does on a steep descent.
Know when to stow them
Not every section of a hunt needs poles in hand. On a short scramble where you need both hands on rock, or on a flat approach where you want to move fast, folding collapsible poles can come apart and go on your pack in seconds. The PEAX Backcountry Z are built for exactly that tradeoff: lightweight stability when conditions demand it and compact storage when they do not.
The mistake is leaving them out because it feels like extra work to stow them. A pole dangling from your wrist on a scramble is a snag risk, and a pole in hand on a flat mile is just extra weight. Decide based on the next 10 minutes of terrain, not the whole day.
- Checkpoint: if you need both hands for the next move, stow the poles before you start it, not during it.
Practice the transition before the hunt
The skill that matters most on steep terrain is changing length and grip quickly without stopping for long. Practice on a local slope: climb for a few minutes, shorten the poles, descend, lengthen them, then stow them and walk a flat stretch. Do this a few times and the adjustments become automatic.
A common mistake is waiting until you are exhausted or the weather turns to figure out your settings. Muscle memory built on a short practice slope pays off when you are loaded, cold, and navigating real terrain. Treat the setup as part of your hunt prep, not an afterthought.
- Checkpoint: you should be able to change length and stow the poles in under 30 seconds with gloves on.
Seven-step process for using trekking poles on steep terrain
- Set strap and grip: Slide your hand up through the strap from below so it crosses the back of your hand and rests against your palm. Grip the handle lightly and push down through the strap rather than squeezing. Checkpoint: you can push down with an almost open hand and feel the strap carry the load.
- Set baseline length on flat ground: On flat ground, adjust each pole so your elbows sit near a 90-degree bend. Note the marked settings so you can return to them. Checkpoint: shoulders relaxed, not shrugged, at the baseline setting.
- Shorten for climbs: Before a steep climb, shorten each pole by roughly 5-10 cm so you can plant it near your front foot without lifting your shoulder. Common mistake: leaving poles long on a climb, which forces your shoulder up and shortens your reach.
- Lengthen for descents: Before a steep descent, lengthen each pole by roughly 5-10 cm so you can plant ahead of your feet and stay upright. Common mistake: reaching with short poles, which pulls you forward and loads your knees.
- Plant opposite pole with each step: Match right foot with left pole and left foot with right pole. Shorten your steps on steep ground and plant slightly ahead so you push up and over. Checkpoint: if both poles move together, you are planting them at the same time and losing balance.
- Brake on loose descents: On scree or wet grass, use a light, quick plant ahead of your feet and keep your weight back over your heels. Common mistake: leaning forward and letting poles drag behind, which puts the load back on your knees.
- Stow when hands are needed: On scrambles or flat approaches, fold and stow the poles on your pack rather than carrying them in hand or on your wrist. Checkpoint: if you need both hands for the next move, stow before you start it.
Gear that supports the technique
- PEAX BACKCOUNTRY Z TREKKING POLES: The PEAX Backcountry Z are folding collapsible trekking poles built for hunters who need lightweight stability when conditions demand it and compact storage when they don't. Folding and collapsible design makes it practical to stow the poles on a scramble or flat approach and deploy them when the slope steepens.
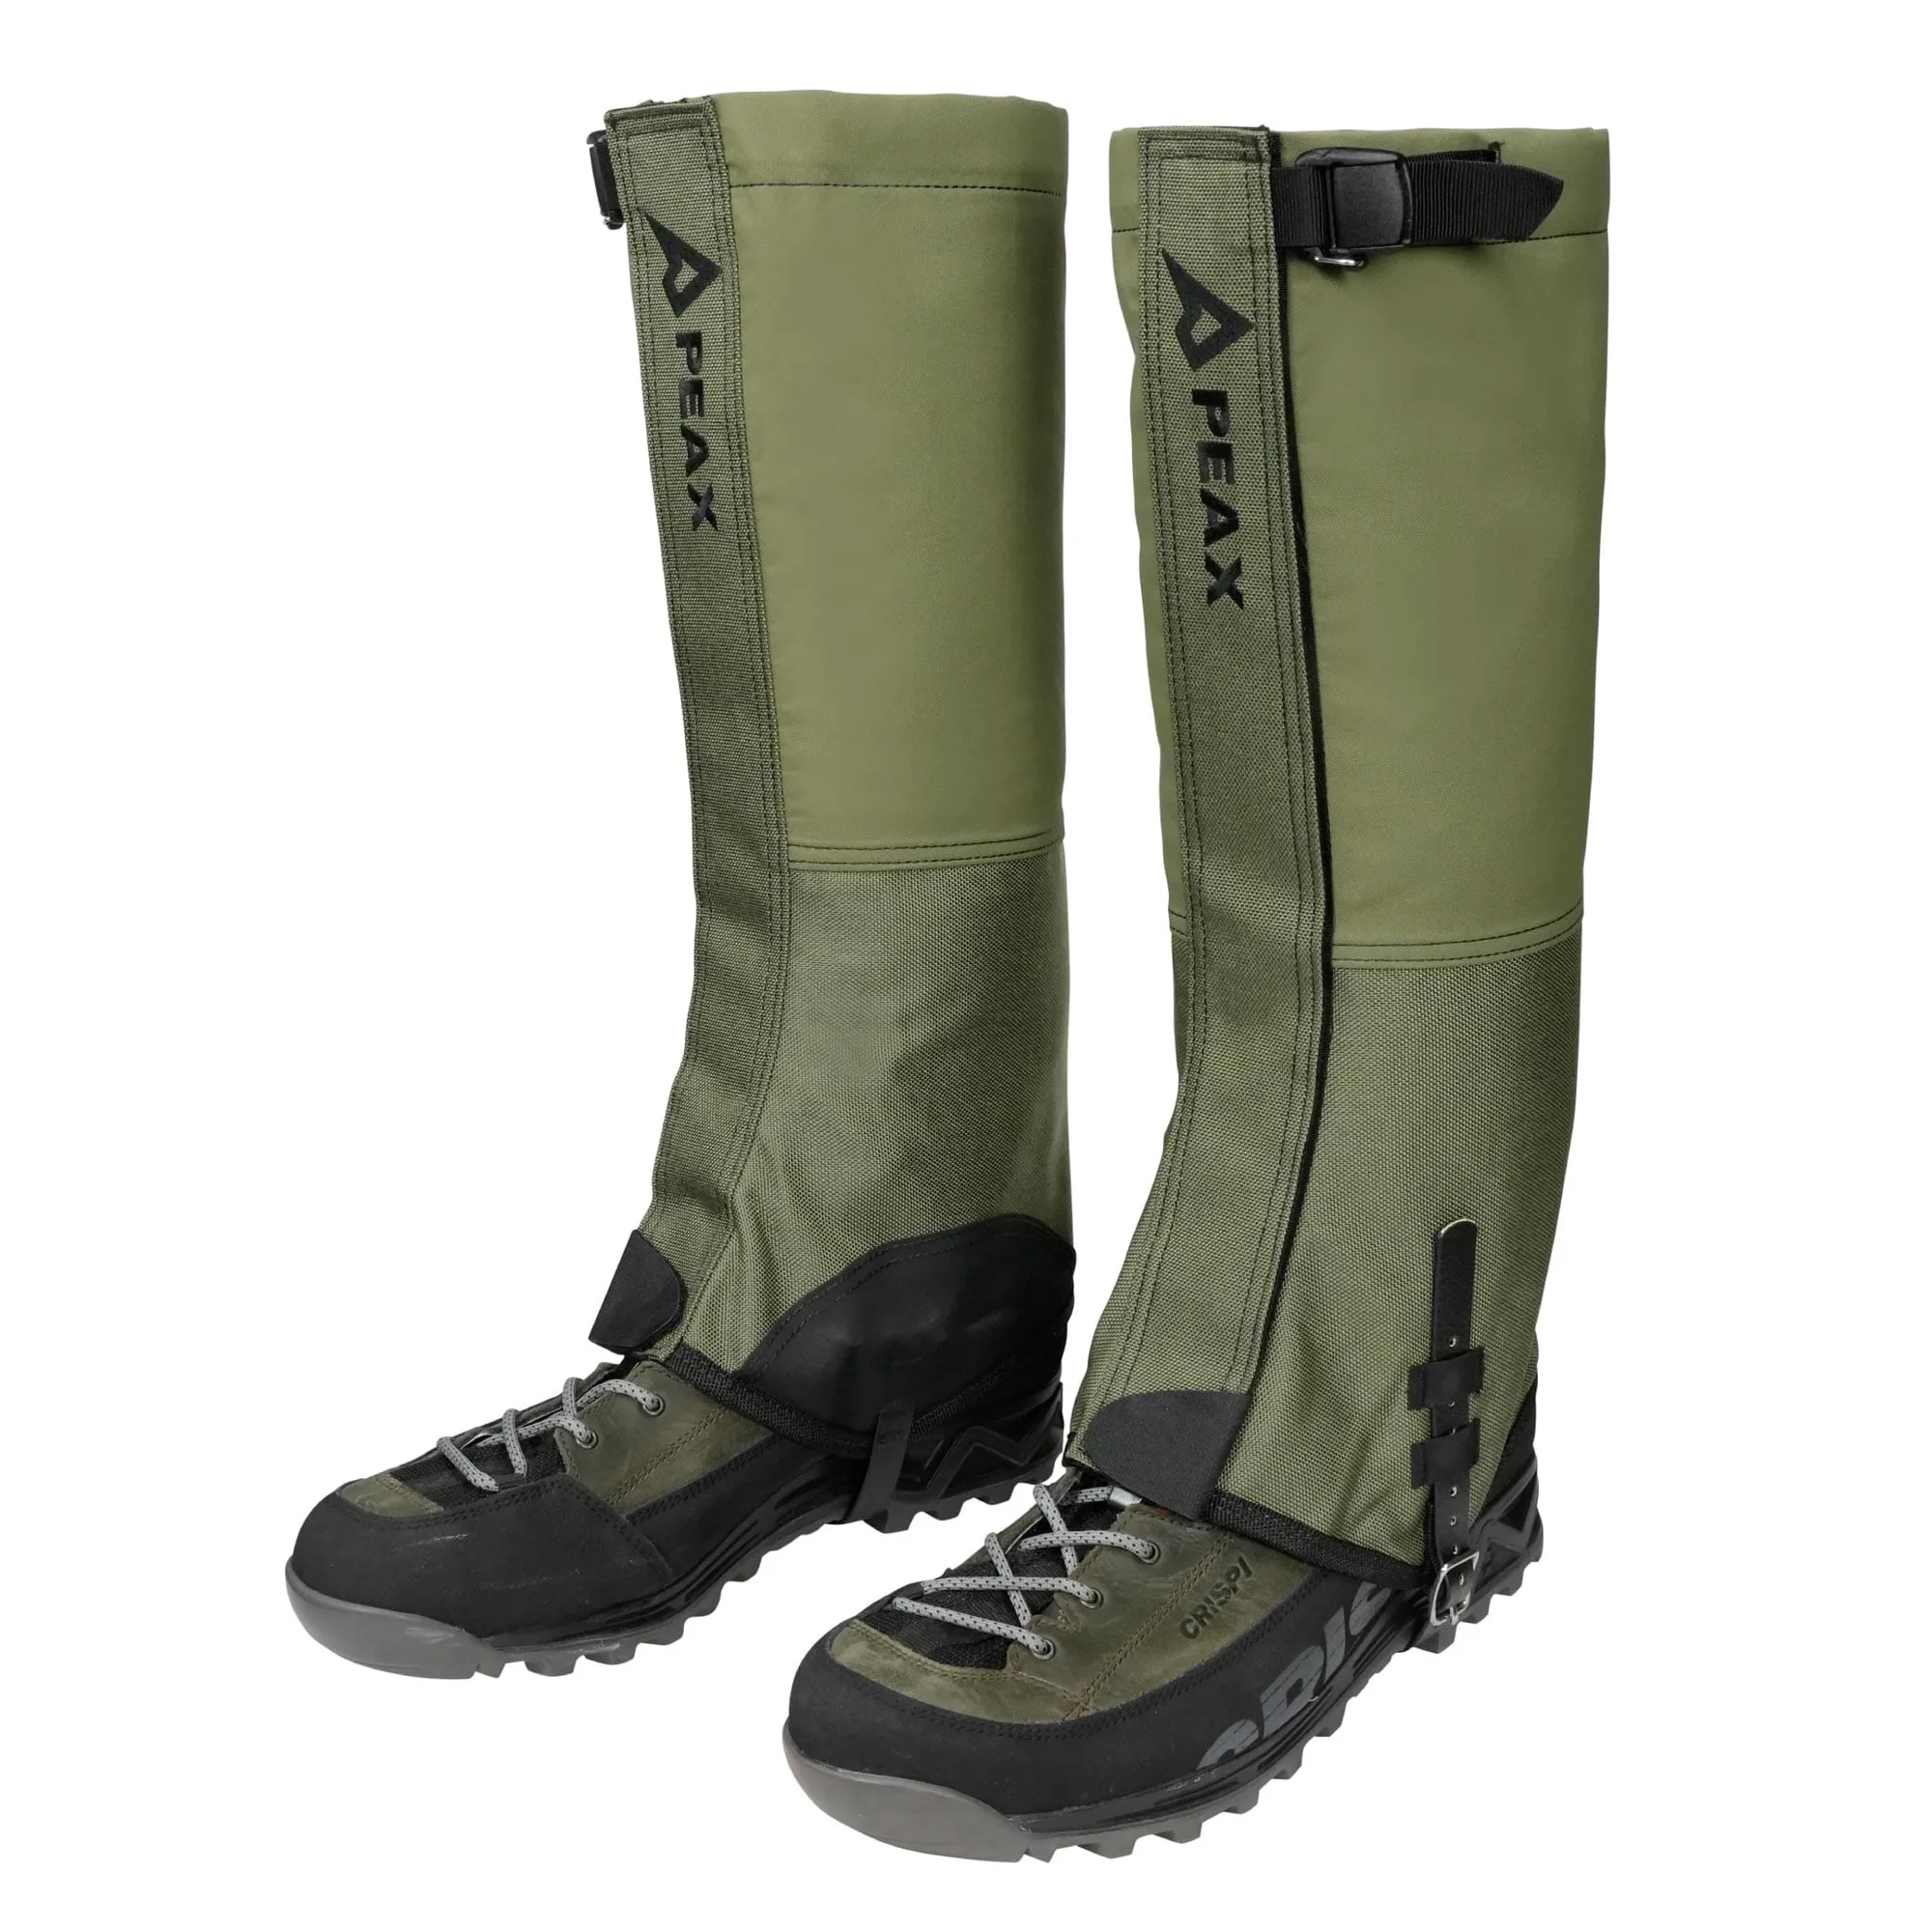
- STORM CASTLE HUNTING GAITERS: The PEAX Storm Castle is a hunting gaiter built to keep water, debris, and brush out of your boots while protecting your lower legs in rugged mountain terrain. Keeping debris and moisture out of your boots matters more on steep, brushy terrain where every step is a chance to catch a rock or a branch.
Good hiking poles technique on steep terrain comes down to three habits: set the length for the slope, plant opposite your foot, and stow the poles when they stop helping. Practice the adjustments on a short local slope so they are automatic when you are loaded and the ground is loose. The right setup will not make a steep climb easy, but it will keep your knees and balance in better shape for the hunt itself.